Showing posts with label vanilla. Show all posts

Friday, May 3, 2013

Malted Maple Blueberry Muffins

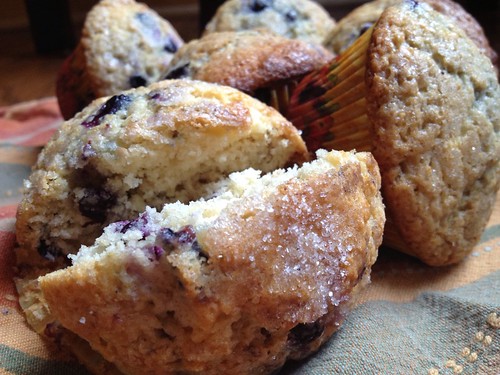
Malted Milk and Maple Blueberry Muffins

Last weekend was the first weekend with really gorgeous weather.  The kind of weather that makes me force the Monkey Scientist out of the house to play in the sunshine with me.  I wanted to celebrate with a bright and yummy breakfast to start the day on Saturday, which to me always means muffins.  I bought a bag of frozen Maine blueberries at Trader Joe's a while ago and used the first half to make Easter muffins.  They were corn and blueberry muffins and well... they were not a hit.  So I decided to scrap that recipe and try something new.
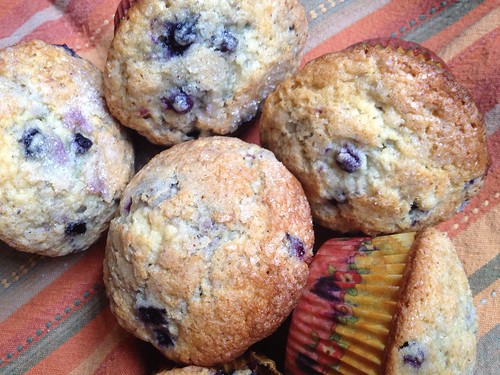
Malted Milk and Maple Blueberry Muffins

Of course, I couldn't leave well enough alone and make the recipe as it was written.  I'm too obsessed with maple and malted anything to allow that.  So I winged it and added quantities I thought would work (reasons I am not usually a baker) and magically it worked out!  I was sort of afraid they'd end up super dry or un-risen or something, but somehow my additions didn't disturb the recipe too badly.  Saturday win!
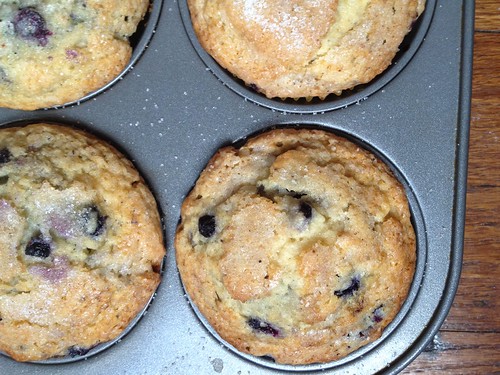
Malted Milk and Maple Blueberry Muffins

These muffins turned out wonderfully.  Right after I put them in the oven I had to run to yoga class, so I left the Monkey Scientist to pull them out of the oven and make sure they were done.  When I got home an hour later, one muffin was halfway in his mouth and another had disappeared.  Looked like an upgrade from my Easter muffin fail for sure!  Next time, I'd love to increase the maple flavor - maybe even using maple sugar instead of regular.  But this recipe is an easy weekend go-to for now!

Here's to hoping this weekend is just as beautiful as last!
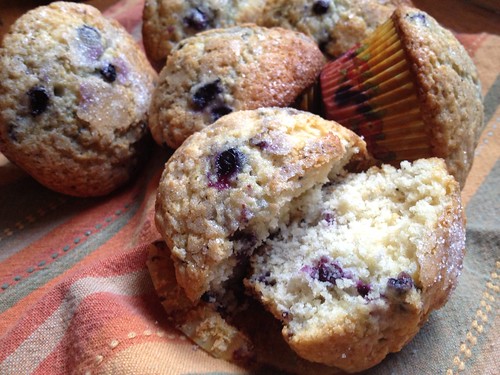
Malted Milk and Maple Blueberry Muffins

Malted Maple Blueberry Muffins
adapted from Taste of Home
makes one dozen muffins

Ingredients
2 cups all-purpose flour
2 teaspoons baking powder
1/3 teaspoon salt
1/4 cup malted milk powder
1 stick butter, softened
1 cups sugar
2 eggs
1/2 cup milk
1 tbsp maple syrup
1 teaspoons vanilla extract
1 cups frozen Maine blueberries
topping
1 tablespoons sugar
1/4 teaspoon ground nutmeg

Instructions
1. Preheat the oven to 375 degrees F.
2. In a large bowl, whisk together the flour, baking powder, salt, and malted milk powder.
3. In the bowl of your standing mixer, cream the butter and sugar until light and fluffy.  Add in the eggs, milk, maple syrup, and vanilla extra and mix until combined evenly.
4.  Slowly add in the dry ingredients and mix until just incorporated.  Stir in the frozen blueberries with a spatula.
5. Evenly distribute the batter into a 12 muffin tin lined with muffin cups.  In a small bowl, combine the remaining sugar and nutmeg and sprinkle over each muffin.
6. Bake 20-25 minutes, or until a toothpick inserted in the middle of a muffin comes out clean.  Allow to cool in the muffin tin for 10 minutes before removing to a wire rack.

Monday, December 24, 2012

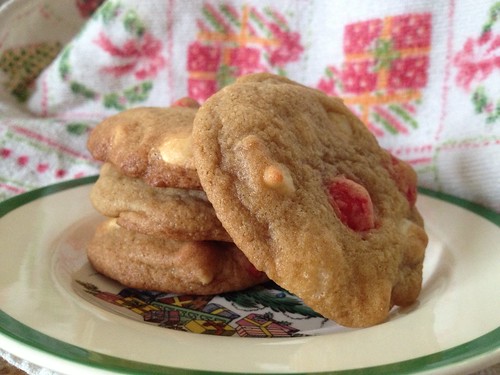
Peppermint White Chocolate MandM Cookies (Merry Christmas!)

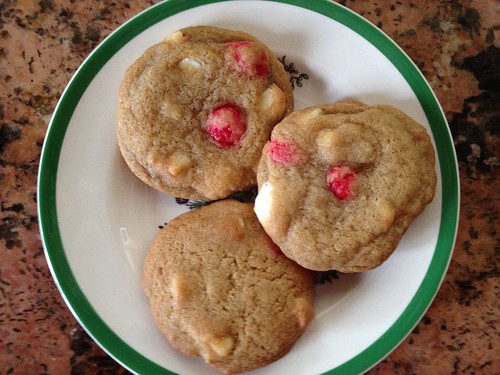
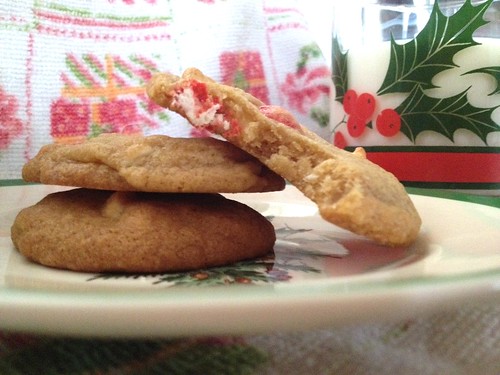
White chocolate peppermint m&m cookies

This year, I'm spending Christmas with the Monkey Scientist's family.  His mom is an expert baker and I wanted to help contribute to the endless flow of Christmas cookies she's producing.  I picked up a couple bags of these MandMs at Target (uhh they were white chocolate and peppermint, of course I bought 2 bags) a few weeks ago but I'd been fighting not to eat them so I could make cookies! (I knew if I opened the bag without a plan, I'd eat it all in a day or two. I lack self-restraint.)

White chocolate peppermint m&m cookies


I whipped these up yesterday so that I wouldn't be contributing to the chaos once the Christmas cooking really begins.  We have them in an airtight container (along with his mom's famous sugar cookies) and I think they might last through tomorrow!  There is never a lack of good food around here - especially baked goods.  I was glad I could contribute a little something.

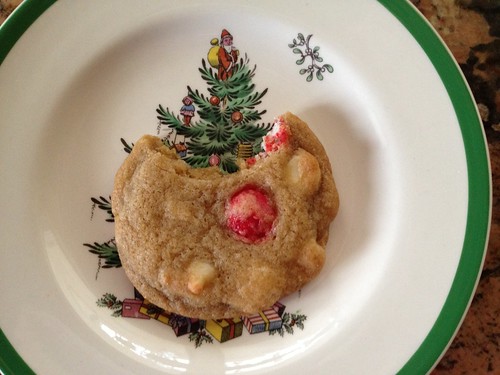
White chocolate peppermint m&m cookies

This is my first year not heading up north in New Hampshire to ski over Christmas, I think in my whole life.  Things were just a little too crazy for me to travel over the holidays.  Luckily, the Monkey Scientist and I will get a good weekend of skiing in just after the New Year.  It doesn't sound like the skiing I'm missing has been very bad lately, anyways!  I'm certainly missing my family, but looking forward to seeing most of them in a few weeks. I'm also lucky the Monkey Scientist's family takes me in as one of their own!  It's my first Christmas with a tree, rather than a pile of presents at the bottom of the stairs or under the fireplace.

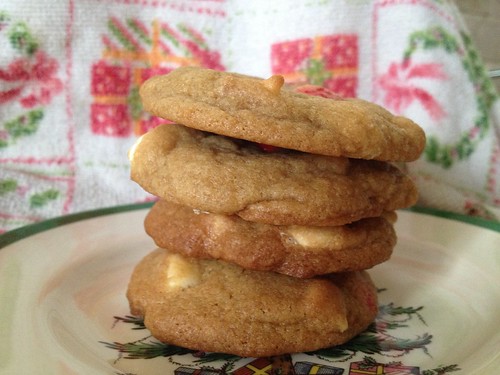
White chocolate peppermint m&m cookies

These cookies are super sweet and minty - just how I like them!  They would be perfect to leave for Santa under the tree as well.  They came out a little bit puffy for me, which I tried to fix with my rapping against the oven door trick, but I think you could also reduce the flour a bit.  I also left out the candy canes because the Monkey Scientist thinks they stick in his teeth too much.  Regardless, they taste wonderful!

Have a happy holiday!

White chocolate peppermint m&m cookies

White Chocolate Peppermint MandM Cookies
slightly adapted from Two Peas and Their Pod

Ingredients
2 1/2-3 cups all-purpose flour
1/2 teaspoon salt
3/4 teaspoon baking soda
1 cup unsalted butter, at room temperature
1 cup brown sugar
1/2 cup granulated sugar
2 large eggs
1 tablespoon vanilla extract
1 cup white chocolate chips
1 cup White Chocolate Peppermint MandM's

Instructions
1. Preheat the oven to 350.
2. Mix the flour, salt, and baking soda in a large bowl.
3. In the bowl of the standing mixer, cream the butter and sugars until blended. Add the egg and vanilla and mix to incorporate.
4. Slowly add the dry ingredients, mixing on low until fully incorporated. Mix in the white chocolate chips and MandM's.
5. On a baking sheet (I lined mine with a Silpat) drop the cookies in tablespoon-sized balls about 2 inches apart. Bake for 5 minutes, then remove from the oven. Bang the pan against the open oven door or your stove-top to flatten the cookies. Bake for an additional 5-7 minutes or until the cookies are browning around the edges (but still soft in the middle).
6. Remove from the oven and let rest on the cookies sheet for 2 minutes, then move to a cooling rack to cool completely.

Friday, December 14, 2012

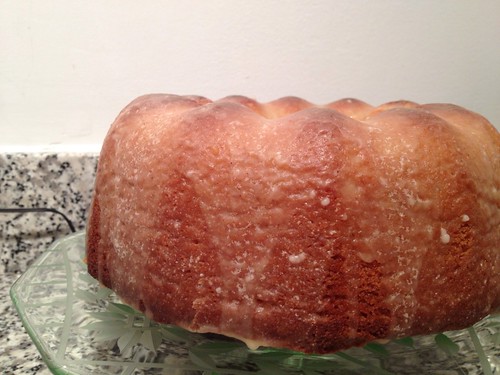
Apple Cider Pound Cake with Apple Cider Glaze

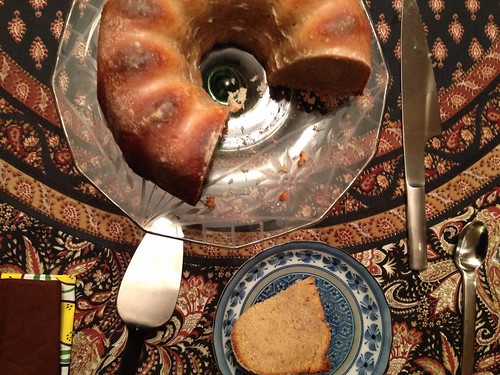
apple cider cake

Last week I had a very special treat. My former coworker was visiting Chicago and invited me and the Monkey Scientist to have dinner at her sister's house.  I used to eat lunch with her every day, but now I hadn't seen her in months!  It was great to be able to spend time with her and catch up.  I can't believe how many people I used to work with have had babies since I left.  I miss the flurry of baby pictures I used to get in my email.

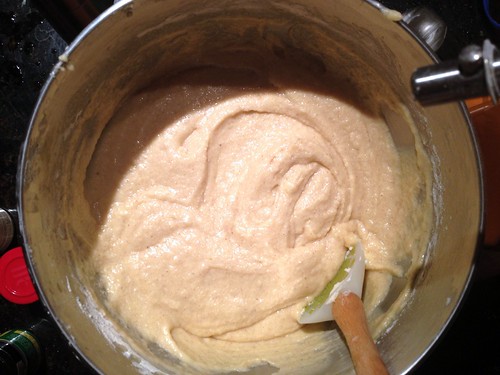
apple cider cake batter

As I've mentioned before, my coworker isn't a big chocolate person.  I dug through my recently starred recipes in Google Reader and it seemed like everything was chocolate!  Finally, I came across this cake and I knew it was perfect.  I love cakes that are sweet and this cider glaze was perfect. I knew she'd love it.

Untitled

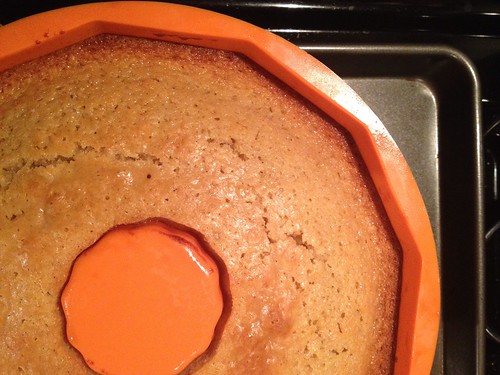
Besides that, the Monkey Scientist gave me a bundt pan last Christmas and I still hadn't used it until now!  His mom makes a few really amazing bundt cakes, so I never wanted to compete with her.  Fortunately, this cake was far enough from her chocolate chip cake that I wasn't too worried. However, after the first 70 minutes I could tell the cake wasn't going to keep its shape and was going to become a pool of dough.  I threw it back in the oven for another 20-30 minutes, though, and it really did the trick.  So even if your cake is starting to turn brown around the edges, don't fret! Let it cook all the way through! (Especially if you have a silicon bundt pan).

Untitled

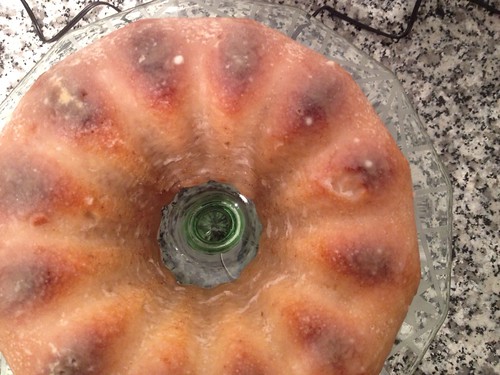
To no big surprise, this cake came out really delicious. It's sweet without being too sweet, and has a nice subtle apple cider flavor.  I love the warmth of the cinnamon throughout.  I didn't reduce the cider quite enough so the glaze looks pretty white compared to what it should have looked like.  It didn't matter though - I liked the white color and it tasted great.

Untitled

Apple Cider Pound Cake with Apple Cider Glaze
very slightly adapted from Buns in My Oven

Ingredients
For the cake:
3 cups sugar
1 1/2 cups butter, softened
6 eggs
3 cups flour
1/2 teaspoon salt
1/2 teaspoon baking powder
1 teaspoon ground cinnamon
1/2 teaspoon ground nutmeg
1/8 teaspoon ground cloves
1 cup apple cider
1 teaspoon vanilla
For the glaze:
1 cup apple cider
1/2 - 1 cup powdered sugar
2 tablespoons butter, melted and cooled
dash of salt
1/4 tsp cinnamon

Instructions
1. Preheat the oven to 325 and grease a bundt pan.
2. In the bowl of a standing mixer, cream the butter and sugar.  With the mixer on low speed, add the eggs one at a time until incorporated.
3. In a large bowl, whisk to combine the dry ingredients.  In a measuring cup, combine 1 cup of apple cider with 1 teaspoon vanilla.
4. With the mixer on low speed, add the dry mixture and cider a bit at a time, alternating between which you are adding.  When everything in incorporated, spoon the batter into your bundt pan.  Bake for 70 minutes or until a toothpick comes out clean (I used a silicon bundt pan and it took closer to 90 minutes).
5. Remove from the oven and let the cake sit for at least 20 minutes in the bundt pan.  Remove from bundt pan and allow to cool completely.
6. Add the remaining 1 cup cider to a small saucepan and bring to a boil.  Allow to boil for at least 10 minutes or until the liquid reduces by half (I don't think mine reduced enough, so it wasn't dark in color).
7. Add the butter, salt, cinnamon, and powdered sugar.  If it isn't thick enough, continue to add powdered sugar until it reaches desired consistency.
8. Allow to cool slightly, and then pour over cake.  I recommend doing this over a jelly roll pan so you can collect the drippings and pour it over again if you like (I did this 3 times).  Serve at room temperature.

Wednesday, December 5, 2012

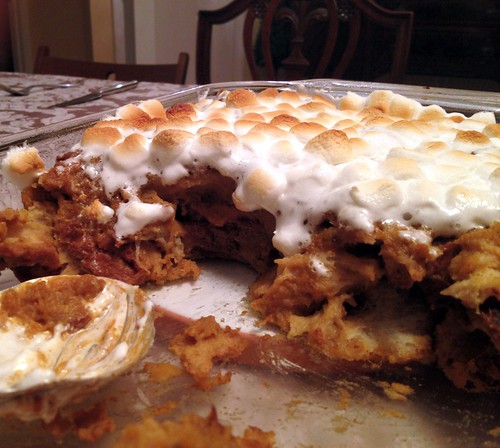
Sweet Potato Bread Pudding

sweet potato bread pudding

I don't think I've ever eaten as much food over a 4 day period as I did this Thanksgiving.  We had huge dinners with both sides of my family, sandwiching a couple of delicious restaurant meals.  I feel ready for hibernation - I do not need to eat another thing for the next month!

Untitled

One dish I just had to make was this sweet potato bread pudding.  We never grew up having sweet potato casserole, but I love it.  I mean, what's not to love?  Sweet potatoes. Marshmallows.  YUM.  I'd take that over tzimmes any day!

Untitled

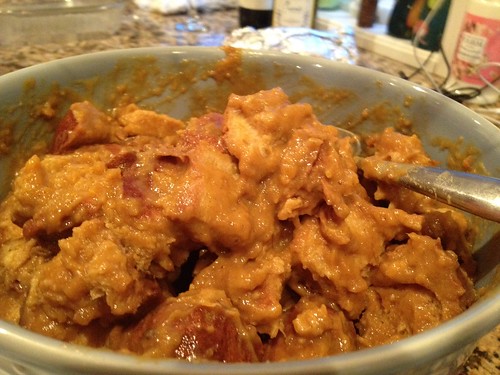
My cousin, who is 8, is a fairly picky eater.  He's usually willing to try new things, but I've seen him not like a lot more things than he likes.  When he tried this bread pudding, he actually sought me out to tell me how much he liked it.  That was a major compliment coming from him!  His sister loved it as well, but I'm not sure she didn't just pick the marshmallows off the top.

Untitled

This recipe is dessert, but it really isn't that bad for you.  I think you can totally justify it as a starch, rather than a sweet.  We used unsweetened almond milk in our version because my grandfather is allergic to dairy, and I think it made it better! It added a new dimension of flavor to the dish in addition to making it lactose-intolerant friendly.

Untitled

The challah we used is from one of my favorite places in the world - Rein's Deli - that we picked up on our way back to New Hampshire from Connecticut.  Normally, I would probably make my own bread, but I know I can trust bread from Rein's.  We served it alongside my Lobster Mac and Cheese.  It was quite the indulgent evening.  We also had my grandmother's famous pastrami that my brother craves all year.  It was a pretty fantastic meal all-around.  I may have been full - but I think it was well worth it!

sweet potato bread pudding

Sweet Potato Bread Pudding
adapted from Baking Bites

Ingredients
2-3 medium-sized sweet potatoes
2 2/3 cups unsweetened almond milk (cow's milk is ok)
4 large eggs, lightly whisked
1 cup brown sugar
1 tsp vanilla extract
1 tsp ground cinnamon
1/4 tsp ground nutmeg
1/4 tsp salt
9-10 cups cubed challah
4 cups mini marshmallows

Instructions
1. Wrap the sweet potatoes in foil and roast in a 400 degree oven for about 40 minutes or until soft enough to pierce with a fork.  Remove the potatoes from the oven and lower the temperature to 350.
2. Remove the skins and puree in a large bowl with an immersion blender (or in a food processor).  Whisk in the almond milk, eggs, brown sugar, vanilla, cinnamon, nutmeg, and salt.
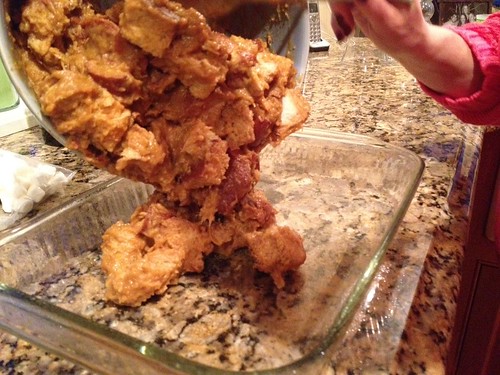
3.  Add the bread to a separate large bowl and pour the potato mixture over it.  You could add the bread into the original bowl, but it's really difficult to stir and your bread will get all broken up.  Fold to coat all of the bread and let it sit for 20 minutes so the bread can soak up the liquid.
4. Grease a 9x13 baking dish, then transfer the bread into it.  Bake in the 350 degree oven for 40 minutes, or until the pudding is set and springs back when lightly pressed.
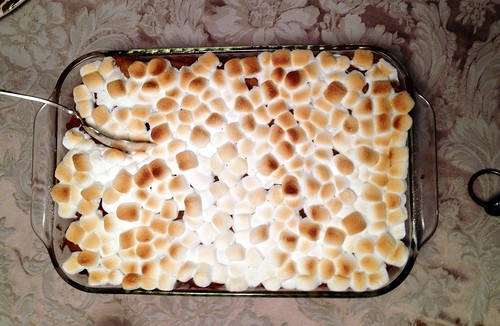
5. Take the dish out of the oven and carefully sprinkle the top with mini marshmallows. Place under the broiler for 1-2 minutes (WATCH CAREFULLY, marshmallows burn easily!) until the marshmallows puff up and turn brown.
6. Let cool for 15 minutes, then serve.

Wednesday, June 6, 2012

Roasted Strawberry Buttermilk Cake

Strawberry buttermilk cake

I don't know about you, but I'm starting to really feel summer.  We've already been to the beach, the pool, and even for a small hike.  I love being able to get outside, but more importantly, I love summer foods.  Nectarines, peaches, and berries have been arriving and looking gorgeous at our grocery store and I couldn't be happier.  When I saw this recipe, it just screamed summer to me with fresh strawberries and buttermilk.

Strawberry buttermilk cake

We brought this cake to a party the Monkey Scientist's office has every year for the team members ending their 2-year Fellowship (like him).  I was really excited to meet everyone who he works with.  I've heard many of their names for a long time, it was nice to be able to associate each one with a face.  The dinner was absolutely lovely.  There was tons of food and everyone was really nice.  His PI made us all feel at home in his house, which always makes for a particularly enjoyable party.

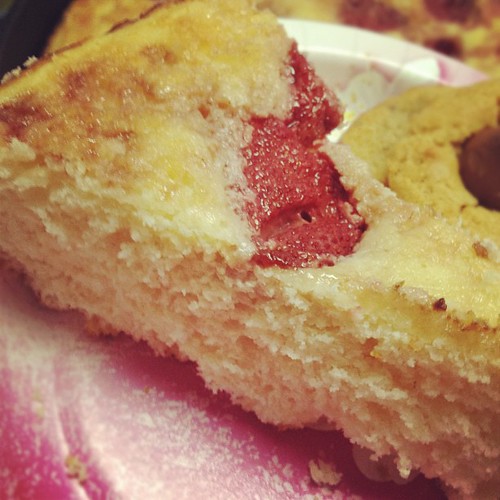
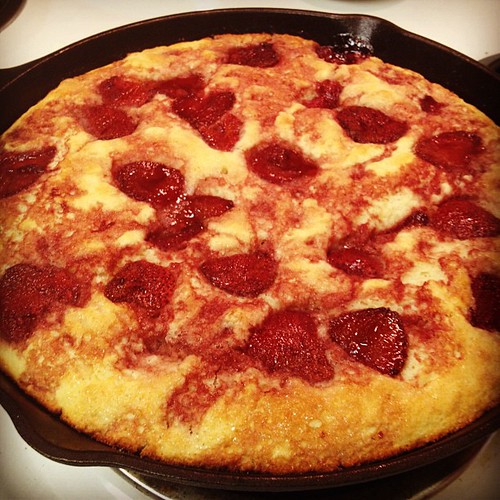
Oh yeah, and the cake!  Everyone seemed to enjoy the cake!  I had to make it the day before and keep it in the fridge, so honestly it was a bit dried out.  But the flavors were great - I think that the almond extract was KEY!  The strawberries were delightful, but you could really use any type of berry or fruit (peach slices would be great!) on top.  It was so easy to throw together - I recommend it for any summer event!

Strawberry buttermilk cake

Roasted Strawberry Buttermilk Cake
from joy the baker

Ingredients
Roasted Strawberries:
8-oz (1/2 lb) medium strawberries, hulled
2 tbsp maple syrup
1 tbsp olive oil
pinch of salt
2 tsp balsamic vinegar
Buttermilk Cake:
2 1/2 c all-purpose flour
1 tbsp baking powder
1/2 c granulated sugar
1/2 tsp salt
2 large eggs
1 1/2 c buttermilk
1/4 c unsalted butter, melted and slightly cooled
1/4 tsp pure almond extract
1/4 tsp vanilla extract
roasted strawberries
3 tbsp turbinado sugar for topping

Instructions
To make the strawberries:
1. Place a rack in the center of the oven and preheat oven to 375 degrees F.
2. Line a rimmed baking sheet with parchment paper. The strawberries get juicy, so a rimmed baking sheet is important. Set aside.
3. Cut each strawberry in half and place in a mixing bowl. In a small bowl, whisk together maple syrup, olive oil, and salt (notice I didn't say balsamic vinegar...made that mistake). Whisk together until completely incorporated. Drizzle the mixture over the strawberries and toss until each strawberry is coated. Arrange strawberries in a single layer across prepared baking sheet.
4. Roast strawberries for 40 minutes. The juices will thicken, but remove the strawberries from the oven before the juices begin to burn. Remove the berries and juice from the pan while still warm. Place in a small bowl, stir in balsamic vinegar, and set aside.
To make the cake:
1. Place a rack in the center of the oven and heat oven to 400 degrees F. Butter an 11-inch cast iron skillet. You can also use an 11-inch round tart or quiche pan, or a 9×13-inch pan… although the cake will be more thin and you’ll need to keep a close eye on it in the oven.
2. In a medium bowl, whisk together flour, baking powder, salt and sugar. Set aside.
3. In a small bowl, whisk together buttermilk, eggs, and butter. Whisk in the vanilla or almond extract.
4. Add the buttermilk mixture all at once to the dry ingredients. Stir until just combined and no lumps remain. Spoon batter into the prepared pan. Top batter with half of the roasted strawberries and juice. Sprinkle generously with turbinado sugar.
5. Bake for 20-25 minutes, or until a skewer inserted in the center of the cake comes out clean. Allow cake to cool to room temperature before slicing to serve. Serve with the remaining roasted strawberries.

Cake will last, well wrapped in the refrigerator, for up to 3 days.

Friday, May 25, 2012

S'mores Cookies


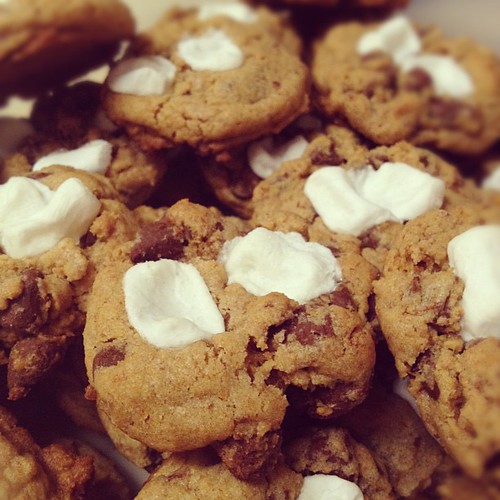
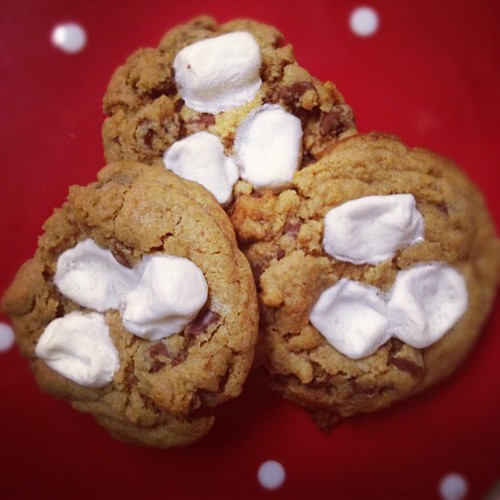
S'mores cookies

Today is the birthday (and a special one at that) of one of my favorite people in the whole world - my mom.  I think a lot of people probably say this, but I am completely convinced I have the best mom in the whole world.  A lot of moms have trouble finding the balance between being a friend to your child, letting them make their own decisions, and teaching them to make good choices, even if that means acting strict at times.  My mom (and my dad for that matter) were able to find this balance really well, and I think it helped me to become the person I am today.  I am lucky to always be able to call my mom for advice and trust her to guide me when I have trouble making decisions on my own (even if it's just silly things like picking a moving company). She really is the best!!

In honor of my mom, I wanted to share this recipe for cookies in her favorite variety - s'mores.  Anyone who has ever been near a campfire (or even just a charcoal barbecue) knows my mom loves s'mores.  Mom isn't even a big dessert eater, but there are a few trips to Sebago Lake where I remember her eating quite a few s'mores.  The Monkey Scientist and I are headed to the beach this weekend, so I wanted to bring some s'mores for a beach snack.  This recipe was the perfect way to think of my mom all day at the beach!  Happy birthday, Mom!

This batter, by the way, is ridiculously tasty.  I definitely spoiled my dinner by tasting the dough.  You know, to make sure it wasn't poisoned.  Plus, look how cute the cookies came out!

S'mores cookies
S'mores Cookies
slightly adapted from Tracey's Culinary Adventures

Ingredients
1 cup graham cracker crumbs
1 1/4 cups all-purpose flour
1/2 teaspoon baking soda
1/2 teaspoon salt
6 oz (1 1/2 sticks) unsalted butter, at room temperature
1/2 cup granulated sugar
1/2 cup packed brown sugar (I used dark but the original called for light)
1 large egg, at room temperature
1 teaspoon vanilla extract
2 cups milk chocolate chips
1 cup mini marshmallows (approximately, I didn't exactly measure how many I used)

Instructions
1. Preheat oven to 350. Line two baking sheets with parchment paper or a silpat.
2. In a medium bowl, mix together the graham cracker crumbs, flour, baking soda, and salt.
3. In the bowl of a stand mixer fitted with the paddle attachment (a beater blade is great here), cream the butter and both sugars on medium speed until light and fluffy, about 2 minutes. Beat in the egg and vanilla. With the mixer on low, add the flour mixture and beat just until combined. Stir in the chocolate chips.
4. Drop heaping tablespoons of the dough onto the prepared baking sheets, spacing them about 2 inches apart. Bake for 8-9 minutes (I did 1 tray at a time), then remove from the oven and quickly, but gently push a few marshmallows into the top of each cookie. Return the cookies to the oven and bake for an additional 2-3 minutes, or until the edges are set.
5. Cool the cookies on the baking sheets for about 5 minutes, then transfer them to a wire rack to cool completely.

Cadbury egg cookies http://yellebellyboo.blogspot.com/2011/05/cadbury-mini-eggs-cookies.html

PS - don't worry, I brought some cookie variety to the beach.  I also used my last bag of Cadbury Mini Eggs stored over from Easter to make Cadbury Mini Egg Cookies.  YUM!

Monday, March 19, 2012

Vanilla Sugar

Vanilla Sugar

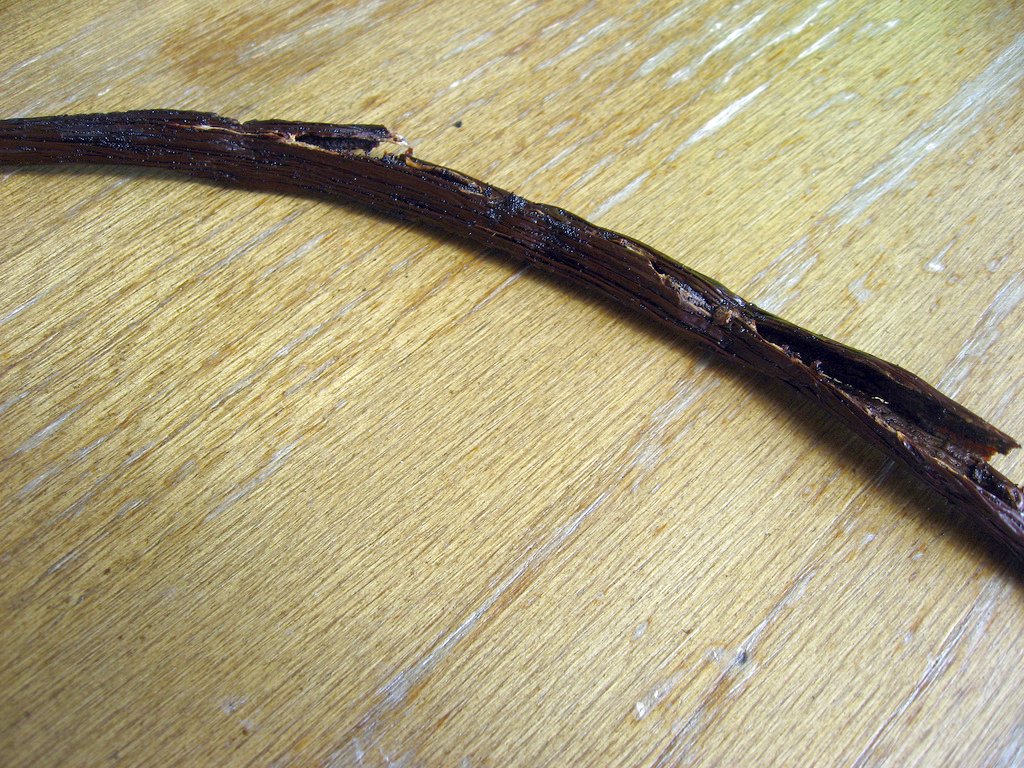
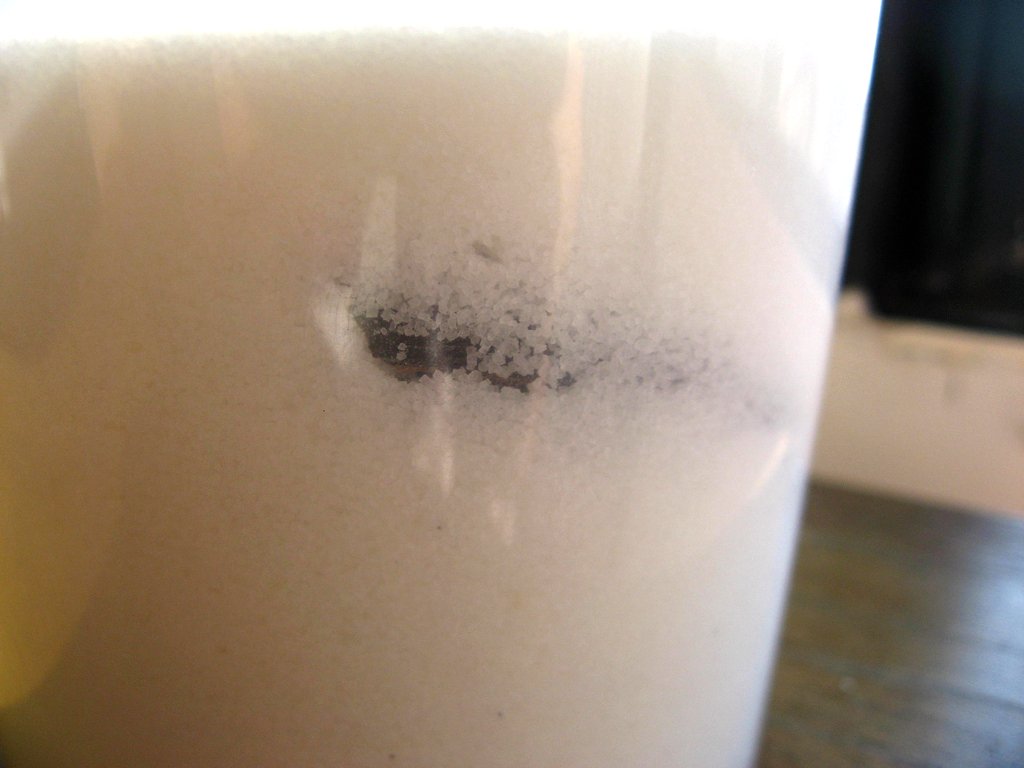
This is one of the simplest and best kitchen tricks.  If you ever use vanilla beans (like when you make Vanilla Bean Scones), don't get rid of the bean after you scrape it clean of it's inside goodness.  Shove it down in a couple of cups of sugar and let it chill, spreading its love.  Then use the sugar as you would normally (preferably for baking) and you'll have a lovely hint of vanilla throughout!

Vanilla Bean. Scraped.

I am loving vanilla sugar.  I can't wait to find new things to bake with it.  But even if you don't bake, this would give a lovely hint to coffee or homemade hot cocoa!  The possibilities are endless.

Do you have ways you love to use vanilla sugar?  Please share!!

Vanilla Sugar


Vanilla Sugar


Ingredients
1 vanilla bean shell, scraped clean (use the insides for Vanilla Bean Scones!)
2 cups granulated sugar

Instructions
1. Push your vanilla bean down into the middle of the sugar.  Store in an airtight container for at least 2 weeks.  Use for anything you'd normally make with regular sugar!

Friday, March 16, 2012

Vanilla Bean Scones

Vanilla Bean Scones

I had been promising the Monkey Scientist for a few weeks that I'd make a nice breakfast one weekend morning, but I kept rushing out early to go to weekend Stroga class and hadn't followed through.  Finally, I came through with a special treat - scones.  This was my first scone adventure, so I'm not sure how "typical" this recipe is, but it certainly was a learning experience.

Vanilla Bean SconesVanilla Bean Scones

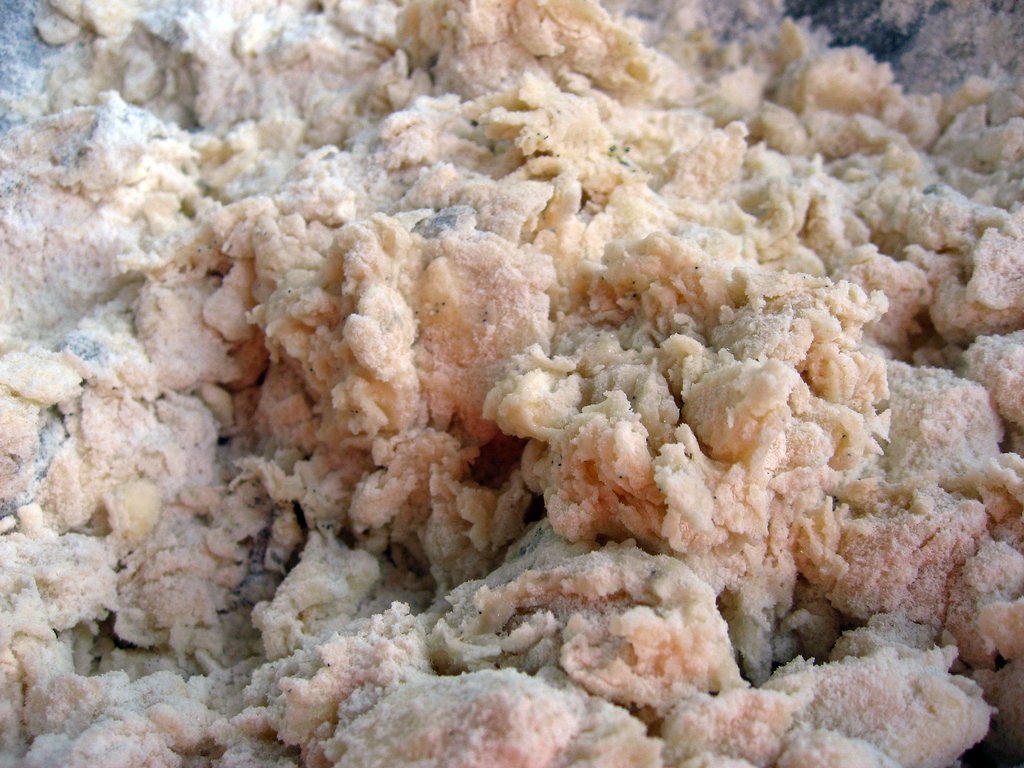
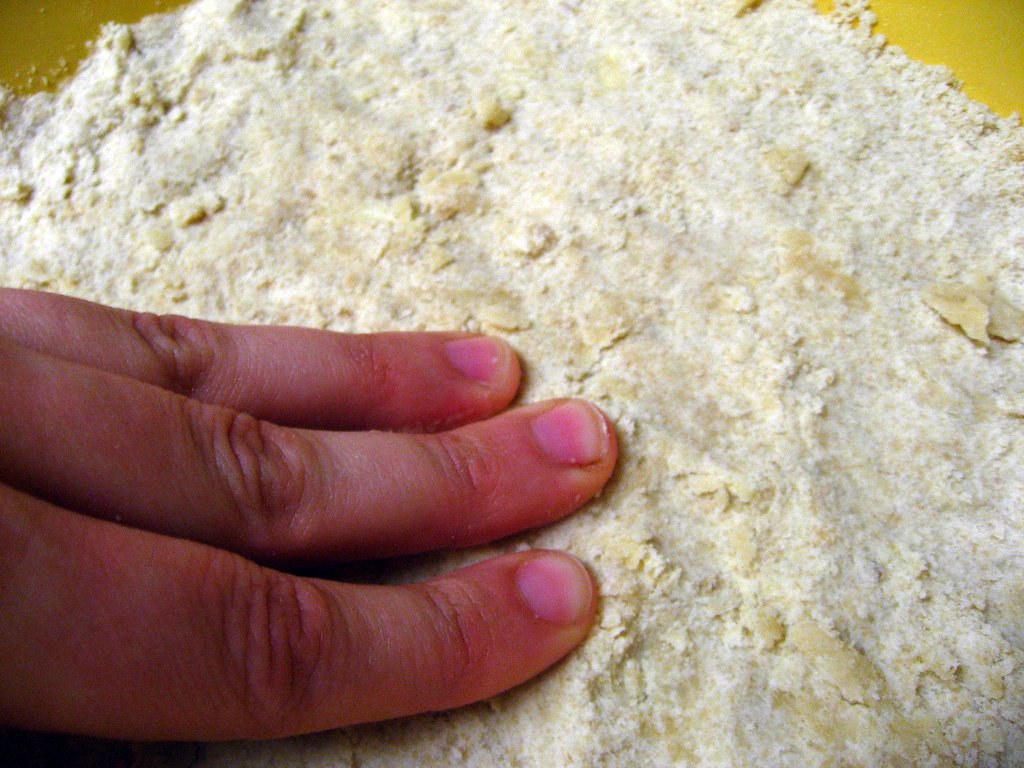
First of all, grating butter?  I grate all my own cheese, but this was a new one for me.  It makes sense though!  Trying to cut butter into flour is a pain, but mixing in little flakes of butter is easy!  Totally weird, not changing my mind on that, but I think it works really well!

Vanilla Bean SconesVanilla Bean Scones

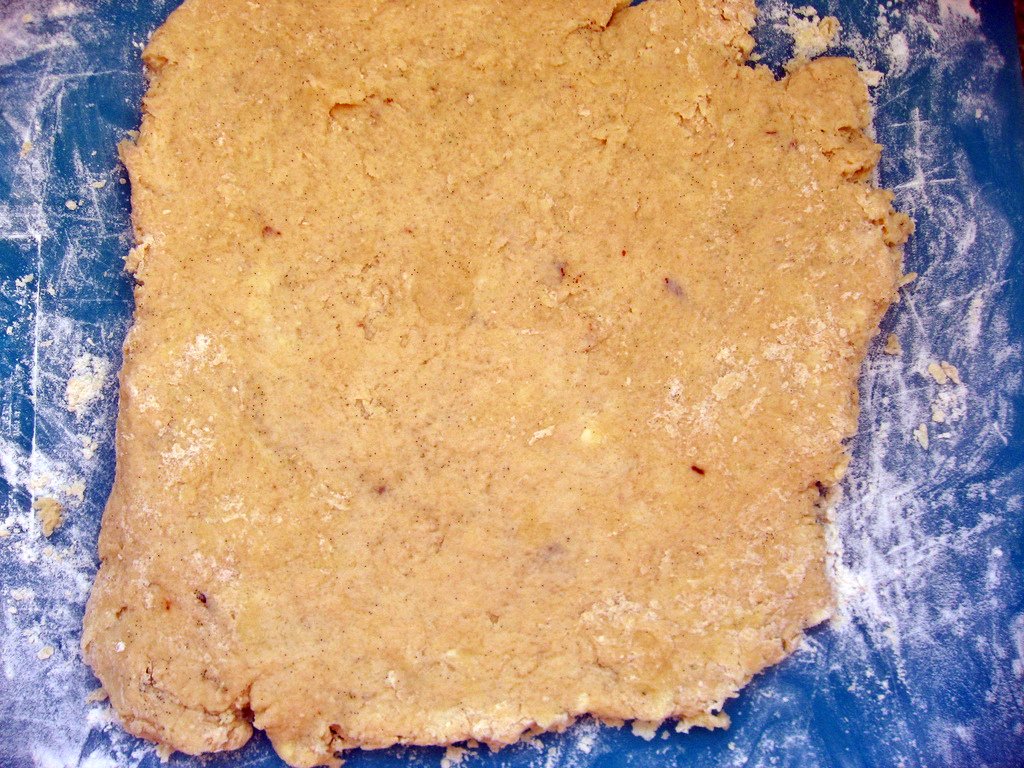
On the other hand, this recipe doesn't cut the pain of layering the dough.  Do all scone recipes have layered dough?  I felt like I was making croissants.  But then when they baked up, I didn't notice the layers at all.  Was all this rolling and folding worth it?  What was I really doing?  I need a baker pro to explain to me a little bit better!

Vanilla Bean SconesVanilla Bean Scones


Can I just throw out there that'd I'd love a nice wood pastry board.  Like this one.  It's on my wish list and sometime I'll take the plunge and buy it myself.  My counter is just never clean enough to work directly on, and my cutting boards aren't cutting it (no pun intended).  If you have a pastry board, this is a great recipe to use it for, since you roll out into all different sized square and rectangles.

Vanilla Bean Scones

We really enjoyed these scones.  They were a bit doughy (did I over mix?) and not quite as flakey as they could have been, but delicious nonetheless.  The vanilla flavor was strong throughout and I love the cinnamon sugar topping.  I saved the rest as a quick bite to grab on the way out the door in the morning and they stayed delicious all week.  As much as we've enjoyed waffles and scones, the next weekend breakfast may be an egg dish - I haven't made a quiche in a long time!

Oh! One note!  Save your pod from the vanilla bean after you scrape it.  I have something you can do with it! Stay tuned!

Vanilla Bean Scones

Vanilla Bean Scones
from Pink Parsley

Ingredients
8 Tablespoons cold butter, plus more for brushing
2 cups all-purpose flour
1/2 cup + 2 Tbs granulated sugar, plus more for sprinkling
2 teaspoons baking powder
1/4 teaspoon baking soda
3/4 teaspoon kosher salt
1 vanilla bean, split open and seeds scraped out (save the pod!)
1 Tbs vanilla extract
1/2 cup vanilla Greek yogurt
1/2 cup milk or buttermilk

Instructions
1. Grate the butter on the large holes of a box grater onto a plate lined with parchment paper, and freeze.
2. Preheat oven to 425, and combine the dry ingredients. Stir in frozen butter. Whisk together the vanilla bean, yogurt, vanilla extract, and whole milk, and stir into the dry ingredients with a wooden spoon until just combined. The dough will be crumbly, but that's okay.
3. Turn out onto a well-floured surface, and knead a few times until it forms a ball. Roll out into a 12x12 inch square. Using a bench scraper, fold the dough into thirds, then fold into thirds again in the opposite direction to form a square. Place on the parchment-lined plate, and freeze for 5 minutes.
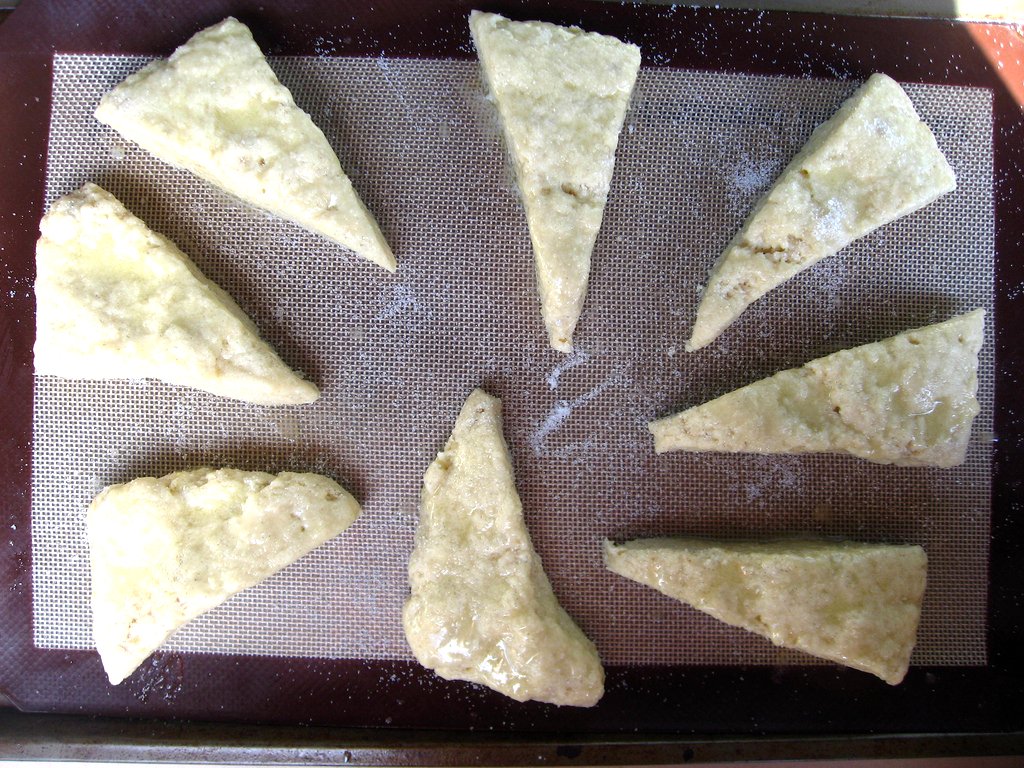
4. Roll out to a 12x12 inch square again. Carefully roll up, as you would cinnamon rolls. Press the roll into a 4-inch wide rectangle. Using the bench scraper, cut into 4 equal-sized rectangles. Then cut each rectangle diagonally to make 2 triangles.
5. Place on a baking sheet lined with parchment paper. At this point the scones can be baked or refrigerated overnight. Brush with melted butter, then sprinkle with sugar. Bake 18-25 minutes, or until golden-brown.

Monday, March 5, 2012

Maple Pecan Bars

Maple Pecan Bars

Last week, my long time friend from summer camp had an Oscar party for the Academy Awards.  It was a blast!  Everyone brought fun treats and we played Oscar Bingo while taking bets on who would win the awards.  It felt like a Super Bowl party!  I loved the competitive aspect of trying to guess all of the winners correctly - it made me want to pay attention even though the only movie nominated for anything that I saw this year was the Muppets. (It's seriously time to play movie-catch-up at my Redbox!)

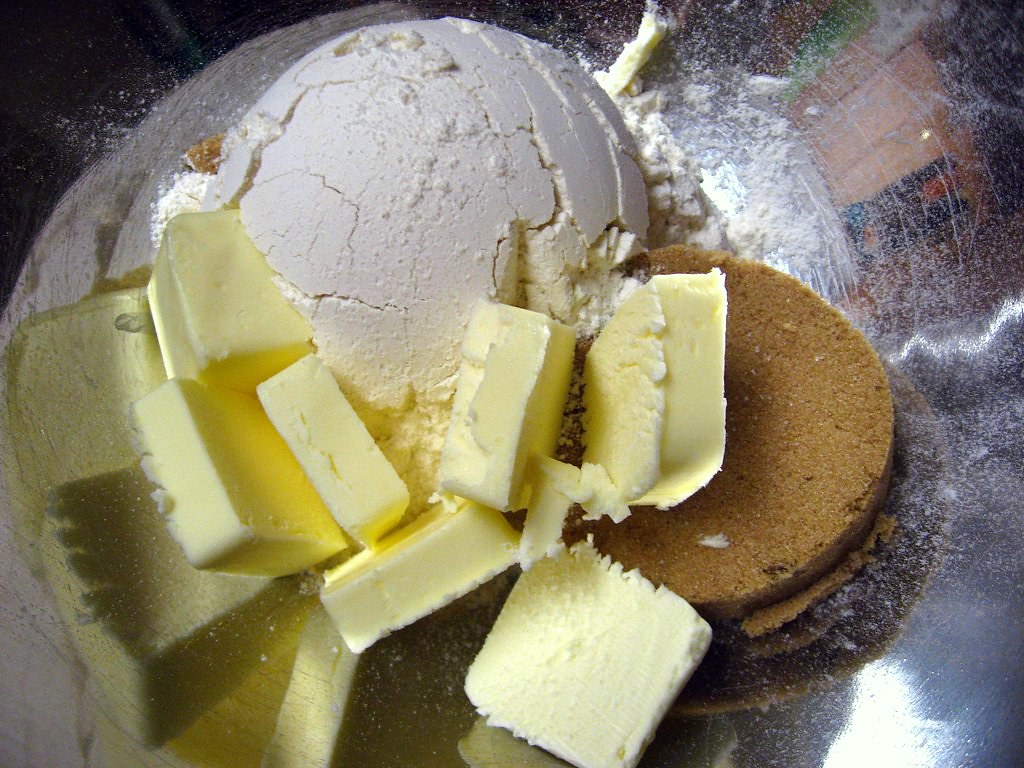
Maple Pecan Bars - shortbread ingredients

The snacks were probably the best part! There was everything from mac and cheese to charcuterie and crudites to desserts like chocolate peanut butter bars.  The best treat was cupcakes that one of my friends made - they looked gorgeous from the outside (topped with chocolate covered popcorn) but when you bit in they were filled with something that tasted like the goo in Boston Cream Pie.  So so delicious.

Maple Pecan Bars - pressing in the shortbread

My contribution was a bit less elaborate, although still absolutely scrumptious.  If you have to bring a dessert to a friend's house any time soon, I highly suggest making this recipe. It does take about an hour to make, but 40 minutes of that is baking time.  The assembly is easy as pecan pie bars.

Maple Pecan Bars - making the caramel

I was pretty excited that this recipe was similar to pecan pie but didn't call for corn syrup.  I don't think it's the worst thing in the world - it's not like I bake with high fructose corn syrup - but there are still a lot of sweeteners I'd choose to add first.  Maple syrup is probably number 1 on that list.  Maple syrup is in my abandoned on a deserted island pack.  I live for this stuff.
Maple Pecan Bars - adding the topping

The Oscar party was a ton of fun, and the show itself was pretty good this year!  Billy Crystal was funny as usual, and there were some great presenters.  My favorite part was the Cirque de Soleil performance.  It's amazing the stunts they can pull off - like standing with one foot on someone else's head (while eating popcorn). Unbelievable! I'm dying to see one of these shows in real life!

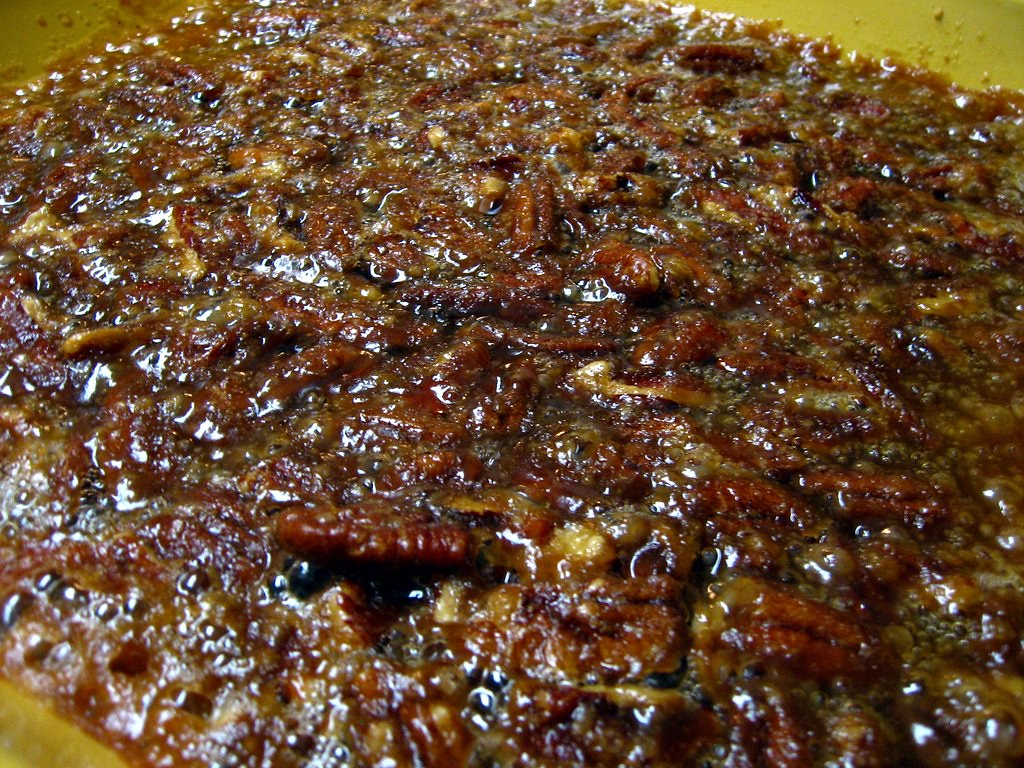
Maple Pecan Bars - fresh out of the oven

As with most ELR recipes I've reviewed, this one is simple and perfect.  The Monkey Scientist told me he would have eaten the whole pan if I'd made them at home.  You probably have most or even all of these ingredients already.  The sweetness of the maple syrup complements the crunch of the pecans perfectly.  They come out of the oven boiling with syrupy goodness, and then they cool they're gooey and melt in your mouth delicious.  The shortbread is buttery and holds the whole bar together nicely.  These are a great recipe for Thanksgiving, to bring over to a friend's house, or even just to make for a sweet treat after dinner. It's one of the favorite recipes I've made in a long while!

Maple Pecan Bars

Thursday, December 8, 2011

Graham Cracker Torte

graham cracker torte

One of my absolute favorite blogs is Eat, Live, Run.  I feel like I know Jenna from reading it all the time.  Jenna's photos are wonderful, her comments are witty, but more importantly her recipes are awesome.  I've reviewed many an ELR recipe here on yelleBELLYboo - kicked up meatloaf, ratatouille, turkey burgers with spinach and feta/goat cheese, blackberry and orange zest muffins, and whole wheat fig newtons to name a few - and for the most part I've enjoyed them all.  But since Jenna is a baker by trade, I needed to try more of her baked goods.

graham cracker torte
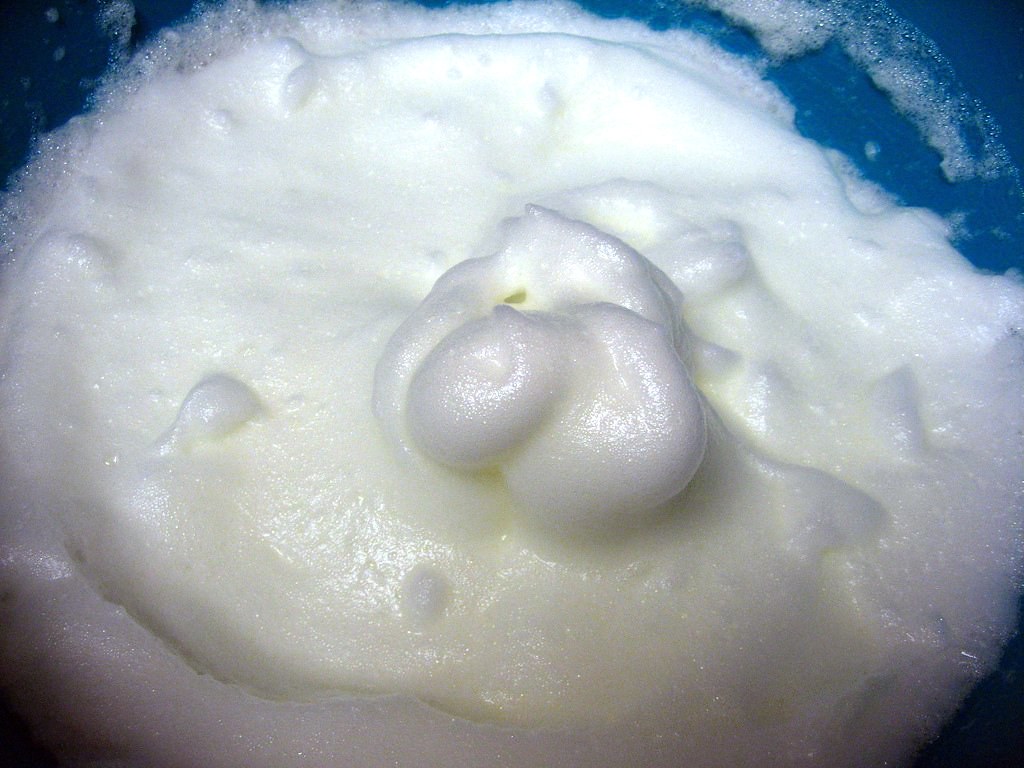
whipped egg whites

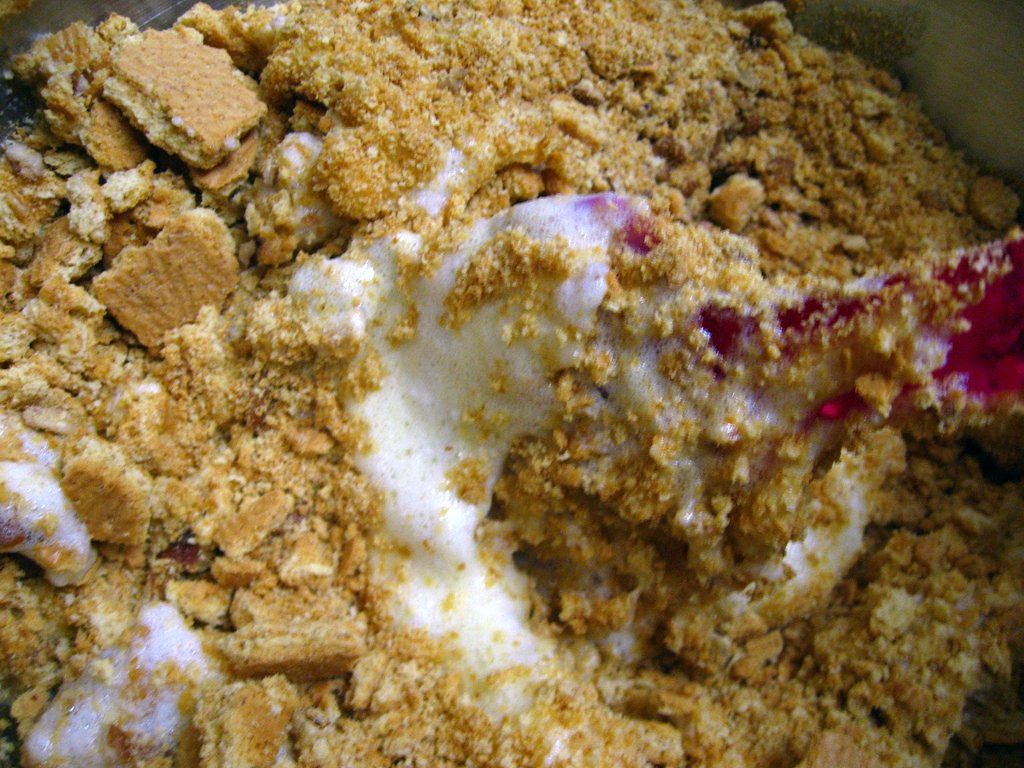
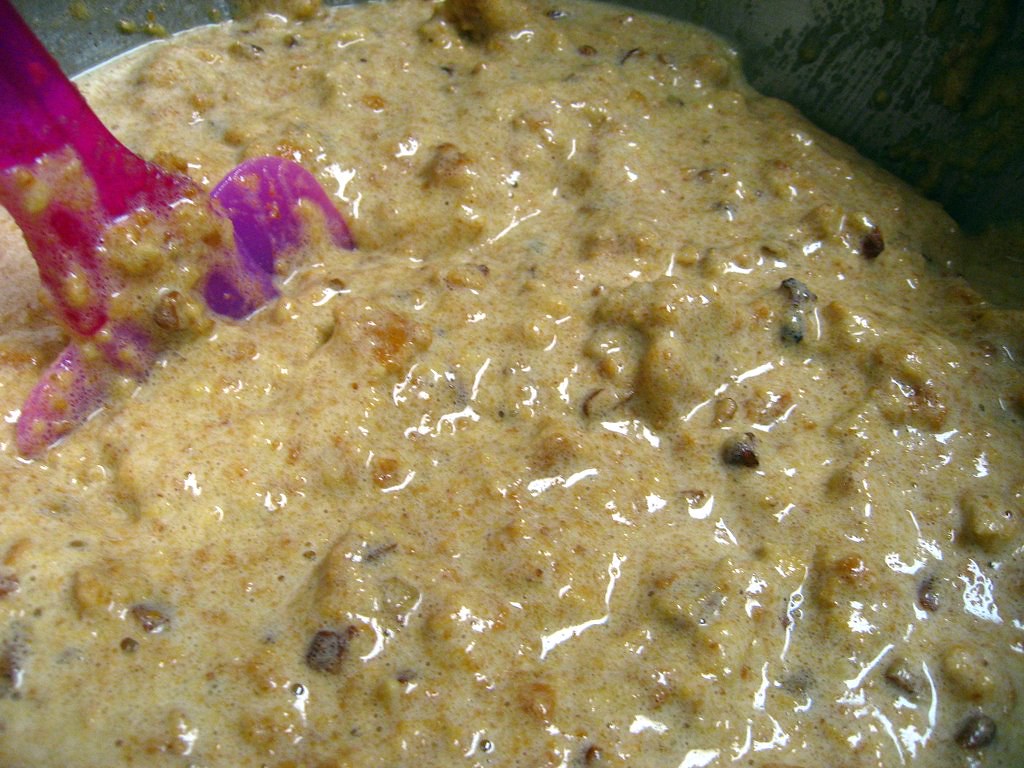
Recently, Jenna challenged herself to bake through her great-grandmother's recipe box.  I've enjoyed seeing all the interesting 1920s recipes she's trying, and was especially intrigued by this graham cracker torte, which her grandmother apparently had written up on multiple recipe cards.  I've never made a cake that actually doesn't have any flour - I had to give this one a shot.

graham cracker tortegraham cracker torte

Last year, I tried to make birthday cakes for everyone on my team at work.  It got to be a little too much work and I haven't done quite as well this year.  However, one of my coworkers has always been so nice - bringing me treats from the potato chip factory, getting an ice cream cake for another coworker's birthday, bringing me the coupons every week - so for her birthday another coworker and I decided to bake her this cake.  She's not a huge chocolate person (much like myself) so this cake seemed like something she would enjoy.

caramel for graham cracker torte

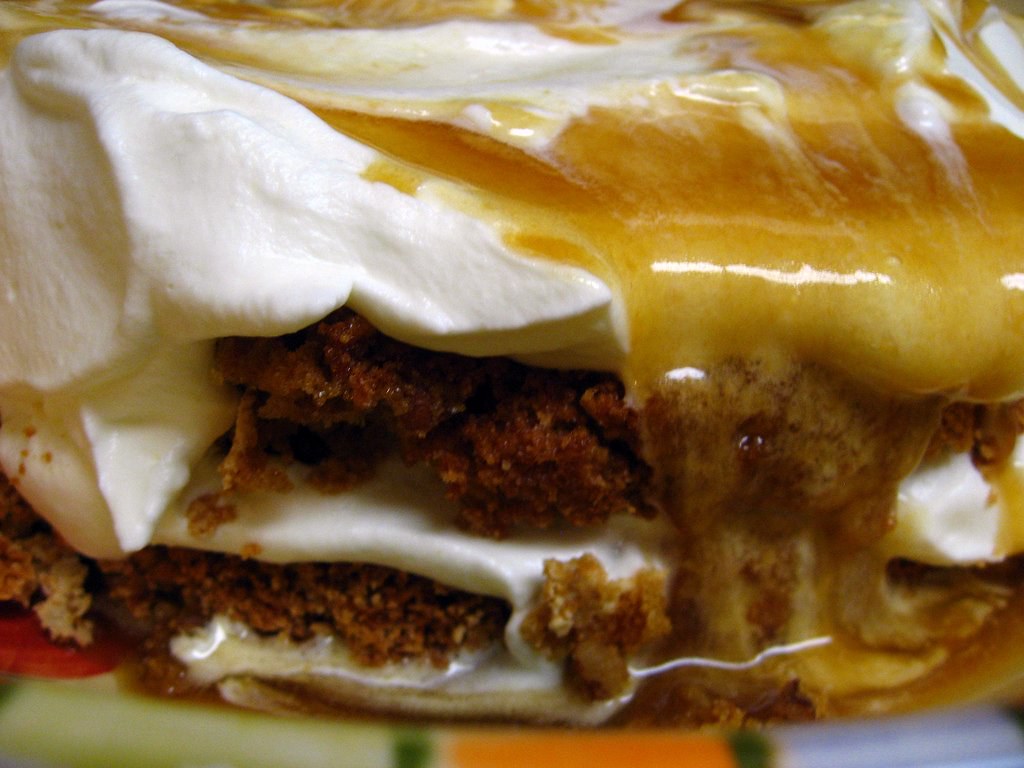
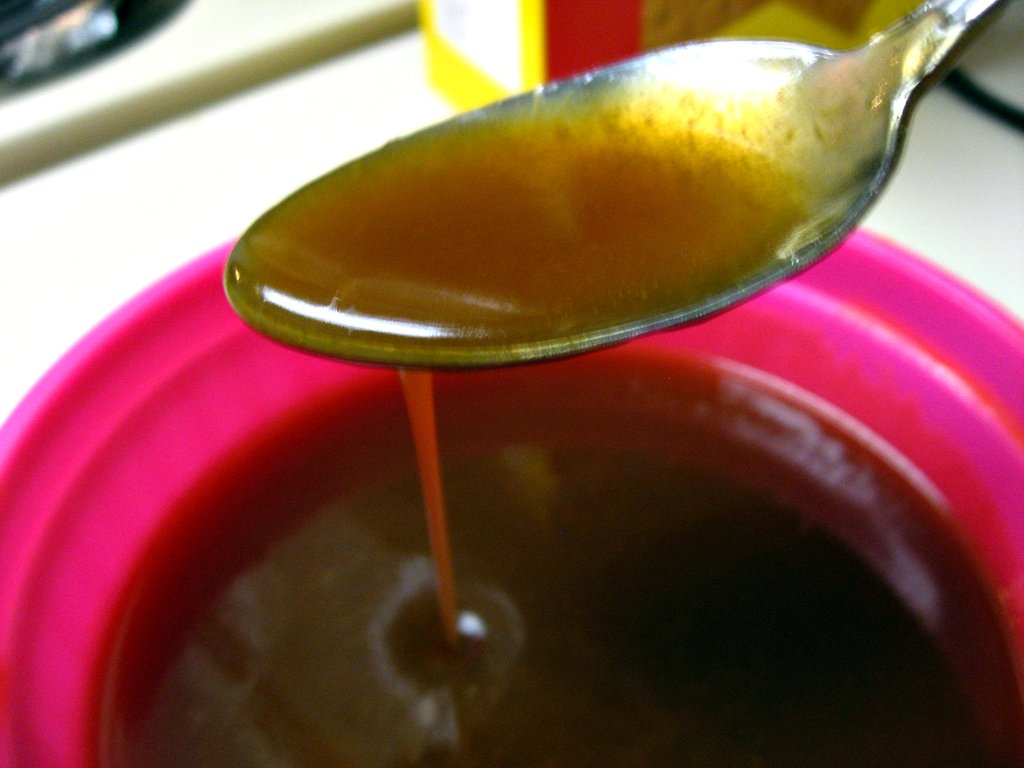
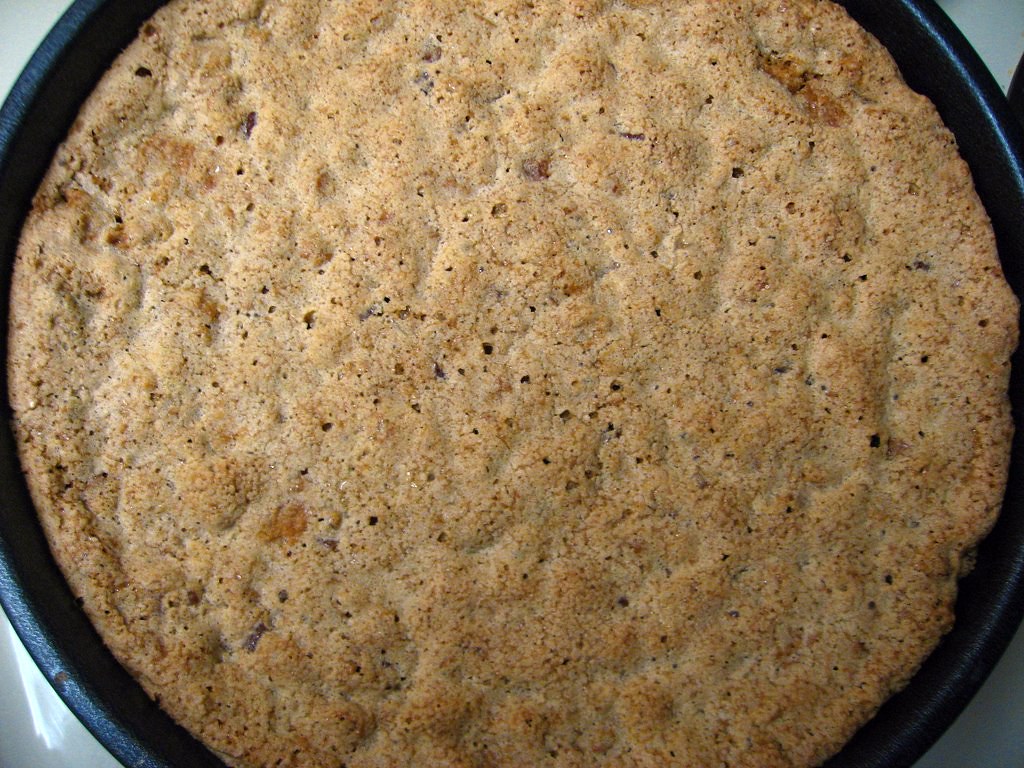
I have to admit, this cake isn't the easiest thing to make.  At one point, I had to use both my standing mixer and my hand mixer (maybe I should buy a 2nd bowl for my standing mixer?) and the steps seemed endless.  When I went to get the cakes out of the tins, it was an utter failure.  I wish I had lined the bottom with parchment.  In the end, once I added the whipped cream, you couldn't really tell what a mess I had made, but it wasn't exactly the gorgeous torte that Jenna assembled.  Plus I definitely cooked and curdled the eggs in the caramel and had to strain it, but I don't think it mattered too much in the end.

graham cracker torte

So even though this was absolutely not the prettiest cake I've ever made, the taste was outstanding.  The cake is somewhere between a sponge and a meringue, but nutty with a nice crunch.  The whipped cream made a perfect frosting to counteract the sweet caramel.  The birthday girl loved it and said she'd be making it again.  Our office finished it in record time - less than half an hour until the serving plate was licked clean.  Absolutely a hit!  I think I'm getting quite the reputation for making the best-tasting ugly cakes of all time - a reputation I'm just fine with!

graham cracker torte

Graham Cracker Torte
from Eat, Live, Run

Ingredients:
for torte:
6 eggs, separated
1 1/2 cups sugar
1 tsp baking powder
2 tsp vanilla
1 cup chopped nuts (I used pecans)
2 cups graham cracker crumbs (a little less than two sleeves of graham crackers)

for caramel sauce:
1/4 cup butter, melted
1/4 cup water
1/4 cup orange juice
1 well beaten egg
1 tbsp cornstarch
1 tbsp vanilla
1 cup brown sugar

for assembly:
1 pint heavy cream

Instructions:
1. Preheat oven to 325.
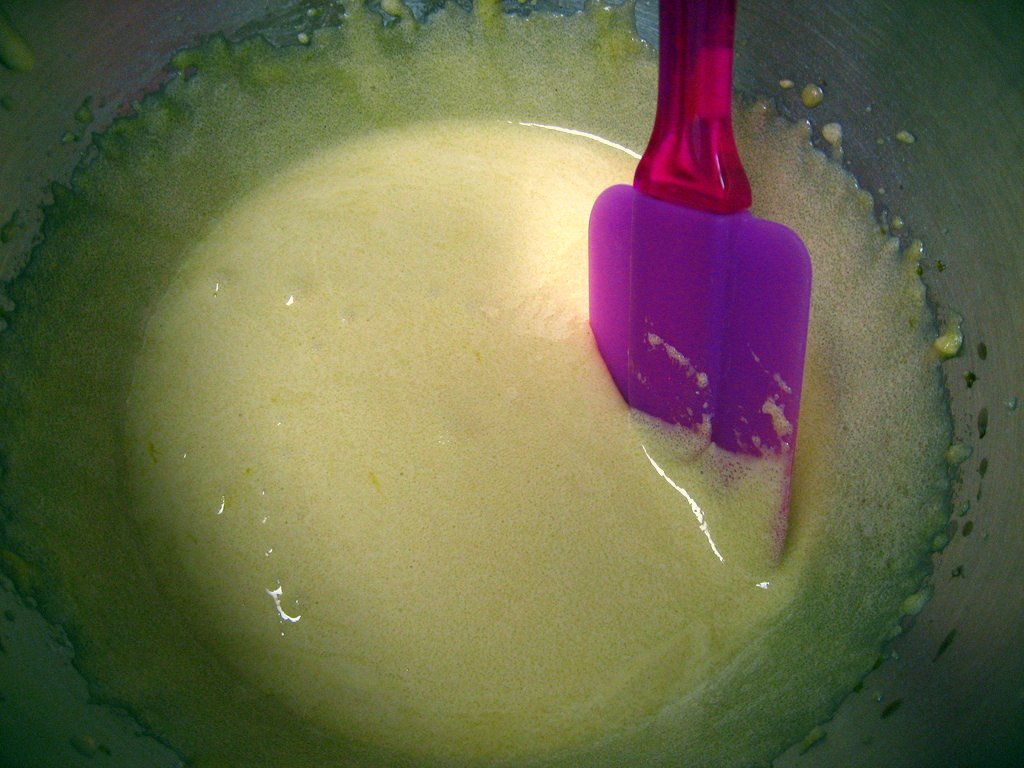
2. Beat egg yolks until light and frothy (I used the whisk attachment of my standing mixer). Add sugar, baking powder and vanilla and continue to beat until very thick and pale in color. Set aside.
3. Beat the egg whites until they hold soft peaks. Gently fold egg whites into egg yolks and then fold in the nuts and graham cracker crumbs.
4. Divide batter into two WELL GREASED 9-inch cake pans (I recommend putting a piece of parchment on the bottom of the pans as well) and bake for 35 minutes. Let cool before turning cakes out of pans onto plates or a counter top.
5. To make the caramel sauce, combine all ingredients in a saucepot and bring to a boil whisking the whole time. Don’t stop whisking or the egg will cook and curdle, which isn’t the end of the world (just strain the caramel through a mesh strainer after it cools) but it can be prevented by whisking constantly until the sauce is very thick and boiling. Remove sauce from heat and let cool completely.
6. To assemble the torte, whip the cream until it holds soft peaks. Spread whipped cream between graham cracker layers and over the top of the torte. Pour on the cooled caramel sauce and it let drip down the sides.
Keep the torte in the refrigerator overnight before serving.