Showing posts with label milk. Show all posts

Monday, August 26, 2013

Egg-free French Toast

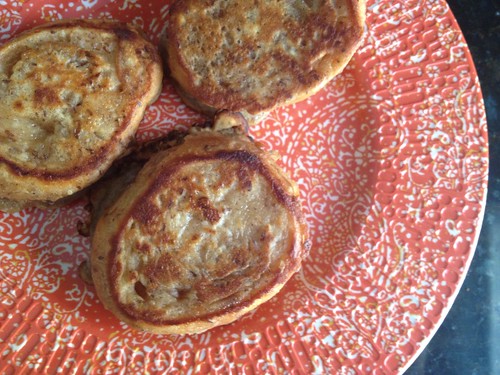
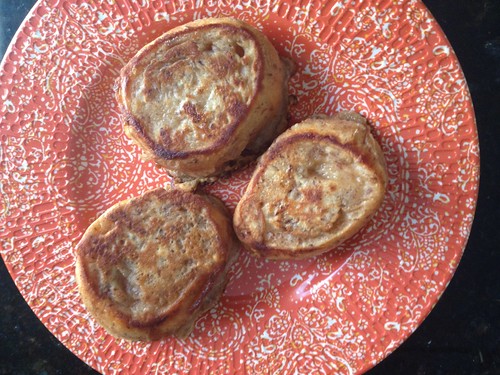
Eggless French toast

On Sunday morning I was craving French Toast.  Of course, the roommate is the only one who ever buys eggs in our house and, since he'd been gone for a week, we had none.  I told myself I wasn't going out until I had done a deep-clean of the house, so there was no going to the store or our usual brunch spot.  It was time to get creative.

I figured if anyone knew how to make French Toast sans eggs it would be a vegan, so I did a quick search and found a vegan French Toast recipe.  We all know I am not a vegan chef so I of course un-veganized it - adding back in milk and butter.  It's a great way to make French Toast if you're allergic to eggs or, like me, a lazy grocery shopper.  It's crispy on the outside and soft on the inside.  It would be awesome topped with fresh fruit or berries.  Basically, it's just batter-fried bread, and who can complain about that?  Certainly not me!

Eggless French toast

Egg-free French Toast
adapted from chef chloe

Ingredients
1/4 c skim milk
1/4 c flour
1 tbsp maple syrup (plus more for serving)
1 tbsp ground flax seed
1/4 tsp salt
1/2 tsp cinnamon
1 tbsp brown sugar
1/2 tsp vanilla
6 slices, 3/4" thick, french bread
1 tbsp butter

Instructions
1. Whisk together the milk and flour with a fork in a small bowl until smooth.
2. Add the maple syrup, ground flax seed, salt, cinnamon, brown sugar and vanilla and whisk to combine.
3. Dip the bread in the batter until both sides are well coated.
4. Melt the butter in a skillet over medium heat.  Once melted, add the bread, making sure not to crowd the pan.  If you need to do it in two batches, that's better than squishing the bread.
5. Allow the bread to brown on one side, then flip and allow to brown on the other side.  I like to press the bread while the second side is browning.
6. Serve with additional maple syrup, warmed.

serves 2

Tuesday, March 19, 2013

Smokey Roasted Chicken Tacos with Spicy Goat Cheese Crema

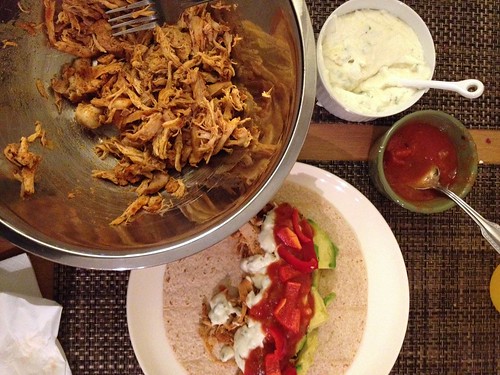
Chicken and goat cheese creama tacos

As you probably guessed, I've been having a lot of internal debate lately.  There are a lot of days where I just say, that's it. I want to quit the blog.  But then, like the hot girl at the gym, a recipe comes along that I have to share with you that changes my mind.  So I'm back here again.  So don't despair.

Chicken and goat cheese creama tacos

So what have you missed?  We had a delicious Valentine's Day dinner at what just might be our favorite restaurant in Chicago.  I am so excited for my a la Chicago cards to come in the mail so we can go back again ASAP.  The Monkey Scientist had a milestone birthday, which called for two cakes - a graham cracker torte from me and a carrot cake (his favorite) from his mom.  We had a romantic French dinner for our anniversary at a Chicago institution.  And now, of course, Cadbury Mini Eggs have returned to my daily food pyramid.  They almost make up for the fact that Spring has definitely not sprung yet in Chicago.

Chicken and goat cheese creama tacos

For my loyal DC following, I did make a quick trip back to my former home last month.  It was great to be back, even just for a couple of days.  I got in an amazing workout with my old trainer who I miss every time I work out in Chicago.  No one can kick my butt into shape quite like he can.  I also had a really great dinner at Maple with some friends I love and miss every day.  That little corner of Columbia Heights has really transformed since I moved with new restaurants and bars! I'm loving what's going on there food-wise.

Chicken and goat cheese creama tacos

Oh, you just wanted to hear about the tacos?  The tacos are incredible.  This is not your every-Tuesday taco.  It's definitely up a level.  The goat cheese crema has a kick from the jalapenos that I really enjoyed.  And the chicken is smokey, spicy and exactly what I needed.  Way better than my standard ground chicken/turkey (even though I do love my homemade taco seasoning blend).  It takes a little more work, but it's still a pretty easy weeknight dinner if you give yourself the time to roast the chicken.  We will definitely be having this one again soon.  Or at least making some more crema, because I could eat that stuff with a spoon. (OK, I did eat some of it with a spoon.)

Chicken and goat cheese creama tacos

Smokey Roasted Chicken Tacos with Spicy Goat Cheese Crema
slightly adapted from How Sweet Eats

Ingredients
1.5-2 pounds boneless, skinless chicken thighs
1 sweet onion, sliced
1 tsp smoked paprika
1/2 tsp Kosher salt
1/2 tsp pepper
1/2 tsp cumin
1/2 tsp chili powder
1/4 tsp garlic powder
1/4 tsp cayenne pepper
2 tablespoons olive oil
2 limes, sliced into wedges
spicy goat cheese crema
1 tablespoon coconut oil (or unsalted butter)
1/2 jalapeño pepper, diced
1 garlic clove, minced
1 tablespoon flour
1/2 cup milk
6 ounces goat cheese, crumbled
salt and pepper
for serving
whole wheat tortillas, warmed
chopped tomatoes
sliced avocado
diced red onion
tequila lime salsa
lime wedges

Instructions
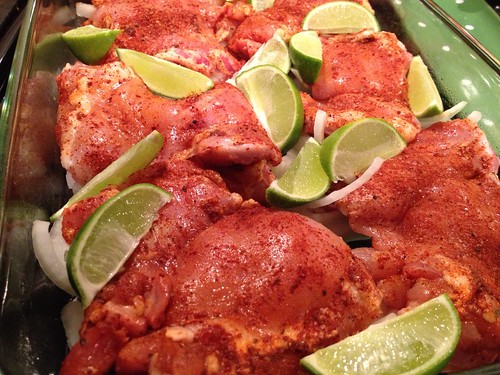
1. Preheat oven to 425 degrees F. Spray a glass baking dish with nonstick cooking spray.
2. In a small bowl, combine the salt, pepper, paprika, chili powder, cumin, garlic powder, and cayenne, mixing to combine.
3. Pat the chicken thighs dry with a paper towel, then rub to coat with the spice mixture/
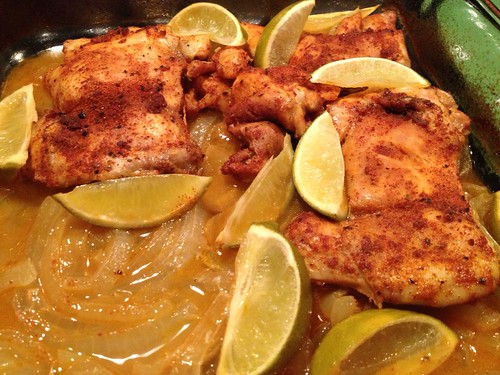
4. Spread the sliced onions evenly across the bottom of the baking dish, then set the chicken on top. Place lime wedges in between the chicken pieces. Cover tightly with foil and bake for 45-60 minutes.
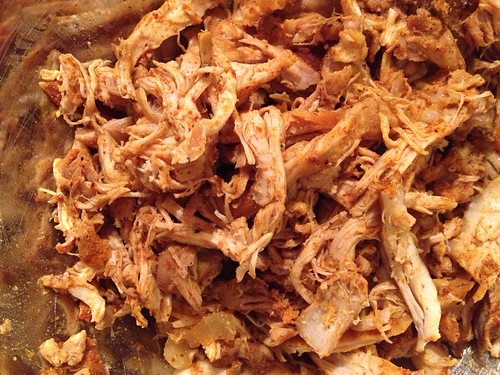
5. Remove chicken and let cool slightly, then shred with two forks.
6. While the chicken is cooling, make the goat cheese crema:  In a medium saucepan, melt the coconut oil over medium heat.  When completely melted, add the garlic and jalapeno, cooking while stirring for 1-2 min.  Add the flour and whisk to form a roux.  Allow to cook for 1-2 minutes to brown very slightly.  Then, whisk in the milk.  Reduce the heat to low and allow to cook for another 1-2 minutes until thick.  Stir in the goat cheese until entirely melted, then season with salt and pepper.
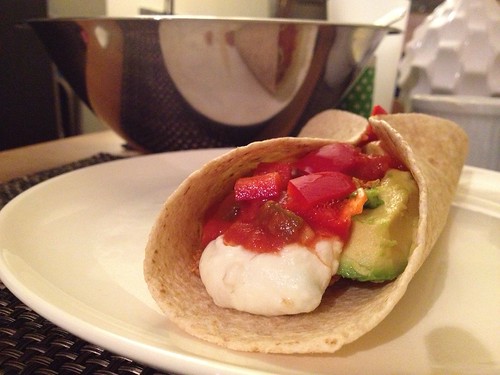
7. Assemble the tacos on warm tortilla shells, with the shredded chicken, goat cheese crema, tomatoes, onions, avocados, and salsa.  If desired, top with fresh squeezed lime juice.


This recipe was featured on Full Plate Thursday!
Miz Helen’s Country Cottage

Wednesday, November 28, 2012

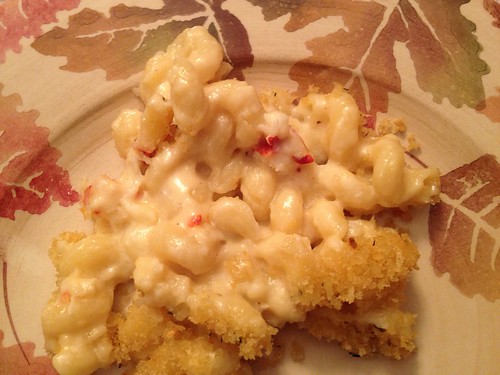
Lobster Mac and Cheese

Untitled

I'm pretty sure the thing I miss the most about living in New England is the seafood.  The ability to go to the grocery store, grab a lobster or some fish without spending a week's grocery budget (or fearing digestive disaster) is a luxury I took for granted growing up in Massachusetts.  Now, when I'm back home, I take any advantage to enjoy all the seafood there is to offer.

Untitled

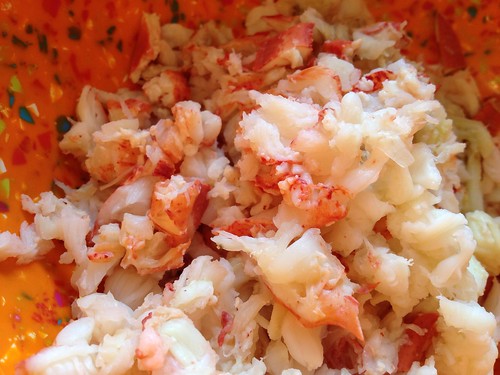
We had my little cousins over for dinner on my last night home and decided to make mac and cheese.  Of course, this meant I had to get some lobster in there.  It was the right thing to do.  It's the bacon of the ocean, after all.

Untitled

I was mostly inspired to eat lobster because of my camp friend.  She grew up a pescatarian, so she's never had meat or poultry at all.  For Thanksgiving, her family has lobster and oysters.  How amazing is that?  I am not a turkey person so I'd take lobster and oyster Thanksgiving over the traditional any day!

Untitled

By the way, why does anyone still eat mac and cheese out of the box?  I mean it serves its purpose, and sometimes I crave it, but man it does not COMPARE to homemade mac and cheese. Sure, it's more expensive to make it from scratch, but it's easy to do and the taste is night and day.  This is the serious comfort food I need in the middle of winter.  Plus you can change it up in so many different ways - using different kinds of cheese or any mix in from lobster to bacon to pumpkin.  It's a versatile dish that guests of all ages love.

Untitled

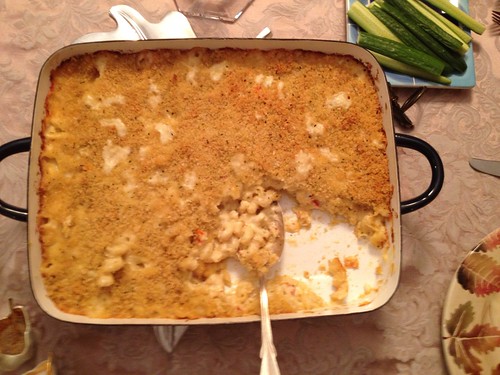
Oh right, the recipe. I don't think I even need to tell you how good this was.  My little cousins scarfed it down despite being sometimes-picky eaters (we conveniently didn't tell them there was lobster in it) and I couldn't resist taking a second helping.  We doubled the recipe and used meat from 2 small-ish lobsters and I'm not sure how many ounces it actually was, but I'd use more next time.  I'm sure it was way less than 24 oz though so I think you'll be OK using the recipe as is below.  I might need to go home soon so I can make some more!

Untitled

Lobster Mac and Cheese
from Annie's Eats

Ingredients
8 oz. pasta (I used cavatappi)
4 tbsp. unsalted butter, divided
3 tbsp. all-purpose flour
2 cups milk
6 oz. fontina cheese, shredded or finely diced
4 oz. white cheddar cheese, shredded
½ tsp. kosher salt
¼ tsp. ground black pepper
Dash grated nutmeg
12 oz. cooked lobster meat, cut into ½-inch chunks (claws and tail)
½ cup Panko breadcrumbs
Minced fresh chives, for garnish

Instructions
1. Preheat the oven to 400˚ F.
2. Lightly grease a 2-quart baking dish with butter.
3. Bring a pot of water to boil. Cook the pasta for about 2 minutes less than the package directions say is "al dente". Drain well into a large colander.
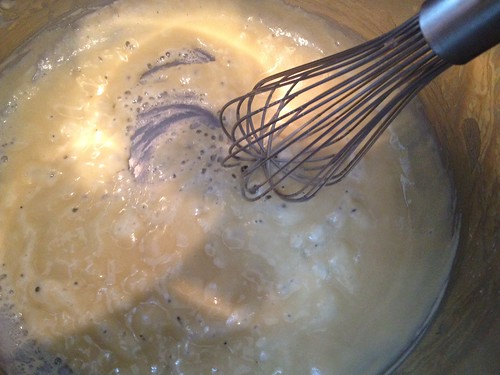
4. While the pasta is in the colander, return the pot to the medium heat. Melt 3 tablespoons of the butter in the pot. Whisk in the flour and cook, stirring constantly, until light golden brown, about 1-2 minutes.
5. Slowly whisk in the milk in small additions until completely added and no lumps of flour remain. Stir in the salt, pepper, and nutmeg. Continue to heat, stirring frequently, until the sauce bubbles and thickens, about 5 minutes.
6. Once bubbling, cook for 2 more minutes, stirring constantly, scraping the bottom of the pan to prevent burning. Remove the pan from the heat.
7. Stir in the cheese one handful at at time and mix until completely melted.
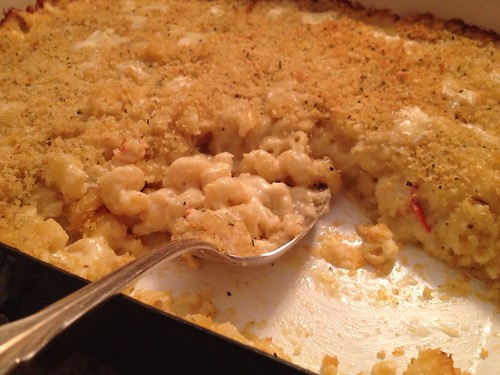
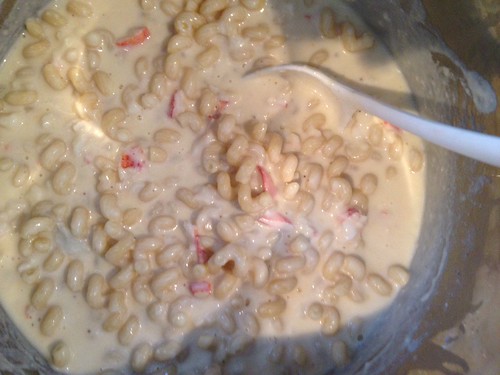
8. Return the pasta to the pot and mix to coat well with the cheese sauce. Gently fold in the lobster meat. Transfer to the prepared baking dish.
9. In a small bowl, melt the remaining 1 tablespoon of butter in the microwave. Stir in the Panko and toss until the crumbs are evenly coated. Sprinkle the crumb mixture over the pasta in the baking dish.
10. Bake uncovered for about 20-25 minutes or until the top is browned and the cheese is bubbling. Serve warm topped with fresh minced chives, if desired.

Sunday, April 15, 2012

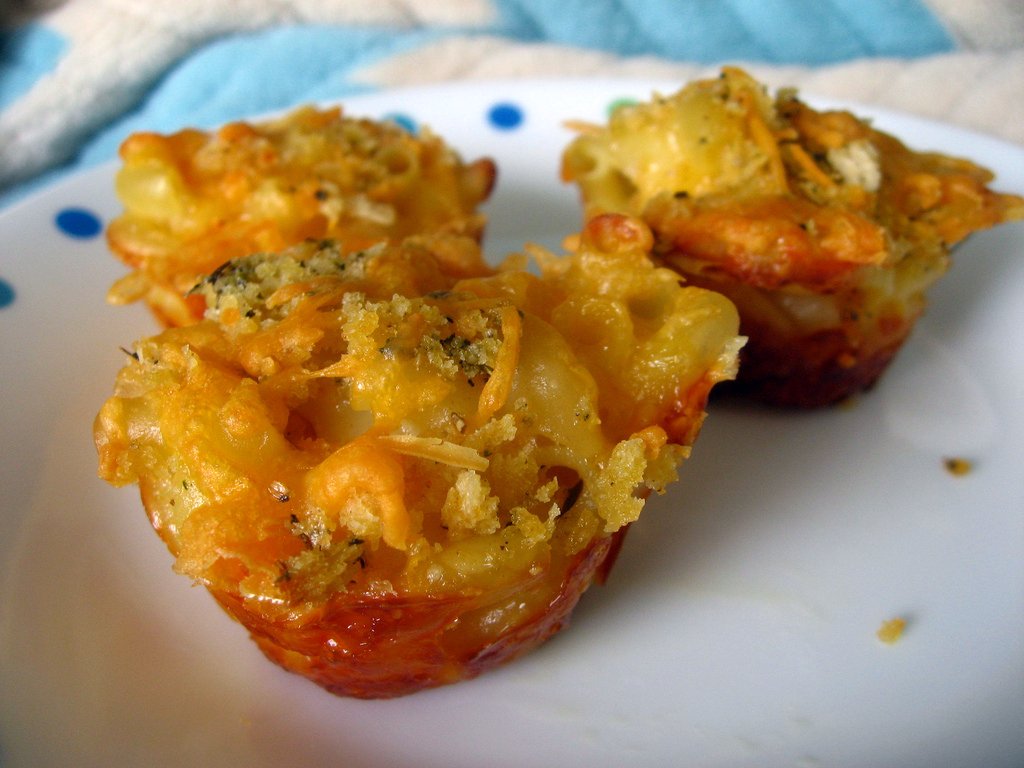
Macaroni and Cheese Cups


Mac and Cheese Cups

Even though I had my last day at my old job, I didn't want to miss a baby shower that we'd been planning for months.  Luckily, it fell during my week off between jobs, so I was able to make it!  I was especially excited to meet my former coworker's wife, Christina, because I love her blog, Proper Hunt.  She is absolutely gorgeous and has amazing taste!  She looked gorgeous at the shower in a floor length blue dress.  You couldn't even tell she was pregnant until she turned around!

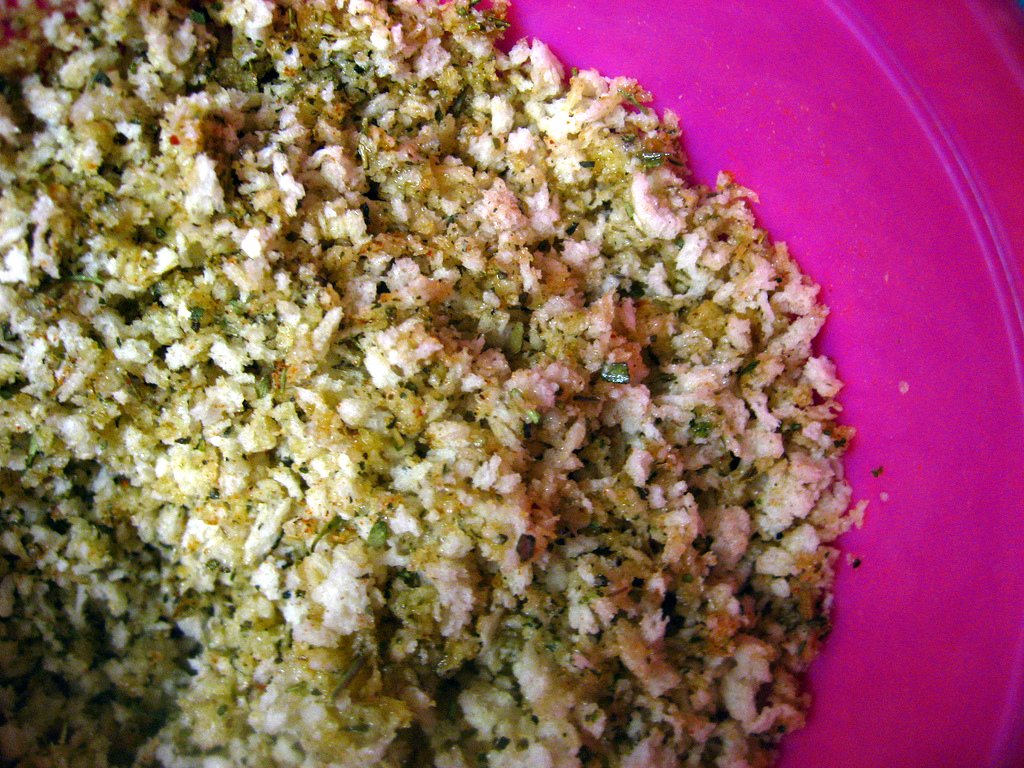
Breadcrumbs

The shower was a really nice time.  We played the "baby food game" which I'd never played before.  We guessed based on look alone what a whole bunch of 1 ingredient baby foods were.  The chicken and turkey with gravy are some of the grossest looking foods I've ever seen!  Then, we had a few extra credit multi-ingredient baby foods.  The fruit ones weren't so bad, but the chicken-based jars smelled so terrible.  There was no way I was tasting those!  Do people really give these to their kids? Or do they make their own foods for their babies?

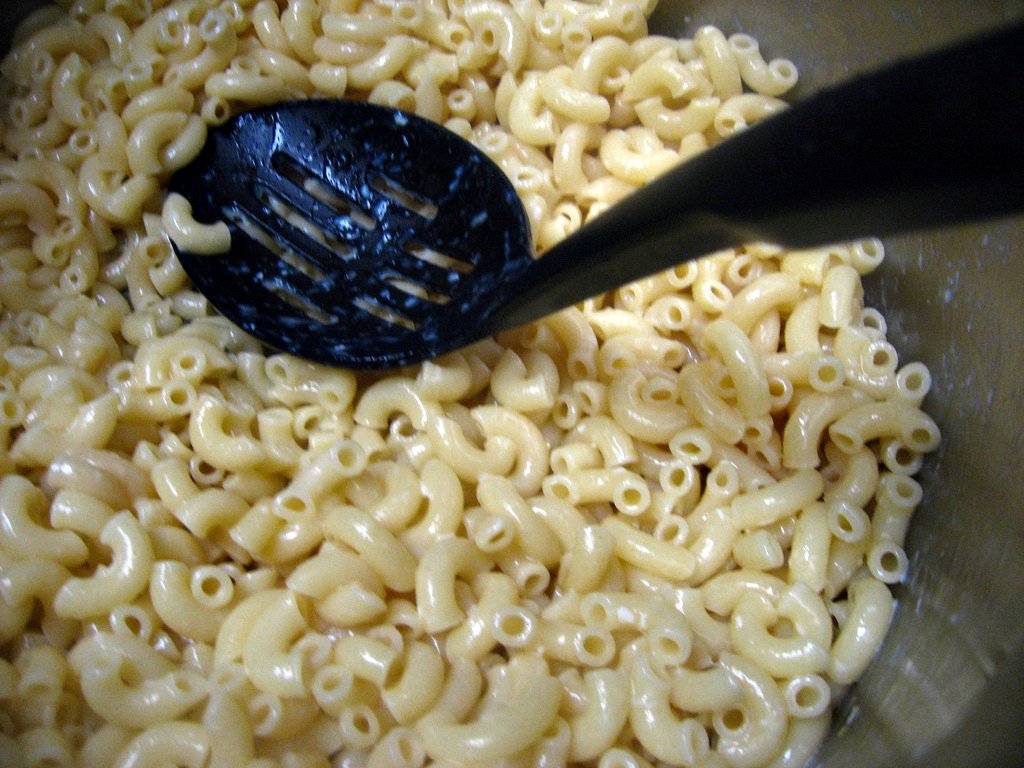
Macaroni Noodles

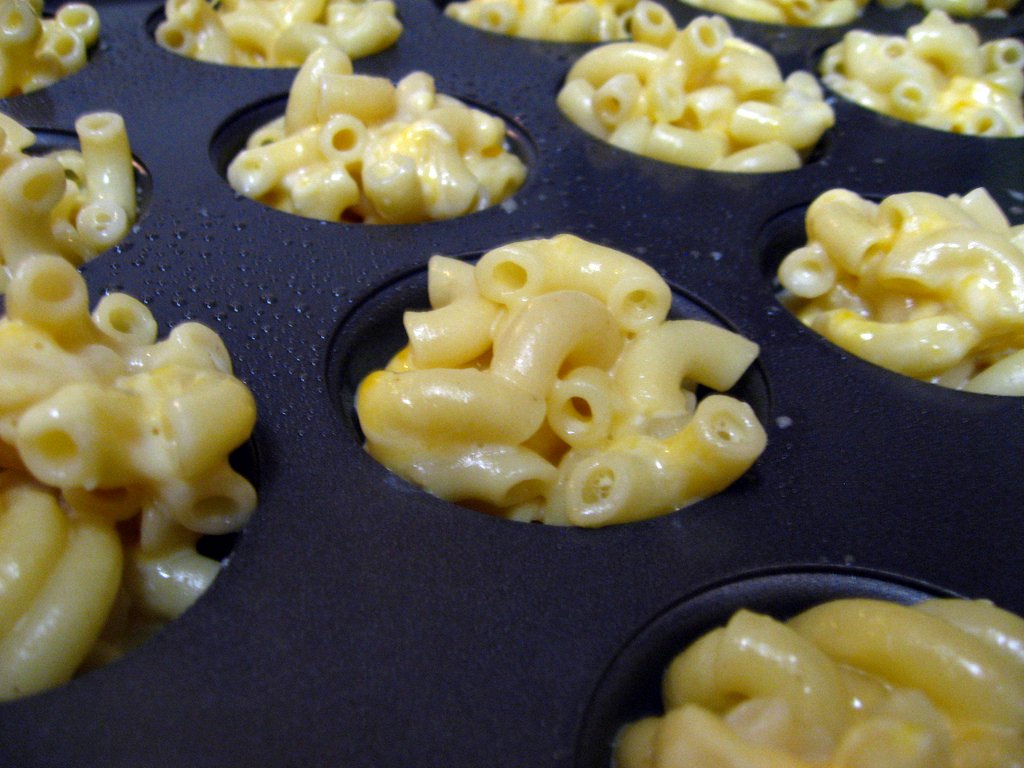
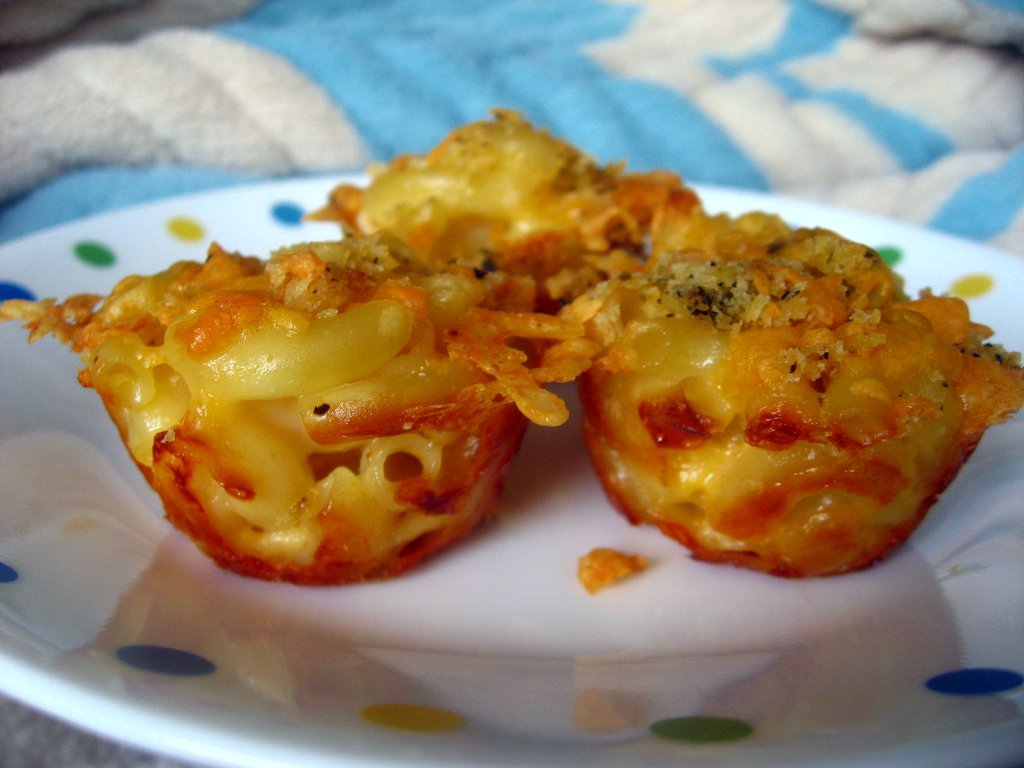
I wanted to make something for the adults that would be a little bit fun.  I love these Mac and Cheese cups because they are filling enough for a luncheon, but don't require a knife and fork.  The original recipe used full size muffin cups, but I wanted to make them a little bit smaller to fit with the "baby" theme.  I think they came out super adorable and everyone seemed to enjoy them!

Mac and Cheese Cups

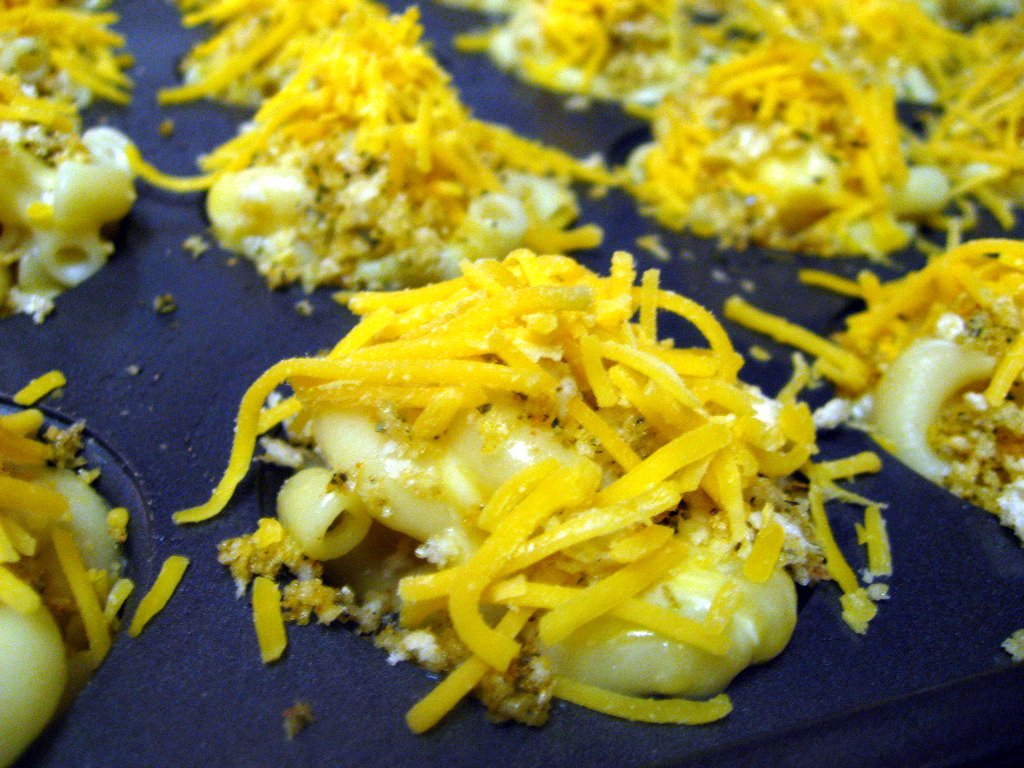
The original recipe called for seasoned breadcrumbs, but I really like to season my own.  It allows me to have more control over my ingredients and salt content.  I added a dash of cayenne because I know that the father-to-be enjoys a little bit of heat.  It was just enough to add flavor but shouldn't scare away anyone who doesn't like spice - they definitely weren't spicy!  I really like panko breadcrumbs so I decided to use them for this recipe, but you can use anything you have on hand or even make your own.

Mac and Cheese Cups

I think this recipe came out pretty tasty.  They are super easy to put together and you can eat them with your hands.  These would be a delicious and fun meal to make for your kids or to serve at a barbeque as a vegetarian option.  If you wanted to make them even more special, you could use different types of cheese like goat cheese or monterey jack.  You could even add in chopped bacon for some extra flavor.   But really, it's pretty wonderful as is!

Mac and Cheese Cups

Macaroni and Cheese Cups
adapted slightly from all recipes

Ingredients
2 c uncooked elbow macaroni
1 tbsp butter
1 egg, beaten
1 c milk
1 1/2 c shredded sharp Cheddar cheese (divided)
1 1/2 c shredded mozzarella cheese
1/2 c Panko bread crumbs
1 tbsp Italian seasoning
1/4 tsp cayenne pepper
2 tsp olive oil
1/2 tsp salt

Instructions
1. Preheat the oven to 350 degrees F.
2. Grease a mini muffin tin with nonstick cooking spray. In a small bowl, stir together the bread crumbs, italian seasoning, cayenne pepper, olive oil, and salt. Set aside.
3. Bring a large pot of lightly salted water to a boil. Add the macaroni and cook for about 8 minutes (it should still be a little bit firm). Drain and return to the pan, removing from heat.
4. Stir in the butter and egg until pasta is evenly coated.
5. Stir in milk, mozzarella cheese, and 1 c of the cheddar cheese into the pasta.
6. Spoon into the prepared mini muffin tin.
7. Sprinkle the reserved cheese and the bread crumb mixture over the tops.
8. Bake for 30 minutes in the preheated oven, or until the topping is nicely browned. Allow the muffins to cool for a few minutes before removing from the pan and serving.

Sunday, March 11, 2012

Roasted Cauliflower and White Cheddar Soup (Lightened)

Cauliflower and Cheddar Soup

The weather may have started warming up in DC, but it's still snowing back home in New Hampshire and that means I get to keep making soup.  Right?  There is something about roasted vegetables pureed into soups that just tickles my fancy (remember this guy?).  I love using my immersion blender and the flavor, so this soup absolutely needed to be tried.

Cauliflower and Cheddar SoupCauliflower and Cheddar Soup

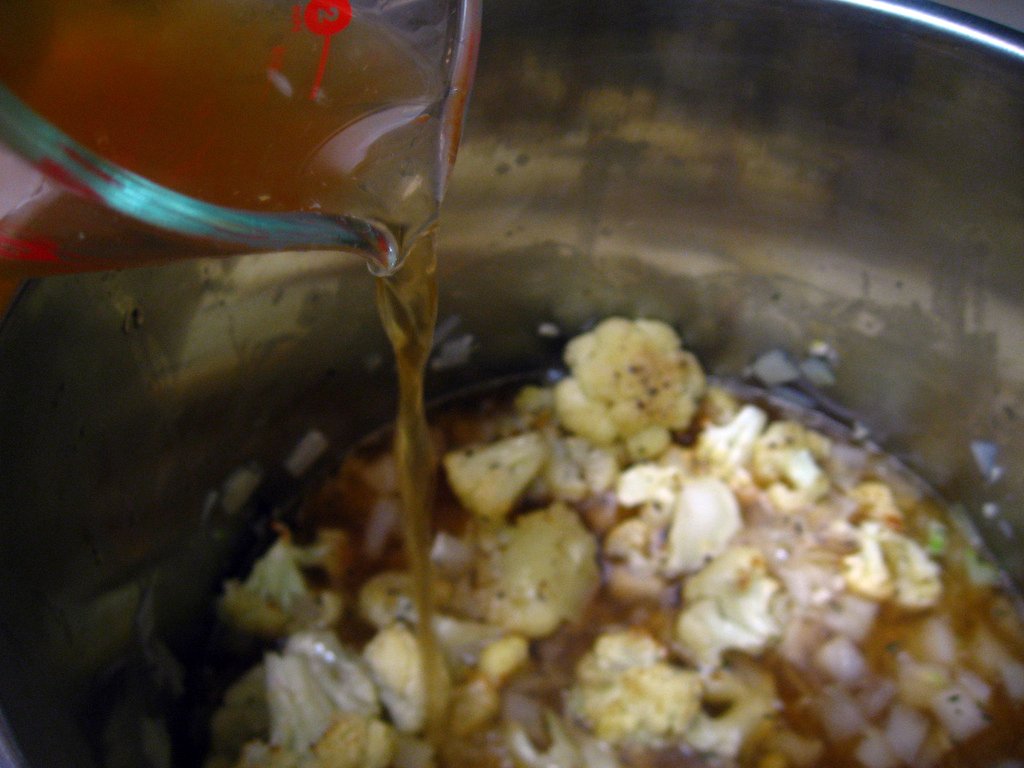
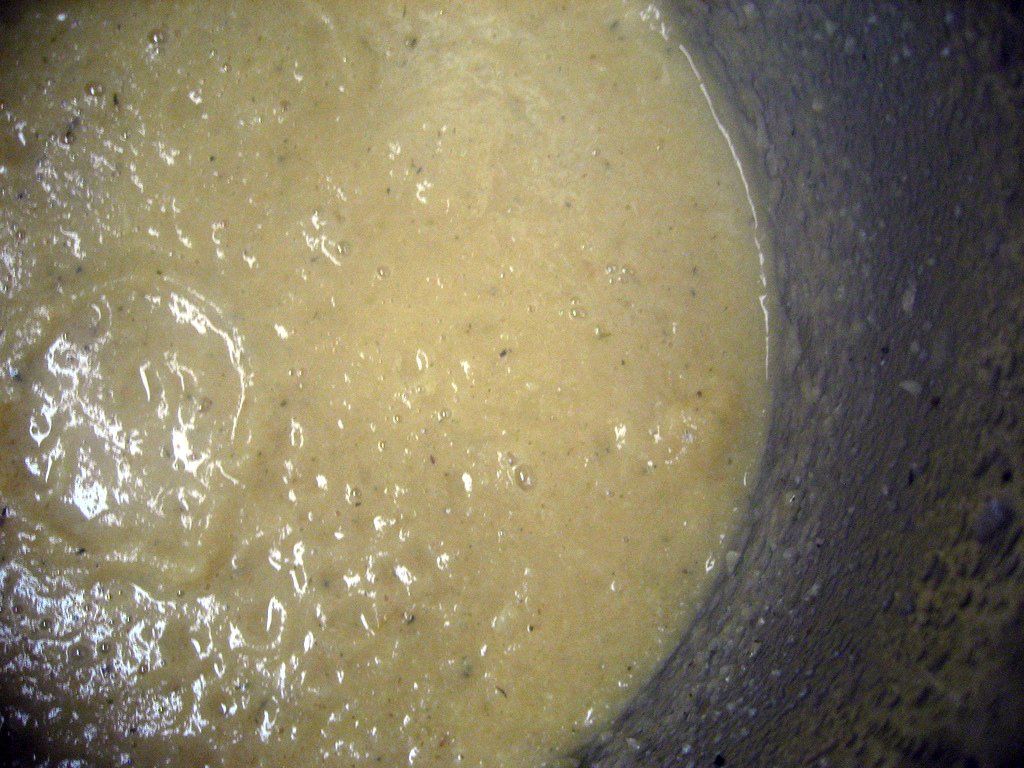
Do you have an immersion blender? They aren't that expensive, but they're so much fun and convenient to use! I felt like a shark attacking cauliflower fishies while I made this soup.  Usually I can just submerge the top of the blender and stir around, but the size of the cauliflower meant I basically had to stab the cauliflower with the blender and rip it to shreds.  Doesn't that sound like a blast?  It really was!

Cauliflower and Cheddar SoupCauliflower and Cheddar Soup

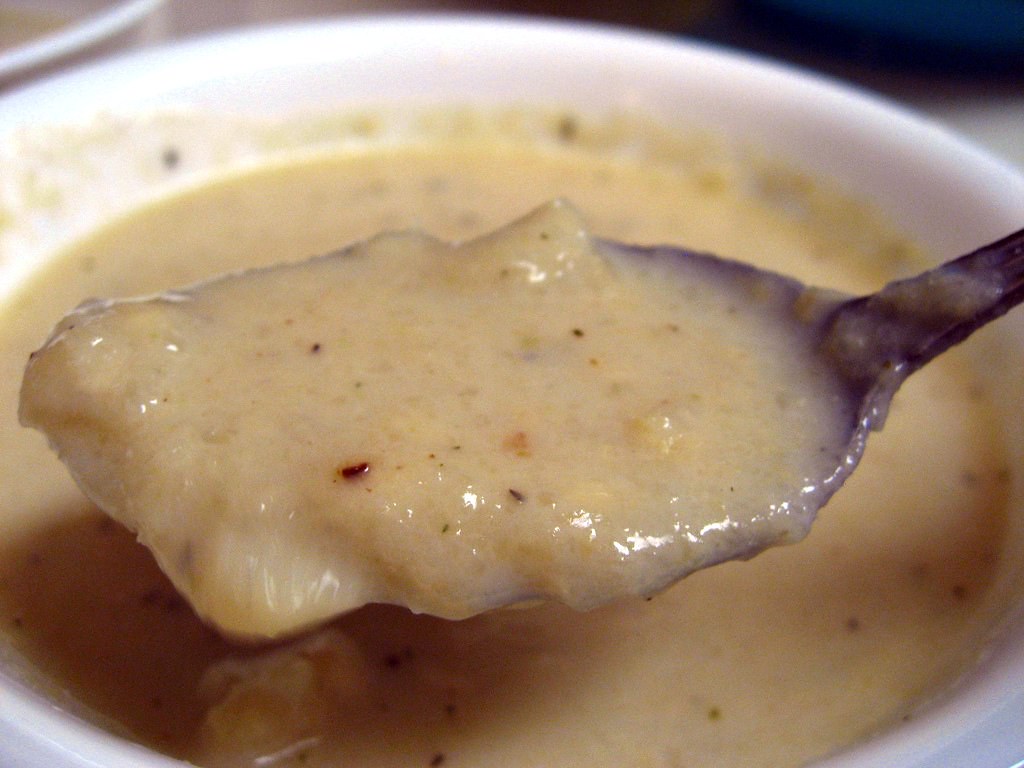
The original recipe called for aged white cheddar and either cream or milk.  I decided to lightened it up with Cabot's 75% reduced fat cheddar and skim milk.  Being a good New England girl, I have always loved Cabot cheese, so it only seemed appropriate to use it here. Despite the lower fat content, this soup was still quite rich and delicious.  The pureed cauliflower made it thick and I think the Monkey Scientist was shocked at how filling it was.  The magic part was that all the low-fat dairy didn't bother my slight lactose intolerance!

Cauliflower and Cheddar SoupCauliflower and Cheddar Soup

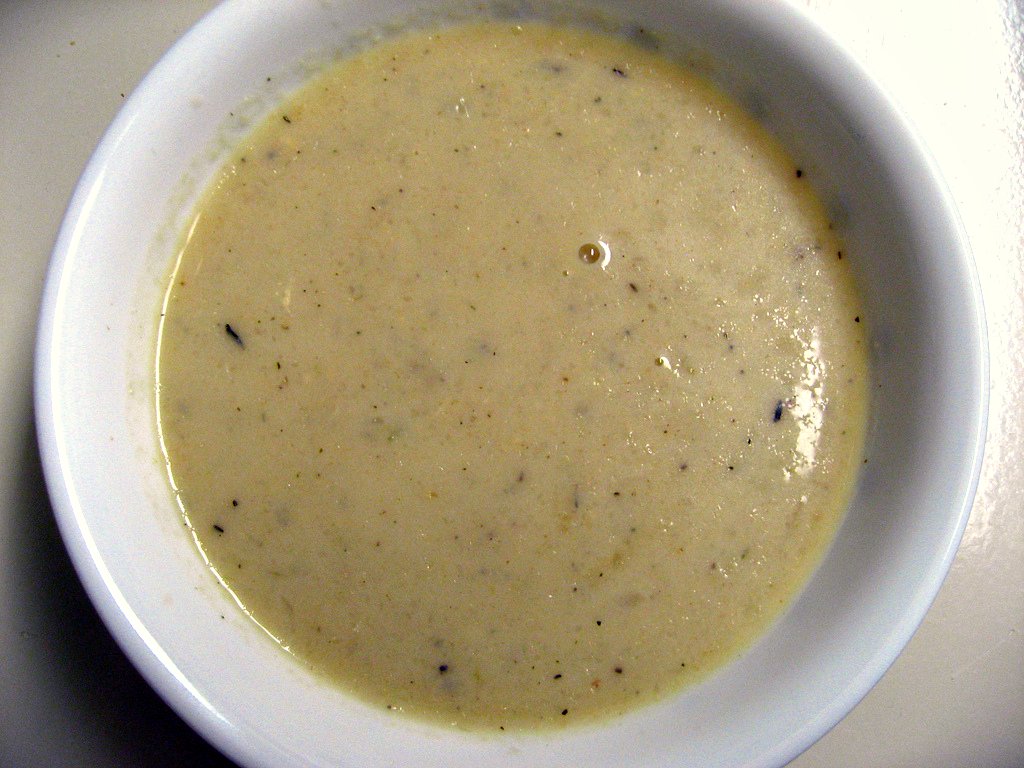
We totally loved this recipe.  The Monkey Scientist enjoyed it too, even though I'm not sure he thought he was going to.  Like all pureed soups, it is substantive, filling, and loaded with flavor.  I used smoked salt instead of regular which gave a nice smoky flavor throughout.  If you wanted to use bacon grease instead of oil it would have the same effect.  The roasted cauliflower has a deep complex flavor and is complemented well by the cheese.  This is an easy and delightful pureed soup that you can make any day of the week!

Cauliflower and Cheddar Soup

Roasted Cauliflower and White Cheddar Soup (Lightened)
adapted from Closet Cooking

Ingredients
1 small head cauliflower, cut into florets
3 tablespoons oil, divided
1 medium onion, diced
2 cloves garlic, chopped
1 teaspoon dried thyme
3 cups vegetable broth
1 1/2 cups Cabot 75% reduced fat white cheddar, shredded
1 cup fat free milk
salt and pepper to taste (I used smoked salt)

Instructions
1. Toss the cauliflower florets in the oil along with the salt and pepper and arrange them in a single layer on a large baking sheet.
2. Roast the cauliflower in a preheated 400F oven until lightly golden brown, about 20-30 minutes.
3. Heat the oil in a large sauce pan over medium heat.
4. Add the onion and saute until tender, about 5-7 minutes.
5. Add the garlic and thyme and saute until fragrant, about a minute.
6. Add the broth and cauliflower, bring to a boil, reduce the heat and simmer, covered, for 20 minutes.
7. Puree the soup until it reaches your desired consistency with a stick blender.
8. Mix in the cheese, let it melt and season with salt and pepper.
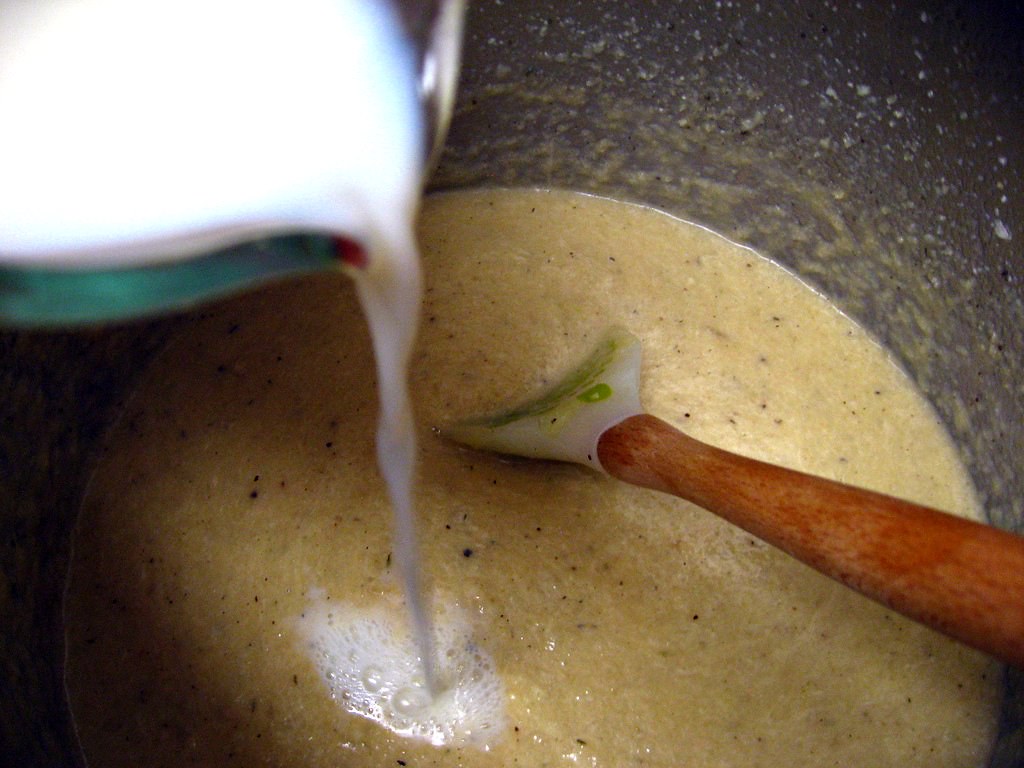
9. Mix in the milk and remove from heat. Serve immediately.

Friday, December 2, 2011

Kicked-up Meatloaf

kicked up meatloaf

I am so sorry! I wrote up this post a long time ago and realized I never posted it for you!! And now I've made you wait allll this time without a new post.  Shame on me.

To be honest, I wasn't so excited about this recipe, so I guess that's what led to my hesitation in posting it.  When I have a recipe I totally love - like buttery cloverleaf rolls - I post it right that night. But this one was just, eh.  I still figured it might appeal to some of you.

kicked up meatloaf

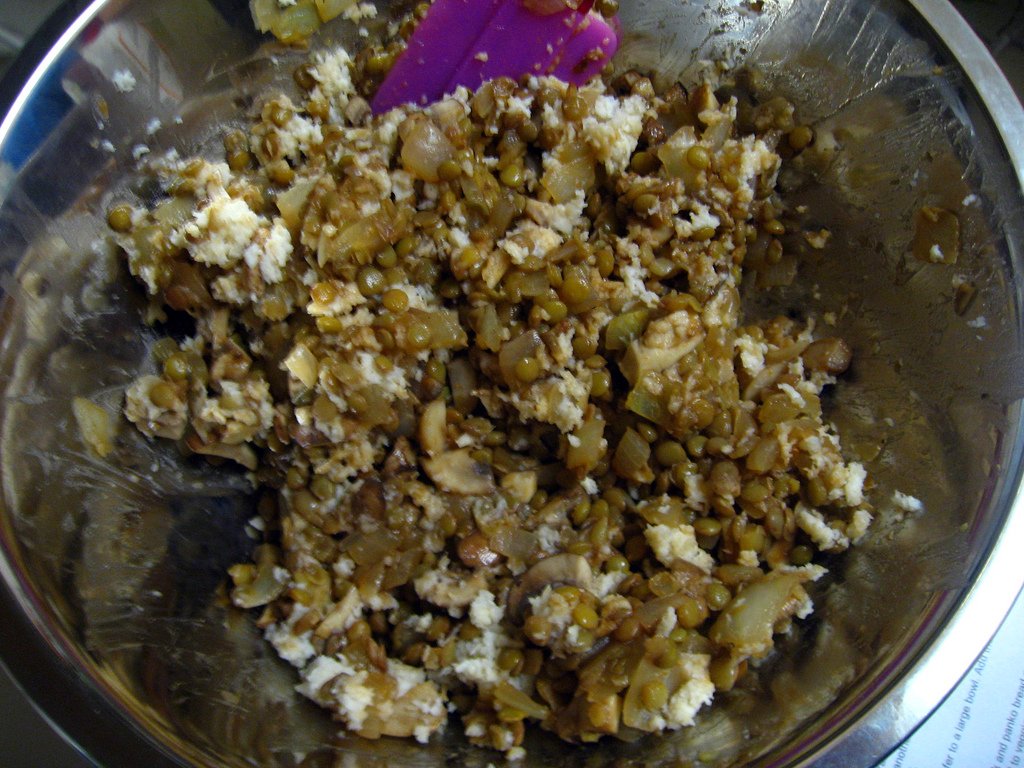
My favorite part of this meatloaf was the addition of mushrooms.  I'd never put mushrooms in my meatloaf before, but I absolutely loved them.  I used baby portabellas, which were absolutely perfect. I'm usually not that into veggies in my meatloaf (which is why I left out the carrots - I'm not into cooked carrots at all) but mushrooms are meaty enough that they work well.

kicked up meatloaf

I was also intrigued by the step where you soak the bread crumbs in milk.  I'd never done that before.  I'm not sure what exactly it did, but maybe it made a juicier meatloaf.  I wished it had a bit more egg - I know it's weird but I actually love an eggy meatloaf like my college roommate used to make.

kicked up meatloaf

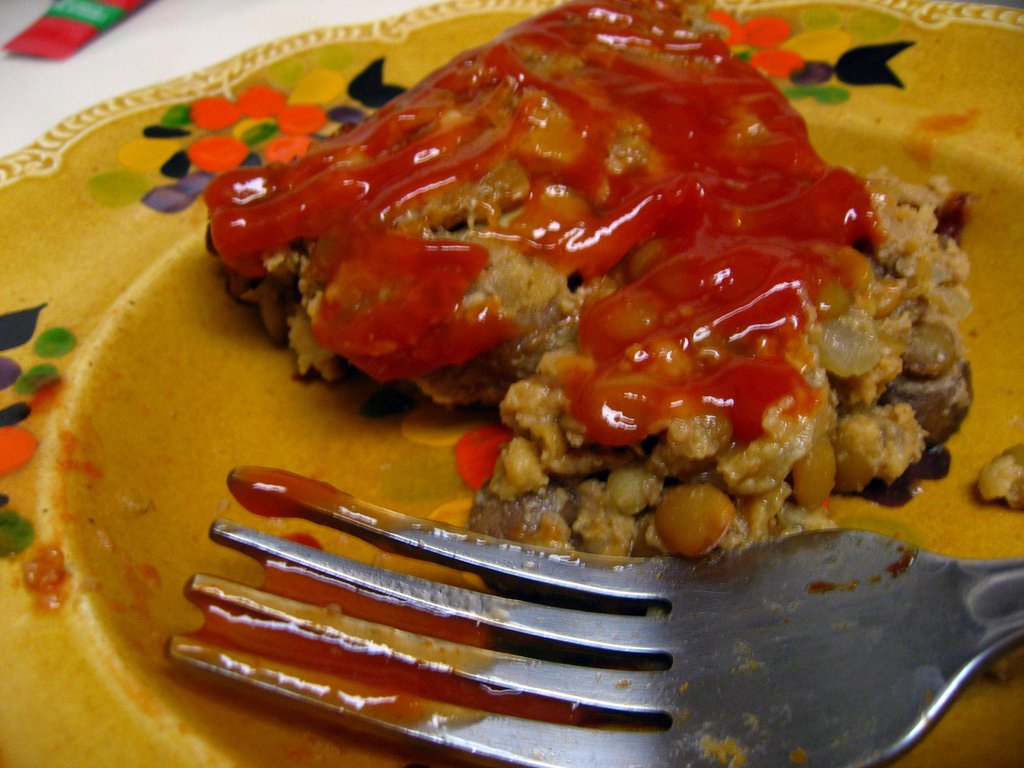
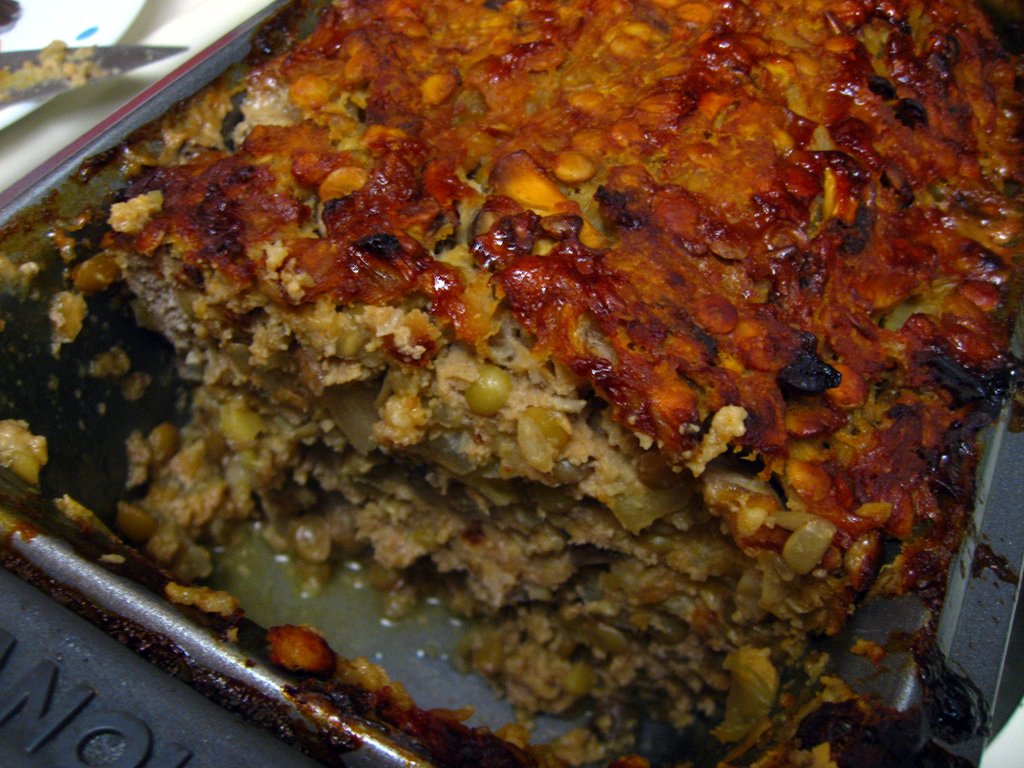
My biggest issue with this recipe happened once it was cooked.  As soon as I sliced it, it was almost impossible to get a nice piece out of the dish.  It kept falling apart.  It tasted fine, but it wasn't exactly a gorgeous presentation.  I think it's all the lentils that made it not turn into a loaf quite as much as meat typically does.

kicked up meatloaf

Overall, not a bad recipe. It's nowhere near my favorite meatloaf recipe, but it is definitely a different and fairly delicious dinner.  It's especially good with a little sriracha on top (you know that's how the Monkey Scientist ate it!), smothered in ketchup, or even with soy sauce.  If you've cut out red meat and didn't want to go all turkey, it's certainly a good alternative to traditional meat loaf.

kicked up meatloaf

Kicked up Meatloaf
from ELR on Perry's Plate

Ingredients:
1 lb lean ground turkey
1 cup cooked black or green lentils
1 large carrot, diced (I actually left this out)
1 large onion, diced
2 cloves garlic, minced
2 cups mushrooms, chopped
1 1/2 tsp worcestershire sauce
1/4 cup ketchup
1 tsp salt
1/2 T olive oil
1/4th tsp black pepper
3/4 cup panko breadcrumbs
1/3 cup milk
1 egg, slightly beaten
glaze:
2 T ketchup
1 T pure maple syrup (I was out so I used honey)
1 T balsamic vinegar

Instructions:
1. Preheat oven to 400.
2. Heat the olive oil in a large skillet over medium high heat. Add the diced onions and saute for about six minutes, until soft and translucent. Add the carrot and garlic and cook for three minutes. Add the chopped mushroom and cook for another five minutes or so, until the mushroom has turned soft and all the veggies are nice and juicy.
3. Remove from heat and transfer to a large bowl. Add the cooked lentils, salt, pepper, worcestershire sauce and ketchup and mix well.
4. In a small bowl, combine the milk and panko bread crumbs. Let sit for three minutes so the breadcrumbs can absorb a little of the milk. Add to veggie mixture.
5. Add ground turkey and beaten egg and mix well. It’s easiest here to use your hands. Transfer to a greased loaf pan and press down to smooth top.
6. Combine the ingredients for the glaze and pour over top of meatloaf. Spread with a spoon to cover the top.
7. Bake for 55 minutes or until a meat thermometer reads 165 degrees (mine too much longer).

Saturday, November 5, 2011

Spaghetti & Meatballs

meatballs

If I've learned anything by reading cooking blogs, it's if you're going to make something with meat, that's pretty traditional, and you're not trying to skim on calories/fat, go to Ree Drummond.  Her short ribs, for example, are out of this world.  I'm pretty sure my mom and all her friends still make them at least once a month since I showed them this recipe year or two ago.
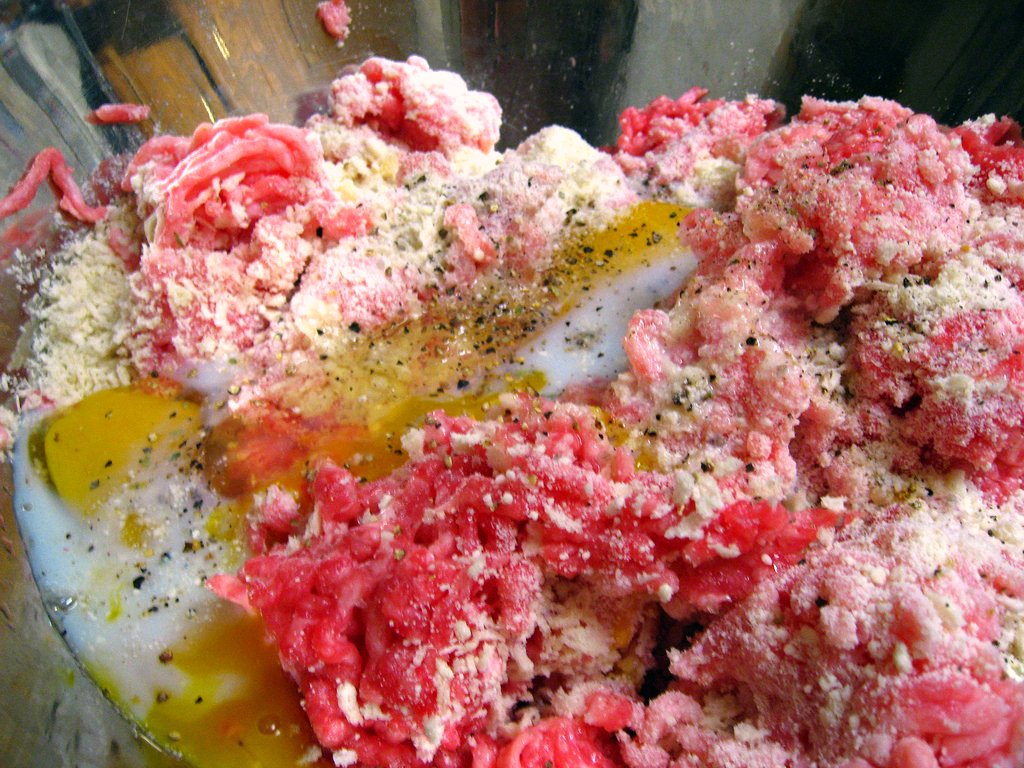
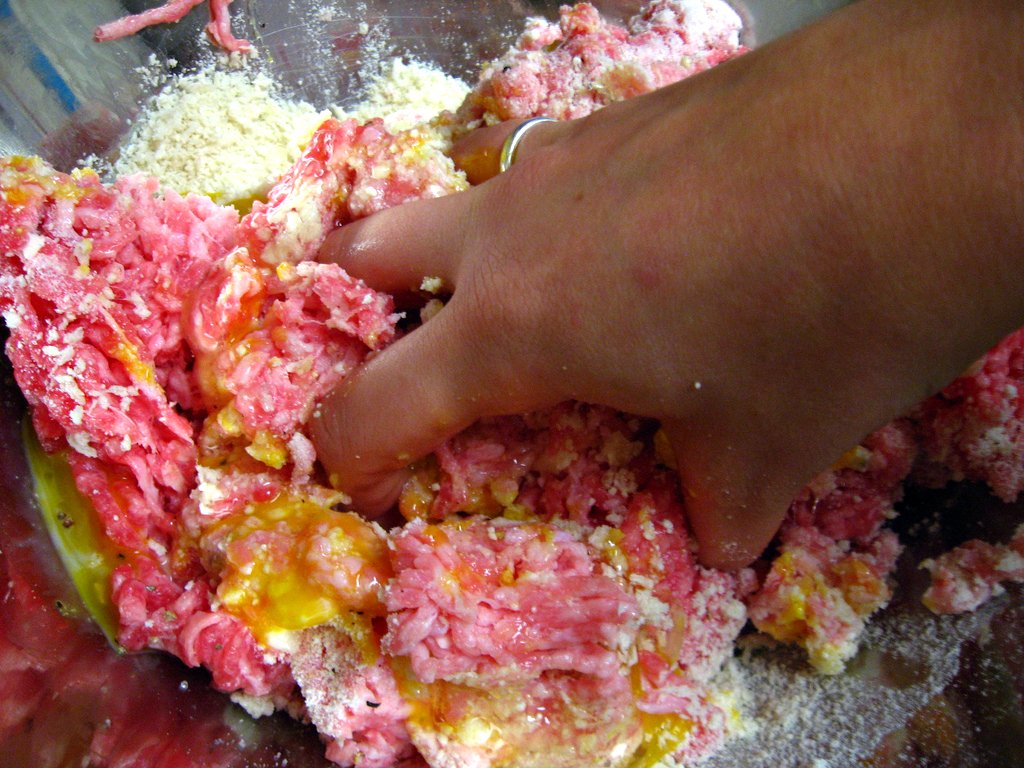
meatballsmeatballs

And let me tell you, Ree's meatballs are no exception.  Ever since I made this recipe back in early 2010, I won't make any other.  It's absolutely perfect and incredibly easy - what else can you really ask for?!  I especially love that you can really use any type of ground meat that you want, because I usually use what's on sale.
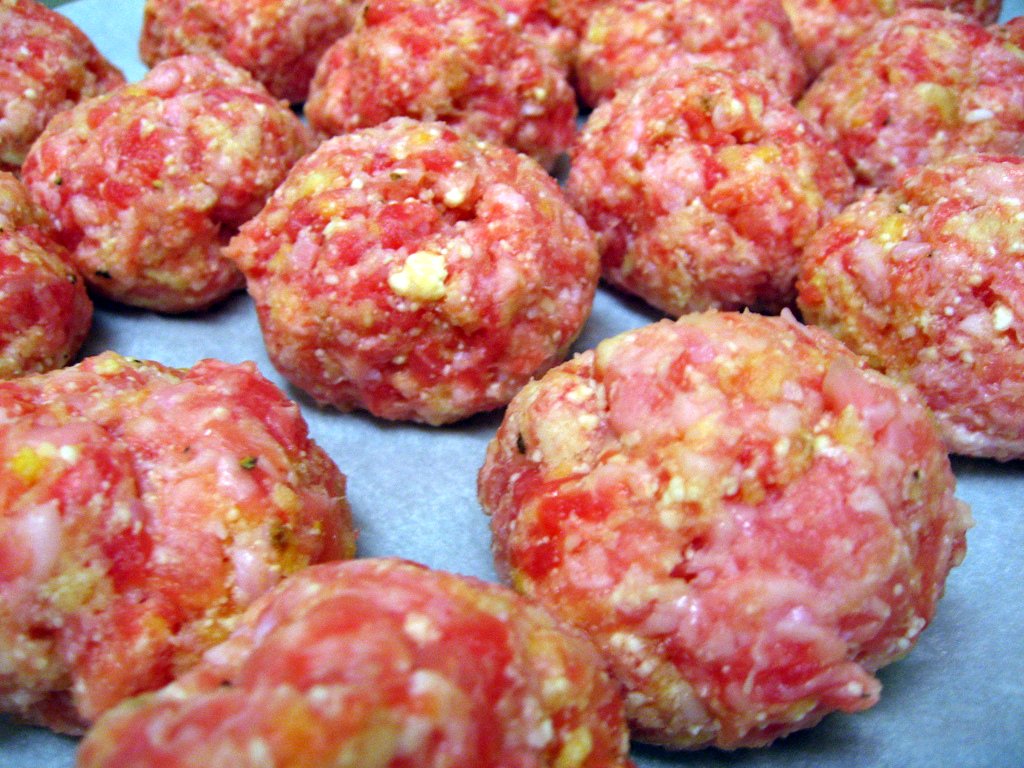
meatballs

Now, I have to admit, these aren't nearly as good at the meatballs at 2Amy's, which are hands down one of those best things I've ever eaten.  I don't think the Monkey Scientist will ever forget the day we discovered them.  Or better yet my face when I first ate them.  I was starving one day, and we went to 2Amy's for a late lunch, when I saw the waitress bring over a steaming cast iron dish of sauce to the table next to us.
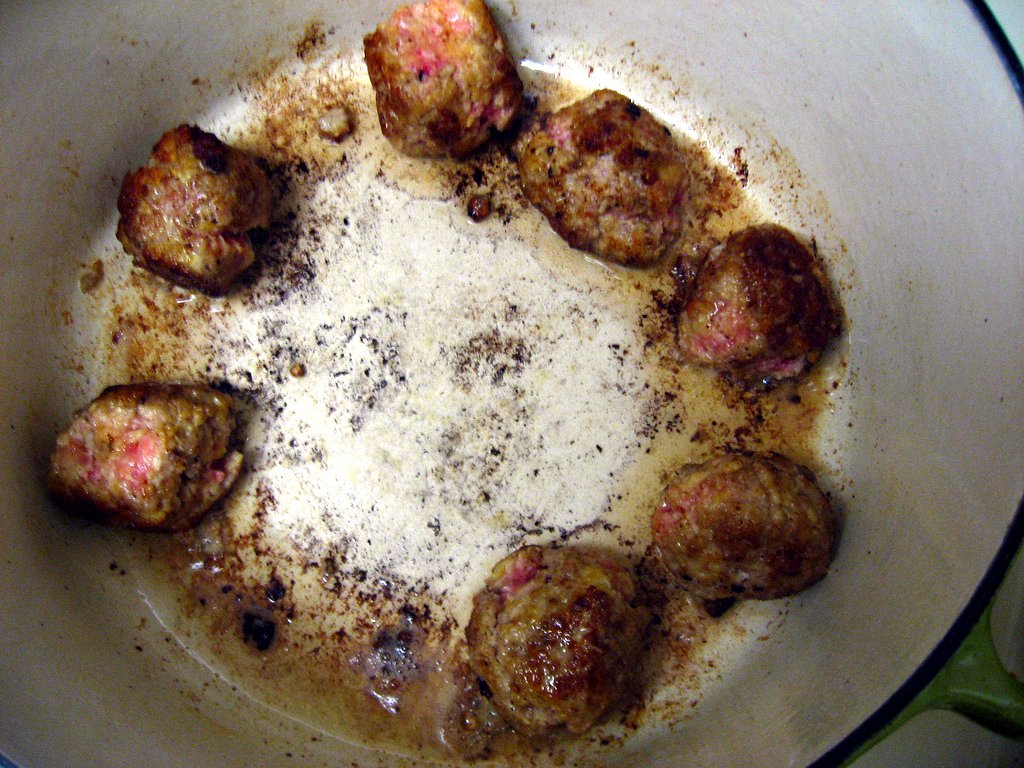
meatballs - browning

I didn't even know what was in it, but I grabbed the waitress and insisted she bring us one.  Then, I saw someone at the next table dig in.  I was mesmerized. I could see the Monkey Scientist realized I wasn't exactly with him anymore.  All I uttered was, "oh my, she just pulled a little meatball out of that...." And then it came to our table, and it was the porky-est, most delicious meatball I had ever had in my life.  I swear, I discovered the reason why that one group of people never actually leaves DC.  They don't want to move too far from these meatballs.  Plus, the rustic bread they serve it with is perfect to sop up the extra sauce.  For my New England friends, all I can compare it to is the artichoke appetizer at Artichokes in Wakefield, MA (formerly in Malden Center).  It's like digging through a puddle of warm, amazing sauce, only to find nuggets of pure food-gold.
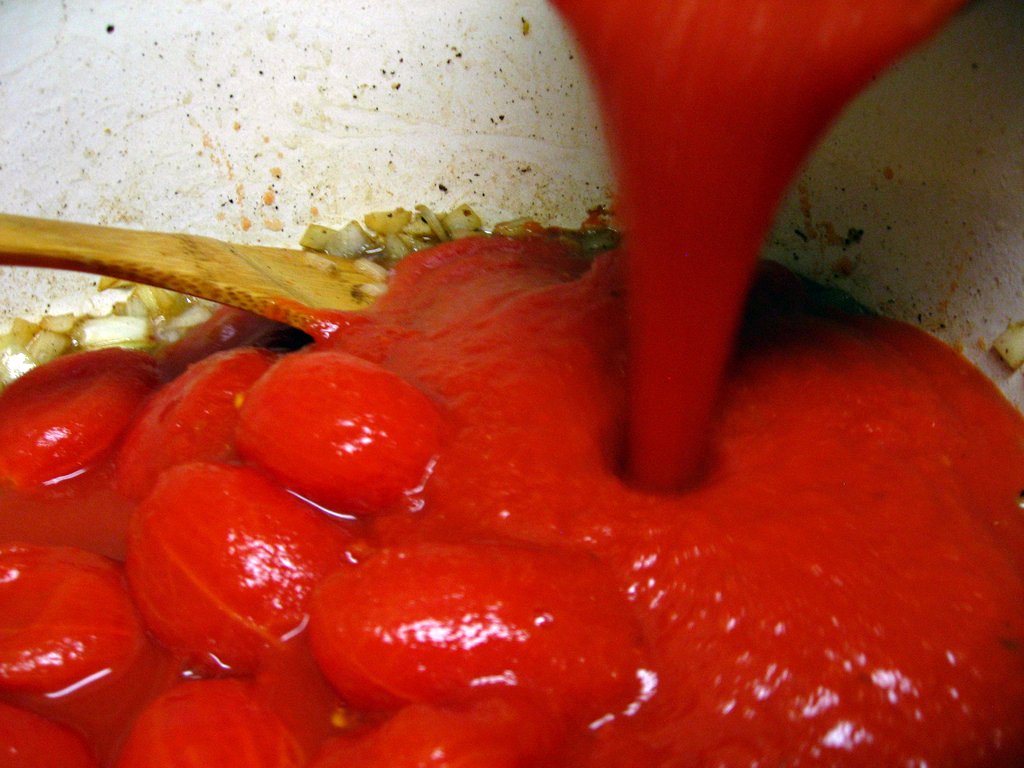
meatballs - sauce

I don't even try to make meatballs like that.  Still it got me on a kick of really wanting to make meatballs for the first time in a long while.  Aren't you craving meatballs after thinking about 2Amy's?  I decided to stick with the more traditional, matzo ball-sized meatballs on top of spaghetti. (Only a true Jewish food-lover would refer to a meatball as matzo ball-sized instead of the reverse haha)  I thought that would be easier to accomplish than the 2Amy's version.
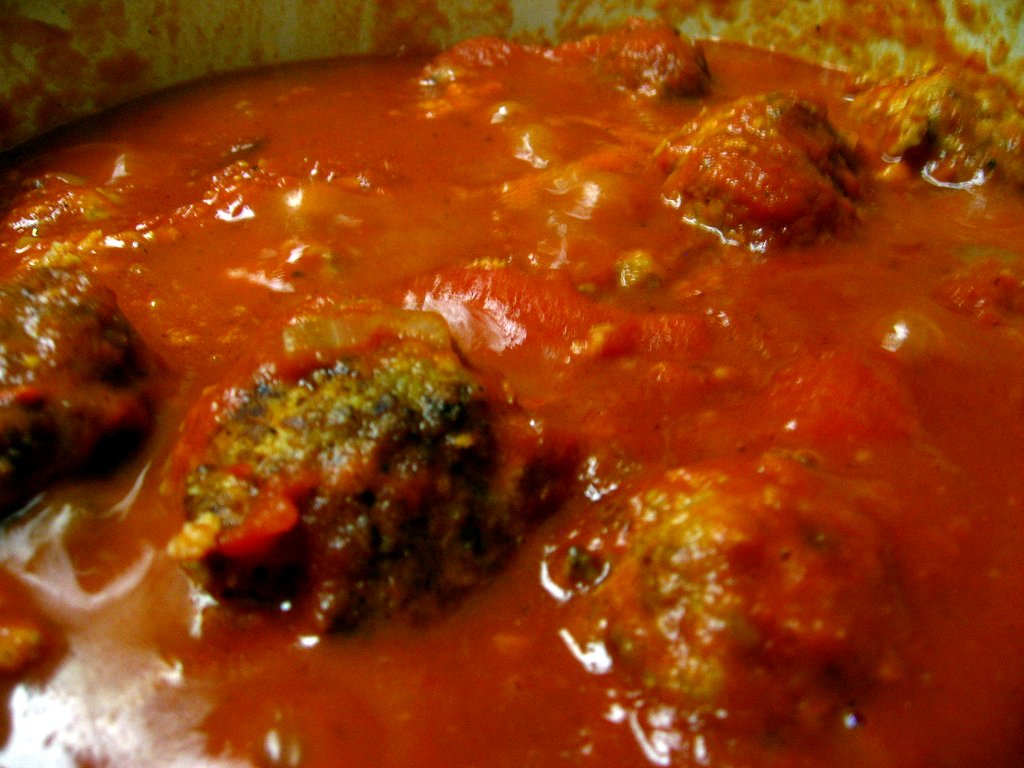
meatballs - steaming in sauce

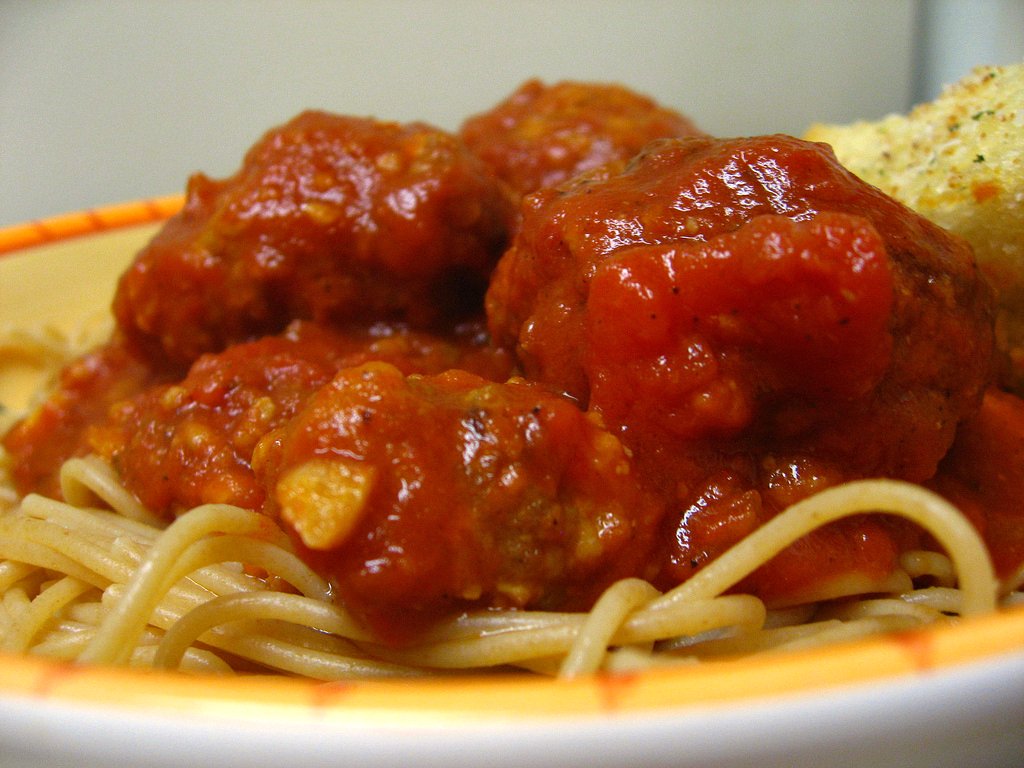
So, while it won't exactly hit your 2Amy's craving, this meatball recipe will definitely do you some good.  It isn't quite as porky as 2Amy's, and it doesn't have quite the same texture, but they are really tasty.  Plus, here's my little trick: I buy a loaf of French bread and cut it in half.  I make garlic bread with one half (softened butter, garlic salt, rub in a garlic clove, bake it) to serve with dinner and then I use the other half for meatball subs with the leftovers the next day!  A perfect 2-for-1 meal!
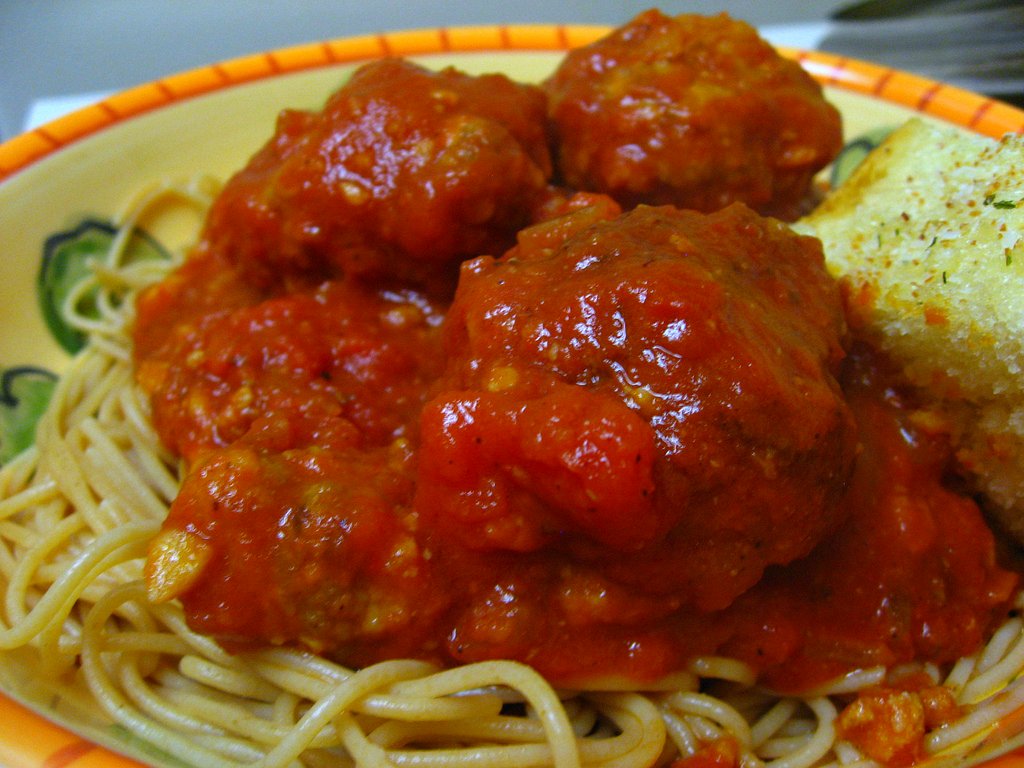
meatballs with garlic bread

Spaghetti and Meatballs
adapted slightly from The Pioneer Woman

Ingredients:
Meatballs:
3/4 pounds ground veal
3/4 pounds ground pork
3 cloves garlic, minced
3/4 cups Panko bread crumbs
2 eggs
3/4 cups grated parmesan
1/4 teaspoon salt
freshly ground pepper
splash of milk
1/2 cup olive oil
Sauce:
1 whole yellow onion, diced
3 cloves garlic, minced
1 28-ounce can whole tomatoes
1 28-ounce can crushed tomatoes
1/2 cup white or red wine (optional)
1/4 teaspoon salt
2 tsp crushed red pepper flakes
1 teaspoon sugar
freshly ground pepper
2 pounds spaghetti, cooked to al dente

Instructions:
1. To make the meatballs, combine meat, garlic, breadcrumbs, Parmesan, eggs, salt, pepper, and a splash of milk in a mixing bowl. Mix together well with hands. Roll into 25 1 1/2-inch balls and place on a cookie sheet. Place cookie sheet into the freezer for 5 to 10 minutes to firm up.
2. To brown the meatballs, heat olive oil in a dutch oven over medium-high heat. Add meatballs 8 at a time, turning to brown. Make sure each meatball is really brown on each side - you shouldn't really be able to see any pink, even though they'll be pink on the insides still. Remove and drain on a paper towel after each batch. Set meatballs aside.
3. In the same pot, add the onions and garlic and cook for a few minutes, or until translucent. Pour in whole tomatoes, crushed tomatoes, and wine, if using. Add salt, pepper, sugar, and crushed red pepper. Stir to combine and cook over medium heat for 20 minutes.
4. Add meatballs to pot and stir in gently. Reduce heat to a simmer and cook for 30 minutes, stirring very gently a couple of times during the simmer.
5. Serve over cooked spaghetti. Sprinkle with extra Parmesan.