Showing posts with label bread. Show all posts

Sunday, September 15, 2013

Homemade Bagels

Bagels

The Jewish Holidays are one of my favorite times of year to be in the kitchen.  Whether it's making my favorite brisket, making a kugel, or just spending time with my mom, I love it.  I spent Rosh Hashanah this year at home with my family, which I haven't had the chance to do in far too many years.  My mom makes one of the best Rosh Hashanah meals and this year was no different.  I'd pick that meal over Thanksgiving any day!
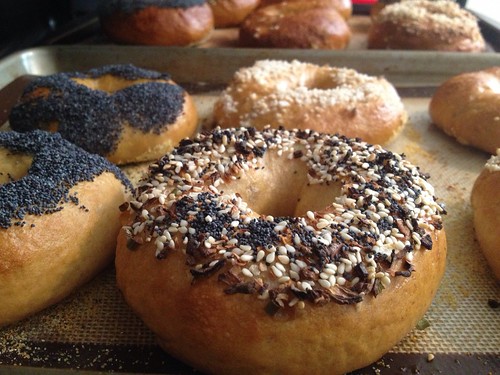
Bagels

I was back in Chicago for Yom Kippur, so we got to break the fast with the Monkey Scientist's family.  We hosted at our place this year and I decided I wanted to make as many things from scratch as possible.  I made a challah (with raisins this time, per request from his dad), my mom's kugel (with a little almond extract, which was a fun little twist on a favorite), a kale quiche with my favorite homemade oatmeal crust and even cured my own lox.  I bought the cream cheese homemade from Southport Grocery and picked up a whole smoked herring from Dirk's.

Bagels

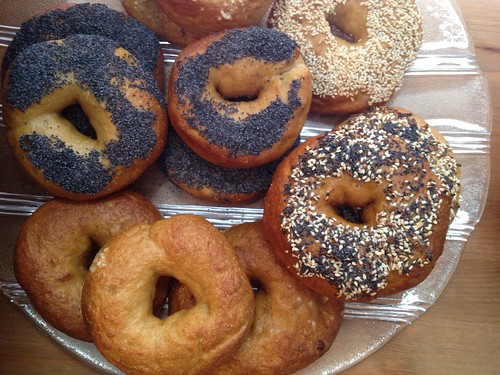
But the pièce de résistance had to be the bagels.  They're the key to any break fast. And if I was going to fast all day, I had to have better bagels than the ones available in our neighborhood (which are, to say the least, sub par).  I had seen recipes to make bagels for a long time, but they looked like a pain.  A multi-day process and weird ingredients like barley malt... I hadn't been quite ambitious enough to accomplish it before now.  But this seemed like the right excuse to take the plunge, and I am so glad I did.  Finding the strange ingredients turned out to be easier than I expected and to be honest, so was making the bagels!  I think making frosting is much more difficult!
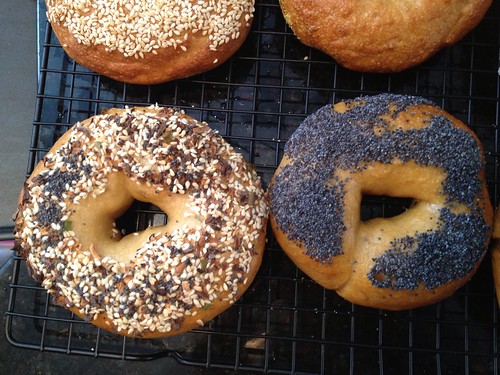
Bagels

The whole meal was a great success.  The family was still talking about everything the next day - a sign that means I did something right!  And the bagels were definitely the star of the meal.  The Monkey Scientist's brother said they were the best bagels he'd ever had.  I didn't think they were far off, and definitely the best I've had in Chicago.  They were perfectly chewy and the malt gives them that "bagel" flavor. They were absolutely worth the extra effort!
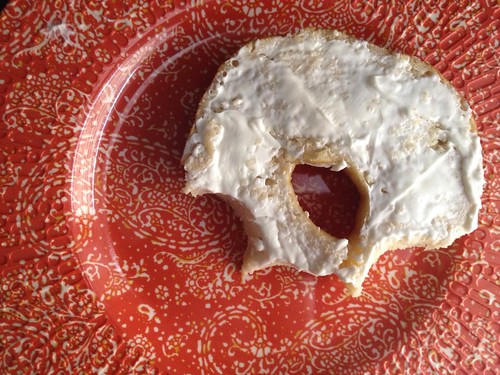
Bagels

Homemade Bagels
from Smitten Kitchen
Note: this recipe takes at least 2 days, so think ahead!

Ingredients
Sponge
1 tsp instant yeast
4 c unbleached high-gluten or bread flour (I used bread flour)
2 1/2 c water, room temperature
Dough
1/2 tsp instant yeast
3 3/4 c unbleached high-gluten or bread flour
2 3/4 tsp salt
2 tsp malt powder or 1 tbsp dark or light malt syrup, honey, or brown sugar (you can find the malt syrup at Whole Foods, this is the brand I used)
To Finish
1 tbsp baking soda
2 tbsp malt syrup
Cornmeal or semolina flour for dusting
Sesame seeds, poppy seeds, rehydrated dried minced garlic or onions, or crushed sea salt for topping

Instructions
1. In the bowl of a standing mixer, combine 1 tsp of yeast, 4 c high-gluten or bread flour, and water.  Stir until you have a thin, smooth and very sticky batter.  Cover with plastic wrap and let it rise for two hours.  It will double in size and be very foamy.  It should collapse when tapped, but mine didn't really and was still ok.
2. Stir the additional 1/2 tsp yeast into the dough. With the dough hook attachment on the mixer at low speed, add 3 c of the flour and the salt and malt powder or syrup until the dough forms into a ball.  Stir in the last 3/4 c of flour to stiffen the dough.
3. At this point, you will knead the dough.  You can do it in the stand mixer, but if you have a standard Kitchen Aid, this is a very tough dough and it might not be able to handle it.  It really needs 6 minutes of kneading in the mixer, but after about 3-4 minutes mine started making bad noises and then smoking.  I finished kneading it by hand.   You can also just knead it by hand for about 10 minutes, which I think is what I'll do next time.  Once kneaded, the dough should be pliable and smooth and very stiff/firm.  All of the flour should be incorporated.  If the dough is dry and rips, add a few drops of water (I had to do this a couple of times) and continue kneading.  If it's tacky or sticky, add more flour - the dough shouldn't feel satiny not sticky.
4. Divide the dough into 12-14 bagels (if you have a kitchen scale, you can measure them to 4.5 oz.  I made 13 bagels).  If you like smaller bagels, you can make them smaller.  Form the pieces into round rolls.
5. Cover the rolls with a damp towel and allow to rest for about 20 minutes.
6. Line 2 baking sheets with Silpat mats or parchment and spray with cooking spray.  Poke your thumb through the middle of each roll to create a hole.  Widen the hole to about 2 inches by evenly stretching the dough.  Be careful to keep the dough equal all the way around so that it cooks evenly.
7. Place each bagel on the lined baking sheets about 2 inches apart.  Cover loosely with plastic wrap and let sit for 20 minutes.
8. Test one bagel to see if it's ready to retard overnight in the fridge.  Fill a bowl with room temperature water and put a bagel in it.  If it floats within 10 seconds (mine floated instantly), they're ready.  Dry it off and put it back on the pan.  If not, dry it off and let them sit at room temperature for another 10-20 minutes, then test again. 
9.  Once they're ready to retard, put the pans, loosely covered with plastic wrap, into the fridge at least overnight and up to 2 days. (Note: after 2 days, the sides of my bagels were a little dried out.  That's ok, they'll be fine once you boil them.)
10.  When you're ready to cook the bagels, bring the oven to 500 degrees F.  Put both of the oven racks in the middle.  Bring a wide pot to a boil.
11.  Add the baking soda and malt to the water.  Note it will boil up like a science fair volcano when you add the baking soda.  You may need to turn the heat down a little bit so that it doesn't boil over, just make sure it continues to boil.
12. Add a few bagels to the pot, making sure they have plenty of room.  I could fit 3 at a time.  Boil 1-2 minutes, then flip over and boil for an additional 1-2 minutes. (Apparently, the longer you boil the chewier they'll be. I couldn't tell the difference between the bagels that I boiled longer.)  Meanwhile, coat the Silpats lightly in corn meal.
13.  Remove the bagels with a spider or other strainer. If you're going to top them with seeds, put them immediately onto a plate filled with the topping.  I had 1 of poppy, 1 of sesame, 1 of salt, and one with a mix of sesame, poppy and dehydrated onion to use as "everything".  Then put the bagels seed-side up on the baking sheet on top of the corn meal.  If you want a plain bagel, move it immediately to the corn-meal coated lined baking sheet.
14.  Once you've boiled all the bagels, put the baking sheets in the oven and bake for 5 minutes.  Rotate the baking sheets 180 degrees and move the top to the bottom and visa versa.  Bake for an additional 5-10 minutes until the bagels are a nice dark brown.
15. Cool on a baking sheet for 15 minutes.

Note: If you live in Chicago, I recommend serving them with the homemade cream cheese from Southport Grocery (call ahead to order) and lox or smoked whitefish from Dirk's.

Monday, August 26, 2013

Egg-free French Toast

Eggless French toast

On Sunday morning I was craving French Toast.  Of course, the roommate is the only one who ever buys eggs in our house and, since he'd been gone for a week, we had none.  I told myself I wasn't going out until I had done a deep-clean of the house, so there was no going to the store or our usual brunch spot.  It was time to get creative.

I figured if anyone knew how to make French Toast sans eggs it would be a vegan, so I did a quick search and found a vegan French Toast recipe.  We all know I am not a vegan chef so I of course un-veganized it - adding back in milk and butter.  It's a great way to make French Toast if you're allergic to eggs or, like me, a lazy grocery shopper.  It's crispy on the outside and soft on the inside.  It would be awesome topped with fresh fruit or berries.  Basically, it's just batter-fried bread, and who can complain about that?  Certainly not me!

Eggless French toast

Egg-free French Toast
adapted from chef chloe

Ingredients
1/4 c skim milk
1/4 c flour
1 tbsp maple syrup (plus more for serving)
1 tbsp ground flax seed
1/4 tsp salt
1/2 tsp cinnamon
1 tbsp brown sugar
1/2 tsp vanilla
6 slices, 3/4" thick, french bread
1 tbsp butter

Instructions
1. Whisk together the milk and flour with a fork in a small bowl until smooth.
2. Add the maple syrup, ground flax seed, salt, cinnamon, brown sugar and vanilla and whisk to combine.
3. Dip the bread in the batter until both sides are well coated.
4. Melt the butter in a skillet over medium heat.  Once melted, add the bread, making sure not to crowd the pan.  If you need to do it in two batches, that's better than squishing the bread.
5. Allow the bread to brown on one side, then flip and allow to brown on the other side.  I like to press the bread while the second side is browning.
6. Serve with additional maple syrup, warmed.

serves 2

Wednesday, September 5, 2012

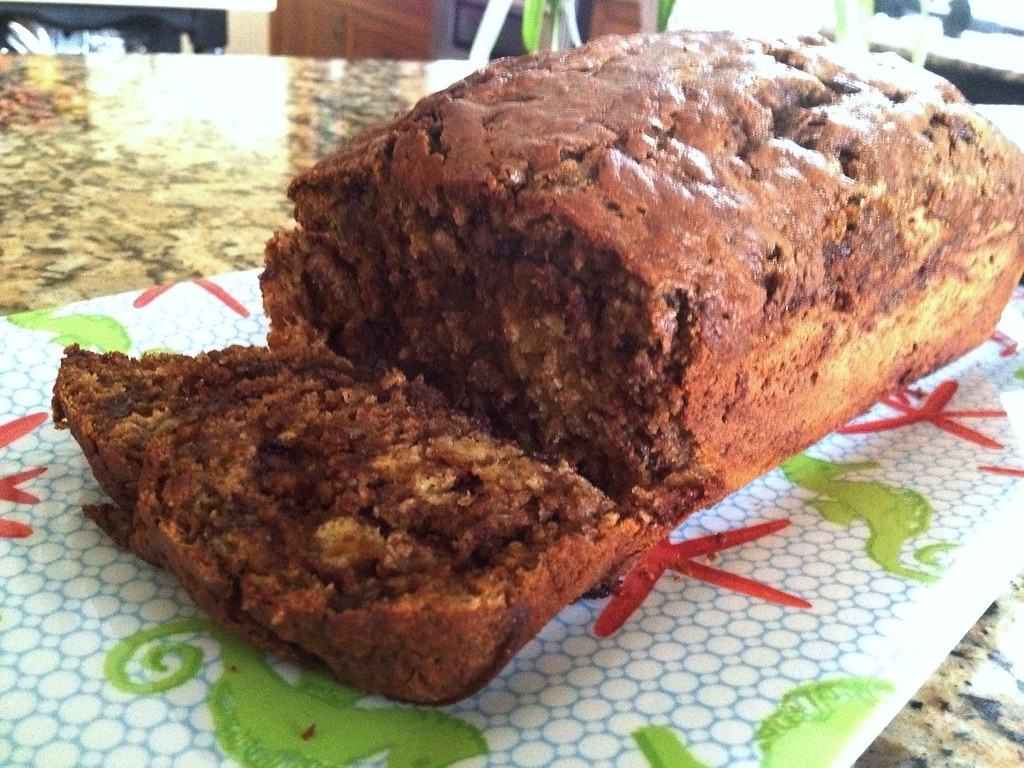
Oops, a banana bread! [Greek Yogurt Banana Bread]

Greek Yogurt Banana Bread

If I've been a little quiet, it's because I'm away on vacation! I'm enjoying a little much-needed time up at my parents house.  I've been waterskiing, paddleboarding... just about everything except cooking.

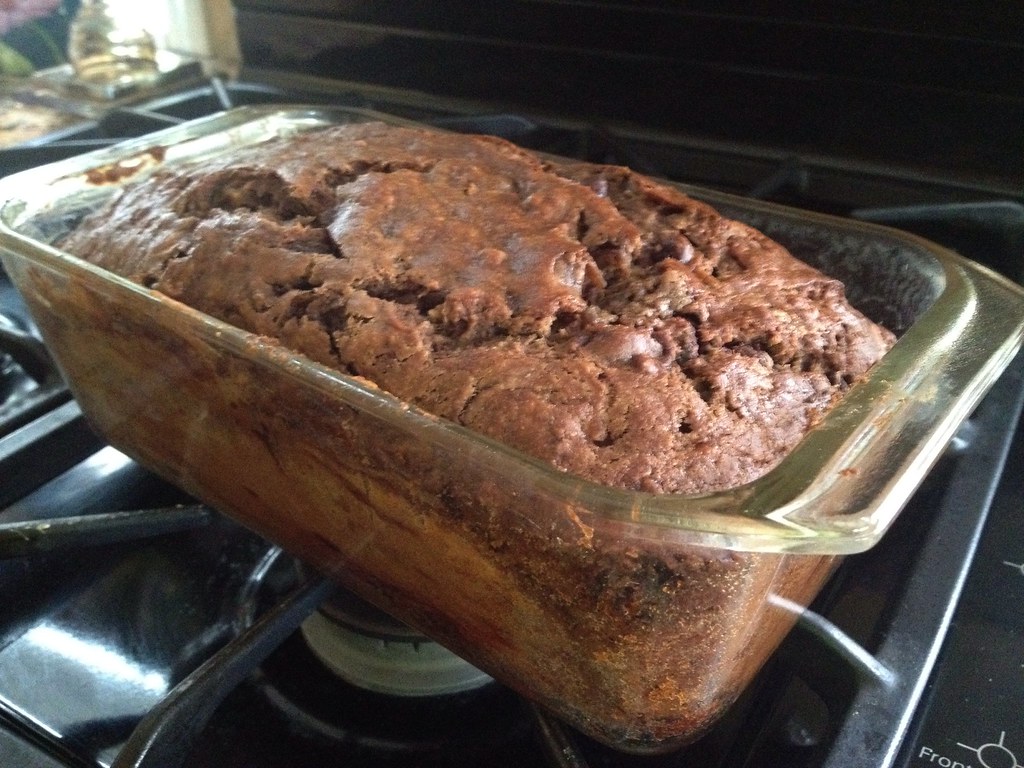
My cousins came for a visit the other night and in the morning I decided to make banana bread with the littlest one since it was raining and we needed a little entertainment.  Even though I have my go-to recipe that always comes out great (although I'm failing to find it in my archives), I wanted to try something new.  I thought this Greek Yogurt recipe might make it even healthier, so I tried it out. Although we had no strawberries, so I substituted for chocolate chips.  Same thing, right?

Greek Yogurt Banana Bread

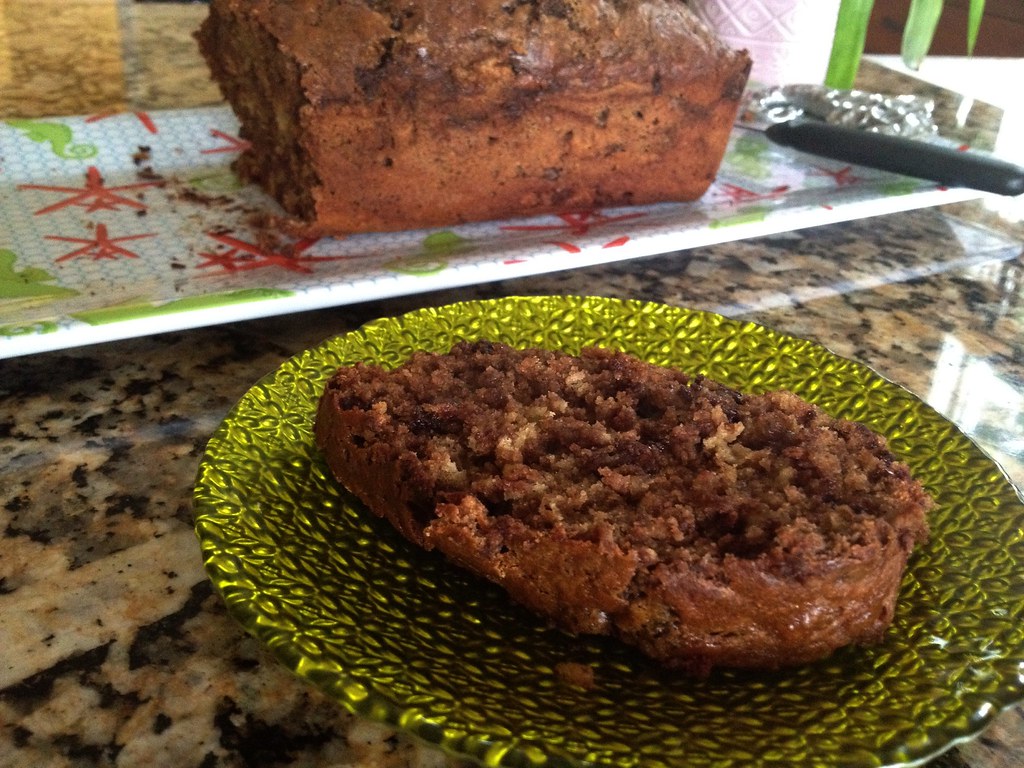
Of course, I got a little distracted cooking with my cousin, and after the bread had been in the oven for 10 minutes I realized I forgot the sugar.  Healthier, sure, but it would taste terrible. So I took it out of the oven and stirred in the sugar and... well not my best attempt at making banana bread. It definitely isn't even close to as good as when the Monkey Scientist's mom makes it, but experimenting with greek yogurt is worth a try!

Greek Yogurt Banana Bread

Strawberry Greek Yogurt Banana Bread
from Closet Cooking

Ingredients
1 3/4 cups flour
1 teaspoon baking powder
1/2 teaspoon baking soda
1/2 teaspoon salt
1/2 cup brown sugar
3 large ripe bananas
2 eggs
1 teaspoon vanilla extract
1/2 cup Greek yogurt
1 cup strawberries, sliced (I used chocolate chips)

Instructions
1. Mix the flour, baking powder, baking soda and salt in a large bowl.
2. Mix brown sugar, bananas, eggs, vanilla extract, yogurt and strawberries in another large bowl.
3. Mix the dryy ingredients into the wet ingredients.
4. Pour the mixture into a greased 9x5 inch loaf pan.
5. Bake in a preheated 350F oven until golden brown and a toothpick poked into the center comes out clean, about 60 minutes.

Monday, February 13, 2012

Greek Salad Bruschetta

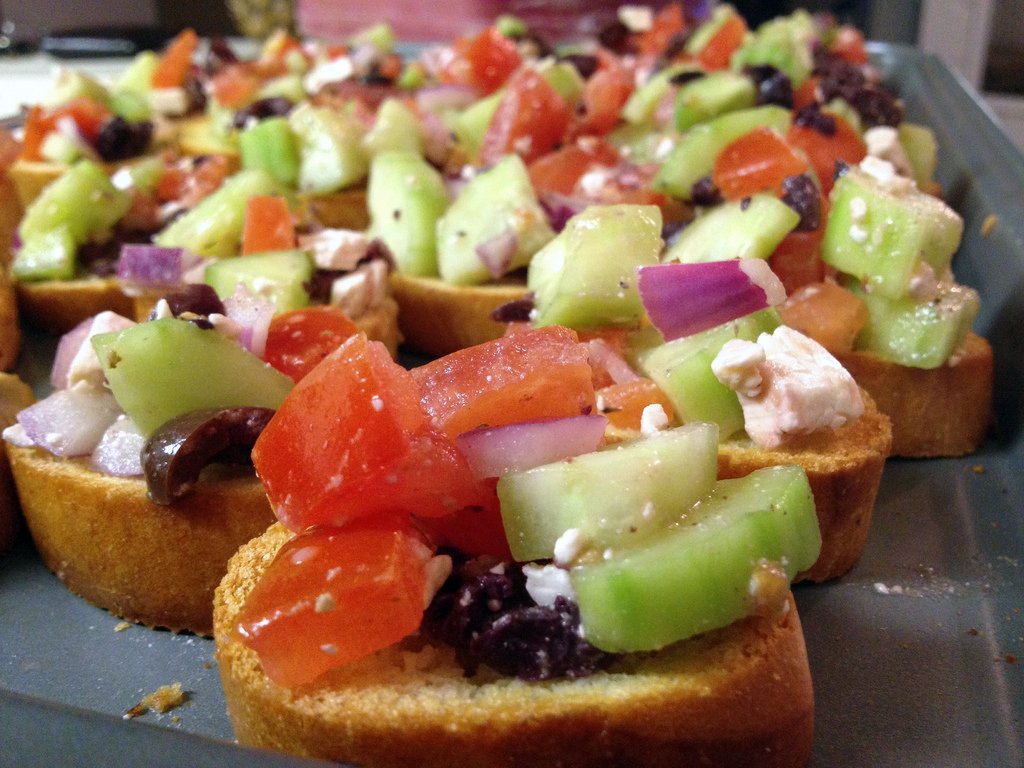
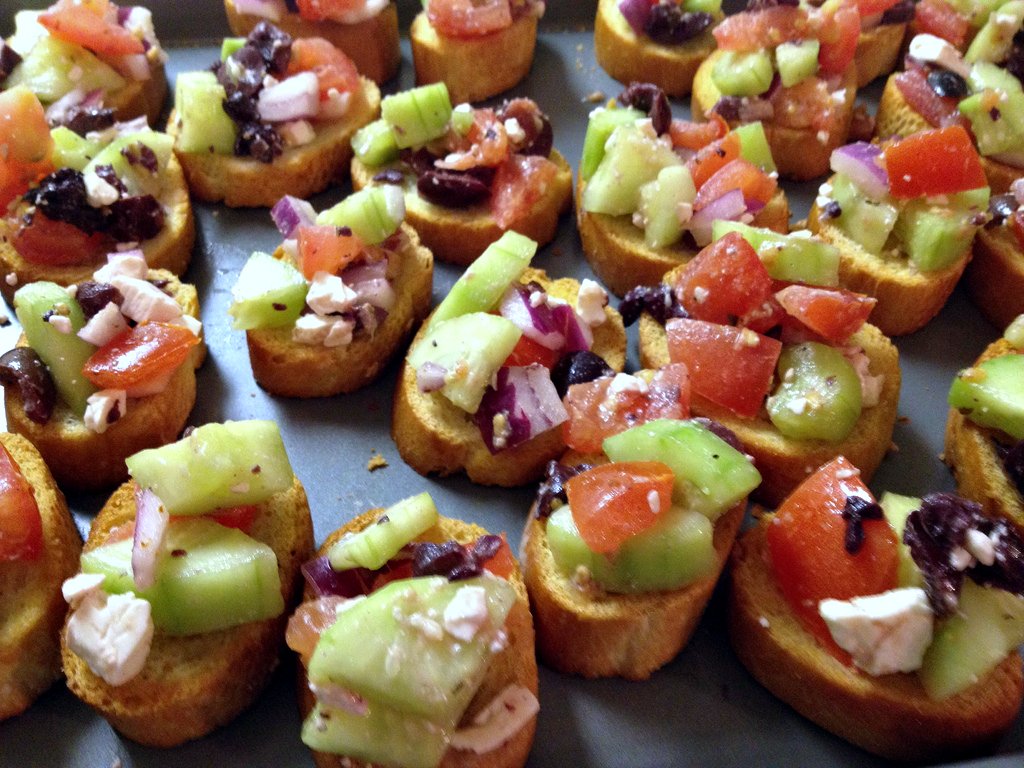
greek salad bruscetta

I'm not quite ready to talk about the Superbowl yet.  But I think I'm finally ready to talk about the food.  We did have lots and lots of food.

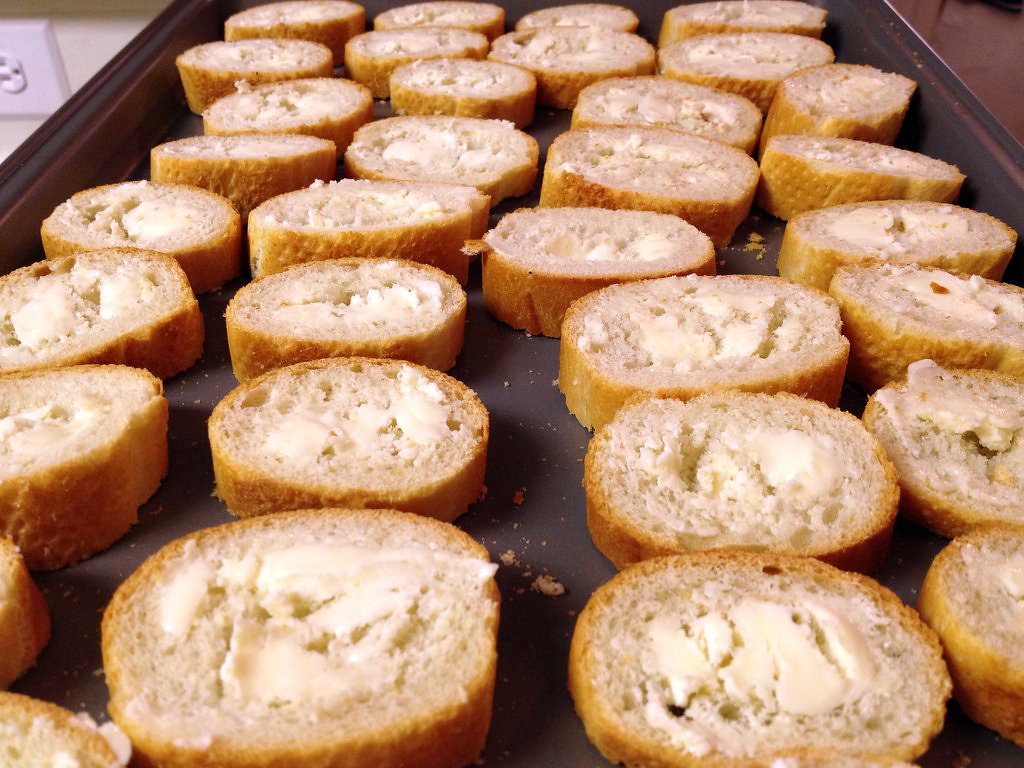
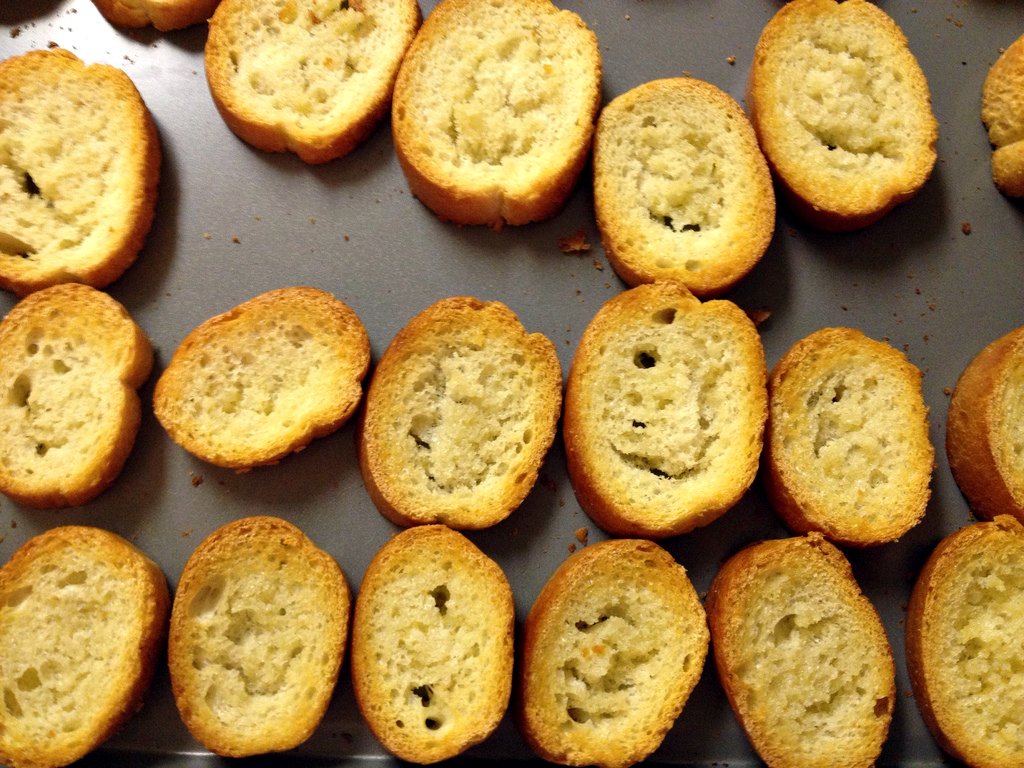
Buttered Baguettestoasted bruschetta slices

I wanted to make something a little bit lighter than the typical wings, chips, dip, and pizza this year.  I loved this bruschetta because it was a little bit different than regular bruschetta, was nice and light, and is easy to pick up and enjoy while watching the game.  Plus, it reminded me of the Greek salad we get when we visit our family friends in Florida, and it was right around the Superbowl last time I was down there.

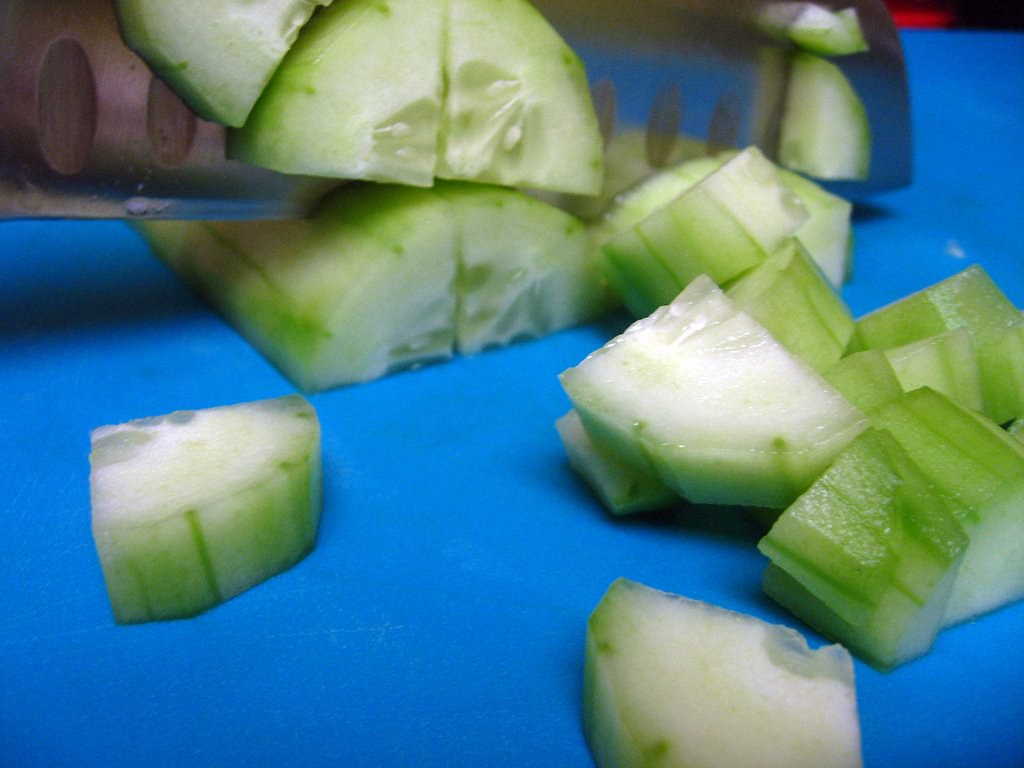
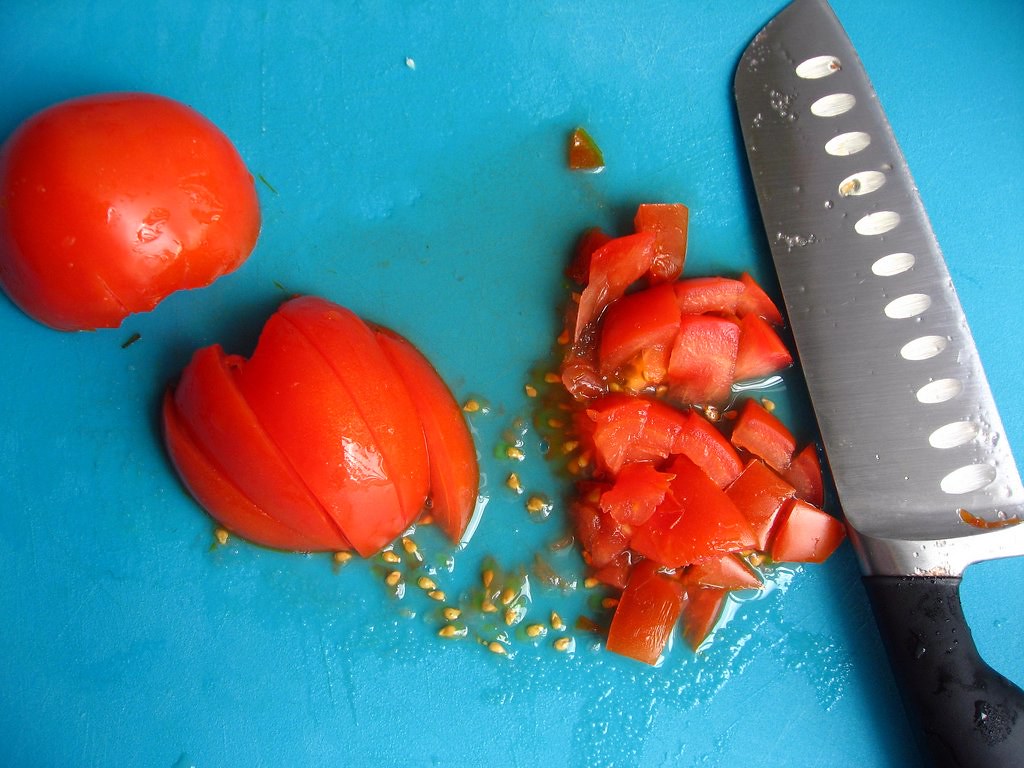
chopped cucumberchopped tomatoes

The Monkey Scientist and his roommate hosted the Superbowl party this year and, despite the outcome, we all had a great time.  It was a true hodge-podge of our friends, but it was really great to get everyone together.  Folks seemed to like the bruschetta, although it may not have been the right crowd because the chicken tenders were eaten much faster.  I think this would be a great appetizer for a dinner party or even a family holiday because it comes together pretty quickly.  It's light, a bit acidic, and tasty.  Even though I am not a tomato-lover, I enjoyed this one a lot!

greek bruschetta

Greek Salad Bruschetta
slightly adapted from Two Peas and Their Pod

Ingredients
French baguette, sliced
1-2 tbsp butter, softened.
1/2 cup tomatoes, diced
1/2 cup cucumber, peeled and diced
1/3 cup kalamata olives, diced
1/4 cup red onion, diced
1/4 cup feta cheese
1 tablespoon red wine vinegar
2 tbsp lemon juice
1/8 teaspoon dried oregano
1/4 tsp Cavender's All Purpose Greek Seasoning
Sea salt and freshly cracked pepper, to taste

Instructions
1. Preheat oven to 400 degrees F.
2. Spread butter on baguette slices. Place baguette slices on a baking sheet. Bake for 7-10 minutes, or until baguette slices are golden brown and toasted.
3. In a medium bowl, diced tomatoes, cucumbers, kalamata olives, and red onion. Add red wine vinegar, lemon juice and feta cheese. Stir until well combined. Season with oregano, Cavender's, salt and pepper.  Bruschetta topping can be kept in the fridge for a couple hours before using.
4. Top baguette slices with bruschetta topping. Serve immediately.

Tuesday, November 8, 2011

Buttery Cloverleaf Rolls

Butter Clover Rolls

There is something so absolutely wonderful about baking bread.  The smell of yeast when you first bring it back to life. The texture of dough that has just finished rising.  The aroma that fills the apartment while it bakes.  The warm steam that rises as you break a roll open.  It's something magical.

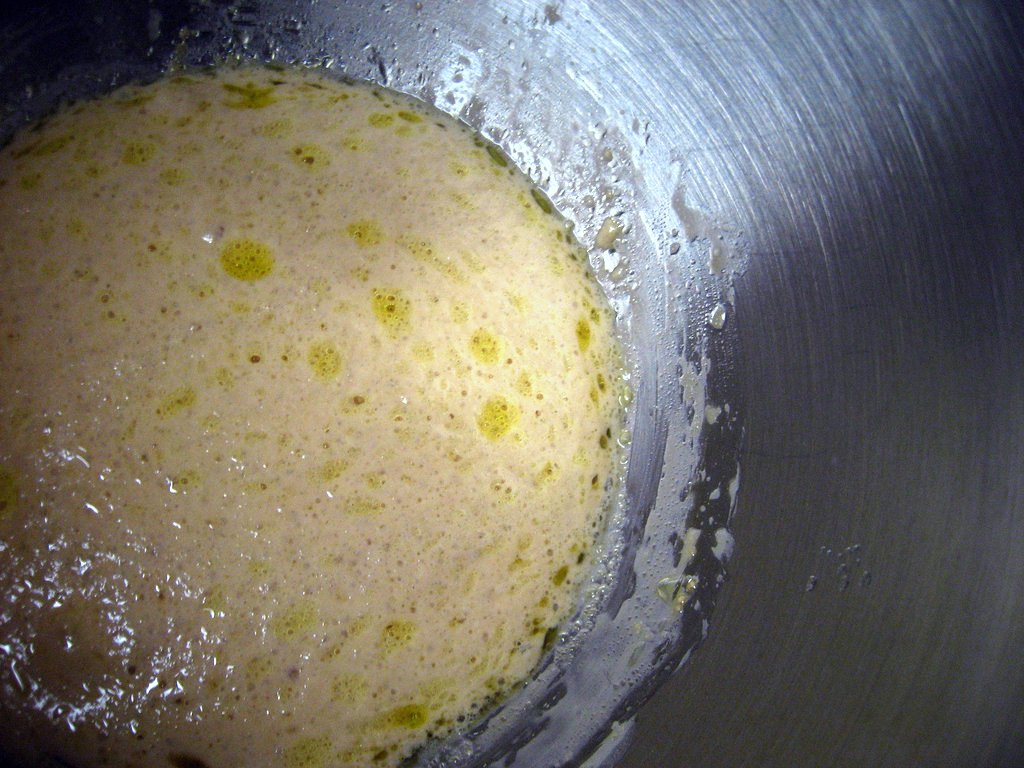
let the yeast do it's thing

And yet, it's been so long since I last baked bread.  It's such a shame.  The truth is, I just don't eat that much bread in a regular week.  Not to say I'm not a huge carb-loader, but pasta tends to be my gluten of choice.  But, with the holidays coming up, I wanted to try some dinner roll recipes that we could use for Thanksgiving.

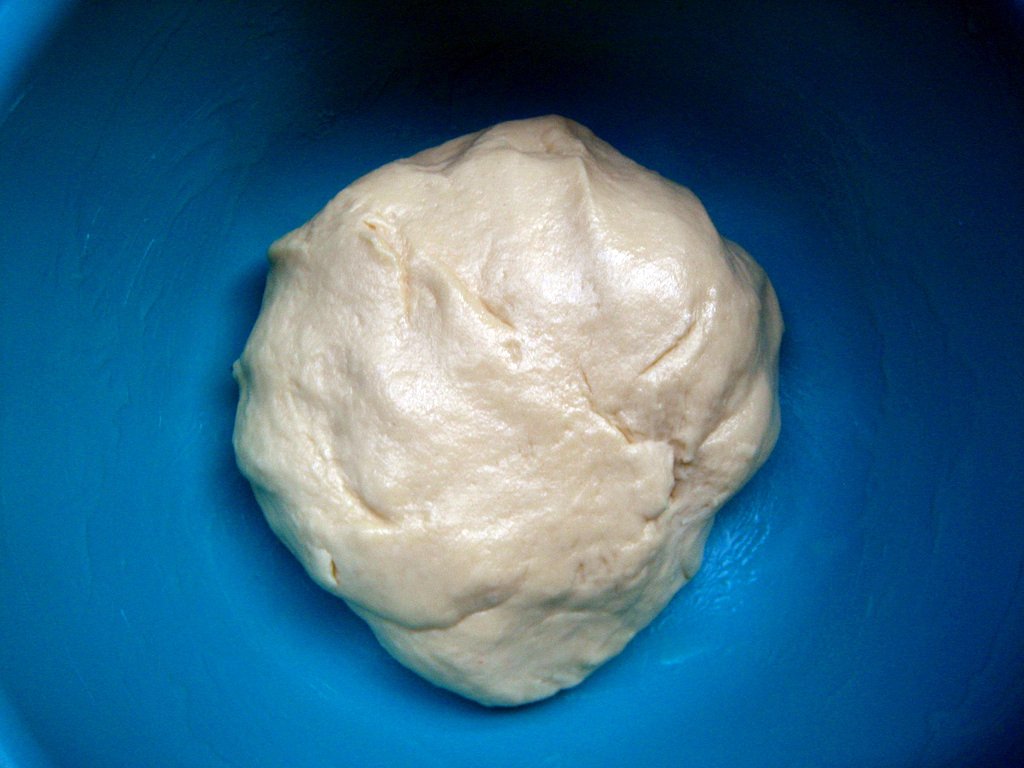
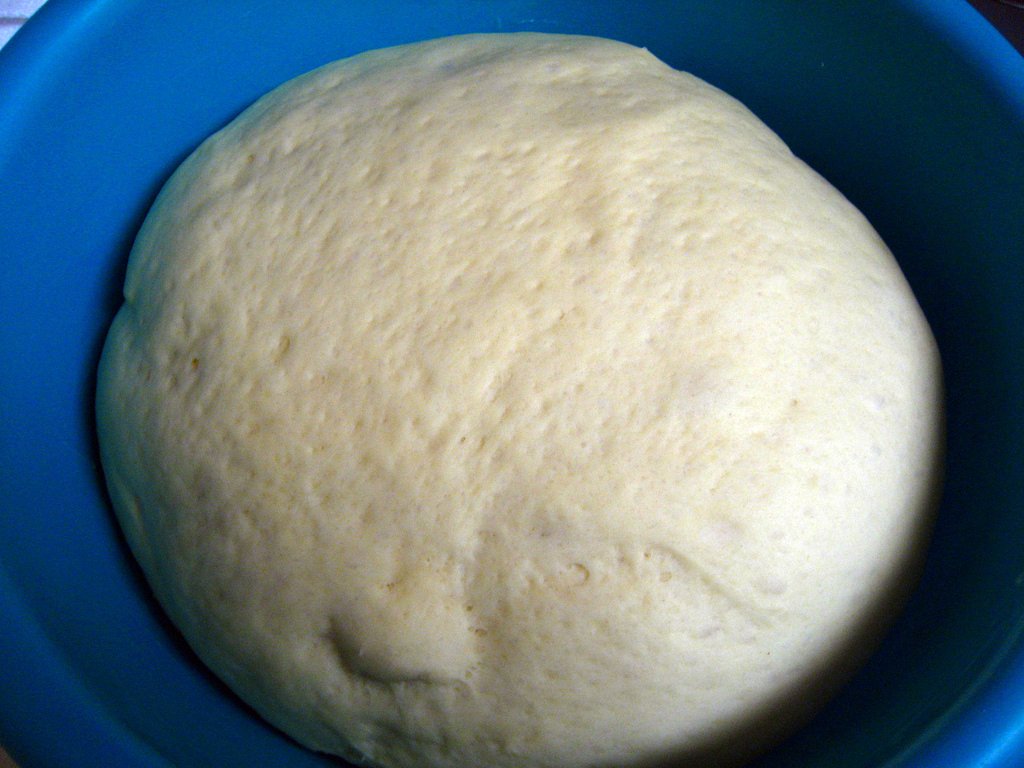
dough before risingdough, finished rising. Looks like a baby's belly

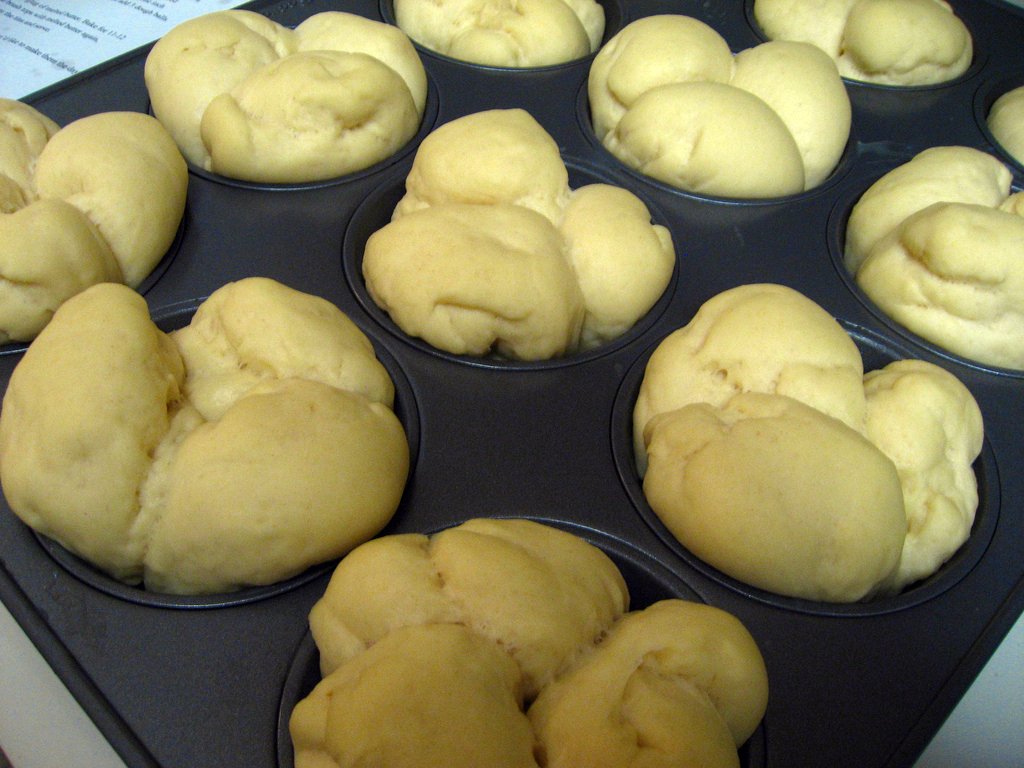
I decided to halve this recipe because I knew it would probably just be the two of us eating them.  Let me rephrase... I decided to halve this recipe so I wouldn't eat 30 dinner rolls in one sitting.  Because, believe me, I would have.  (By the way, half a large egg = 1/8 cup scrambled egg)  Half of the recipe actually only made a dozen rolls instead of 15, which was great because I only needed to make one batch (I only have 1 muffin tin). I also decided that I would top some of them with fun spices - some with garlic salt, a few with cinnamon sugar, and even one with smoked salt from Trader Joe's.

Butter Clover Rolls
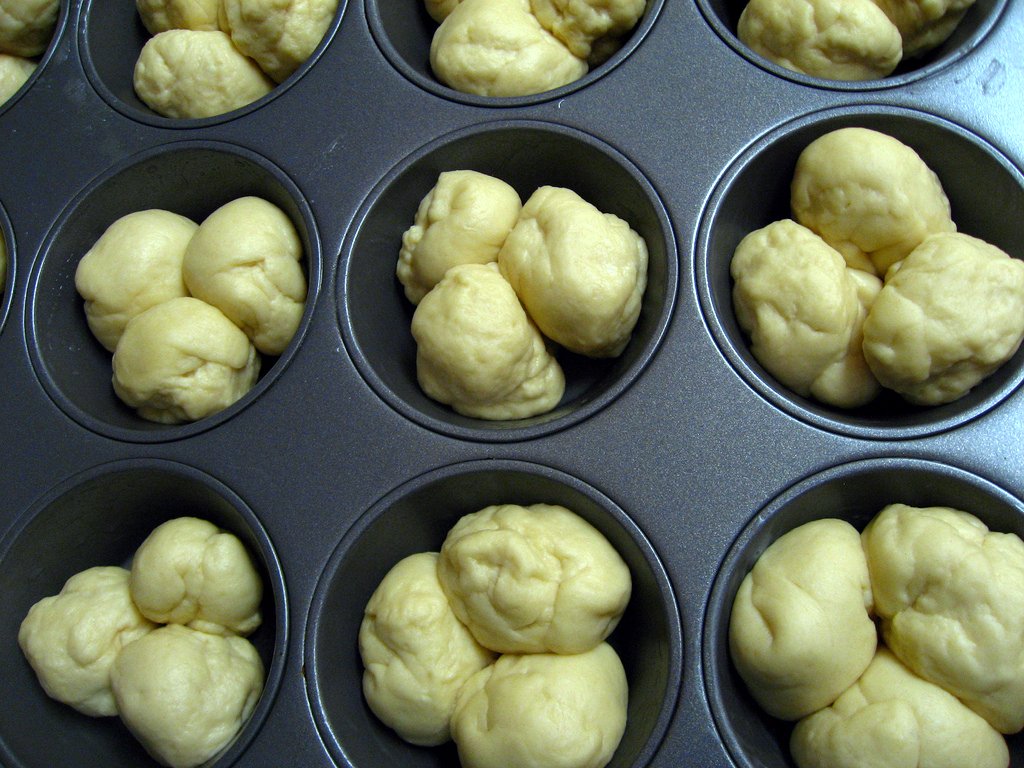
Buttery Cloverleaf Rolls - after the 2nd rise

All of the rolls came out absolutely amazing.  The cinnamon sugar was by far my favorite - next time I'd probably put cinnamon sugar in the butter that you use to coat the muffin tins as well.  I served them with Roasted Pumpkin and Lentil Soup with Chorizo that I had hidden from myself in the freezer.  Don't you love when you do that?  I liked sopping up the soup with the bread - so tasty.

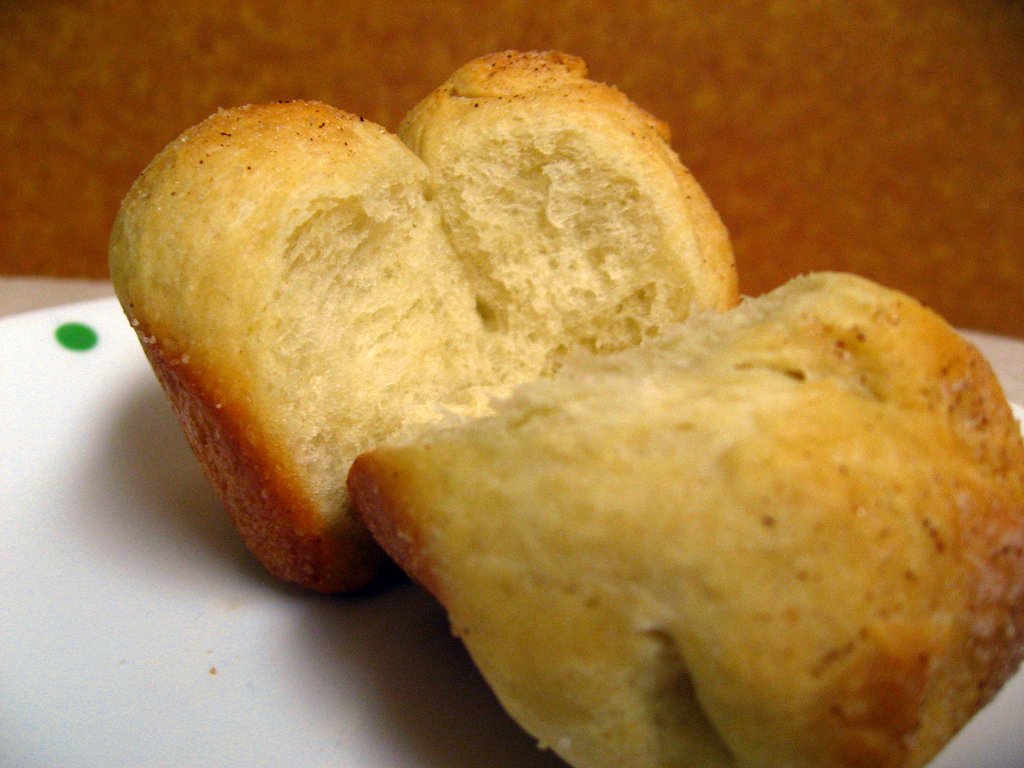
The best part about these rolls is the clover shape.  It looks absolutely adorable, but it also makes the rolls easy to peel into thirds.  It made a perfect excuse to keep eating more - "oh I'm just going to have 1 more clover of a roll!"  It seems perfectly reasonable to leave behind 2/3 of a roll when it splits off so nicely!  I should also mention that I used bread flour instead of AP flour, simply because I was all out of the regular stuff.  I don't think it affected them at all, so feel free to use whichever you have hanging around.  Either way, you should definitely make these.  (Just make sure you account for enough time for the first and second rise!) I promise you won't regret it!
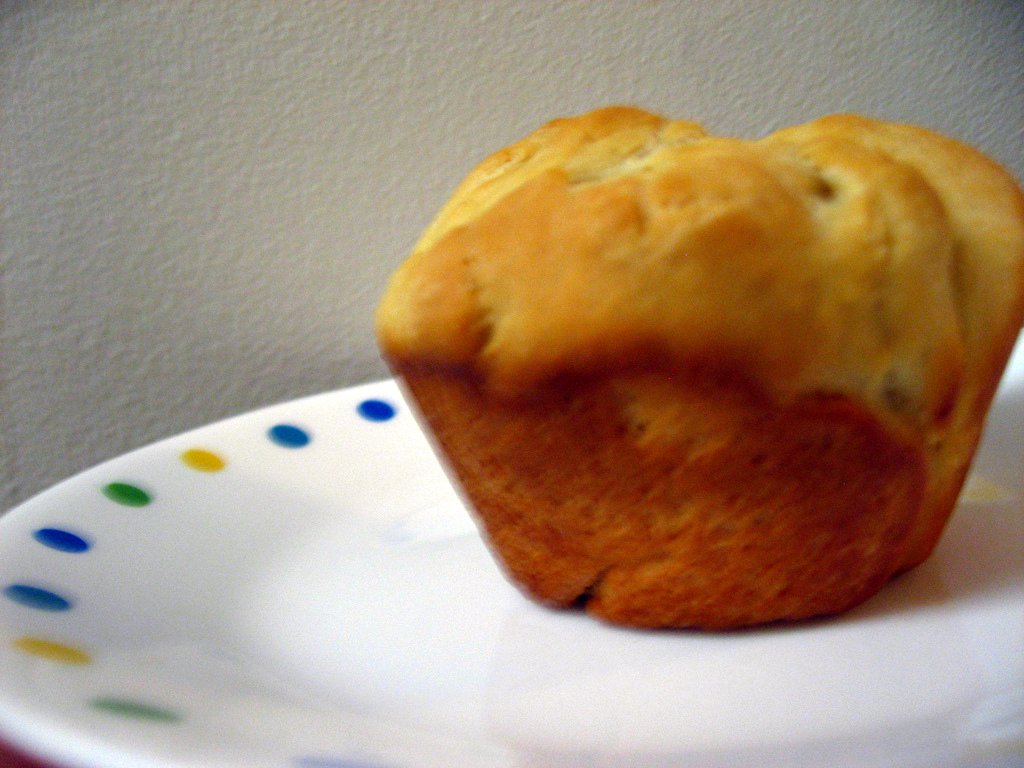
Buttery Cloverleaf Roll

Buttery Cloverleaf Rolls
from How Sweet It Is

Ingredients:
4 1/2 teaspoons (2 packets) active dry yeast
1/2 cup warm water
1 1/2 cups warm milk
1/4 cup honey
1 tablespoon olive oil
1 large egg
1/4 cup unsalted butter, softened
2 teaspoons salt
5 1/2-6 cups all-purpose flour, or more if needed
melted butter for brushing

Instructions:
1. In the bowl of your electric mixer (with an attached dough hook), combine warm water, yeast, olive oil and 1 tablespoon honey and mix with a spoon. Let sit until foamy, about 10-15 minutes.
2. Add warm milk, remaining honey, egg and butter, and mix on low speed until just combined, then add in 2 cups of flour and salt. Mix on low speed, gradually increasing to medium as flour becomes incorporated.
3. Slowly add the remaining flour 1 cup at a time, stopping at 5 cups. Knead the dough on medium speed for 4-5 minutes, then check to see if the dough is sticky. If it is too sticky, add a bit more flour and knead until it becomes smooth, but you want some stick to it. Remove dough from the bowl and form into a ball with your hands, covering with a bit more flour until it is no longer sticking to your hands.
4. Brush a large bowl with melted butter. Add dough to the bowl, turning once or twice to cover in butter. Place a towel over top and let rise in a warm place for 1 1/2-2 hours.
5. Punch dough down, then transfer to a floured workspace. Tear small pieces of dough off the larger piece, and roll into balls slightly larger than one inch wide. You will end up with about 90 dough balls. Brush a muffin tin with melted butter, then add 3 dough balls to each tin. Cover and let rise again, in a warm spot, for about an hour.
6. Preheat oven to 375 degrees. Brush the tops of each clover with a hefty glug of melted butter. Bake for 11-12 minutes (mine actually took closer to 20 minutes), or until tops are just golden brown. Remove from oven and brush tops with melted butter again, repeating the brushing another few times as the rolls cool (I actually skipped this step and they were buttery enough!) Remove from the tins and serve.

The muffins are best when eaten on the same day they were baked, however if you’d like to make them the day before, make sure to let them cool completely and store in an air-tight container.


Tuesday, May 17, 2011

Yankee Maple Cornbread


I LOVE cornbread.  On Thanksgiving, I've been known to only eat cornbread and my grandmother's homemade apple sauce.  I'll eat just about any type.


But when I saw this recipe, I knew it had to be made. MAPLE? Sold. Growing up in New England, I've always been a huge maple junkie.  I love maple candy (you know, the kind that's basically just sugar in the shape of a maple leaf? YUMMM!!) and when I eat waffles they're 90% maple syrup and 10% waffle.  I'd never settle for Aunt Jemima.


Someday, I'd love to have a little farm to grow my own ingredients and raise my own animals.  Or at least my own hens to lay eggs. And DEFINITELY would love to have some maple trees so that I could make my own syrup.  How great does that sound?


This recipe was super easy to make.  The taste, unfortunately, was not quite what I had hoped.  I used sprouted whole wheat flour and I think it gave it a grainy taste.  It also wasn't as moist as I'd hoped.  Also, I stored it in a tupperware and it went bad in only a couple of days which surprised me! I'd like to try again with AP or whole wheat pastry flour.  It definitely warrants a second try based on how easy this was!


Yankee Maple Cornbread
from ericalea on Tasty Kitchen

Ingredients
1 cup whole wheat pastry flour
1 cup stone ground or yellow cornmeal
1 tablespoon baking powder
1/2 teaspoon salt
1 cup whole milk
1/4 cup maple syrup
6 tablespoons butter, melted and cooled
2 eggs, lightly beaten

Instructions

Preheat the oven to 425° F. Pour 2 tablespoons of the melted butter into an 8 or 9-inch square or round baking pan.
In a medium mixing bowl, whisk the flour, cornmeal, baking powder, and salt. In a small bowl, whisk the milk, maple syrup, remaining butter, and eggs. Add the liquid ingredients to the dry ingredients and gently stir together just until moistened.
Pour the batter into the prepared pan and bake for 20-25 minutes, or until golden brown and a toothpick inserted in the middle comes out clean. Serve warm with butter and maple syrup.

Tuesday, March 22, 2011

Sourdough Bread


Finally, the post you've been waiting for - the sourdough bread!


Can I just say, that first of all this was a true "baker's experience"... Typical me, I didn't read through all of the instructions before diving in to make this, and didn't realize until had already started at about 7pm last night that I would need to wait 8-12 hours in the fridge before baking.  


So, I got up extra early to put the bread in the oven.  Like, I got to watch the sun rise over the Capitol from my balcony early. I'll remember this for next time and make this a weekend activity beginning in the morning!


Last week, I made my sourdough starter.  It definitely started to smell pretttty sour after a couple of days, so I waited 4 days before putting it in the fridge.  When I took it out of the fridge, there was a layer of liquid floating on top of the starter, which had thickened up.  I mixed this back in before using it.


The starter was pretty simple, and the bread was as well, except for all of the time it took.  When I removed 1/2 cup of starter for the bread, I replaced it with 1/2 cup flour and 1/4 cup water in the starter, then left the starter out on the counter overnight before stirring and returning to the fridge.


My knife probably wasn't sharp enough to cut the slits on the top of the bread.  I also cut 4 instead of 3, mainly because I didn't think they were even enough.


The bread didn't turn out nearly as golden brown as Annie's, even though I left it in for 30 min.  I really need to get an oven thermometer to make sure my oven is accurate.


I also think it would have helped if the plastic wrap had been a little bit tighter when it was in the fridge overnight.  The edges really didn't brown much at all and I did miss the really crispy crust of a good loaf of sourdough.


The taste, though was really good!  It wasn't quite as sour as I hoped (I love the tang that really good sourdough bread has), but I am hoping that as I let my starter develop more that future loaves will get better.  It definitely was better than my wheat bread, and worth all the extra work.  I would like to try a few more recipes now that I have my starter, but this one will definitely be used again!


And it makes a great tuna melt!


Sourdough Bread
halved from Annie's Eats

Yield: 1 large round loaf

Ingredients:
¾ cups lukewarm water (100˚ F)
2 tsp. active dry or instant yeast
½ tbsp. honey
½ cup sourdough starter
2¼-3 cups bread flour, plus more as needed
½ tbsp. unsalted butter, melted
1 large egg, at room temperature
1 ¼ tsp. salt
½ tbsp. bread flour mixed with ½ tbsp. yellow cornmeal

Instructions:
In the bowl of an electric mixer, whisk together the water, yeast, honey, and sourdough starter just until smooth.
Cover with plastic wrap and let stand at room temperature until slightly increased in bulk and bubbly, about 1 hour.
With the flat beater attached to the mixer and the mixer on low speed, mix in 1 ½ cups of the flour, the butter, eggs and salt.  Increase the speed to medium-low and mix until smooth, about 1 minute.  Add in 1 more cup of the flour and beat for 2 minutes.
Switch to the dough hook.  With the mixer on low speed, add the remaining flour, ¼ cup at a time (mine was already pulling from the sides so I didn’t add any more at all), until a very soft dough forms that pulls away from the sides of the bowl.  Knead on low speed, adding a tablespoon of flour if the dough begins to stick, until the dough is smooth and elastic, tacky but not sticky, about 6 minutes.
Form the dough into a ball and transfer to a lightly oiled bowl, turning once to coat.  Cover loosely with plastic wrap (oops, I forgot this step) and let rise until doubled in bulk, about 1½-2 hours (my kitchen’s warm, it only took about an hour or hour and 15 min).
Line a baking sheet with parchment paper or a silicone baking mat.  Sprinkle generously with the flour-cornmeal mixture.  Form the dough into a tight, oval loaf.  Place the loaf on the prepared baking sheet.  Sprinkle the tops with flour and gently rub in.  Cover loosely with plastic wrap and let rise in the refrigerator, 8-12 hours.
Place a baking stone on the lowest oven rack and preheat the oven to 450˚ F.  (If you don’t have a baking stone, use an overturned baking sheet, that’s what I did.)
Using a thin sharp knife, make three slash marks over the top of each loaf.  Place the baking sheet on the heated baking stone or baking sheet and bake for 10 minutes.  Reduce the oven temperature to 400˚ F and continue to bake until the loaves are golden brown, 25-30 minutes more.  Let cool completely on a wire rack before slicing and serving.

Thursday, March 17, 2011

Sourdough Starter

I finally did it! I made my sourdough starter!


Sourdough bread is my ABSOLUTE favorite. I have been thinking about starting to make it ever since my first try with homemade bread.


Growing up, we had neighbors across the street who always had a sourdough starter in their fridge.  They'd had it for years and perfected it, when the cleaning woman found it and thought it was something that had gone bad, and threw it out.  Needless to say, they were NOT happy.


I am so excited for next week when I get to turn this into bread!  Do you think I could sell parts of the starter on Craig's List? 

Sourdough Starter
Ingredients:
2 cups warm water
1 tbsp. sugar or honey
1 tbsp. active dry yeast
2 cups unbleached all-purpose flour

Instructions:
Pour the water into a 2-quart glass or ceramic jar or bowl.  Stir in the sugar or honey to dissolve.  Stir in the yeast.
Gradually whisk in the flour.  Cover loosely with a clean kitchen towel or dishcloth (not plastic wrap) and place it in a warm area.  (My kitchen in the winter definitely has no warm location, but my starter was just fine.)
Let it develop 2-5 days, stirring once a day due to the separation that will occur.  When bubbling has subsided and a sour aroma has developed, stir once more and refrigerate until ready to use.

Storing and Maintaining Your Starter
Once your starter is stored away in the refrigerator, it only needs to be replenished once every two weeks or so.  I put a little note to myself in my calendar as a reminder to either bake with or feed my starter.  You should feed your starter each time you remove a portion for use in baking, but if it has been two weeks and you don’t intend to bake with it immediately, simply remove a cup of the starter and discard.  For every 1 cup of starter removed, replace with 1 cup of flour and ½ cup of water.  Stir to blend, and let sit at room temperature for at least 12 hours before returning to the refrigerator.

I promise to share the bread recipe as soon as I make it!

Monday, March 7, 2011

Spinach and Goat Cheese Turkey Burgers with Homemade Buns


I love ground turkey.  Not only is it tasty and healthy, it's cheap!  I bought all-natural, 97/3 ground turkey for LESS THAN $3 today!


Right before leaving work I very quickly had to find something to make for dinner.  These burgers seemed like a quick and easy dinner.  I am not a big feta fan so I substituted it for  goat cheese, which I LOVE.  I don't even know why they make cheese from cows when they can make it from goats!


I have decided recently to give up purchasing bread.  Most companies use high fructose corn syrup and other un-natural ingredients - so it is much more healthy to make it myself and not that difficult!


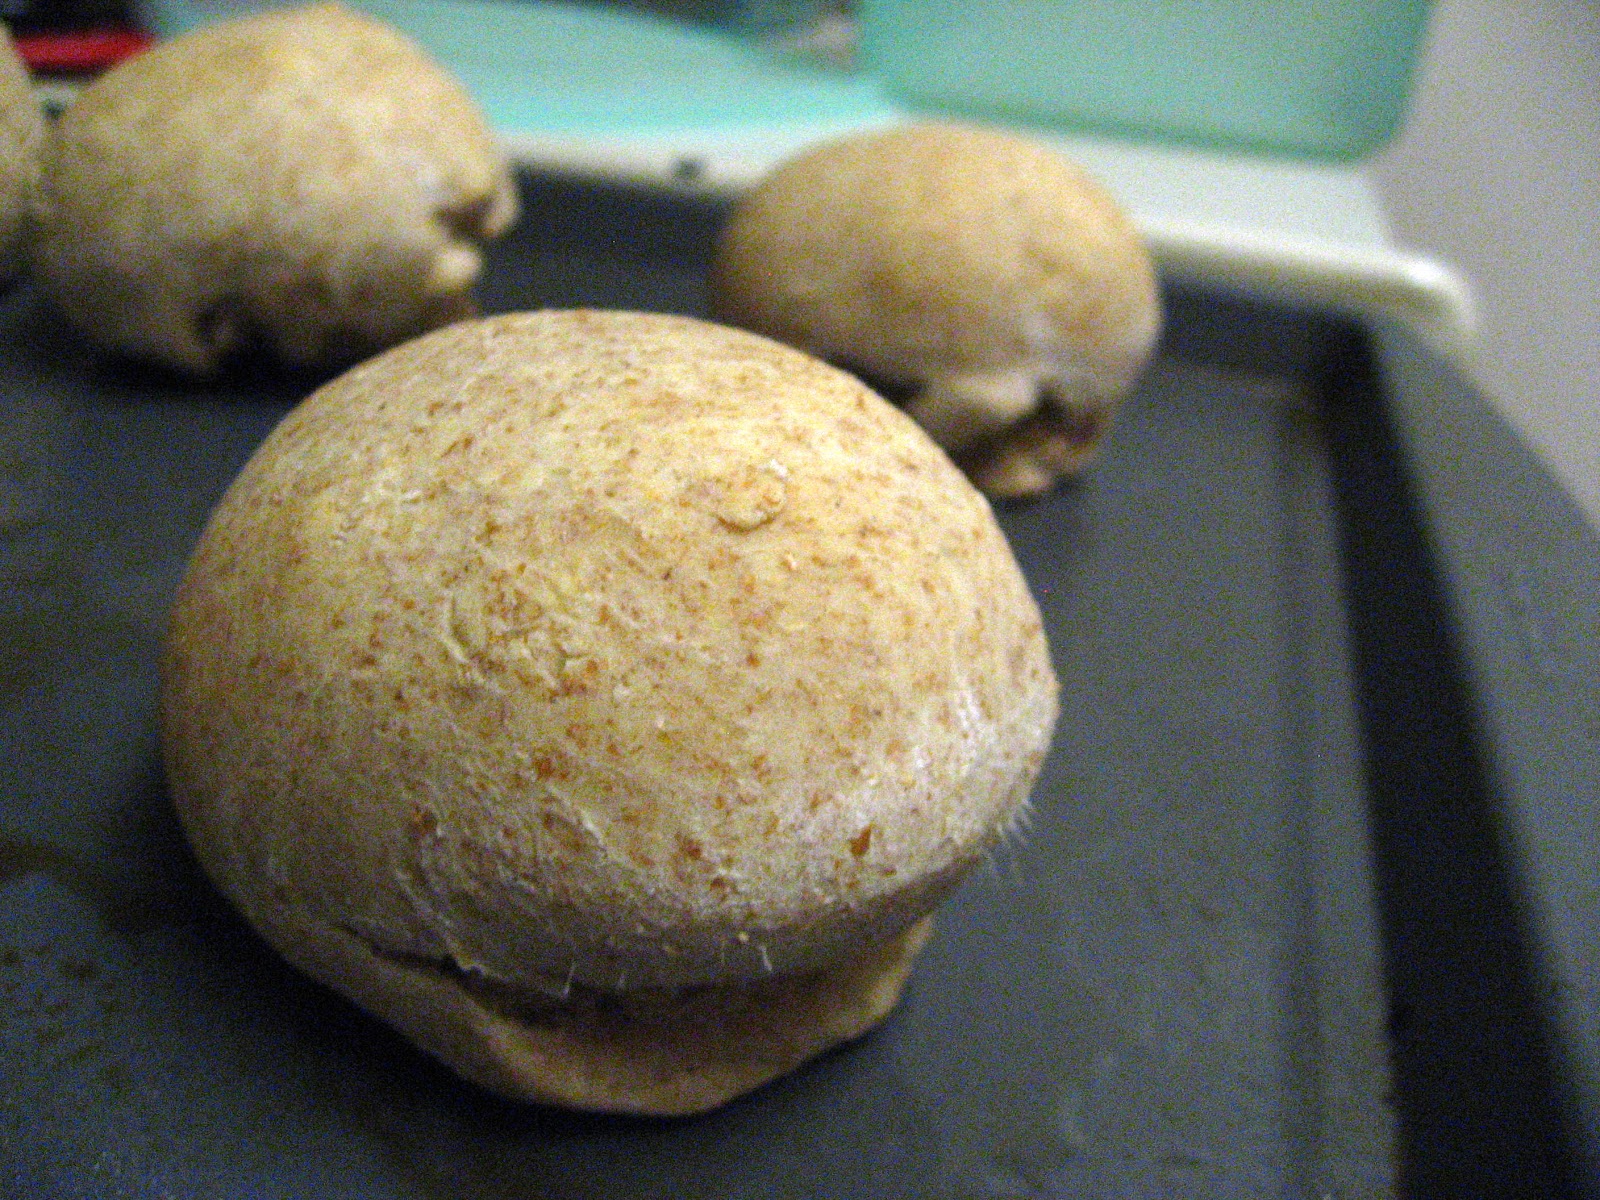
These buns were easy to make, but I think I added too much flour.  I'll have to try this recipe again to give it a fair shot.


The burgers on the other hand were DELISH!  I learned from Bobby Flay to salt and pepper the outside of the burger instead of mixing the seasonings inside.  It helps create a nice crust on the outside of the burger.  The goat cheese make the burgers creamy and yum.


I also added caramelized onions, ketchup, and Chulula on top of the burger.  It was a perfect dinner after today's run! 


Spinach and Goat Cheese Turkey Burgers
Adapted from Eat, Live, Run 
Ingredients:
1.3 lb ground turkey
1 egg, slightly beaten
1 box frozen spinach (about half of a bag), defrosted and squeezed dry
3 oz goat cheese
1 tsp salt + pinch of pepper
Directions:
Mix together all ingredients with your hands and form eight small patties. Cook patties in a greased skillet for about 6 minutes per side, or until meat is completely cooked. Serve on toasted buns with extra cheese, hot sauce, sliced onion, lettuce and ketchup.

Homemade Burger Buns
from creationsbykara 
Ingredients: 
  • ¾ cups Hot Water
  • 2 Tablespoons Oil
  • 2 Tablespoons Sugar
  • 2 teaspoons Instant Yeast
  • 1 teaspoon Salt
  • 1 whole Egg
  • 2-¾ cups Flour - half AP, half whole wheat (I used much less and probably could have used less)
Instructions:
Combine all the ingredients with about 1 1/2 cups of the flour in a large bowl. I use my Bosch. Beat till smooth. Add enough flour to make a dough that is slightly sticky, but doesn’t stick to your fingers. Knead for about 5 minutes.
Let dough rest for a couple of minutes, then divide into 8 portions. Roll each portion into a ball. Place on a well-greased cookie sheet and press down with the palm of your hand to flatten slightly. Let rise till doubled. (Mine took about 30 minutes, but it depends on the temperature of your kitchen.) Bake in a preheated oven at 350F for about 15-18 minutes. Cut in half and serve, for the yummiest hamburger you’ve ever had.
Note: If you want sesame seeds on top, take them out of the oven after 10 minutes of baking. Brush with beaten egg white and sprinkle with sesame seeds. Then return them to the oven for the remaining 5-8 minutes.