Showing posts with label cinnamon. Show all posts

Tuesday, September 10, 2013

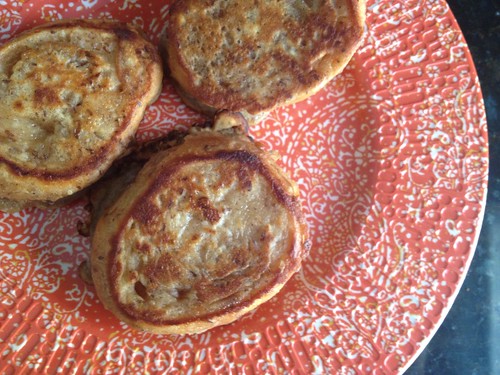
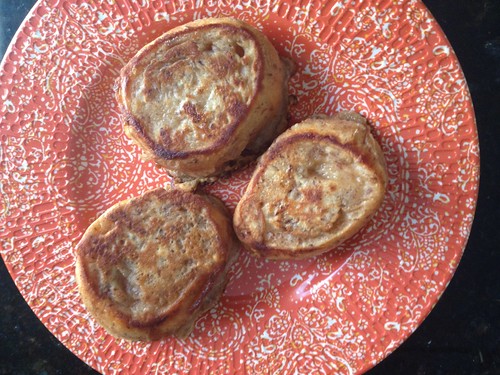
Dutch Baby with Lavender Sugar

Lavender Dutch Baby

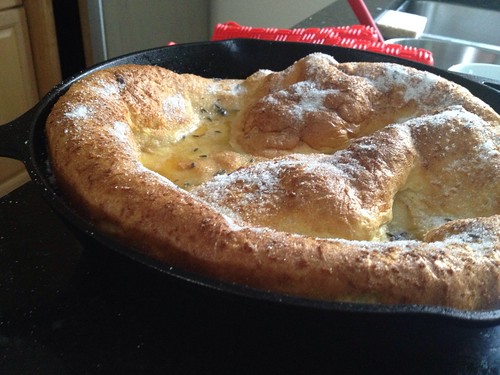
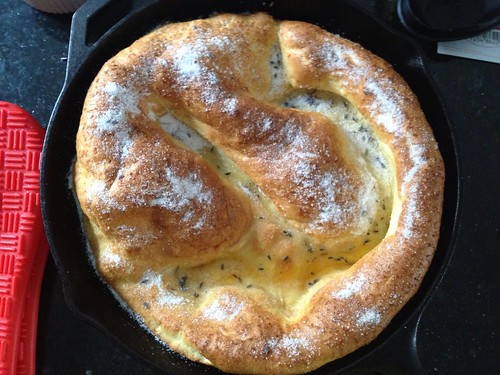
Sunday mornings for me deserve a special breakfast.  Often this means french toast, but when the only bread in the house is multi-grain (and let's be serious, a good french toast should be made with challah or French bread) sometimes you need to up the ante a little bit.  I have been seeing recipes for dutch babies for months and I've been dreaming about them but they look... intimidating.  All that puffed dough in a cast iron skillet? Sounds complicated.
Lavender Dutch Baby

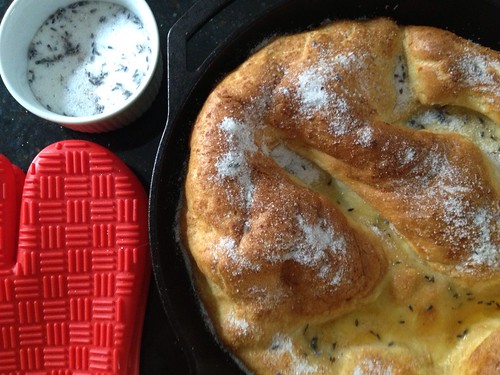
Wrong.  SO EASY.  Healthy? Not so much. But definitely easy!  And delicious?  Of course.  It reminds me of the fried dough we used to get at Clowntown, my hometown's annual carnival, every year.  But it's breakfast food and on Sundays, I don't even feel guilty about it!  The lavender on top takes it from a cheesy carnival treat to something just a little bit more gourmet.  I loved this so much as is, I didn't even pour maple syrup on it.  Now that's saying something.
Lavender Dutch Baby

Dutch Baby with Lavender Sugar
from A Cozy Kitchen

Ingredients
3 large eggs at room temperature 30 minutes
2/3 cup whole milk at room temperature (I used skim and it worked fine)
2/3 cup all-purpose flour
1/4 teaspoon pure vanilla extract
1/8 teaspoon cinnamon
1/8 teaspoon grated nutmeg
1/8 teaspoon salt
1/2 stick unsalted butter, cut into pieces
1/3 cup sugar
1 tablespoon of dried lavender

Instructions
1. Preheat the oven to 450 F. Put a 10" cast iron skillet on the middle rack of the oven and let it heat up for about 3 minutes (if it gets too hot the butter will burn).
2. In the bowl of your stand mixer, beat the eggs on high with the whisk attachment until pale and frothy. Add the milk, flour, vanilla, cinnamon, and nutmeg and beat just until smooth. You'll have a very thin batter.
3. Carefully remove the hot skillet from the oven and add the butter, swirling to coat the bottom evenly. It may brown a little bit - that's OK.  As soon as the butter is melted, add the batter and immediately return to the oven.  Bake until puffed and golden brown, 18-25 minutes (mine was done in 18, so be sure to watch it).
4. While the pancake bakes, mix together the sugar and lavender in a small bowl.  Press the lavender into the sugar, breaking it up and making it fragrant.
5.  When the pancake is finished, remove from the oven and top with the lavender sugar.  You may not need all the sugar - I only used about half and saved the rest for another day.  Serve immediately.

Monday, August 26, 2013

Egg-free French Toast

Eggless French toast

On Sunday morning I was craving French Toast.  Of course, the roommate is the only one who ever buys eggs in our house and, since he'd been gone for a week, we had none.  I told myself I wasn't going out until I had done a deep-clean of the house, so there was no going to the store or our usual brunch spot.  It was time to get creative.

I figured if anyone knew how to make French Toast sans eggs it would be a vegan, so I did a quick search and found a vegan French Toast recipe.  We all know I am not a vegan chef so I of course un-veganized it - adding back in milk and butter.  It's a great way to make French Toast if you're allergic to eggs or, like me, a lazy grocery shopper.  It's crispy on the outside and soft on the inside.  It would be awesome topped with fresh fruit or berries.  Basically, it's just batter-fried bread, and who can complain about that?  Certainly not me!

Eggless French toast

Egg-free French Toast
adapted from chef chloe

Ingredients
1/4 c skim milk
1/4 c flour
1 tbsp maple syrup (plus more for serving)
1 tbsp ground flax seed
1/4 tsp salt
1/2 tsp cinnamon
1 tbsp brown sugar
1/2 tsp vanilla
6 slices, 3/4" thick, french bread
1 tbsp butter

Instructions
1. Whisk together the milk and flour with a fork in a small bowl until smooth.
2. Add the maple syrup, ground flax seed, salt, cinnamon, brown sugar and vanilla and whisk to combine.
3. Dip the bread in the batter until both sides are well coated.
4. Melt the butter in a skillet over medium heat.  Once melted, add the bread, making sure not to crowd the pan.  If you need to do it in two batches, that's better than squishing the bread.
5. Allow the bread to brown on one side, then flip and allow to brown on the other side.  I like to press the bread while the second side is browning.
6. Serve with additional maple syrup, warmed.

serves 2

Friday, December 14, 2012

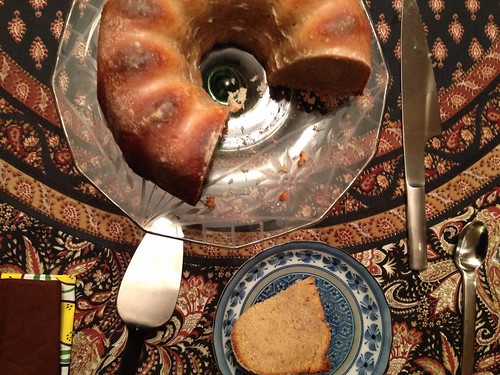
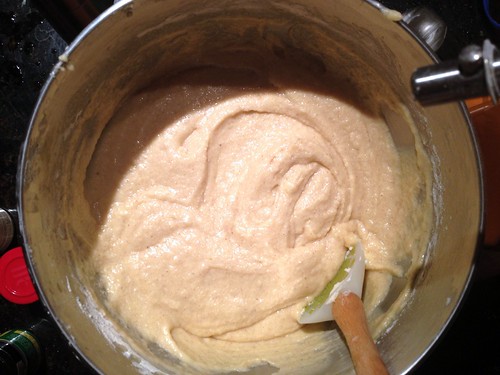
Apple Cider Pound Cake with Apple Cider Glaze

apple cider cake

Last week I had a very special treat. My former coworker was visiting Chicago and invited me and the Monkey Scientist to have dinner at her sister's house.  I used to eat lunch with her every day, but now I hadn't seen her in months!  It was great to be able to spend time with her and catch up.  I can't believe how many people I used to work with have had babies since I left.  I miss the flurry of baby pictures I used to get in my email.

apple cider cake batter

As I've mentioned before, my coworker isn't a big chocolate person.  I dug through my recently starred recipes in Google Reader and it seemed like everything was chocolate!  Finally, I came across this cake and I knew it was perfect.  I love cakes that are sweet and this cider glaze was perfect. I knew she'd love it.

Untitled

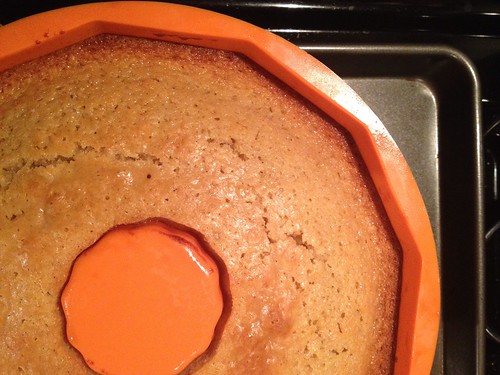
Besides that, the Monkey Scientist gave me a bundt pan last Christmas and I still hadn't used it until now!  His mom makes a few really amazing bundt cakes, so I never wanted to compete with her.  Fortunately, this cake was far enough from her chocolate chip cake that I wasn't too worried. However, after the first 70 minutes I could tell the cake wasn't going to keep its shape and was going to become a pool of dough.  I threw it back in the oven for another 20-30 minutes, though, and it really did the trick.  So even if your cake is starting to turn brown around the edges, don't fret! Let it cook all the way through! (Especially if you have a silicon bundt pan).

Untitled

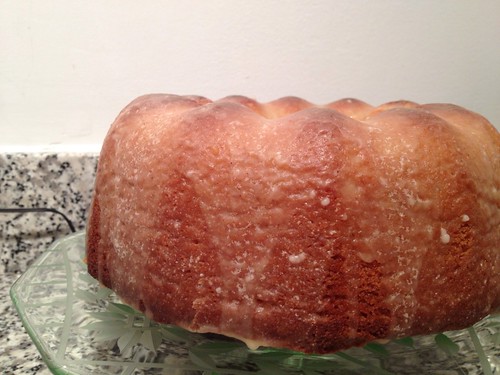
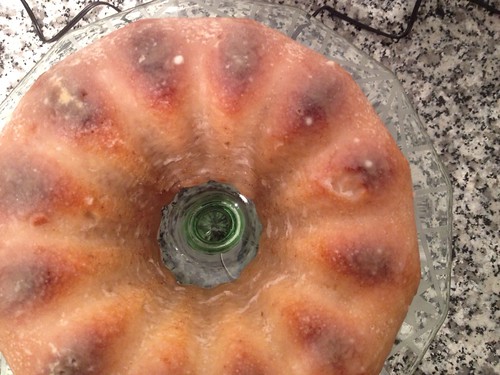
To no big surprise, this cake came out really delicious. It's sweet without being too sweet, and has a nice subtle apple cider flavor.  I love the warmth of the cinnamon throughout.  I didn't reduce the cider quite enough so the glaze looks pretty white compared to what it should have looked like.  It didn't matter though - I liked the white color and it tasted great.

Untitled

Apple Cider Pound Cake with Apple Cider Glaze
very slightly adapted from Buns in My Oven

Ingredients
For the cake:
3 cups sugar
1 1/2 cups butter, softened
6 eggs
3 cups flour
1/2 teaspoon salt
1/2 teaspoon baking powder
1 teaspoon ground cinnamon
1/2 teaspoon ground nutmeg
1/8 teaspoon ground cloves
1 cup apple cider
1 teaspoon vanilla
For the glaze:
1 cup apple cider
1/2 - 1 cup powdered sugar
2 tablespoons butter, melted and cooled
dash of salt
1/4 tsp cinnamon

Instructions
1. Preheat the oven to 325 and grease a bundt pan.
2. In the bowl of a standing mixer, cream the butter and sugar.  With the mixer on low speed, add the eggs one at a time until incorporated.
3. In a large bowl, whisk to combine the dry ingredients.  In a measuring cup, combine 1 cup of apple cider with 1 teaspoon vanilla.
4. With the mixer on low speed, add the dry mixture and cider a bit at a time, alternating between which you are adding.  When everything in incorporated, spoon the batter into your bundt pan.  Bake for 70 minutes or until a toothpick comes out clean (I used a silicon bundt pan and it took closer to 90 minutes).
5. Remove from the oven and let the cake sit for at least 20 minutes in the bundt pan.  Remove from bundt pan and allow to cool completely.
6. Add the remaining 1 cup cider to a small saucepan and bring to a boil.  Allow to boil for at least 10 minutes or until the liquid reduces by half (I don't think mine reduced enough, so it wasn't dark in color).
7. Add the butter, salt, cinnamon, and powdered sugar.  If it isn't thick enough, continue to add powdered sugar until it reaches desired consistency.
8. Allow to cool slightly, and then pour over cake.  I recommend doing this over a jelly roll pan so you can collect the drippings and pour it over again if you like (I did this 3 times).  Serve at room temperature.

Wednesday, December 5, 2012

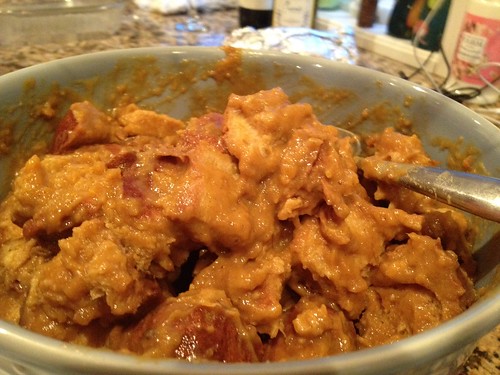
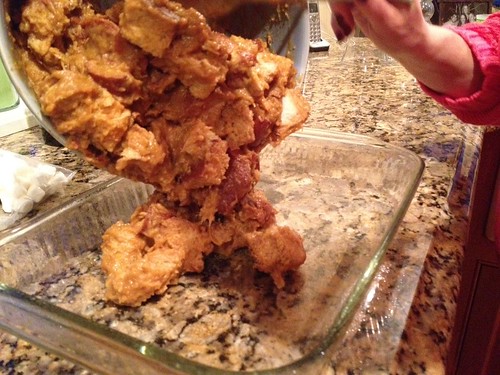
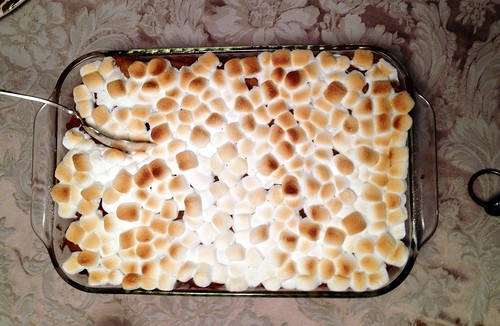
Sweet Potato Bread Pudding

sweet potato bread pudding

I don't think I've ever eaten as much food over a 4 day period as I did this Thanksgiving.  We had huge dinners with both sides of my family, sandwiching a couple of delicious restaurant meals.  I feel ready for hibernation - I do not need to eat another thing for the next month!

Untitled

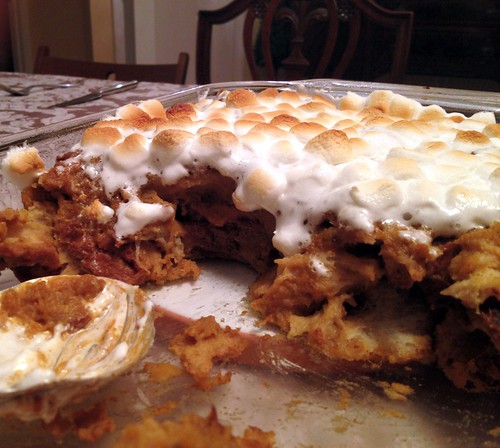
One dish I just had to make was this sweet potato bread pudding.  We never grew up having sweet potato casserole, but I love it.  I mean, what's not to love?  Sweet potatoes. Marshmallows.  YUM.  I'd take that over tzimmes any day!

Untitled

My cousin, who is 8, is a fairly picky eater.  He's usually willing to try new things, but I've seen him not like a lot more things than he likes.  When he tried this bread pudding, he actually sought me out to tell me how much he liked it.  That was a major compliment coming from him!  His sister loved it as well, but I'm not sure she didn't just pick the marshmallows off the top.

Untitled

This recipe is dessert, but it really isn't that bad for you.  I think you can totally justify it as a starch, rather than a sweet.  We used unsweetened almond milk in our version because my grandfather is allergic to dairy, and I think it made it better! It added a new dimension of flavor to the dish in addition to making it lactose-intolerant friendly.

Untitled

The challah we used is from one of my favorite places in the world - Rein's Deli - that we picked up on our way back to New Hampshire from Connecticut.  Normally, I would probably make my own bread, but I know I can trust bread from Rein's.  We served it alongside my Lobster Mac and Cheese.  It was quite the indulgent evening.  We also had my grandmother's famous pastrami that my brother craves all year.  It was a pretty fantastic meal all-around.  I may have been full - but I think it was well worth it!

sweet potato bread pudding

Sweet Potato Bread Pudding
adapted from Baking Bites

Ingredients
2-3 medium-sized sweet potatoes
2 2/3 cups unsweetened almond milk (cow's milk is ok)
4 large eggs, lightly whisked
1 cup brown sugar
1 tsp vanilla extract
1 tsp ground cinnamon
1/4 tsp ground nutmeg
1/4 tsp salt
9-10 cups cubed challah
4 cups mini marshmallows

Instructions
1. Wrap the sweet potatoes in foil and roast in a 400 degree oven for about 40 minutes or until soft enough to pierce with a fork.  Remove the potatoes from the oven and lower the temperature to 350.
2. Remove the skins and puree in a large bowl with an immersion blender (or in a food processor).  Whisk in the almond milk, eggs, brown sugar, vanilla, cinnamon, nutmeg, and salt.
3.  Add the bread to a separate large bowl and pour the potato mixture over it.  You could add the bread into the original bowl, but it's really difficult to stir and your bread will get all broken up.  Fold to coat all of the bread and let it sit for 20 minutes so the bread can soak up the liquid.
4. Grease a 9x13 baking dish, then transfer the bread into it.  Bake in the 350 degree oven for 40 minutes, or until the pudding is set and springs back when lightly pressed.
5. Take the dish out of the oven and carefully sprinkle the top with mini marshmallows. Place under the broiler for 1-2 minutes (WATCH CAREFULLY, marshmallows burn easily!) until the marshmallows puff up and turn brown.
6. Let cool for 15 minutes, then serve.

Sunday, October 7, 2012

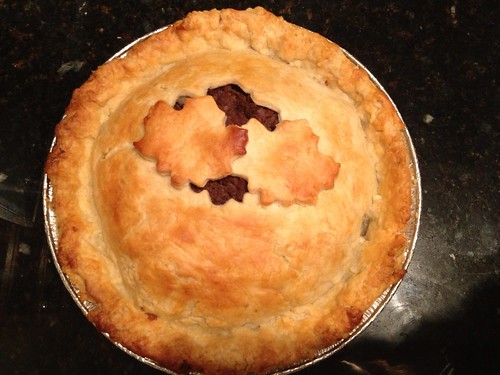
Tourtière (French Canadian Meat Pie)

Untitled

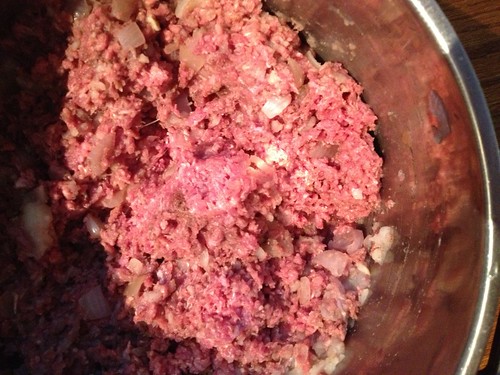
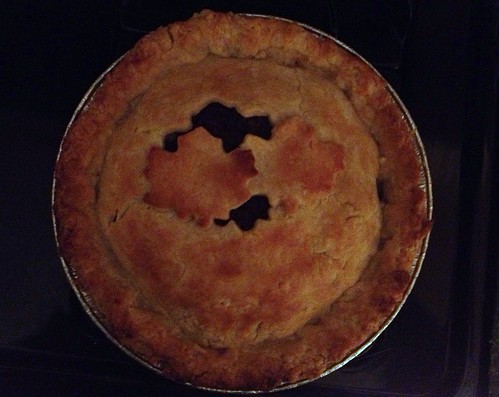
The strangest thing happened today.  I woke up and was dead set on making tourtière, for no apparent reason.  One of my mom's best friends is French Canadian (although she has always lived in the States) and every year for Christmas she makes the most delicious meat pie, called tourtière, that her family made growing up.  She knows I love it, so she always makes an extra and has us for dinner sometime the following week so that I can enjoy it.  It's become something I look forward to each winter.

Untitled

A couple years ago, I decided I wanted to make it myself.  I dug around looking at recipes online and emailed my mom's friend for the recipe.  I had it sitting in my inbox for almost 2 years, but I never got around to making it!  So this morning, I dug it up and decided I just had to make it.  The Monkey Scientist thought I was crazy (Canadian food?) but he couldn't say no to meat and pie.

tourtiere

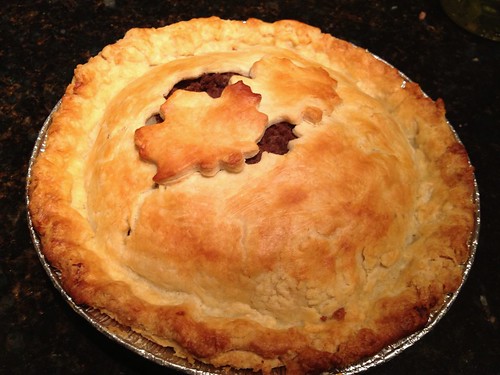
So I went to the store, and got everything I needed, and made two pies (one to eat, one to freeze for another night this winter).  We ate and enjoyed them and the Monkey Scientist went back to studying.  Then I was online and realized that - by total coincidence - it is Canadian Thanksgiving tomorrow.  Although I've always known this to be a Christmas dish, it appears that it is also eaten on Thanksgiving in Canada.  The Monkey Scientist told me he thinks I have a 6th sense for Canadian holidays - what do you think?

tourtiere

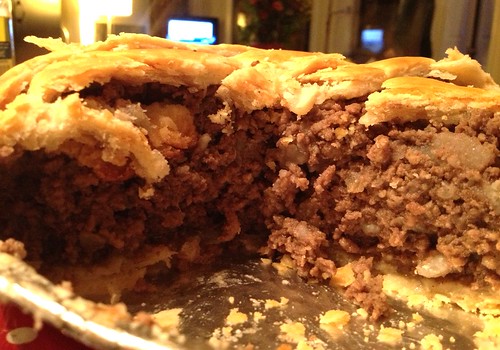
As far as the recipe goes, this one is something I will keep around.  It is the perfect meal for a cold day because it's so warm - both in temperature and from the cinnamon, all spice, nutmeg and cloves.  It just tastes like a Christmas night by the fire in New Hampshire to me.  The Monkey Scientist and I liked it with a little Chulula on top, but it is just great on it's own as part of a holiday meal - whether it's Canadian Thanksgiving, US Thanksgiving, Christmas, New Years, or just a winter's night with the family.

Happy Canadian Thanksgiving to everyone celebrating!

tourtiere

Tourtière (French Canadian Meat Pie)
adapted from Yankee Magazine, All Recipes, and LB
makes 2 pies

Ingredients
filling
2 small potatoes, chopped
2 finely chopped onions
2 lbs ground pork
2 lbs ground beef
1 1/2 c water
1 tbsp salt
1/2 tsp pepper
2 tsp allspice
1 tsp cinnamon
1/2 tsp nutmeg
1/2 tsp ground cloves
crust
4 c unbleached AP flour (plus more for the rolling surface)
1 tsp salt
1 3/4 c shortening
1 large egg, lightly beaten
1 tbsp vinegar
1/2 c ice water
to assemble
1/4 c milk

Instructions
1. Preheat the oven to 400F (you can wait to do this until you begin assembling the pies).
2. In a very large pot, bring several cups of water to a boil, then add the potatoes and onions.  Cook about 20 minutes, or until potatoes can be easily pierced with a knife.
3. Drain the water, and return the potatoes and onions to the pot.  Add the pork, beef, 1 1/2 c water, salt, pepper, allspice, cinnamon, nutmeg, and ground cloves to the pot.  Bring to a boil, then reduce heat and simmer, covered, for 1 hour.
4. When the meat is done cooking, drain the liquid into a bowl and place the meat into a separate bowl. Put both bowls in the refrigerator and chill for at least an hour.
5.   In a large bowl, combine the flour and salt.  Add in the shortening and cut with a pastry cutter until you have pea-sized clumps.
6.  Add the egg, vinegar, and ice water to the flour and shortening mixture.  Work into a soft, cohesive dough ball. Cut the dough into quarters.  On a well-floured surface, roll out each quarter of the dough ball into rounds for the bottoms and tops of each pie.  Transfer one pie crust into each of your your two pie dishes.
7.  Remove the liquid and meat from the fridge.  Scrape the solidified fat off the top of the liquid and discard.  Fill each of your pie dishes with half of the meat mixture.  Top with one tablespoon of the liquid in each pie.  Top your pies off with your last two pie crusts and pinch edges to seal.  Cut slits in the top of each crust so that steam can escape.
8. Brush the tops of the pies with milk.  Bake in the preheated oven for 50 minutes or until golden brown.  Serve immediately or freeze until you're ready to serve.

Saturday, September 29, 2012

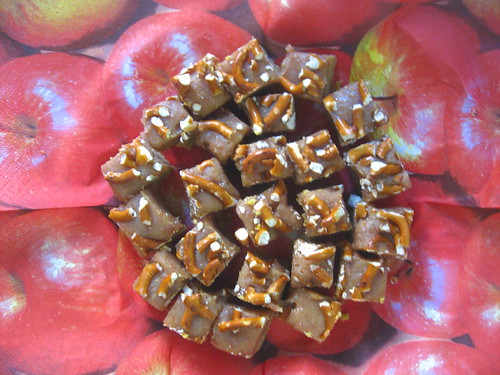
Pumpkin Shortbread with Caramel and Pretzels

IMG_8053

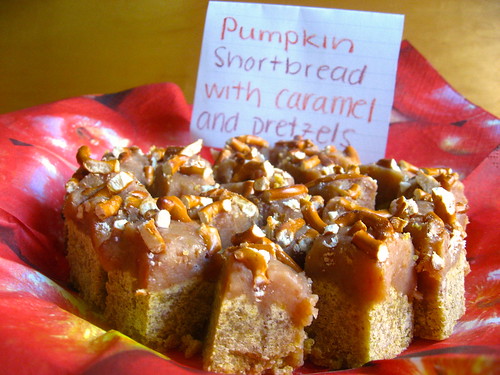
This weekend there are lots of events going on in our neighborhood!  I woke up to lots of barking from the 9th Annual Mutt Strut.  It took a LOT of restraint to not adopt the adorable 3 year old black pug the Chicago Canine Rescue group brought.  He was so cute and sweet.  Luckily I have my dad to call and bring me back down to reality instead of adopting puppies on a whim!

Then, the Lakeview Chamber of Commerce hosted a dessert potluck just around the corner.  I wanted to bring a fun fall dessert and I'd been eyeing this recipe all week.  It was the perfect excuse!

IMG_8046

We all thought these were a delicious treat, and based on their tweet, I think the Chamber of Commerce and my neighbors enjoyed them as well.  They were sweet and a little bit salty, and plenty buttery.  I had these adorable apple napkins left from Rosh Hashana, which made them perfect for serving on.  Speaking of Rosh Hashana, I've been holding out on you with some really great recipes.  I promise, I will be posting my new favorite brisket recipe soon. It's amazing!!

IMG_8050

Pumpkin Shortbread with Caramel and Pretzels
slightly adapted from Sugarcrafter

Ingredients
pumpkin shortbread
cooking spray
1 3/4 c AP flour
1/4 c sugar
1/2 tsp cinnamon
5 tbsp pumpkin puree
10 tbsp unsalted butter, cut into 1″ pieces
caramel
12 tbsp butter
1 (14-ounce) can sweetened condensed milk
4 tbsp honey
topping
1 c crushed pretzels

Instructions
1. Preheat the oven to 325F. Line an 8" square baking dish with foil and spray with cooking spray.
2. In a food processor, combine the flour, sugar, cinnamon, pumpkin, and butter. Pulse until combined and when you press the mixture together with your fingers it sticks together like dough.
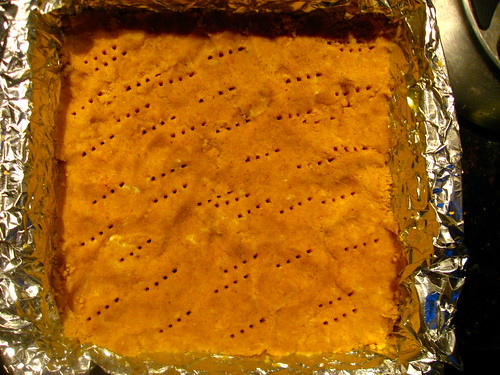
3. Press into the prepared dish and pierce all over with a fork. Bake 5 minutes, then lower the oven to 300F and bake and additional 30-40 minutes or until light golden brown. Remove from oven and allow to cool.
4. In a deep glass bowl, melt the butter. Stir in the condensed milk and honey. Whisk until well combined. Heat in the microwave 7 minutes until boiling, stirring every 30 seconds. Don't walk away, because it can boil over! The caramel is ready when thickened and light golden brown.
NOTE: If you are multitasking and put the microwave on for 7 minutes and totally forget about it and don't stir it every 30 seconds, and when you remove it from the microwave it looks like butter with brown clumps at the bottom - don't think you TOTALLY ruined it. Sure it isn't perfect, but if you stir constantly with a spatula for long enough, it will still turn back into caramel. Not that I would know from experience or anything... oops.
5. Pour the hot caramel over the cooled cookie layer. Sprinkle the crushed pretzels over the caramel layer.
6. Cool to room temperature, then place in the fridge and allow to cool completely. Cut into small square and serve.

Monday, July 2, 2012

An American Meal

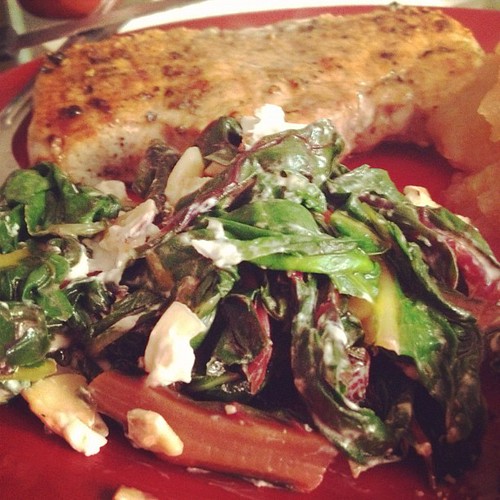
Pork chops ala Monkey Scientist

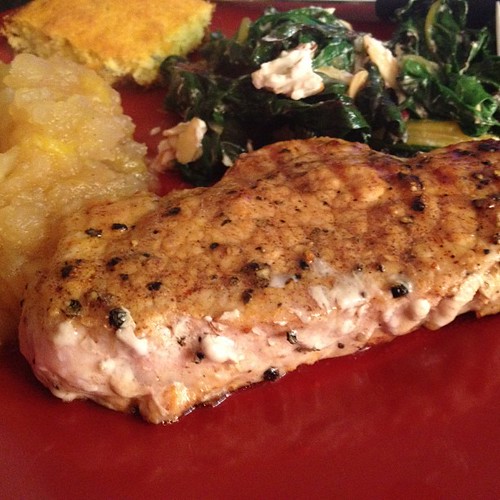
We had the BEST dinner the other night.  Everything worked so well together, I just had to share it with you as a whole plate.  It's a perfectly American meal for the week of the 4th of July!

The meat of the meal (pun intended) was what I lovingly refer to as "Pork Chop ala Monkey Scientist".  I'm not totally sure of every step he makes to prepare it, but I know it involves maple syrup (my favorite), cayenne pepper, and a quick pan sear on a grill pan coated with olive oil from the Misto.  It's juicy and delicious - one of his specialties these days!

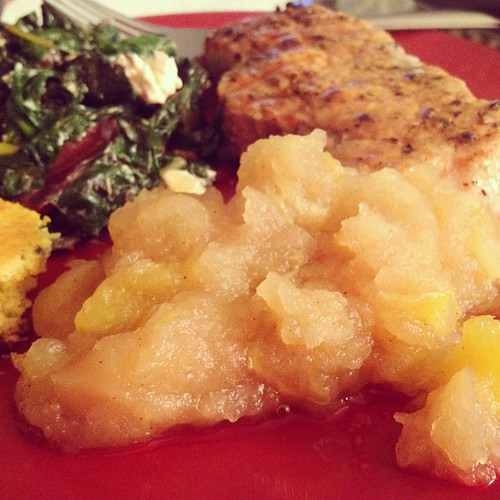
Peach apple sauce

Next, what would pork chops be without apple sauce?  The Monkey Scientist told me about an amazing peach apple sauce that his mom buys, so I did my best to replicate it.  He told me I was very successful! Apple sauce is one of the easiest things to make from scratch, it just takes a little time and patience.  I was glad he suggested adding peaches because they added a perfect bit of summer flair to my go-to recipe.  My recipe is below and it's a yelleBELLYboo original, based on the applesauce knowledge passed down by my Nanny Paula (although it isn't nearly as good as hers) and my own preferences (maple. it's always maple) .

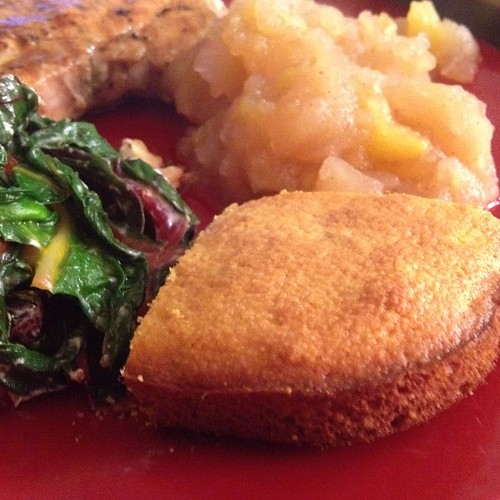
Lavender cornbread

A week before we made this meal, we'd gone to the grocery store when we were both starving.  As we stumbled down the baking aisle, somehow a box of Jiffy cornbread mix ended up in our basket.  We decided it would go great with this meal, but I had to spice it up a bit.  I added a tablespoon or two of lavender, but otherwise followed the box instructions.  I think it added a nice flowery touch that elevated the cornbread nicely.

Finally, sticking with our southern theme, we made some beautiful swiss chard.  I don't usually cook swiss chard, but I couldn't resist its rainbow stems!  I used techniques I often use for kale or spinach and I think it came out wonderfully.  It added just a little bit of Asian flavor to our otherwise very-Americana meal.  I loved how it rounded out our plate.  The recipe below is another yelleBELLYboo original - I was feeling quite inventive this night!

If you're looking for a nice dinner to throw together, this one was so easy and yummy.  It was our favorite meal we've had in a long time!

Swiss chard

Peach Applesauce


Ingredients
2 lbs Macintosh apples, peeled, cored, and sliced
3 peaches, peeled, pitted, and sliced
1 tablespoon maple syrup
1/4 cup raw or white sugar (more or less depending how sweet you like it)
1 tsp cinnamon
1/4 cup water

Instructions
1. Add all of the ingredients to a large pan and bring to a boil.
2. Reduce the heat to medium-low or low and continue to simmer for 30-40 minutes, until the apples and peaches are easily crushed with the back of a spoon.
3. Remove from heat and allow to cool.  Crush the apples and peaches with the back of a spoon until you have a chunky applesauce.  If you like your applesauce smoother, you can blend with an immersion blender or in the food processor.  Serve cold or at room temperature.


Swiss Chard with Goat Cheese and Almonds


Ingredients
1 tbsp sesame oil
1 tsp chili oil (can omit)
1 bunch Swiss chard
salt and pepper to taste
1/4 cup slivered almond (I used honey roasted)
1/3 cup crumbled goat cheese

Instructions
1. Heat the sesame and chili oils in a medium to large skillet with high sides over medium heat.
2. Wash and dry the Swiss chard and roughly chop.  Add to the skillet, season with salt and pepper, and cook down until wilted and soft.
3. Remove from heat and place in a serving dish.  Add the almonds and goat cheese and toss to mix.  Serve immediately.
Wednesday, May 30, 2012

Harissa Chickpea Burgers with Cucumber Mint Yogurt Sauce

Chickpea Harissa burgers

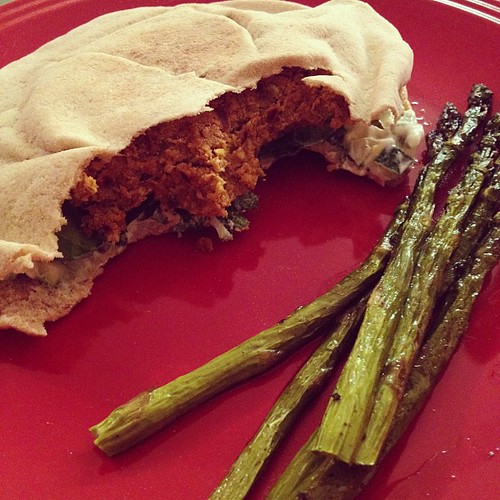
Last night was the first time in a while that the Monkey Scientist and I were in town at the same time as his roommate.  We decided to celebrate by making a little family dinner.  His roommate loves chickpeas so I knew when I sent him this recipe that he would interested.

The hardest part of this whole recipe was finding harissa.  We finally were able to find it at the mediterranean market/restaurant in Cleveland Park.  They just received a shipment so if you live in DC this is the place to go!

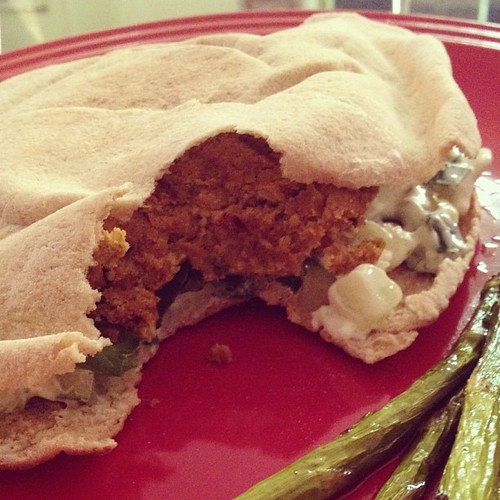
We really enjoyed this recipe. It was perfectly spicy - perfect for me and the MS's roommate, although of course the Monkey Scientist added sriracha on top.  I'm convinced he isn't satified with a meal unless his lips are burning!  I particularly like the pistachios.  That's something I've never included in chickpea burgers I've made before. I loved the yogurt sauce as well.  It's similar to a tzatziki, but with lots of fresh mint.  It was a great and fairly quick weeknight meal (with yummy roasted asparagus)!

Chickpea burger

Harissa Chickpea Burgers with Cucumber Mint Yogurt Sauce
from A Cozy Kitchen

Ingredients
burgers
1/2 shallot, minced
2 garlic cloves, minced
1 tablespoon ground cumin
1/2 teaspoon ground paprika
1/4 teaspoon ground cinnamon
1 1/4 tablespoons harissa
1 (15-ounce) can chickpeas, rinsed and drained
1/4 cup pistachios, unsalted
1 teaspoon kosher salt
1 large egg
3/4 cup bread crumbs
yogurt sauce
1 cup plain greek yogurt
1 cup cucumber, diced
3 tablespoons mint, minced
1 teaspoon lemon zest
salt and pepper

Instructions
1. In a skillet, heat a tablespoon of olive oil over medium heat. When hot, add the shallot and cook for 2-3 minutes, until translucent.
2. When soft, add the minced garlic, cumin, paprika, cinnamon and harissa, along with two tablespoons of water. Mix until combined and until it resembles a thick wet paste.
3. In a food processor, add the shallot/spice mixture, chickpeas, pistachios and salt; pulse until roughly chopped. Using a spatula, scrape down sides and pulse one or two times. Taste for salt (1 teaspoon was perfect for me); add more, if you like. Remove half of the mixture and transfer to a bowl. Add the egg to the food processor and pulse until the mixture is nearly smooth. Add the mixture from the food processor to the bowl and combine both mixtures.
4. Fold in the bread crumbs. Cover the bowl with plastic wrap and transfer to the refrigerator to chill for 30 minutes.
5. In a small bowl, mix together the yogurt, cucumber, mint and lemon zest. Salt and pepper to taste.
6. Scoop about 2 tablespoons of the chickpea mixture onto your palm and form the patties. Heat a grill pan over medium heat and brush it generously with olive oil. Cook on both sides for 3-4 minutes. Serve the burgers on burger buns or fresh soft pita (we toasted our pita in the oven).

Yields 6 burgers

Wednesday, March 28, 2012

Basic Oatmeal Cookies

Oatmeal Cookies

On Saturday night, the weather was icky which made going out sound dreadful.  We've been pretty obsessed with Draw Something lately, thanks to my brother (it's a terrible addiction don't even start!) which inspired me to want to play Pictionary.  At the last minute, I was able to organize a few friends to come over and join us for an exciting game night!


Oatmeal Cookies

We had such a wonderful time.  We started with CatchPhrase (if you have an iPhone, download Phrase Party and you don't actually need to buy the game!), and then moved onto Pictionary, Charades, and a game I'd never played before - Chinese Telegraph.  You can find a great explanation of how to play the game on Jenna's Everything Blog.  Next time you gather a bunch of your friends, I highly recommend playing this game.  I had to pull out a box of tissues because I was laughing so hard.  It was one of my favorite Saturday nights in a long time - I hope we'll get to have another game night again soon!

Oatmeal Cookies

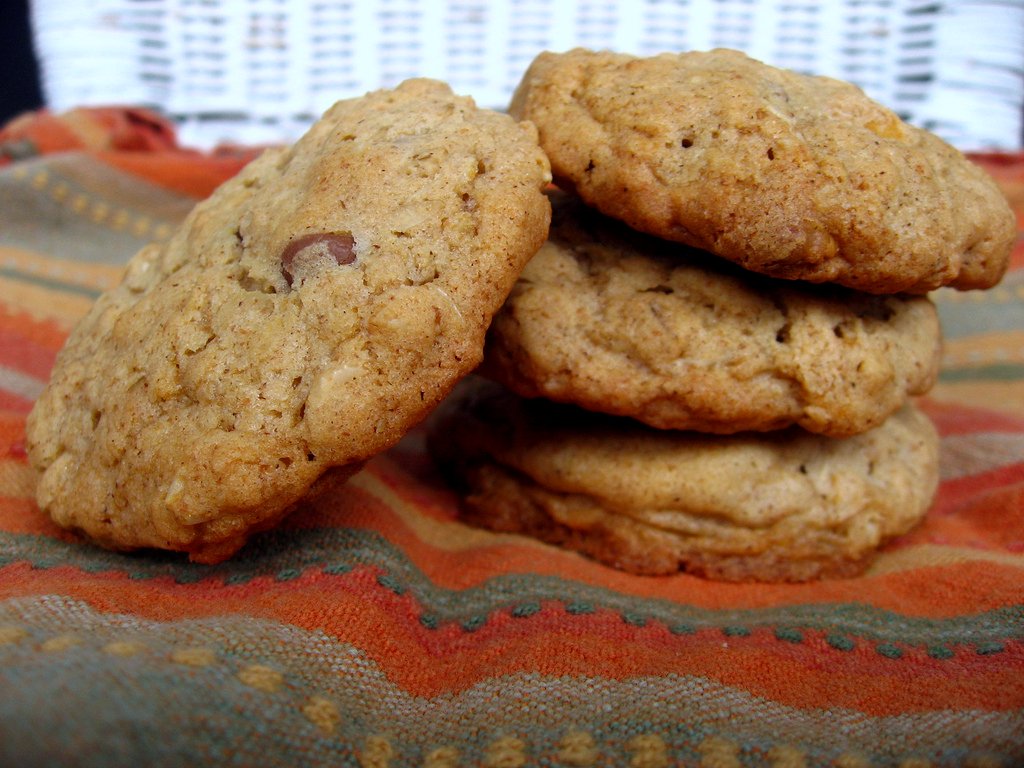
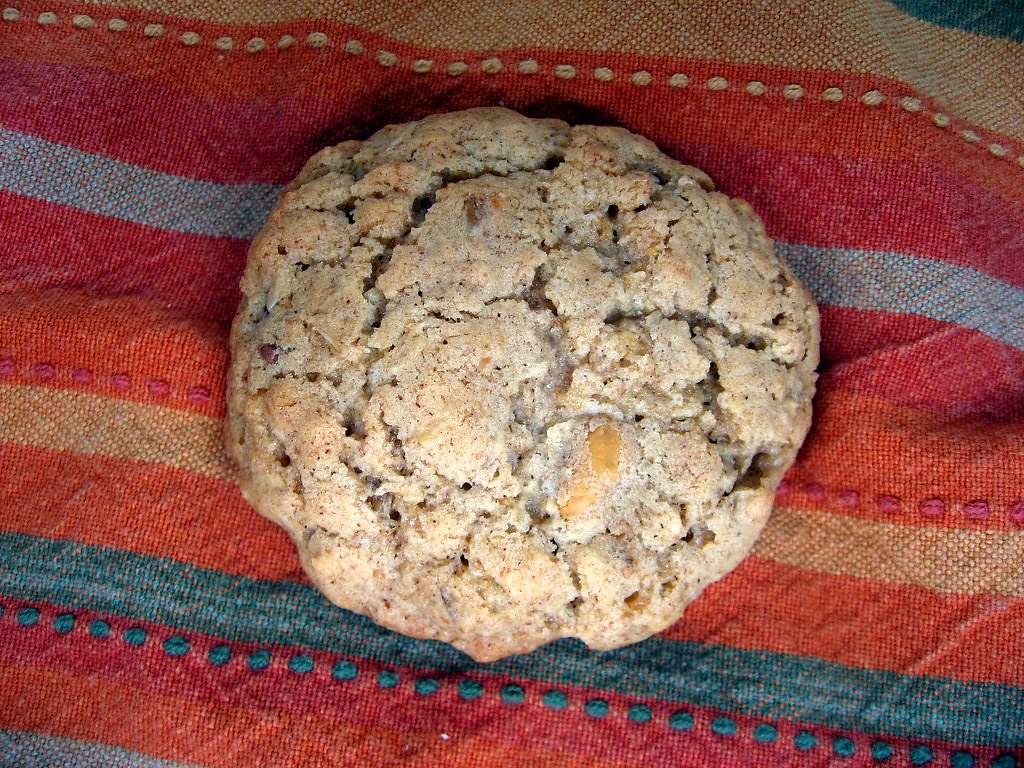
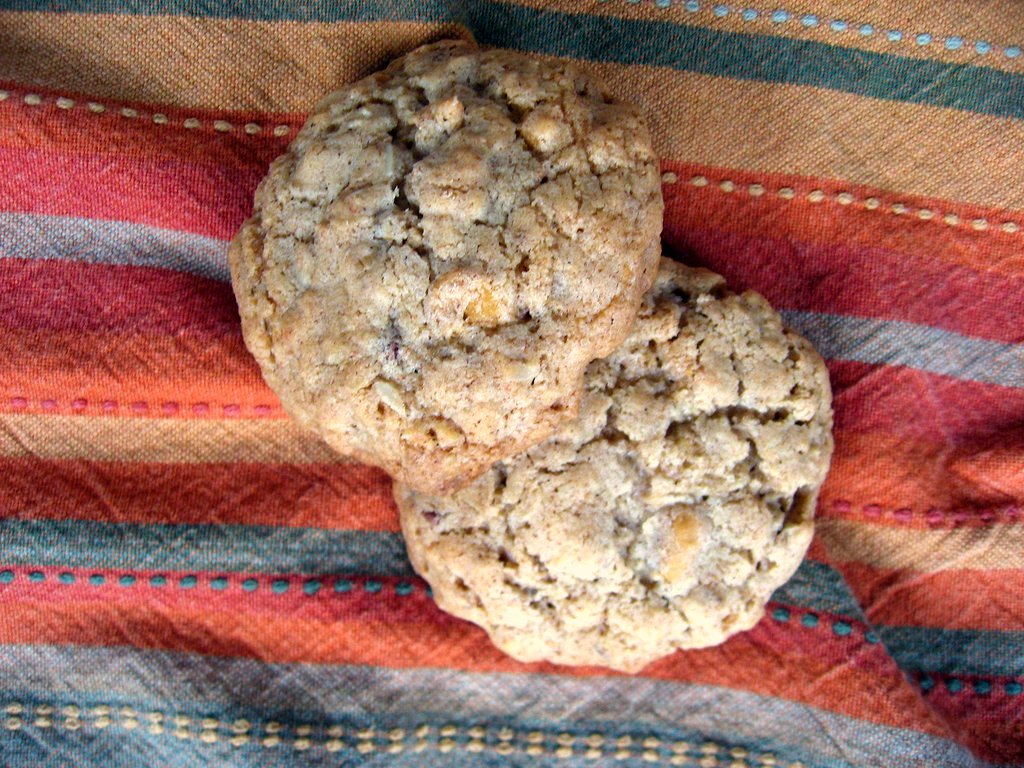
Since I threw the gathering together pretty quickly, I felt bad that I hadn't made many treats for my guests.  I am usually pretty good about keeping the ingredients for baked goods in the house, so I decided to throw together some cookies.  I wanted a pretty basic recipe so I went to my reliable Better Homes and Gardens Cookbook.  My college roommate always used this cookbook, so when a Border's was going out of business I picked up a copy of my own and I love it!  I had all of the ingredients for these Oatmeal Cookies, as well as about 1/4 bag each of chocolate and butterscotch chips, so I quickly threw a batch together.

Oatmeal Cookies

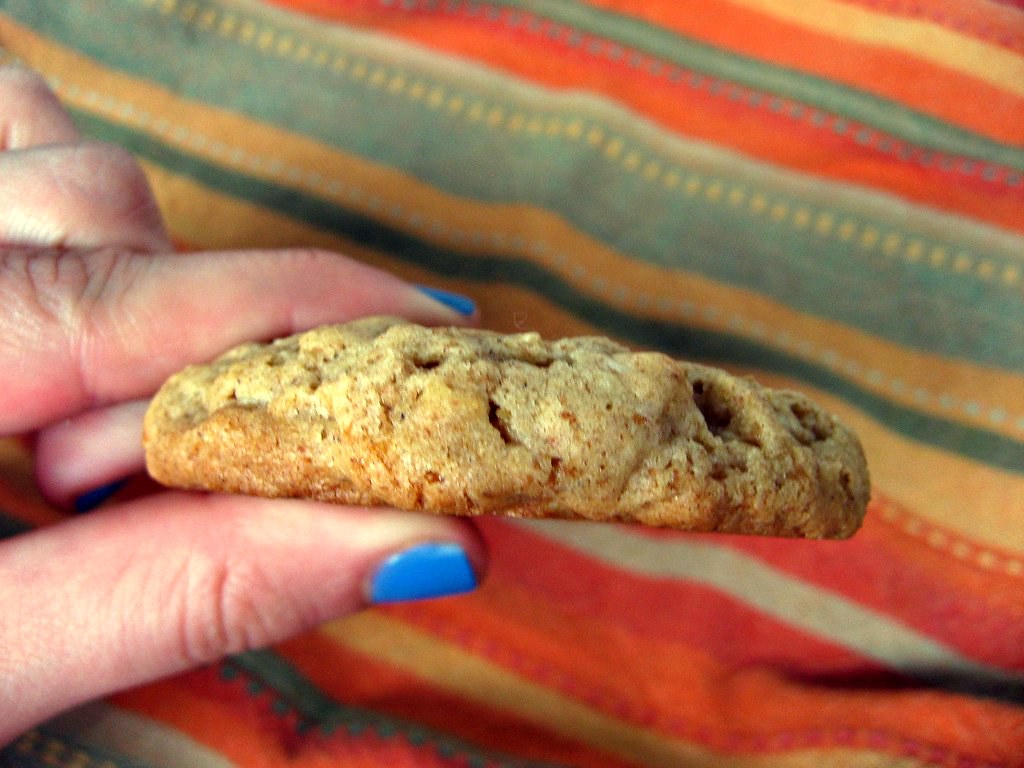
What a great recipe!  They're super easy to make and tasted delicious!  These are chewy cookies, but I bet if you took them out halfway through baking and gently banged the cookie tray on the oven door before putting them back in, they'd flatten out and turn out crispy if you're into that.  I don't usually add cloves or cinnamon to my oatmeal cookies but I will from now on.  They added a new level of flavor that we all really enjoyed.  Even though I only had 1/2 cup combined of chocolate and butterscotch chips, I thought they were the perfect amount to prevent the cookies from being too sweet or too chocolately (yes, I just said that.  I'm not a huge chocolate lover).  These were a great cookie that I could throw together in no time with the ingredients I had on hand!

Oatmeal Cookies


Basic Oatmeal Cookies
slightly adapted from Better Homes and Gardens New Cookbook

Ingredients
3/4 c butter, softened
1 c packed brown sugar (I used light)
1/2 c granulated sugar (or Vanilla Sugar)
1 tsp baking powder
1/4 tsp baking soda
1/4 tsp salt
1/2 tsp ground cinnamon
1/4-1/2 tsp ground cloves
2 eggs
1 tsp vanilla
1/2 c whole wheat flour
1 c all-purpose flour
2 c rolled oats
1/4 c milk chocolate chips (optional)
1/4 c butterscotch chips (optional)

Instructions
1. Preheat the oven to 375 degrees F.
2. In the bowl of a standing mixer fitted with a paddle attachment (or, even better, a beater blade) beat the butter on medium speed for 30 seconds.
3. Add the brown sugar, granulated (or vanilla) sugar, baking powder, baking soda, salt, cinnamon and cloves and beat on medium speed until combined.  If you don't have a beater blade, make sure to scrape the sides down with a spatula. Beat in eggs and vanilla.
4. Add in the whole wheat flour and beat on low until incorporated.  Add AP flour, 1/2 c at a time, and beat on low until incorporated.  Add the oats and beat for 15 seconds or until incorporated.  If desired, add chocolate and butterscotch chips (or anything else, like raisins or craisins) and stir with a spoon until mixed throughout.
5. Drop dough by rounded teaspoons 2 inches apart on a cookie sheet (optionally lined with a silpat mat or parchment paper).  Bake 8-10 minutes (mine actually needed closer to 12 min but they were a little big) until the edges are golden brown.
6. Cool on cookie sheet for 1 minute then transfer to a wire rack to allow to continue to cool.

Thursday, January 26, 2012

Fresh Pineapple Crisp

Pineapple crisp

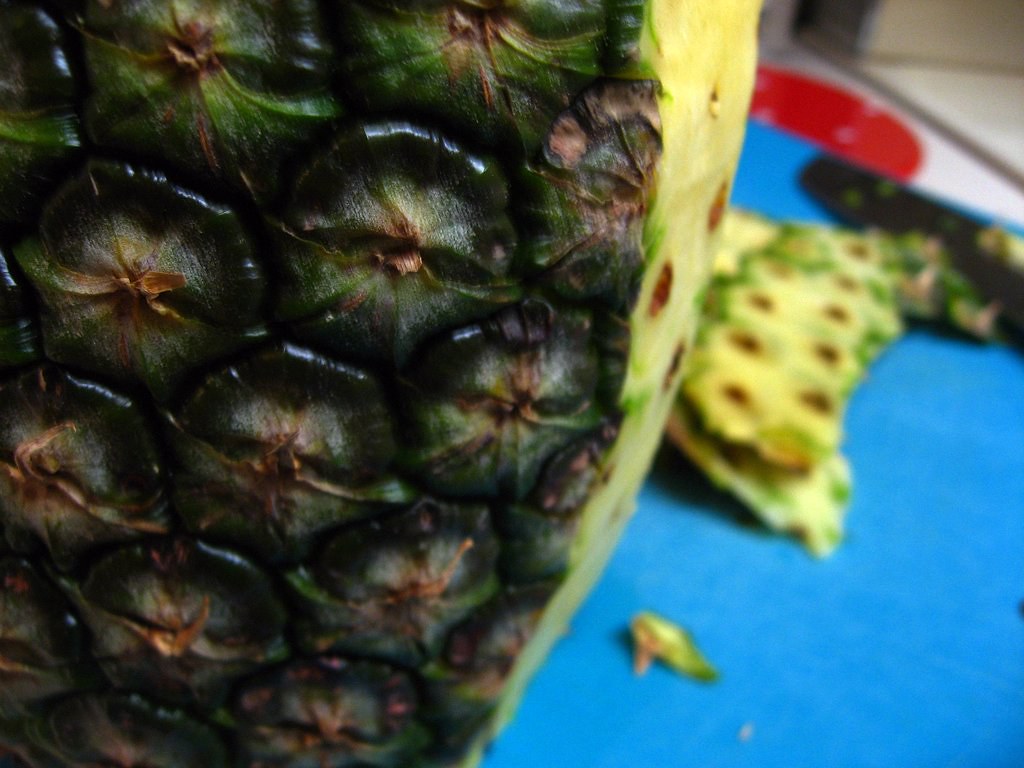
Last Friday, my friend invited me over for a small Shabbat dinner and asked me to bring the dessert.  Since snow was in the forecast, I decided to bring something a little bit tropical to make everyone forget the dreary weather outside.  And what's more tropical than a pineapple?

PineapplePineapple crisp

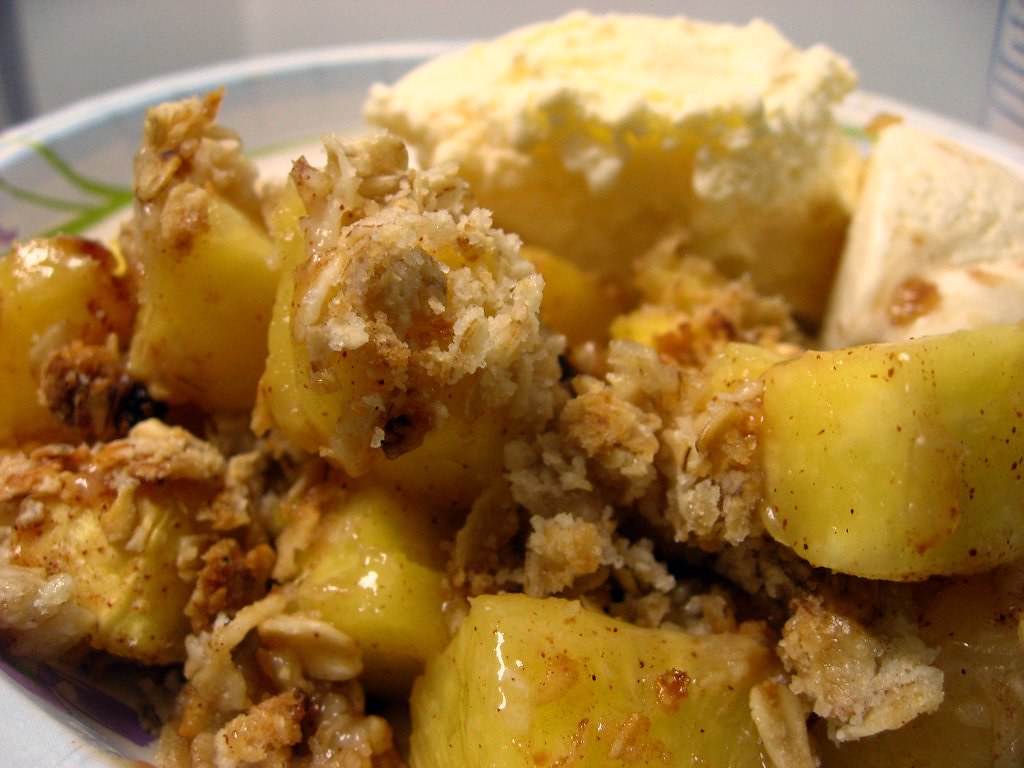
This recipe is a fun twist on the traditional crisp.  I do love a good apple crisp, but the apples at my grocery store are not looking so hot these days, and the berries are expensive this time of year.  Pineapples, on the other hand, must be in season somewhere in the world because they were sweet, juicy, and on sale at my grocery store!  I'd never thought to use them in a crisp before, but they were a fun surprise for everyone at dinner, who'd expected something a bit more traditional.

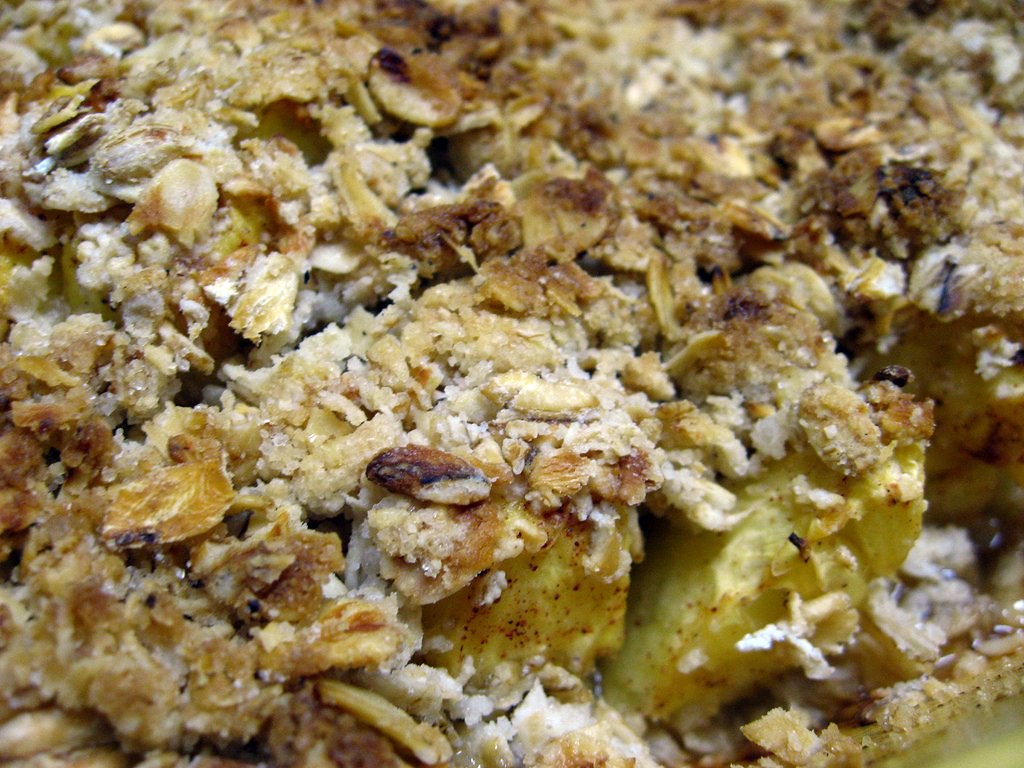
Pineapple crisp toppingPineapple crisp topping

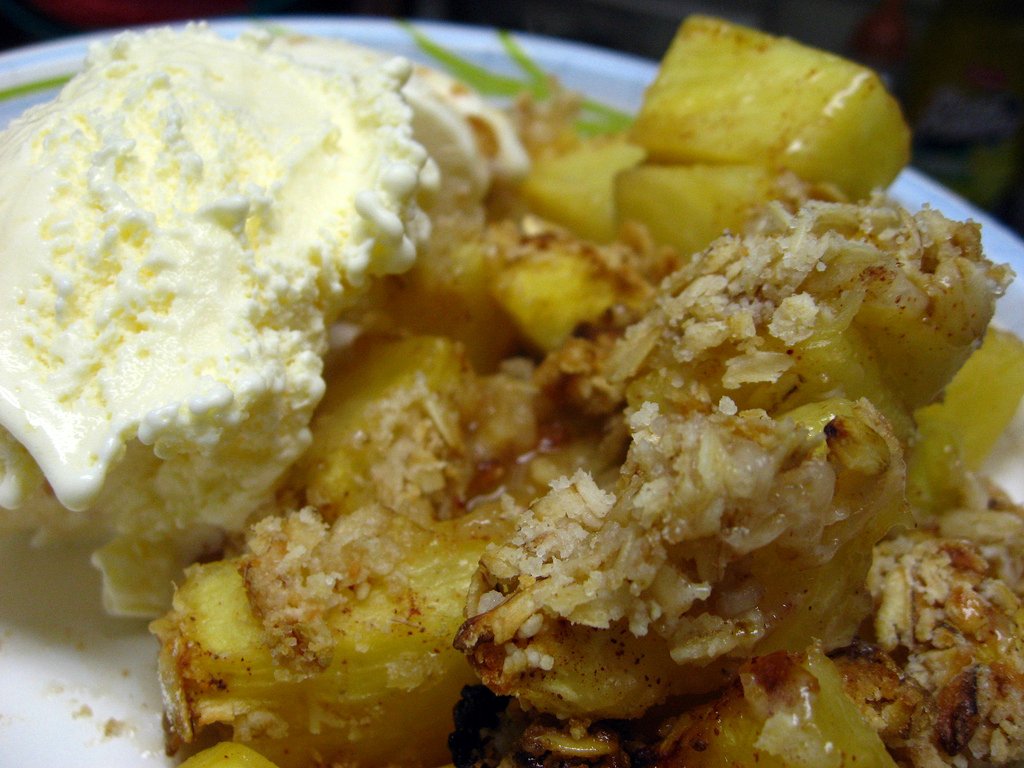
This dessert definitely turned out good - everyone at the dinner seemed to enjoy it - but it wasn't my favorite of all time.  I found the pineapple to be really sweet - and although I usually enjoy sweet, it was a bit much for me.  I would not recommend using canned pineapple for this because I think it would amplify the sweetness even more.  The ice cream helped to counteract the sweetness a little bit, but if I made this again I'd probably add some fresh mango and papaya, maybe even some kiwi, to keep the tropical theme but cut down on the sweetness.

Pineapple crisp

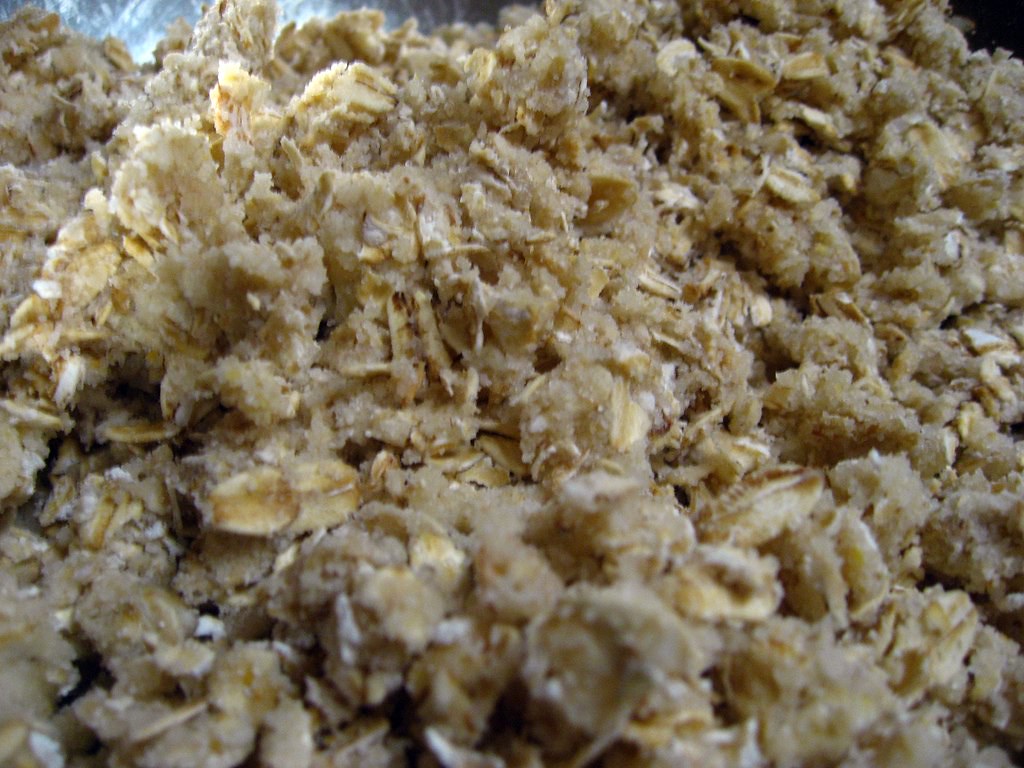
The topping was also good, but not great.  My mom has a crisp topping somewhere that I need to find - it's thicker and more buttery - which of course means better. The only complaint I got was that there wasn't enough topping (isn't that always the case with crisps?) so I'd probably amp that up a bit as well.  Still, we found our bit of beach on an otherwise snowy night, and I think it was a pretty excellent ending to a delicious Friday night dinner with friends.

Pineapple crisp

Fresh Pineapple Crisp
from Heather's Dish

Ingredients
filling
1 whole pineapple, peeled, cored, and cut into 1-inch pieces
2 Tbsp flour
2 Tbsp brown sugar
1/2 tsp cinnamon
topping
1 cup rolled oats
1/4 cup flour
1/4 cup granulated sugar
4 Tbsp butter (I used it right out of the fridge)
1/2 tsp sea salt

Instructions
1. Preheat your oven to 375.  Butter a 9x9 baking dish.
2. In a big bowl toss together the pineapple, 2 Tbsp flour, brown sugar, and cinnamon and stir until the flour is coating all of the pineapple. Pour into buttered 9×9 dish.
3. In another bowl combine the oats, 1/4 cup flour, sugar, butter and salt, and using your fingers press the butter into the ingredients until the final mixture is crumbly. Sprinkle evenly on top of the pineapple.
4. Bake at 375 for 30-45 minutes until the pineapple is bubbly and the top is golden brown. Serve with vanilla ice cream.

Thursday, January 19, 2012

Picadillo and Eggplant Soup

picadillo and eggplant soup

After I made Stuffed Pepper Soup, I wanted to keep turning my favorite recipes into soup.  So where better to turn next than to one of my favorites - Picadillo Eggplant Boats?  So that's exactly where I headed.

picadillo and eggplant soup

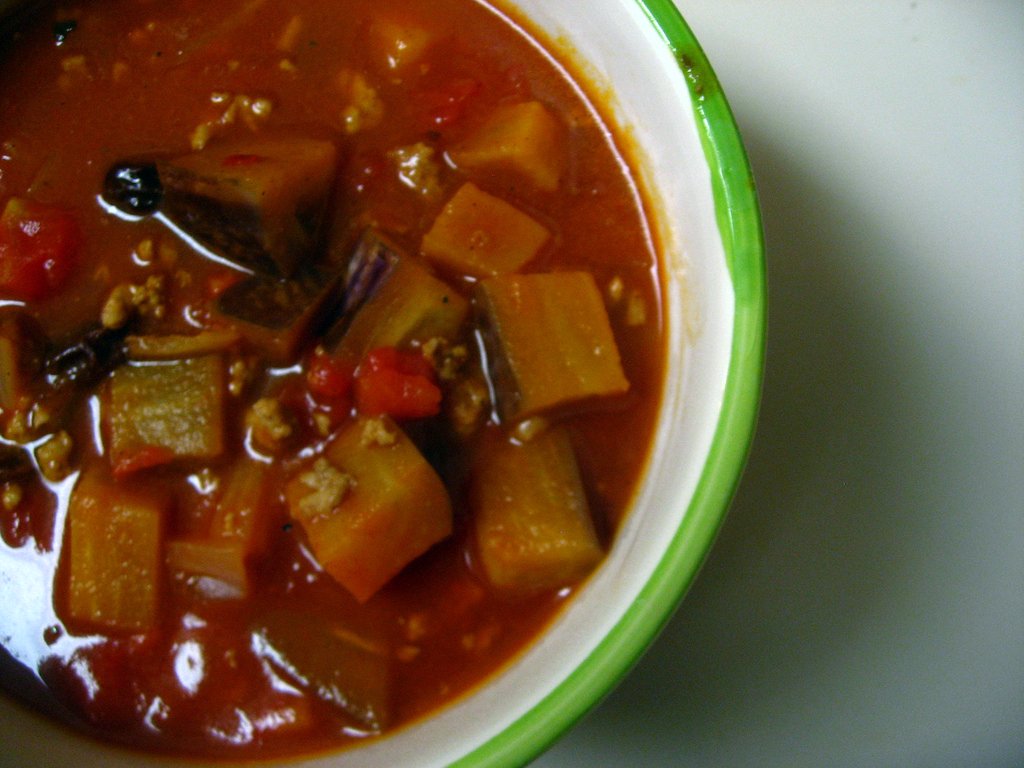
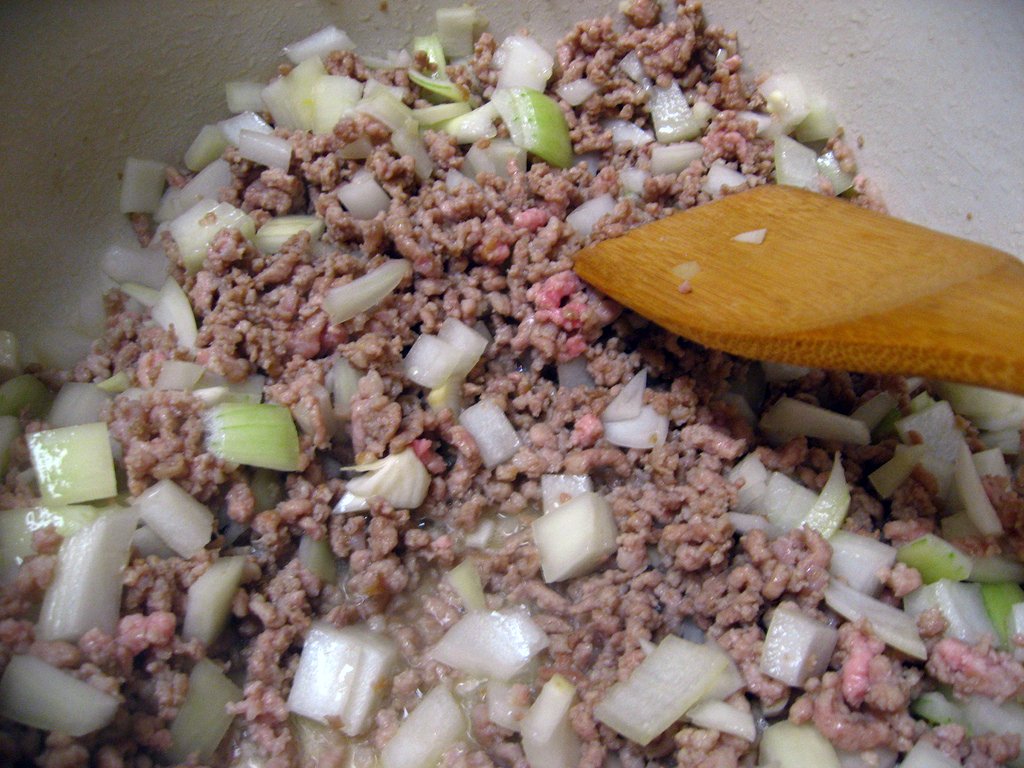
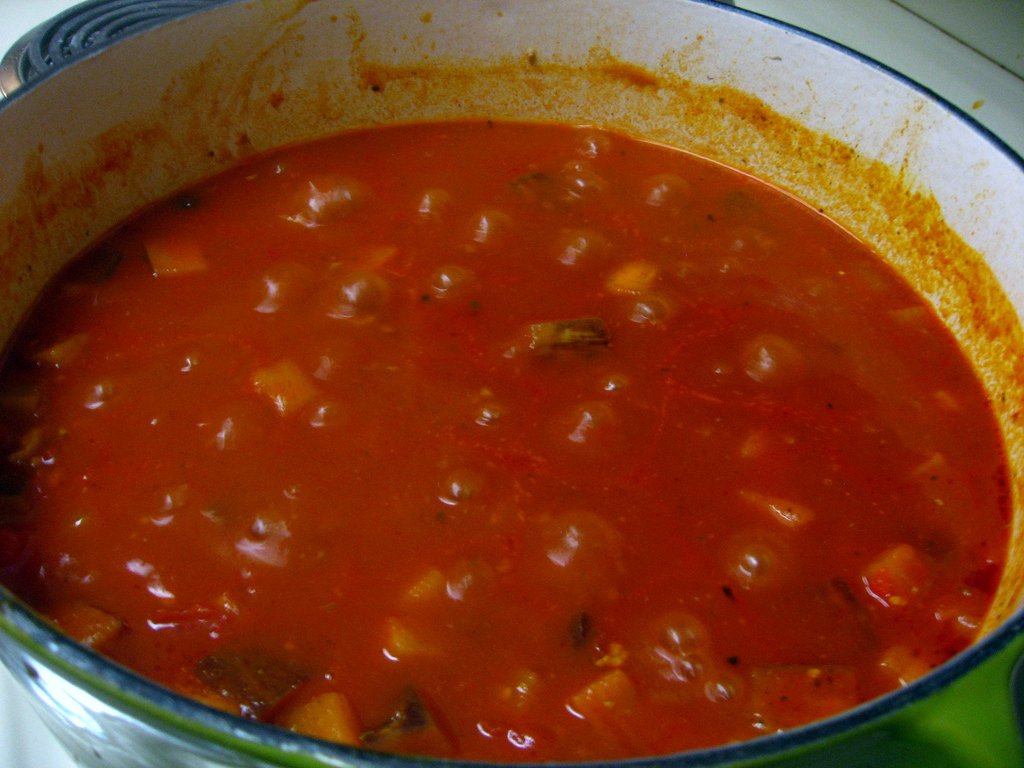
Even though I hate tomato soup, I loved the tomato base of the Stuffed Pepper Soup.  Since the original recipe called for tomato paste, I figured it wouldn't be too far of a stretch to use the same liquid base as in the stuffed pepper soup, while keeping everything else nearly identical to the Picadillo Eggplant Boats.  I also used the same general methods of the Stuffed Pepper Soup, since it was super simple and came out so great.

picadillo and eggplant soup

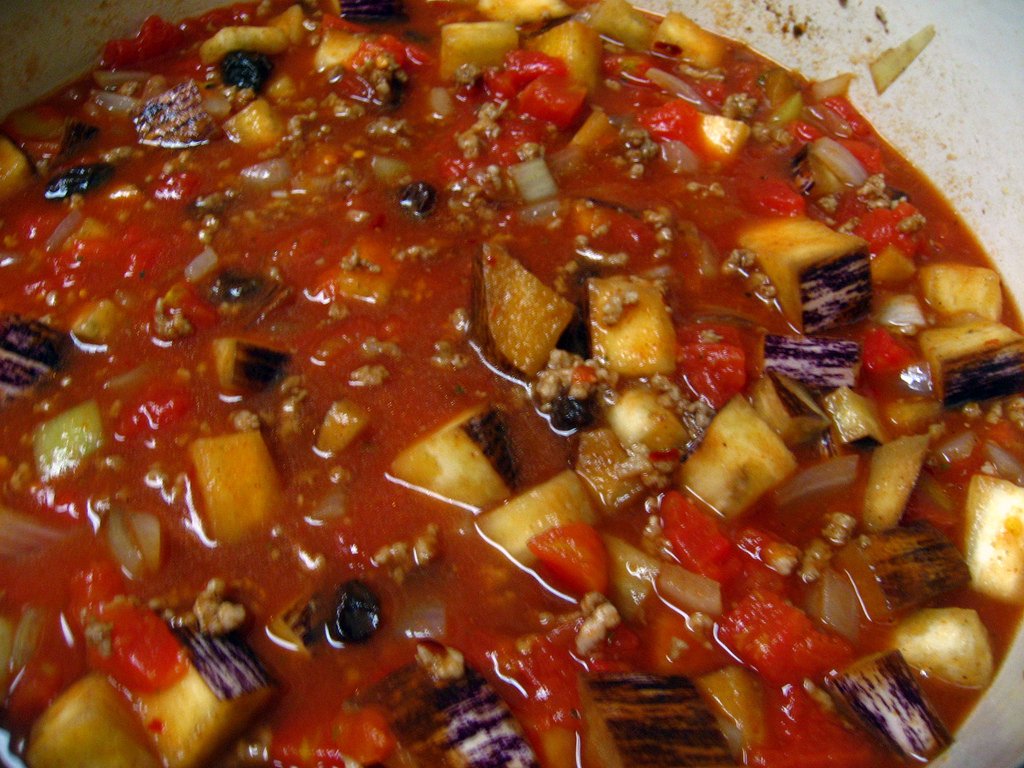
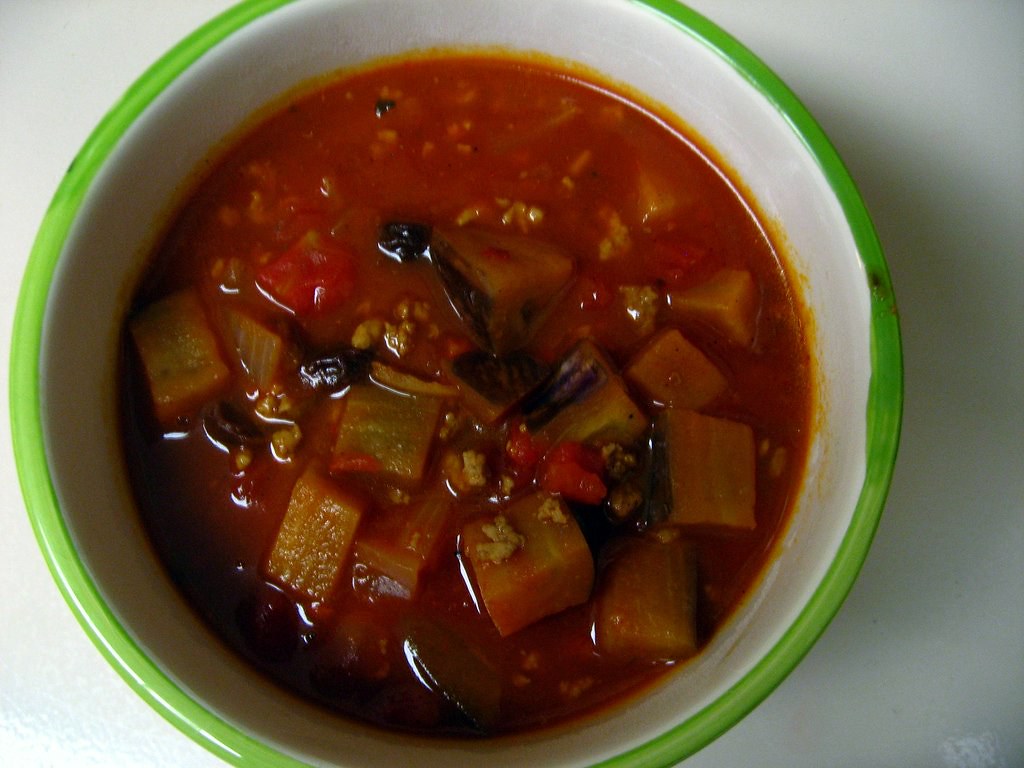
As for the eggplant, I suppose I could have served the soup in boats - but I felt like that'd be a bit messy.  Instead, I chopped them up... OK, the Monkey Scientist chopped them up... and we threw them in to cook down and add more substance to the soup.  I was nervous at first that they wouldn't cook enough, but they turned out pretty close to perfect.

picadillo and eggplant soup

I was nervous about how this soup would be, but we both ended up loving it!  It was hearty, despite it's lack of a grain, and loaded with a unique flavor.  I would never think to add raisins to soup, but they added the perfect bit of sweetness and puffed up so they actually looked like beans.  The balance of sweet, spicy, and umami made this soup a perfect winner for a winter soup.

picadillo and eggplant soup

Picadillo and Eggplant Soup
adapted from recipes I posted for Picadillo Eggplant Boats and Stuffed Pepper Soup

Ingredients
2 tbsp olive oil
1 lb ground pork
1/2 tsp cinnamon
1/2 tsp oregano
1 tsp crushed red pepper flakes
1 tsp ground allspice
1/4 tsp salt
1/4 tsp garlic powder
1 medium sized yellow onion, diced
2 cloves garlic, minced
1 small graffiti eggplant, diced
2 cans (14.5 oz each) cans petite diced tomatoes
2 cups tomato sauce (I used one 14.5-oz can and 8-oz can of Hunt's)
2 cups reduced sodium, fat-free chicken broth (I used Cottage Inn)
2 tbsp apple cider vinegar
1 tsp molasses (it helps to spray the measuring spoon with Pam)
1/4 c raisins

Instructions
1. Heat olive oil in a dutch oven or large, heavy pot over medium-high to high heat. Add ground pork and cook until brown, seasoning with cinnamon, oregano, red pepper flakes, allspice, salt, and garlic powder.
2. Reduce heat to medium or medium-low and add onion, garlic, and eggplant. Cook for 5-8 minutes until beginning to soften.
3. Add tomatoes, tomato sauce, chicken broth, apple cider vinegar, molasses, and raisins. Cover and simmer on medium-low to low heat for 30 minutes. Serve immediately.
Wednesday, November 23, 2011

Cinnamon Maple Applesauce

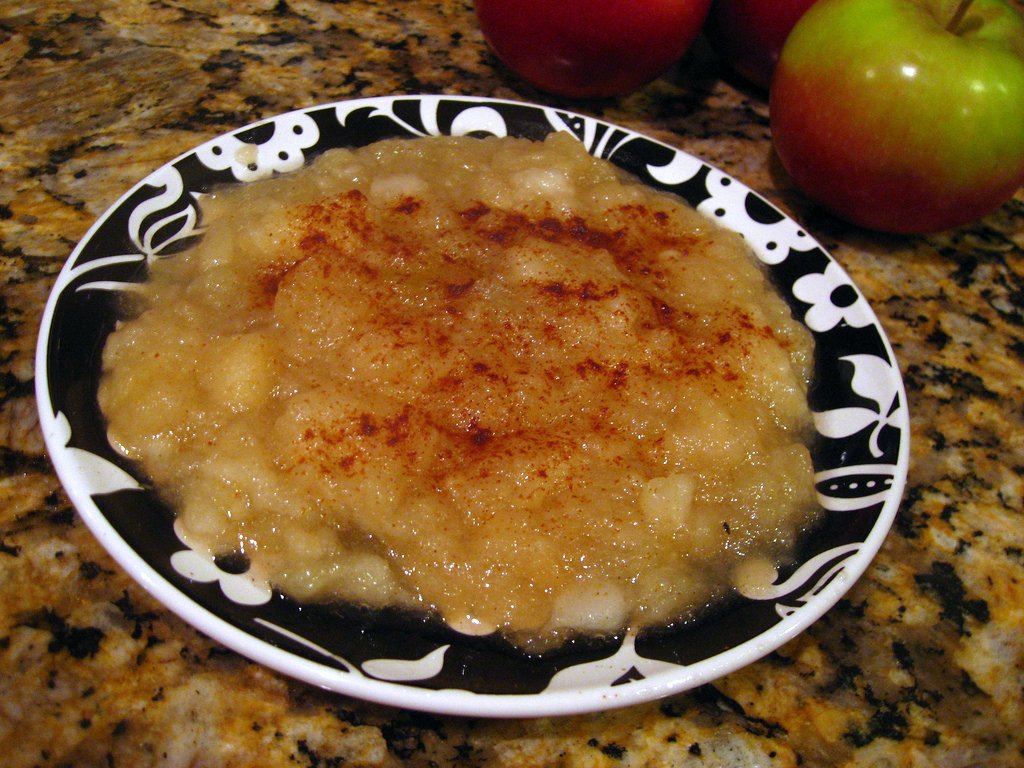
Applesauce

One of our favorite Thanksgiving traditions is to make homemade applesauce.  Usually my Nanny Paula makes the applesauce and man-oh-man is it good!  She uses these special plums she can only get 2 weeks of the year and leaves on the skin so that it has a distinct pink color and unique flavor.  This year, we're hosting my dad's side of the family which means we won't get to have Nanny Paula's. I attempted to make an apple sauce that could even compare to NP's - so of course I consulted the blog-o-sphere and the adjusted to make it my own.

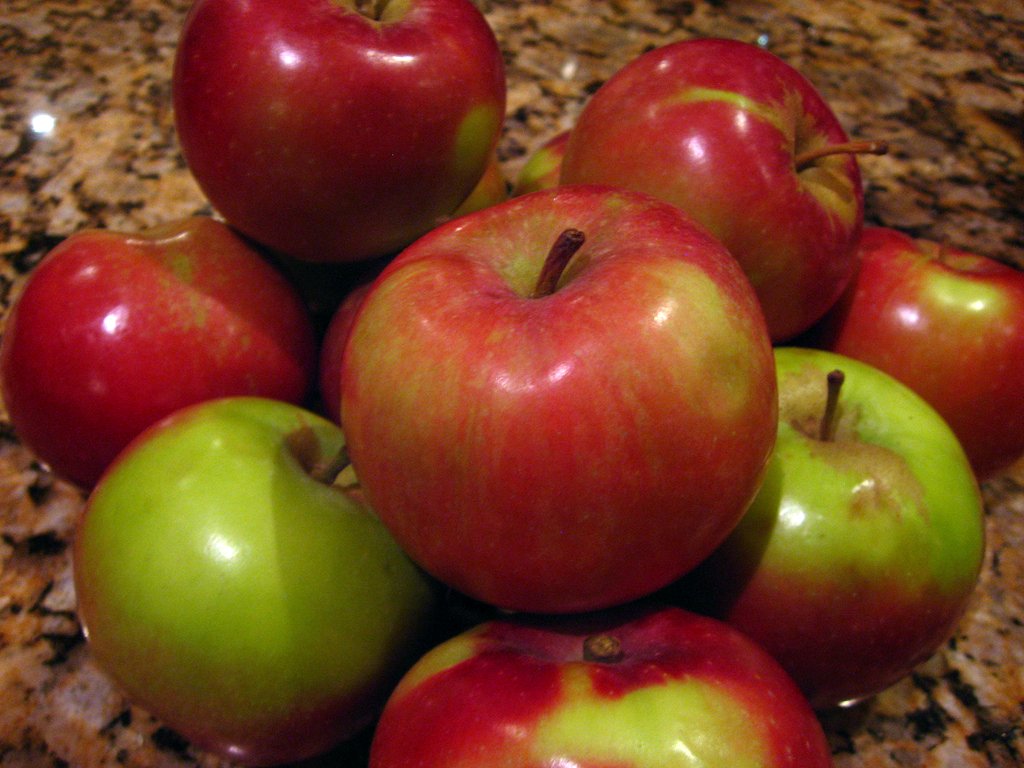
Macintosh Apples
Apples

We decided to use Macintosh apples partially because they were on sale at Whole Foods ($1.99 per 3-lb bag) and partially because they mush perfectly into apple sauce.  You can use any kind you like.  I actually recommend buying whatever is local to the region you live in - these Macintosh were from around here in Canton, MA, but if I was still in Michigan (GO BLUE! BEAT OSU!) I'd probably use Honeycrisp.  Mmmm there is nothing like a Michigan-grown Honeycrisp. (Sorry, I digressed a little there, Thanksgiving is also a BIG football weekend this year!!)

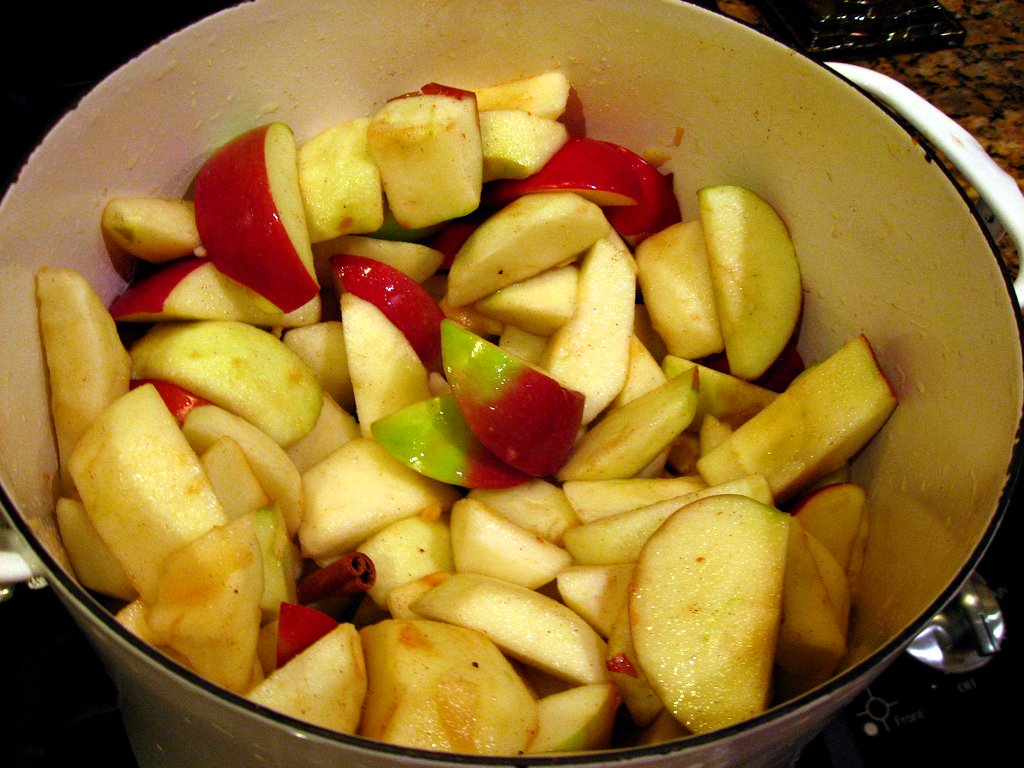
Apple Sauce - before cooking


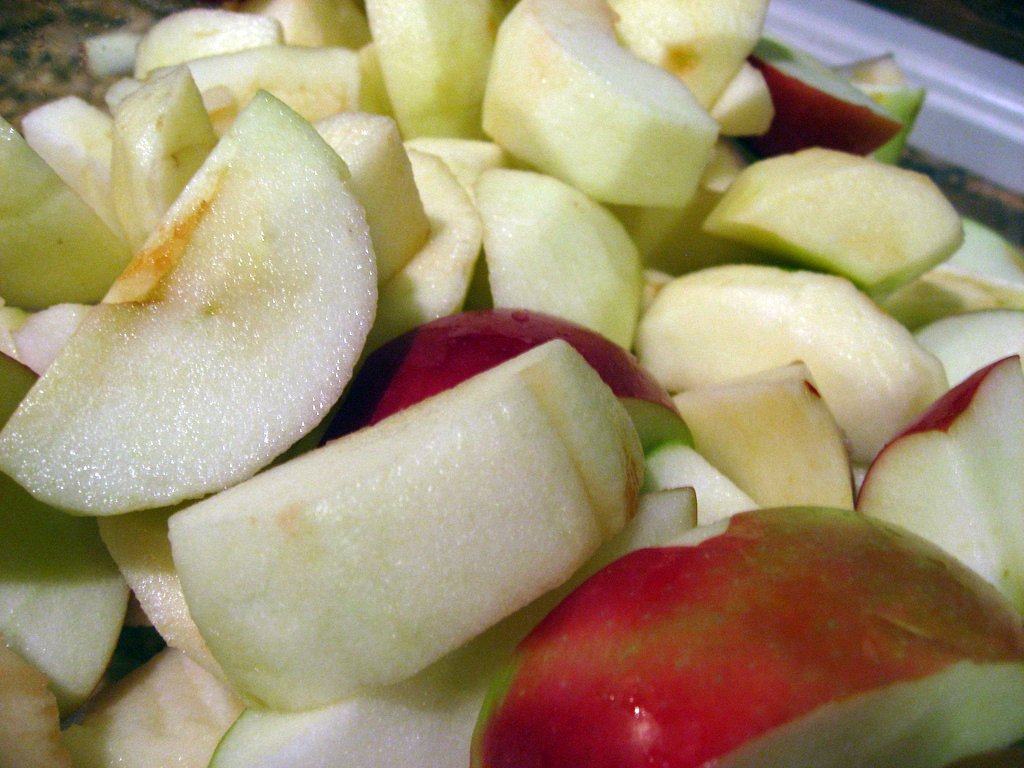
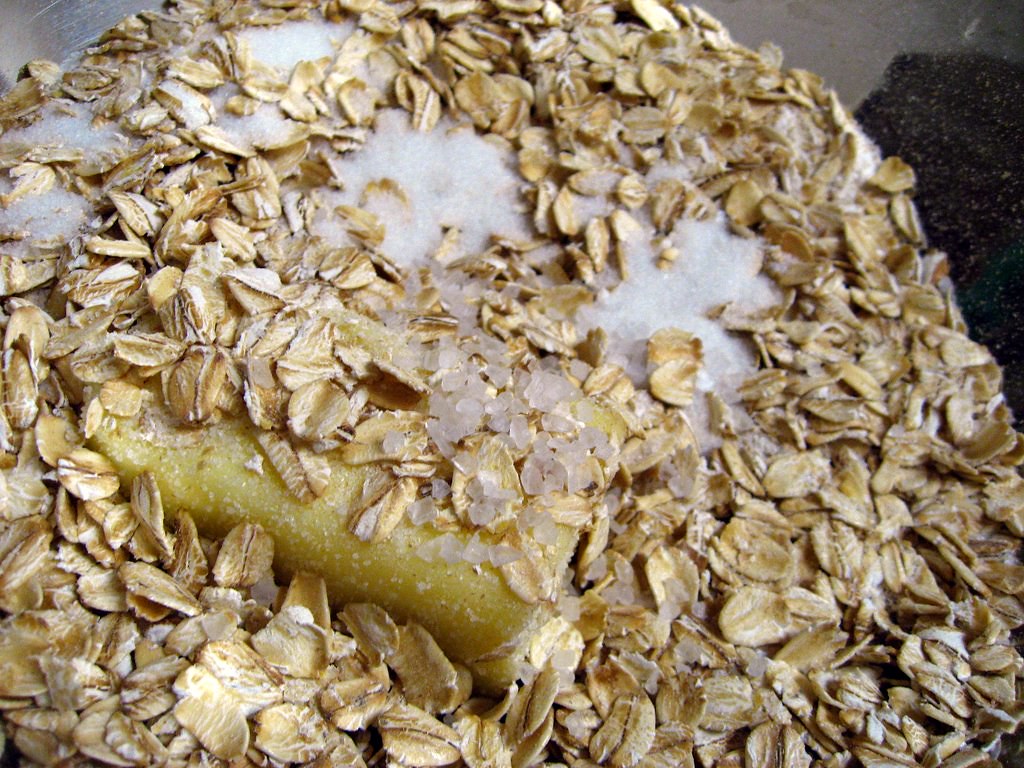
This recipe is incredibly easy to make.  Just like my rhubarb applesauce, it's a one-pot, throw-it-in-and-let-it-do-its-thing kind of recipe.  Love those.  Especially for big holiday meals. It was nice to be able to make this a couple days ahead of time and get it out of the way before Thanksgiving Thursday.  Mom and Dad helped me peel and cut all the apples, which was a huge help and a fun family activity.  We were certainly missing my baby bro and his extra set of hands.
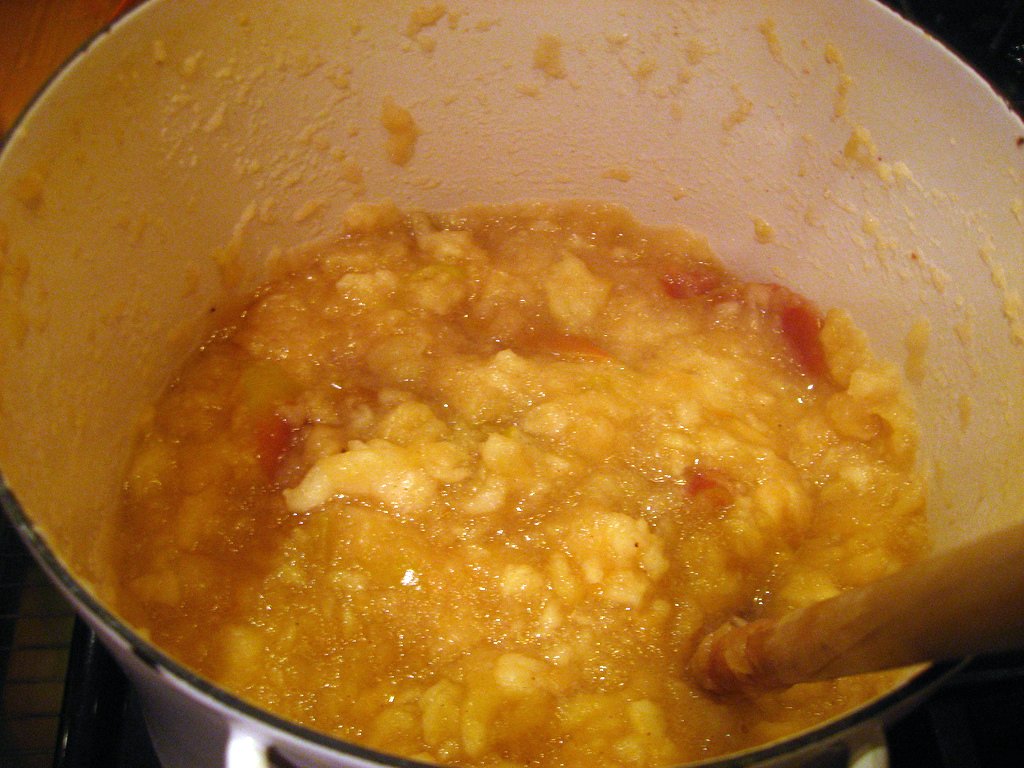
Applesauce - this is how you know it's done!

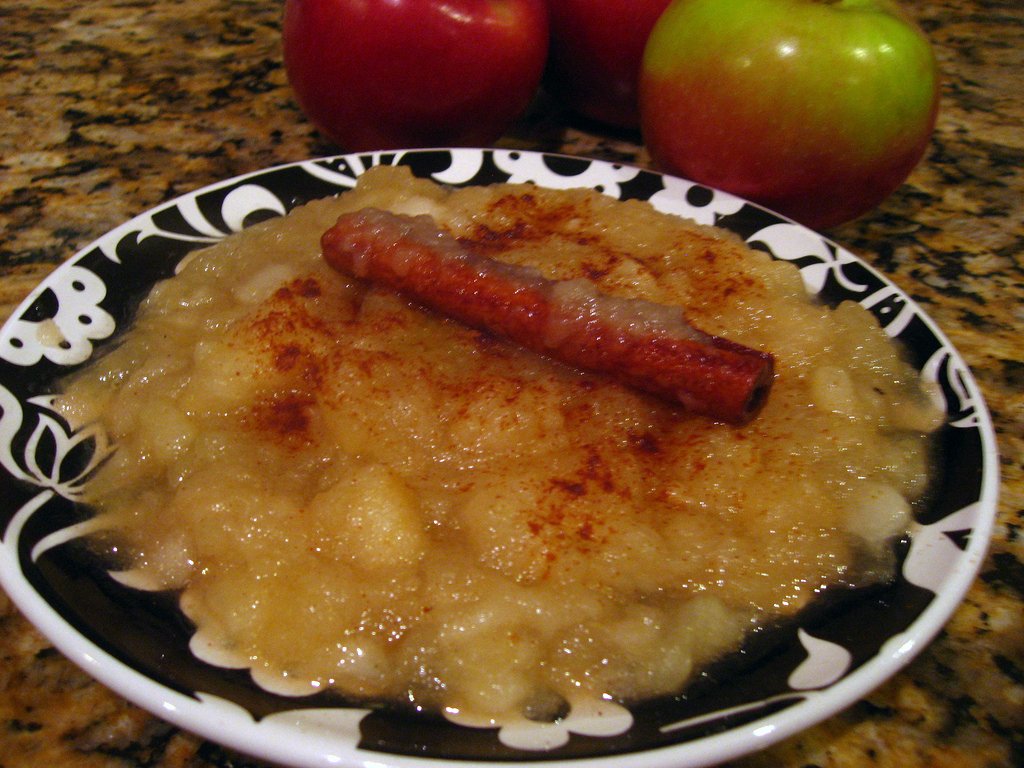
The flavor was pretty amazing.  For the amount of apples, there wasn't too much maple syrup or sugar so it wasn't too sweet.  I can't stand store-bought sweetened applesauce with HFCS and I promise this is nothing like that.  Granted, it was no where near Nanny Paula's applesauce, but I think I did pretty well for myself.  My bestest friend said it was amazing, and she would know, she eats with the best chefs in Chicago every day.  Now it's sitting in the fridge waiting for a fun Thanksgiving tomorrow!  I can't wait to eat some more.  Have a wonderful Turkey Day, everyone!

Applesauce

Cinnamon Maple Applesauce
loosely adapted from How Sweet
makes about half a gallon, maybe more

Ingredients
9 lbs apples (I used Macintosh)
1/2 cup water
3 tablespoons maple syrup
2 tablespoons cinnamon
2 teaspoons freshly ground nutmeg
3 cinnamon sticks
dash salt
1 1/2 tablespoons dark brown sugar

Instructions
1. Peel 2/3 of the apples.  Cut all of the apples into slices (using an apple corer or just a knife).  Discard the cores.
2. Add 1/2 cup water to a large dutch oven or heavy pot.  Add apples and remaining ingredients and toss well.
3. Cook over medium to medium low heat for 20-30 minutes, stirring occasionally, until apples have completely turned to mush and applesauce is beginning to boil.
4.  Smash any apple slices that remain whole with the back of a wooden spoon.  Remove cinnamon sticks and, if desired, remaining apple skins.
5. Serve hot or refrigerate until very cold, then serve. Can also be frozen and defrosted in the refrigerator.