Showing posts with label eggs. Show all posts

Friday, May 3, 2013

Malted Maple Blueberry Muffins

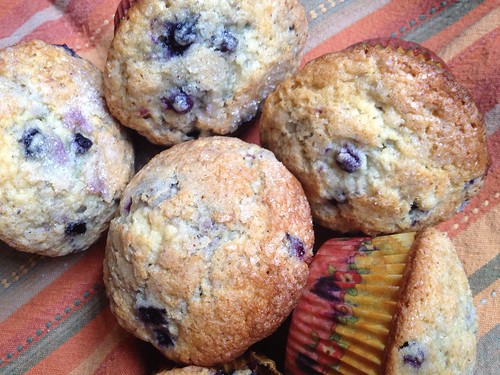
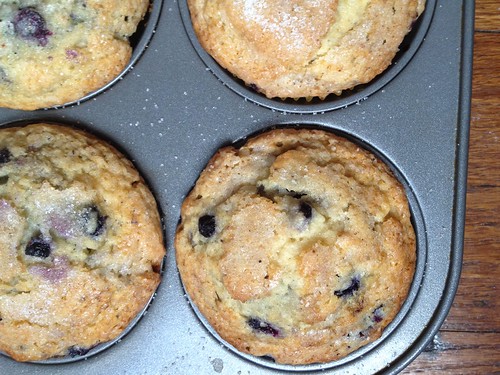
Malted Milk and Maple Blueberry Muffins

Last weekend was the first weekend with really gorgeous weather.  The kind of weather that makes me force the Monkey Scientist out of the house to play in the sunshine with me.  I wanted to celebrate with a bright and yummy breakfast to start the day on Saturday, which to me always means muffins.  I bought a bag of frozen Maine blueberries at Trader Joe's a while ago and used the first half to make Easter muffins.  They were corn and blueberry muffins and well... they were not a hit.  So I decided to scrap that recipe and try something new.
Malted Milk and Maple Blueberry Muffins

Of course, I couldn't leave well enough alone and make the recipe as it was written.  I'm too obsessed with maple and malted anything to allow that.  So I winged it and added quantities I thought would work (reasons I am not usually a baker) and magically it worked out!  I was sort of afraid they'd end up super dry or un-risen or something, but somehow my additions didn't disturb the recipe too badly.  Saturday win!
Malted Milk and Maple Blueberry Muffins

These muffins turned out wonderfully.  Right after I put them in the oven I had to run to yoga class, so I left the Monkey Scientist to pull them out of the oven and make sure they were done.  When I got home an hour later, one muffin was halfway in his mouth and another had disappeared.  Looked like an upgrade from my Easter muffin fail for sure!  Next time, I'd love to increase the maple flavor - maybe even using maple sugar instead of regular.  But this recipe is an easy weekend go-to for now!

Here's to hoping this weekend is just as beautiful as last!
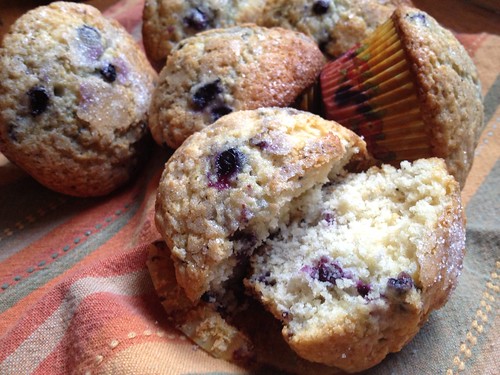
Malted Milk and Maple Blueberry Muffins

Malted Maple Blueberry Muffins
adapted from Taste of Home
makes one dozen muffins

Ingredients
2 cups all-purpose flour
2 teaspoons baking powder
1/3 teaspoon salt
1/4 cup malted milk powder
1 stick butter, softened
1 cups sugar
2 eggs
1/2 cup milk
1 tbsp maple syrup
1 teaspoons vanilla extract
1 cups frozen Maine blueberries
topping
1 tablespoons sugar
1/4 teaspoon ground nutmeg

Instructions
1. Preheat the oven to 375 degrees F.
2. In a large bowl, whisk together the flour, baking powder, salt, and malted milk powder.
3. In the bowl of your standing mixer, cream the butter and sugar until light and fluffy.  Add in the eggs, milk, maple syrup, and vanilla extra and mix until combined evenly.
4.  Slowly add in the dry ingredients and mix until just incorporated.  Stir in the frozen blueberries with a spatula.
5. Evenly distribute the batter into a 12 muffin tin lined with muffin cups.  In a small bowl, combine the remaining sugar and nutmeg and sprinkle over each muffin.
6. Bake 20-25 minutes, or until a toothpick inserted in the middle of a muffin comes out clean.  Allow to cool in the muffin tin for 10 minutes before removing to a wire rack.

Wednesday, December 5, 2012

Sweet Potato Bread Pudding

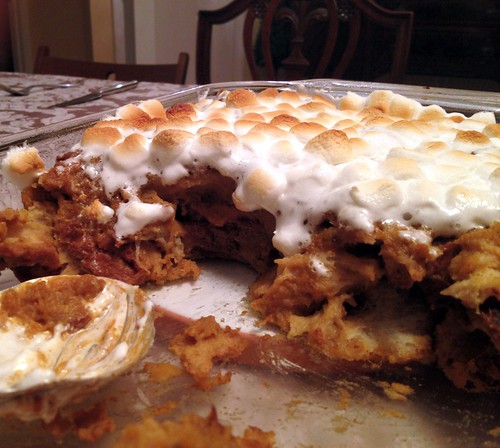
sweet potato bread pudding

I don't think I've ever eaten as much food over a 4 day period as I did this Thanksgiving.  We had huge dinners with both sides of my family, sandwiching a couple of delicious restaurant meals.  I feel ready for hibernation - I do not need to eat another thing for the next month!

Untitled

One dish I just had to make was this sweet potato bread pudding.  We never grew up having sweet potato casserole, but I love it.  I mean, what's not to love?  Sweet potatoes. Marshmallows.  YUM.  I'd take that over tzimmes any day!

Untitled

My cousin, who is 8, is a fairly picky eater.  He's usually willing to try new things, but I've seen him not like a lot more things than he likes.  When he tried this bread pudding, he actually sought me out to tell me how much he liked it.  That was a major compliment coming from him!  His sister loved it as well, but I'm not sure she didn't just pick the marshmallows off the top.

Untitled

This recipe is dessert, but it really isn't that bad for you.  I think you can totally justify it as a starch, rather than a sweet.  We used unsweetened almond milk in our version because my grandfather is allergic to dairy, and I think it made it better! It added a new dimension of flavor to the dish in addition to making it lactose-intolerant friendly.

Untitled

The challah we used is from one of my favorite places in the world - Rein's Deli - that we picked up on our way back to New Hampshire from Connecticut.  Normally, I would probably make my own bread, but I know I can trust bread from Rein's.  We served it alongside my Lobster Mac and Cheese.  It was quite the indulgent evening.  We also had my grandmother's famous pastrami that my brother craves all year.  It was a pretty fantastic meal all-around.  I may have been full - but I think it was well worth it!

sweet potato bread pudding

Sweet Potato Bread Pudding
adapted from Baking Bites

Ingredients
2-3 medium-sized sweet potatoes
2 2/3 cups unsweetened almond milk (cow's milk is ok)
4 large eggs, lightly whisked
1 cup brown sugar
1 tsp vanilla extract
1 tsp ground cinnamon
1/4 tsp ground nutmeg
1/4 tsp salt
9-10 cups cubed challah
4 cups mini marshmallows

Instructions
1. Wrap the sweet potatoes in foil and roast in a 400 degree oven for about 40 minutes or until soft enough to pierce with a fork.  Remove the potatoes from the oven and lower the temperature to 350.
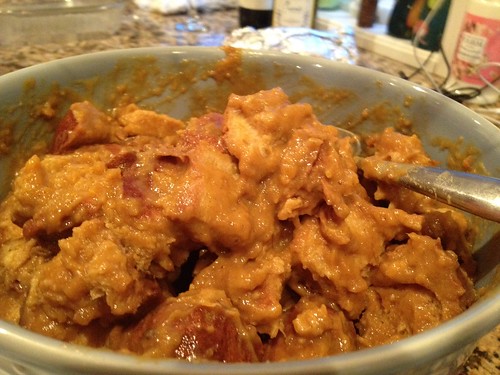
2. Remove the skins and puree in a large bowl with an immersion blender (or in a food processor).  Whisk in the almond milk, eggs, brown sugar, vanilla, cinnamon, nutmeg, and salt.
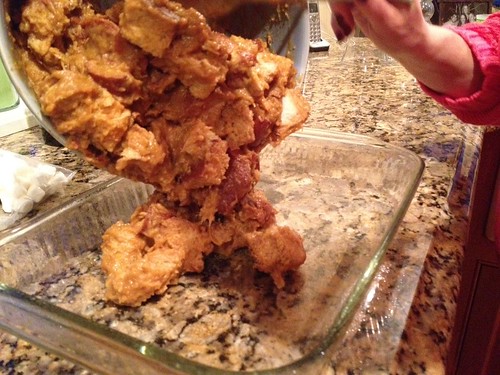
3.  Add the bread to a separate large bowl and pour the potato mixture over it.  You could add the bread into the original bowl, but it's really difficult to stir and your bread will get all broken up.  Fold to coat all of the bread and let it sit for 20 minutes so the bread can soak up the liquid.
4. Grease a 9x13 baking dish, then transfer the bread into it.  Bake in the 350 degree oven for 40 minutes, or until the pudding is set and springs back when lightly pressed.
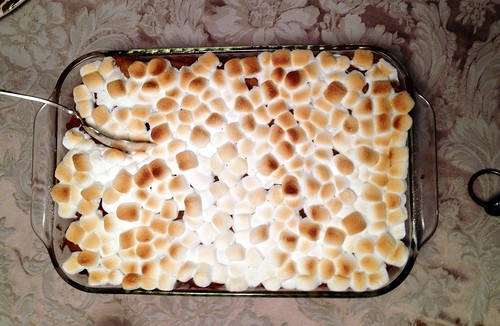
5. Take the dish out of the oven and carefully sprinkle the top with mini marshmallows. Place under the broiler for 1-2 minutes (WATCH CAREFULLY, marshmallows burn easily!) until the marshmallows puff up and turn brown.
6. Let cool for 15 minutes, then serve.

Monday, November 5, 2012

Avogolemeno

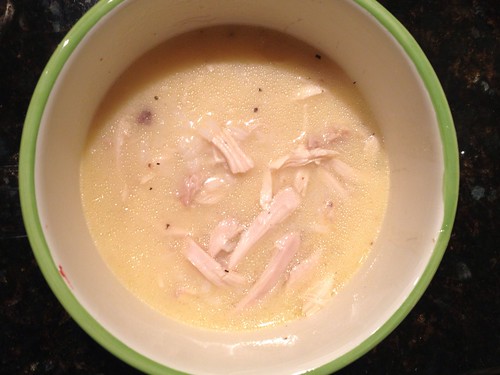
Avgolemono

I should start this by saying, I fully stand behind the idea that people from the East Coast live in a bubble.  Growing up in New England, everything between Pennsylvania and California is a big jumbled mess in my head.  Even after years of now living in the Midwest.  The Monkey Scientist constantly makes fun of me when I mix up Iowa and Idaho (you think living one state away that I'd get it, but it's still a frequent flip flop in my head) or when I try to think about how far West certain states are.  Once you get to the South, I have no idea what falls on which side of Texas.  Including Louisiana, and I've driven there.  It's pretty embarrassing.

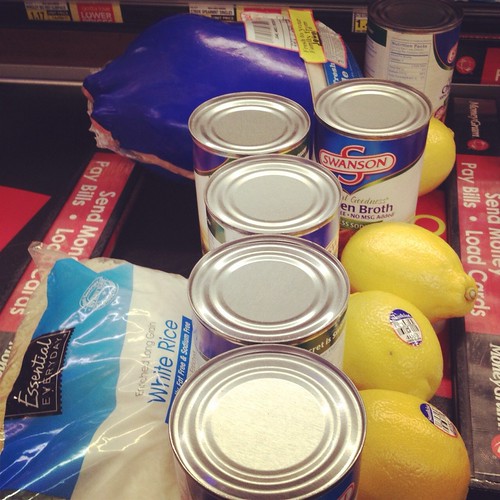
Ingredients for Avgolemono soup

Before I went to Michigan for undergrad, I thought it was about a bajillion miles from Boston.  Once I'm in Michigan, I'll be able to take road trips to California, right?  And I for sure thought it was about two times zones over when it turns out it's totally in the same time zone.  And I know I'm not the only one from the East Coast who thinks that.  The first time my mom and I went out there to look at U of M, we thought it was a good idea to "go check out Detroit" and so we went to a Coney Island in Greektown (which is amazing by the way) and I first tried this amazing soup.  Avgolemono.  Even the name is fancy.  And I fell in love.

And then we subsequently drove three hours in the wrong direction into Canada.  Who knew that actual Canada was ever that far South? We thought it was just a city named Canada! (i.grew.up.in.a.bubble)

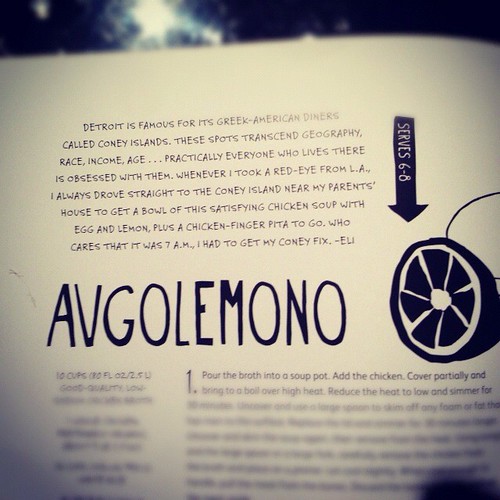
Avgolemono from This Is a Cookbook

Anyways....

I have been trying to replicate this recipe for a long time but without much success.  I recently bought a new cookbook called "This is a Cookbook" after reading about it in the NY Times.  I'm not a big cookbook buyer (the ever growing blog roll in my Google Reader gives me more recipes than I could ever make) but this book spoke to me.  It's exactly how I love to cook. SIMPLE. Short ingredient lists. Lots of low and slow cooking to develop flavor. A little bit of Asian food.  Plus there was a recipe for Avgolemono. AND it's based on the Avgolemono from Coney Islands in Detroit.  I knew I had a winner.

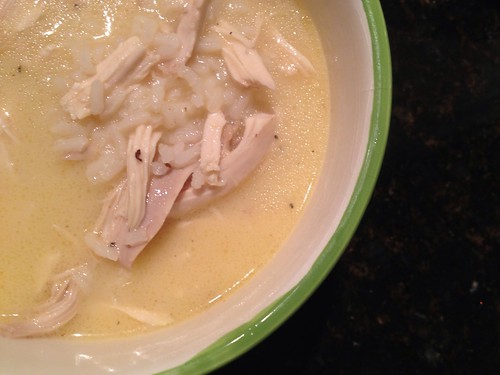
Avgolemono

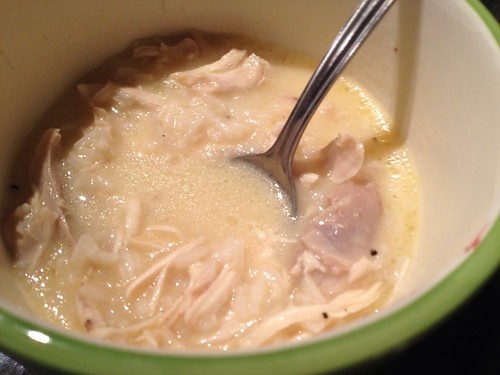
And it's everything I hoped it would be.  The ingredient list is so simple.  Nothing fancy here at all.  Chicken broth, a whole chicken, white rice, lemon juice, egg yolks, salt and pepper.  It's exactly what needs to be there and nothing more.  It's sour and lemony but hearty and warming at the same time.  There's nothing quite like it.  If you're missing Detroit, or you just love a REALLY good soup, you should make this.  Unless you're feeding my dad or brother or some other crazy person who hates lemon.  Then you're on your own.

Avgolemono

Avgolemono Soup
slightly adjusted from This is a Cookbook

Ingredients
six cans (87 oz) high quality, low sodium chicken broth (or make your own)
1 4-lb whole chicken (neck and things removed and saved for stock)
1 3/4 c white rice
4 egg yolks
juice from 4 lemons
salt and pepper

Instructions
1. Add the broth and chicken to a large pot.  Cover partially and bring to a boil, then turn the heat down to low and simmer 30 minutes.
2. After 30 minutes, skim the fat from the top of the broth and flip the chicken over.  Cover partially again and simmer for an additional 30 minutes.
3. Remove the pot from the heat.  Remove the chicken and set aside to cool on a large plate.  Add the rice to the pot and bring it back up to a simmer.  Cover and allow to cook for 20 minutes.
4. Once the chicken is cool enough to touch, remove and discard the skin.  Remove all the meat from the bones and shred.  (Save the bones for stock!)  After the rice is cooked, add the chicken back into the pot. Remove from heat.
5. Whisk the egg yolks in a heat proof bowl.  While whisking continuously, slowly add 1/2 c ladles of soup to the yolks to temper (prevent curdling) until they are close in temperature to the soup.
6. Add the egg/broth mixture back into the pot, along with the lemon juice. (Do not turn on the heat!)  Season with salt and pepper.  Serve immediately.


Thursday, October 4, 2012

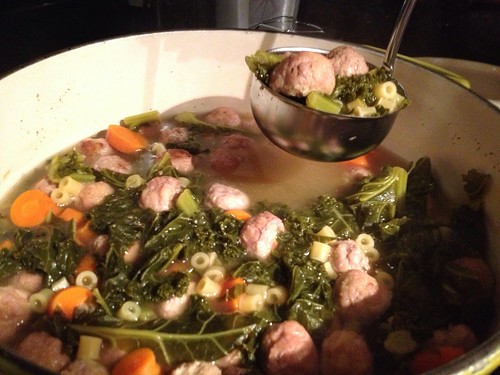
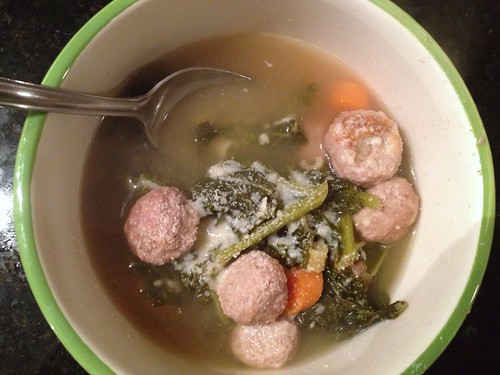
Italian Wedding Soup

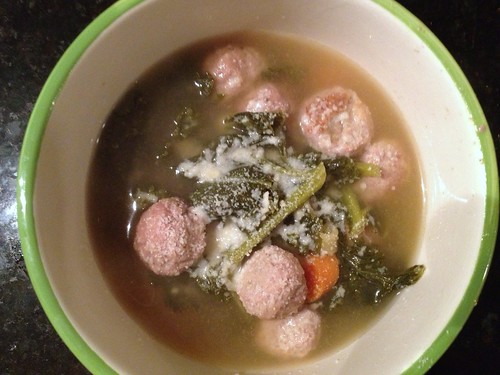
Italian Wedding Soup

The cold has really started to set in here in Chicago!  I grew up in Boston and went to school in Michigan, so I'm no stranger to the cold, but somehow 3 winters in DC has made me a little unprepared for the cold.  I've been wearing what was my DC-winter coat for two weeks already! And it's only getting colder from here...  I can't complain too much though, it is October.  But seriously, when did that happen? Wasn't it August like, yesterday?

A quick note: I wrote this post about a week ago, when it was still 40 or 50 degrees outside.  Since then, we've had a couple of really gorgeous days (today it might even hit 80!) and I have been so appreciative.  But there is no denying that the cold weather is coming back and there will be much more soup to come!!

Untitled

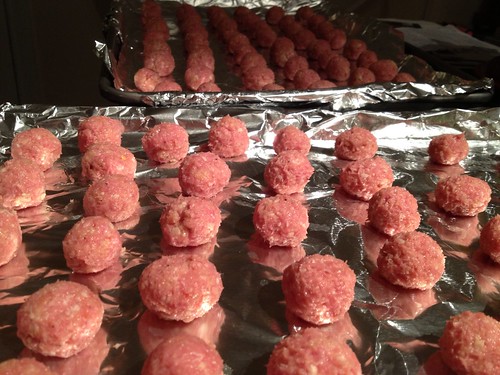
Anyways, there is one great thing about the colder weather.  It's soup season!!!  I have been on a bit of a mini meatball kick for a few weeks now.  It started when I had a sudden urge to make rigatoni with mini meatballs a few weeks ago (and yeah, that was amazing) and is continuing with this soup.  The only thing I don't like about mini meatballs is rolling all of them.  It takes forever and my hands get so dried out with meat.  If you have kids, this is where I recommend bringing them into the kitchen and putting them to work!! (Or sending them over to me, I'll put them to work! Just be sure to take them home with you after, please.)

Italian Wedding Soup

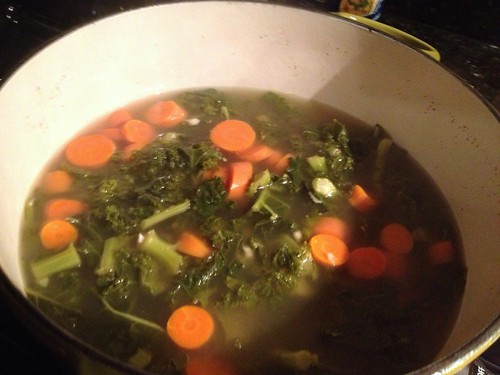
I never used to be a huge kale fan, but I like it a lot in this soup!  If you buy it at Trader Joe's, it's already washed and perfectly cut for this soup. However, they give you more than you need in a bag, so use only like half a bag.  It wilts down, but not so much.  Just use your best judgement.

Italian Wedding Soup

The first soup of the season was a tasty one!  The Monkey Scientist said, "That's a good soup!"  I liked that it had so many components - vegetables, pasta, and savory meatballs.  It is leaps and bounds above the canned Italian wedding soup, which in my opinion isn't even worth eating.  If you like this soup, be sure to check out my Mini Chicken Meatball soup.  It's similar and delicious in it's own way!

Italian Wedding Soup

Italian Wedding Soup
adapted from Tracey's Culinary Adventures

Ingredients
12 c low-sodium chicken broth (I made my own!)
4 carrots, cut into 1/2-inch dice
1 tbsp (about 3 cloves) minced garlic, divided
1 bunch (half TJ's bag) kale, stems removed, leaves cut into thin strips
1/2 c grated Parmigiano-Reggiano cheese, plus more for serving
2 eggs, lightly beaten
1/2 c Panko bread crumbs
1/2 tsp salt
1/2 tsp pepper
1/4 tsp crushed red pepper flakes
5-6 dashes worcestershire sauce
1 lb ground turkey
2 tbsp olive oil
1 1/2 c ditalini pasta (or other small shape)

Instructions
1. Preheat the oven to 350F and line 2 large baking sheets with foil. Brush with olive oil.
2. In a large Dutch oven, combine chicken broth, carrots, garlic, and kale. Cover and bring to a boil over medium-high heat, then lower and simmer 30-40 minutes until the carrots are tender.
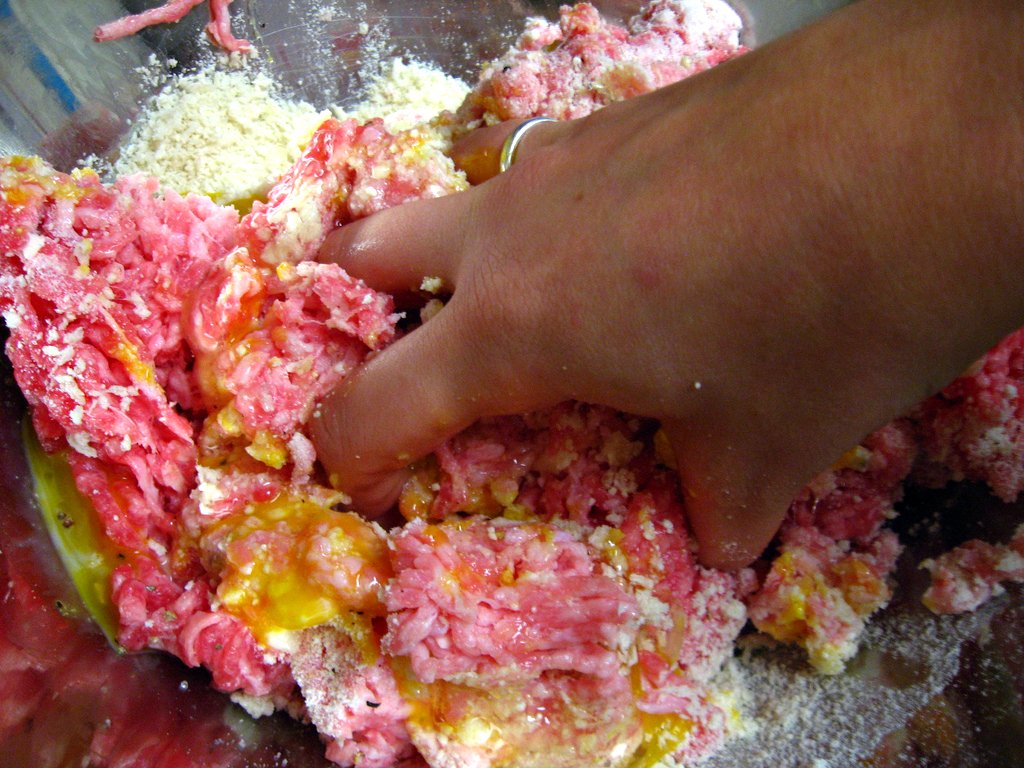
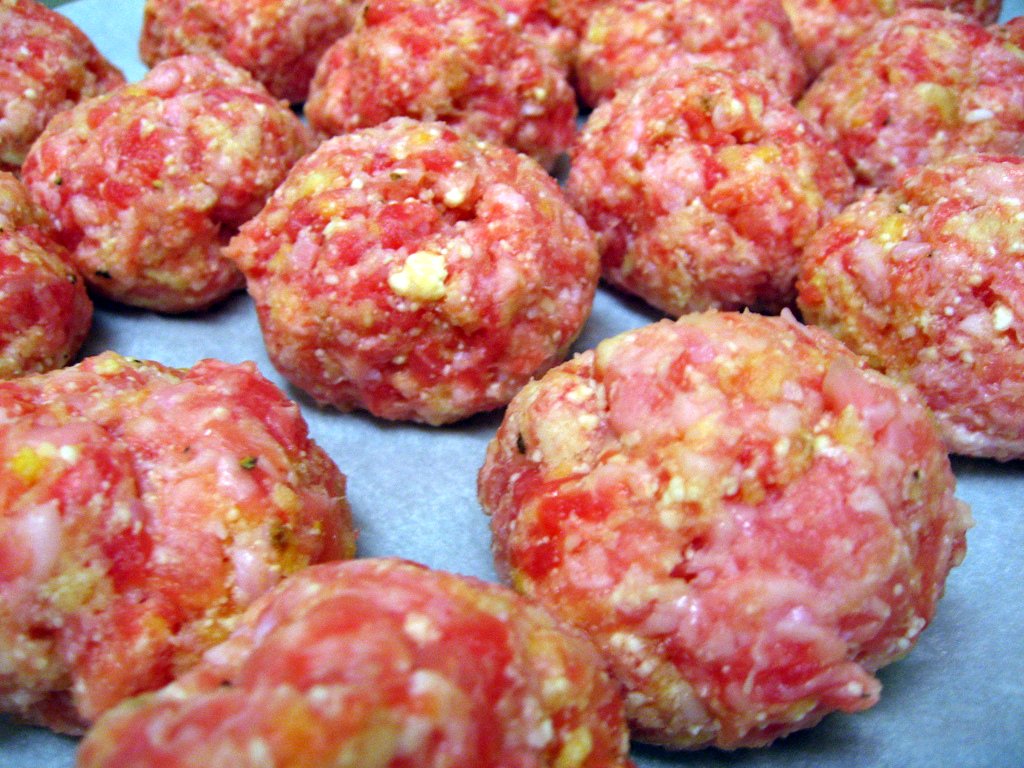
3. Combine the cheese, eggs, bread crumbs, salt, pepper, red pepper flakes, and worcestershire in a medium bowl.  Add meat and combine with your hands but don't overmix.  Roll into 1" balls and line along the cooking sheet.  Drizzle over the top of the meatballs with olive oil.  Bake 15-20 minutes, or until cooked through.
4. When the carrots are tender and the meatballs are still cooking, add the pasta to the Dutch oven and cook 10 minutes (or according to package instructions).  Turn off the heat and, once cooked, add the meatballs to the soup.
5.  Serve immediately, topped with extra Parmigiano-Reggiano.

Wednesday, September 5, 2012

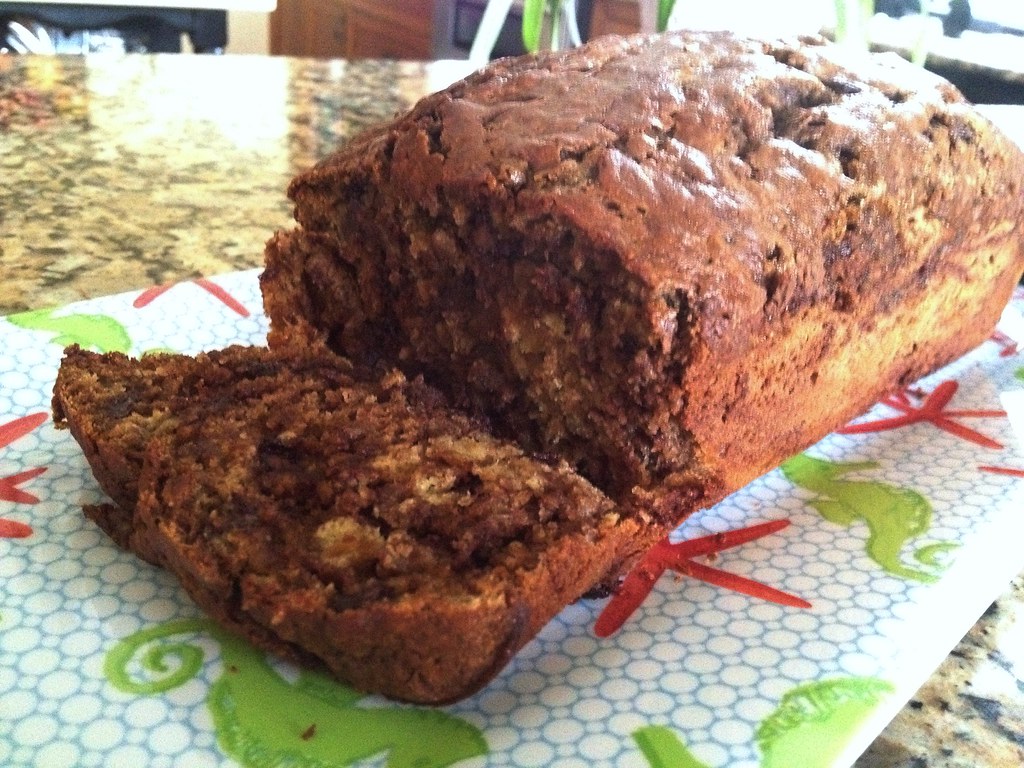
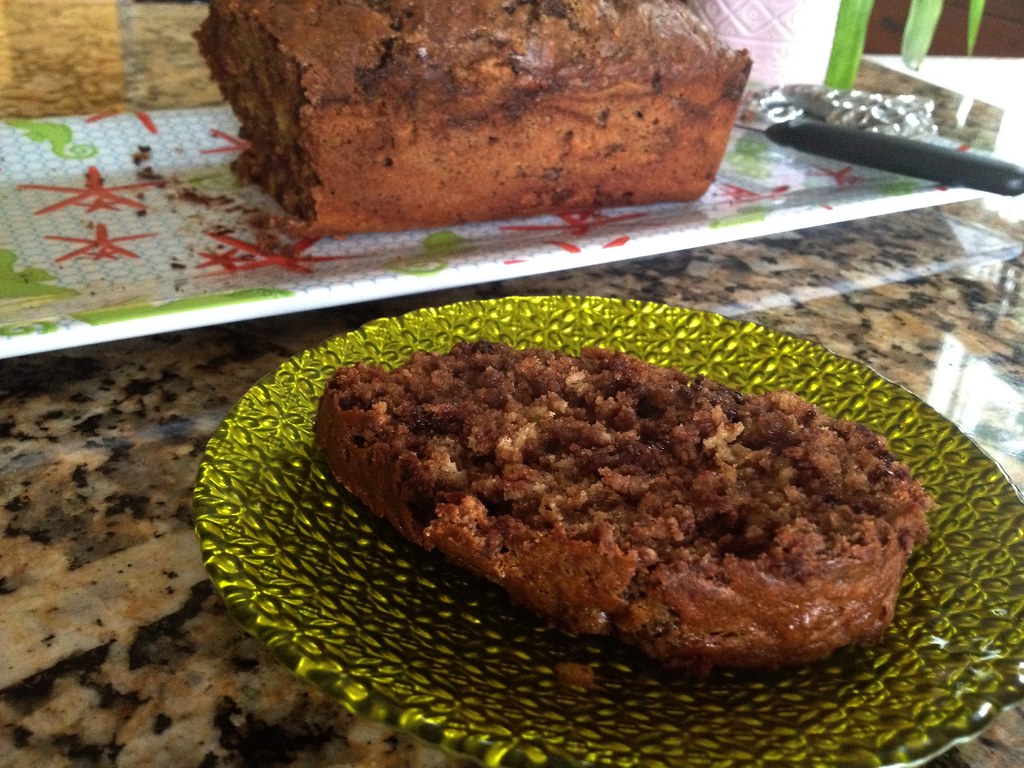
Oops, a banana bread! [Greek Yogurt Banana Bread]

Greek Yogurt Banana Bread

If I've been a little quiet, it's because I'm away on vacation! I'm enjoying a little much-needed time up at my parents house.  I've been waterskiing, paddleboarding... just about everything except cooking.

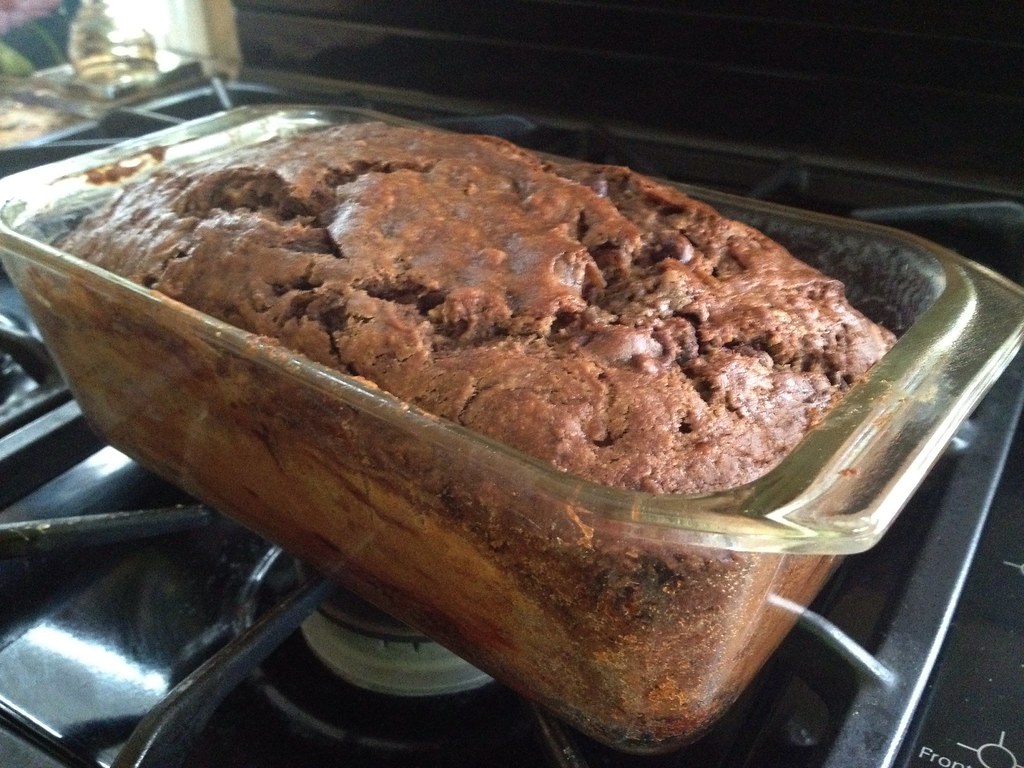
My cousins came for a visit the other night and in the morning I decided to make banana bread with the littlest one since it was raining and we needed a little entertainment.  Even though I have my go-to recipe that always comes out great (although I'm failing to find it in my archives), I wanted to try something new.  I thought this Greek Yogurt recipe might make it even healthier, so I tried it out. Although we had no strawberries, so I substituted for chocolate chips.  Same thing, right?

Greek Yogurt Banana Bread

Of course, I got a little distracted cooking with my cousin, and after the bread had been in the oven for 10 minutes I realized I forgot the sugar.  Healthier, sure, but it would taste terrible. So I took it out of the oven and stirred in the sugar and... well not my best attempt at making banana bread. It definitely isn't even close to as good as when the Monkey Scientist's mom makes it, but experimenting with greek yogurt is worth a try!

Greek Yogurt Banana Bread

Strawberry Greek Yogurt Banana Bread
from Closet Cooking

Ingredients
1 3/4 cups flour
1 teaspoon baking powder
1/2 teaspoon baking soda
1/2 teaspoon salt
1/2 cup brown sugar
3 large ripe bananas
2 eggs
1 teaspoon vanilla extract
1/2 cup Greek yogurt
1 cup strawberries, sliced (I used chocolate chips)

Instructions
1. Mix the flour, baking powder, baking soda and salt in a large bowl.
2. Mix brown sugar, bananas, eggs, vanilla extract, yogurt and strawberries in another large bowl.
3. Mix the dryy ingredients into the wet ingredients.
4. Pour the mixture into a greased 9x5 inch loaf pan.
5. Bake in a preheated 350F oven until golden brown and a toothpick poked into the center comes out clean, about 60 minutes.

Thursday, May 3, 2012

What we had for dinner this week

OK I'm still behind on blogging.  I have no pretty pictures for you.  But I wanted to share the recipes we made this week to give you cooking inspiration!

Sunday night: Bibimbop from Cooking Light  We used steak instead of tofu (the Monkey Scientist is from the Midwest, I can't just be feeding him tofu!).  Bibimbop is my favorite Korean dish.  My favorite is from Kang's in Ann Arbor - I love how the hot stone makes the rice at the bottom crispy.  This recipe simulated it well by crisping up the rice in the cast iron skillet.  Lots of wonderful Asian flavors.

Monday night: Roasted Chicken with Red-Skinned Potatoes and Carrots
Washed a 5 1/2 lb chicken, covered in olive oil, chicken seasoning from the Christmas Tree Shop, and freshly ground black pepper, inside and out. Stuffed it with a lemon, cut in half.  Filled a dish with quartered potatoes and carrots (did nothing else to them beside clean and cut) and then put the chicken on top.  Baked at 475 for 25 minutes and then at 400 for 45 minutes.  I cooked it breast-side up for the first 45 minutes and then flipped it for the last 25.  Perfection, and still eating leftovers for lunch.

Tuesday night: We ate at Tesoro in Van Ness.  Not overly impressed.

Wednesday night: Spicy Chicken Thighs with Cucumber Avocado Salsa from Cookin' Canuck  - I'm now completely obsessed with this recipe.  Took 15 minutes to throw together, including cooking time, and tastes AMAZING.  The ancho chili powder (which I got at World Market) and cumin have almost a cinnamon-like spice to them.  The honey in the salsa is the perfect amount of sweetness and the lime gives just the right tang.  I loved the load of vegetables on top of the chicken - I didn't even need to make a grain to fill us up.  We made it on a cookie sheet with sprayed with olive oil rather than a rack and it was fine.  Definitely give this one a try!

Thursday night:  BBQ night!  Our friends have been organizing barbecues every Thursday at my apartment building.  This week I'm bringing Peanut Butter Cup S'mores Bars from Mel's Sweet Life.  The assembly wasn't so easy (forming that last bit into an 8x8 square? All I had was crumbs.)  But they've been sitting on my counter overnight and I'm quite confident they'll be delicious.

Hopefully I can get you some full recipes and pics over the weekend... I will do my best!

Thursday, December 8, 2011

Graham Cracker Torte

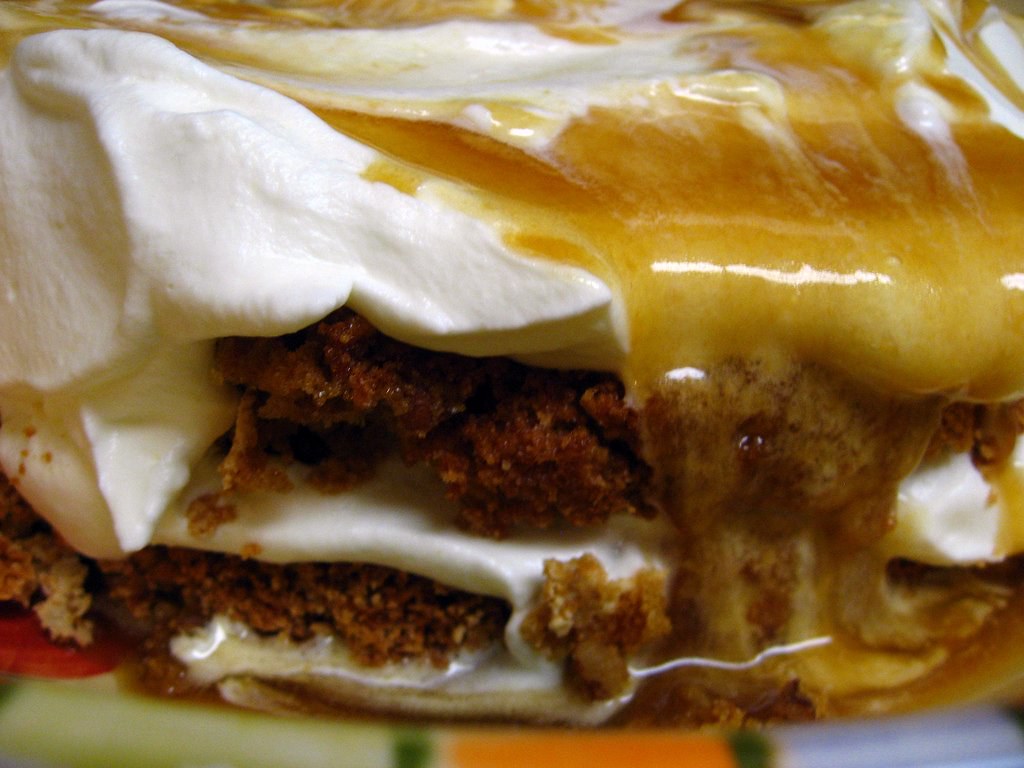
graham cracker torte

One of my absolute favorite blogs is Eat, Live, Run.  I feel like I know Jenna from reading it all the time.  Jenna's photos are wonderful, her comments are witty, but more importantly her recipes are awesome.  I've reviewed many an ELR recipe here on yelleBELLYboo - kicked up meatloafratatouilleturkey burgers with spinach and feta/goat cheese, blackberry and orange zest muffins, and whole wheat fig newtons to name a few - and for the most part I've enjoyed them all.  But since Jenna is a baker by trade, I needed to try more of her baked goods.

graham cracker torte
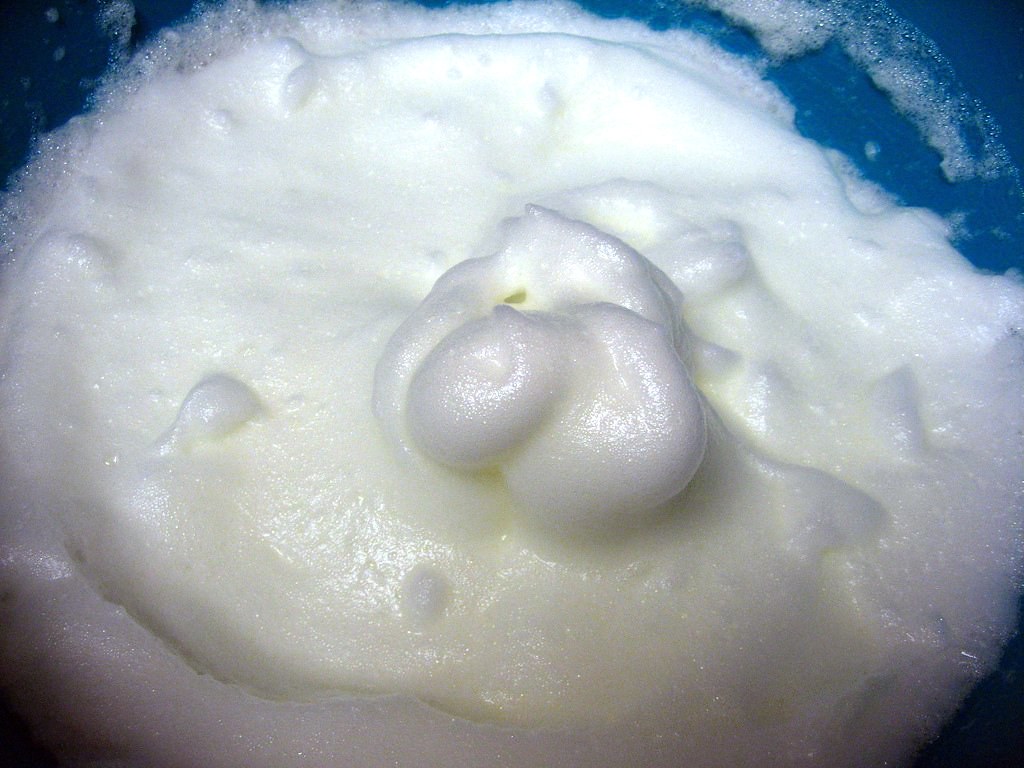
whipped egg whites

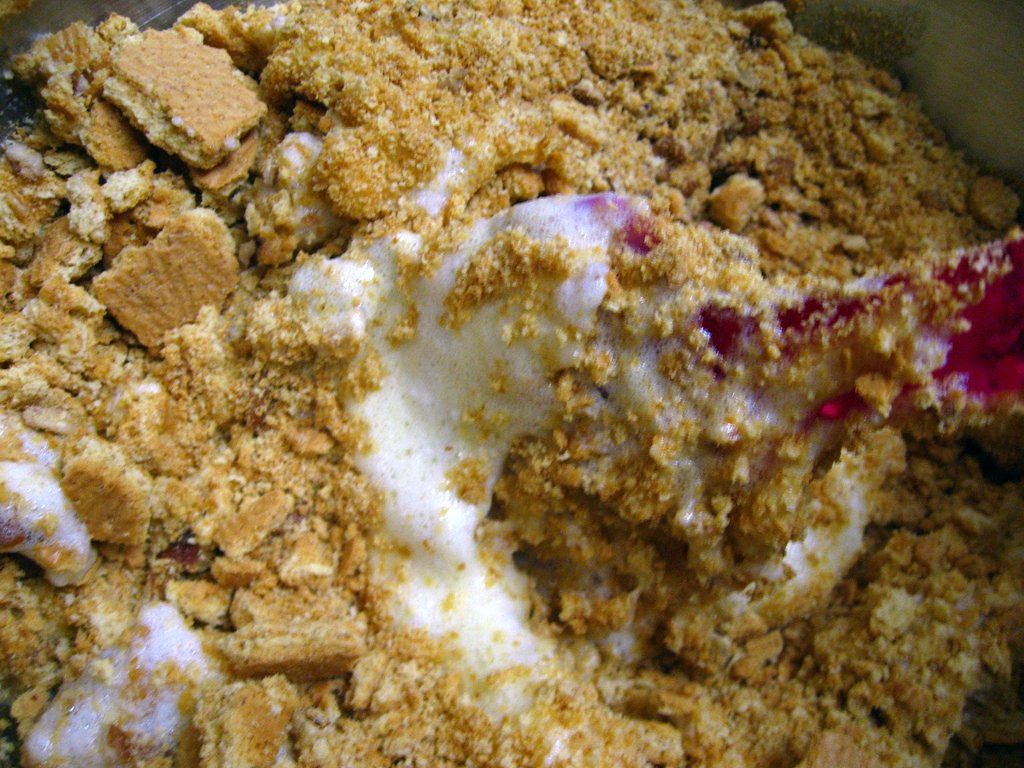
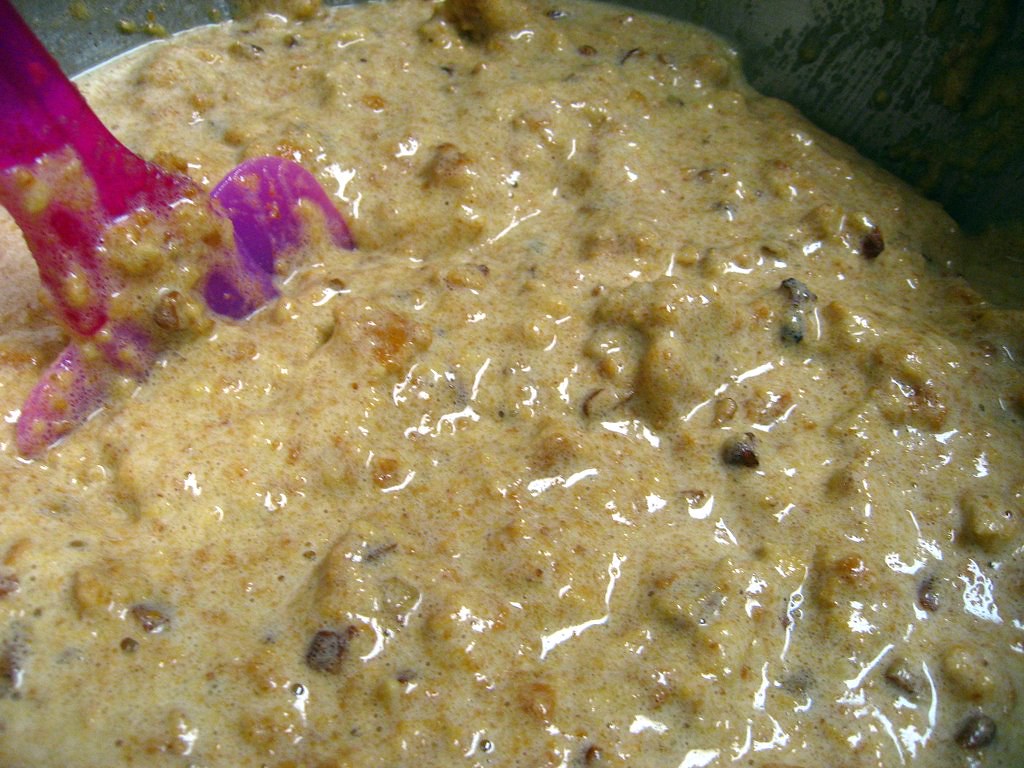
Recently, Jenna challenged herself to bake through her great-grandmother's recipe box.  I've enjoyed seeing all the interesting 1920s recipes she's trying, and was especially intrigued by this graham cracker torte, which her grandmother apparently had written up on multiple recipe cards.  I've never made a cake that actually doesn't have any flour - I had to give this one a shot.

graham cracker tortegraham cracker torte

Last year, I tried to make birthday cakes for everyone on my team at work.  It got to be a little too much work and I haven't done quite as well this year.  However, one of my coworkers has always been so nice - bringing me treats from the potato chip factory, getting an ice cream cake for another coworker's birthday, bringing me the coupons every week - so for her birthday another coworker and I decided to bake her this cake.  She's not a huge chocolate person (much like myself) so this cake seemed like something she would enjoy.

caramel for graham cracker torte

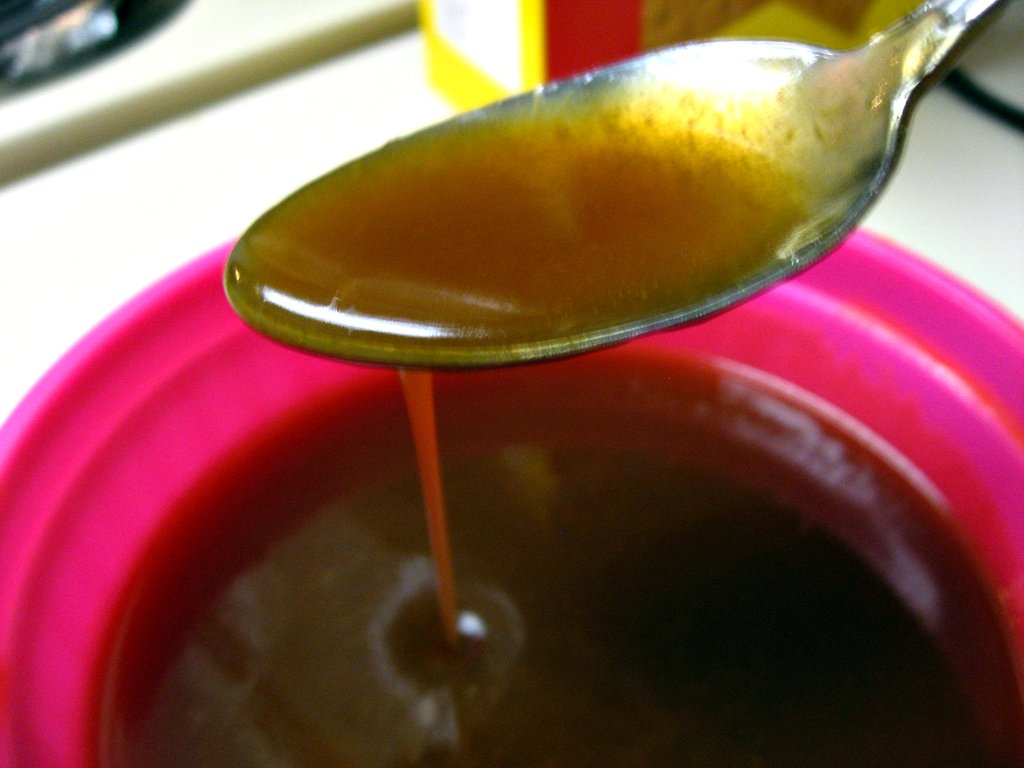
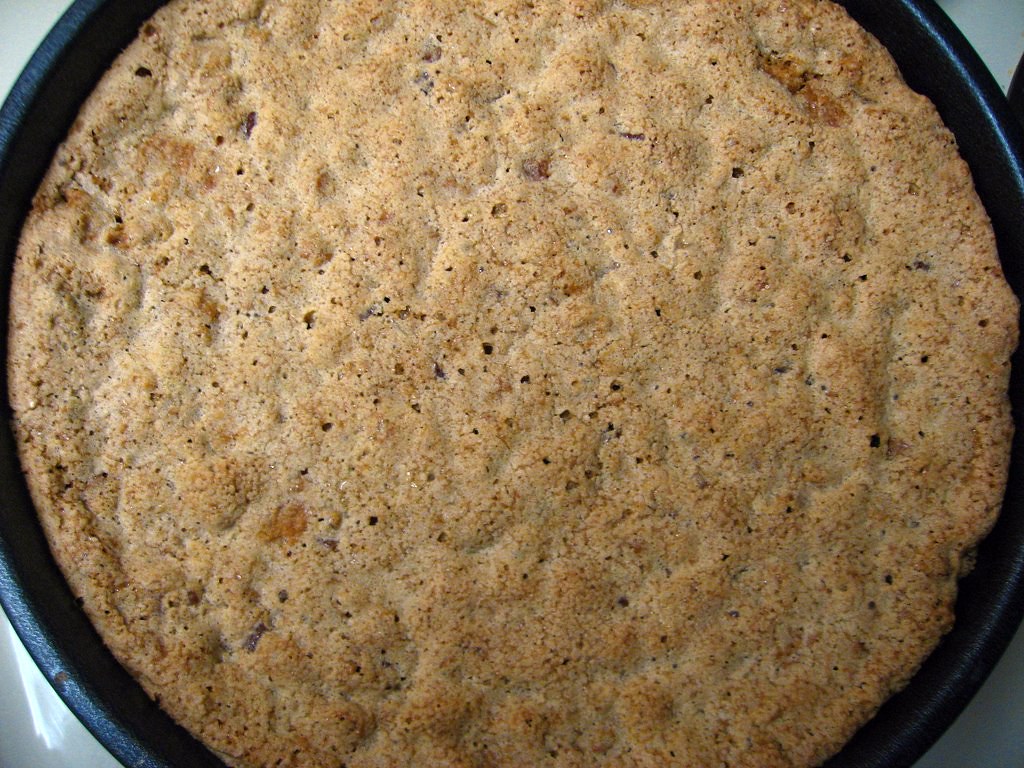
I have to admit, this cake isn't the easiest thing to make.  At one point, I had to use both my standing mixer and my hand mixer (maybe I should buy a 2nd bowl for my standing mixer?) and the steps seemed endless.  When I went to get the cakes out of the tins, it was an utter failure.  I wish I had lined the bottom with parchment.  In the end, once I added the whipped cream, you couldn't really tell what a mess I had made, but it wasn't exactly the gorgeous torte that Jenna assembled.  Plus I definitely cooked and curdled the eggs in the caramel and had to strain it, but I don't think it mattered too much in the end.

graham cracker torte

So even though this was absolutely not the prettiest cake I've ever made, the taste was outstanding.  The cake is somewhere between a sponge and a meringue, but nutty with a nice crunch.  The whipped cream made a perfect frosting to counteract the sweet caramel.  The birthday girl loved it and said she'd be making it again.  Our office finished it in record time - less than half an hour until the serving plate was licked clean.  Absolutely a hit!  I think I'm getting quite the reputation for making the best-tasting ugly cakes of all time - a reputation I'm just fine with!

graham cracker torte

Graham Cracker Torte
from Eat, Live, Run

Ingredients:
for torte:
6 eggs, separated
1 1/2 cups sugar
1 tsp baking powder
2 tsp vanilla
1 cup chopped nuts (I used pecans)
2 cups graham cracker crumbs (a little less than two sleeves of graham crackers)

for caramel sauce:
1/4 cup butter, melted
1/4 cup water
1/4 cup orange juice
1 well beaten egg
1 tbsp cornstarch
1 tbsp vanilla
1 cup brown sugar

for assembly:
1 pint heavy cream

Instructions:
1. Preheat oven to 325.
2. Beat egg yolks until light and frothy (I used the whisk attachment of my standing mixer). Add sugar, baking powder and vanilla and continue to beat until very thick and pale in color. Set aside.
3. Beat the egg whites until they hold soft peaks. Gently fold egg whites into egg yolks and then fold in the nuts and graham cracker crumbs.
4. Divide batter into two WELL GREASED 9-inch cake pans (I recommend putting a piece of parchment on the bottom of the pans as well) and bake for 35 minutes. Let cool before turning cakes out of pans onto plates or a counter top.
5. To make the caramel sauce, combine all ingredients in a saucepot and bring to a boil whisking the whole time. Don’t stop whisking or the egg will cook and curdle, which isn’t the end of the world (just strain the caramel through a mesh strainer after it cools) but it can be prevented by whisking constantly until the sauce is very thick and boiling. Remove sauce from heat and let cool completely.
6. To assemble the torte, whip the cream until it holds soft peaks. Spread whipped cream between graham cracker layers and over the top of the torte. Pour on the cooled caramel sauce and it let drip down the sides.
Keep the torte in the refrigerator overnight before serving.

Friday, December 2, 2011

Kicked-up Meatloaf

kicked up meatloaf

I am so sorry! I wrote up this post a long time ago and realized I never posted it for you!! And now I've made you wait allll this time without a new post.  Shame on me.

To be honest, I wasn't so excited about this recipe, so I guess that's what led to my hesitation in posting it.  When I have a recipe I totally love - like buttery cloverleaf rolls - I post it right that night. But this one was just, eh.  I still figured it might appeal to some of you.

kicked up meatloaf

My favorite part of this meatloaf was the addition of mushrooms.  I'd never put mushrooms in my meatloaf before, but I absolutely loved them.  I used baby portabellas, which were absolutely perfect. I'm usually not that into veggies in my meatloaf (which is why I left out the carrots - I'm not into cooked carrots at all) but mushrooms are meaty enough that they work well.

kicked up meatloaf

I was also intrigued by the step where you soak the bread crumbs in milk.  I'd never done that before.  I'm not sure what exactly it did, but maybe it made a juicier meatloaf.  I wished it had a bit more egg - I know it's weird but I actually love an eggy meatloaf like my college roommate used to make.

kicked up meatloaf

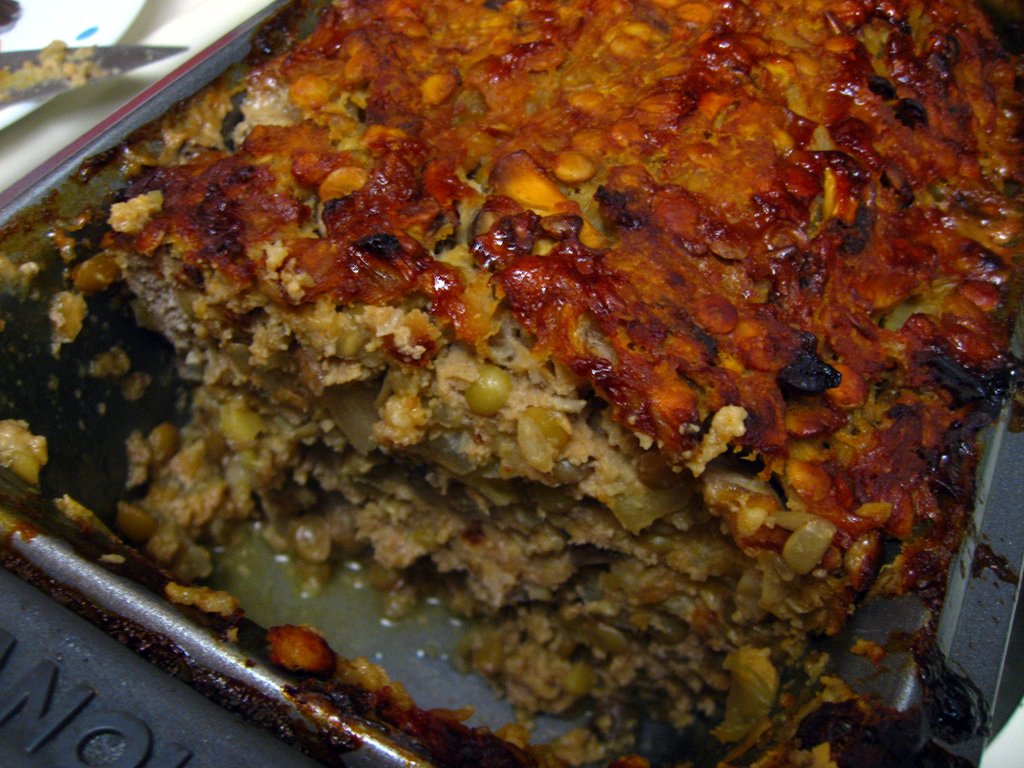
My biggest issue with this recipe happened once it was cooked.  As soon as I sliced it, it was almost impossible to get a nice piece out of the dish.  It kept falling apart.  It tasted fine, but it wasn't exactly a gorgeous presentation.  I think it's all the lentils that made it not turn into a loaf quite as much as meat typically does.

kicked up meatloaf

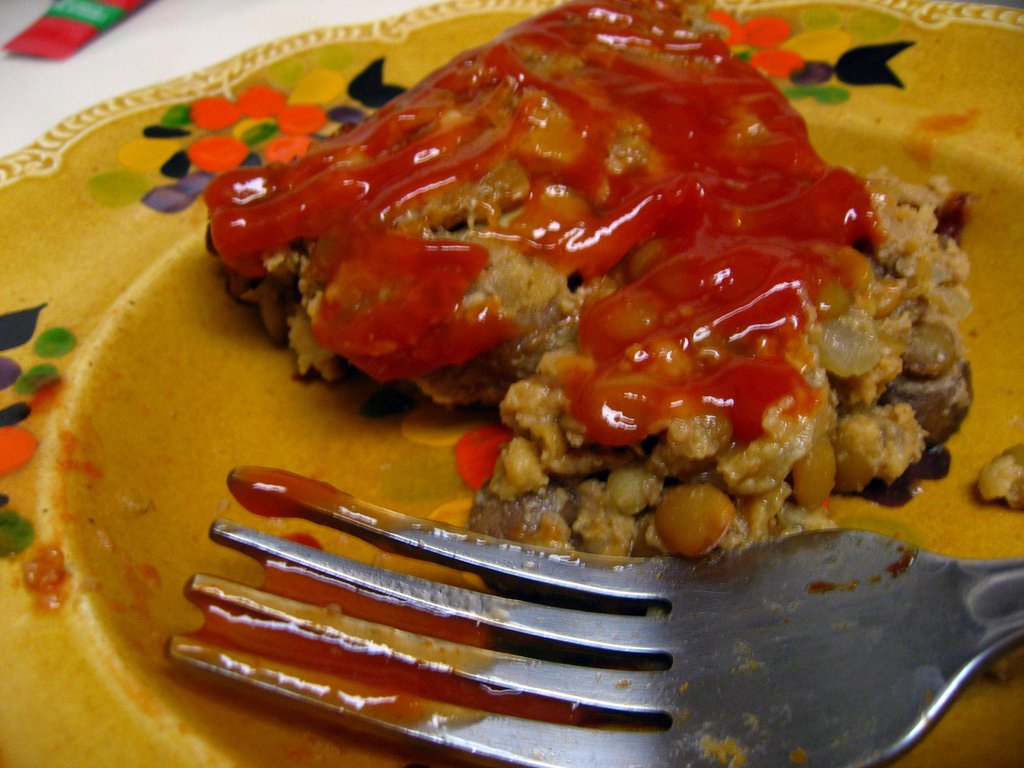
Overall, not a bad recipe. It's nowhere near my favorite meatloaf recipe, but it is definitely a different and fairly delicious dinner.  It's especially good with a little sriracha on top (you know that's how the Monkey Scientist ate it!), smothered in ketchup, or even with soy sauce.  If you've cut out red meat and didn't want to go all turkey, it's certainly a good alternative to traditional meat loaf.

kicked up meatloaf

Kicked up Meatloaf
from ELR on Perry's Plate

Ingredients:
1 lb lean ground turkey
1 cup cooked black or green lentils
1 large carrot, diced (I actually left this out)
1 large onion, diced
2 cloves garlic, minced
2 cups mushrooms, chopped
1 1/2 tsp worcestershire sauce
1/4 cup ketchup
1 tsp salt
1/2 T olive oil
1/4th tsp black pepper
3/4 cup panko breadcrumbs
1/3 cup milk
1 egg, slightly beaten
glaze:
2 T ketchup
1 T pure maple syrup (I was out so I used honey)
1 T balsamic vinegar

Instructions:
1. Preheat oven to 400.
2. Heat the olive oil in a large skillet over medium high heat. Add the diced onions and saute for about six minutes, until soft and translucent. Add the carrot and garlic and cook for three minutes. Add the chopped mushroom and cook for another five minutes or so, until the mushroom has turned soft and all the veggies are nice and juicy.
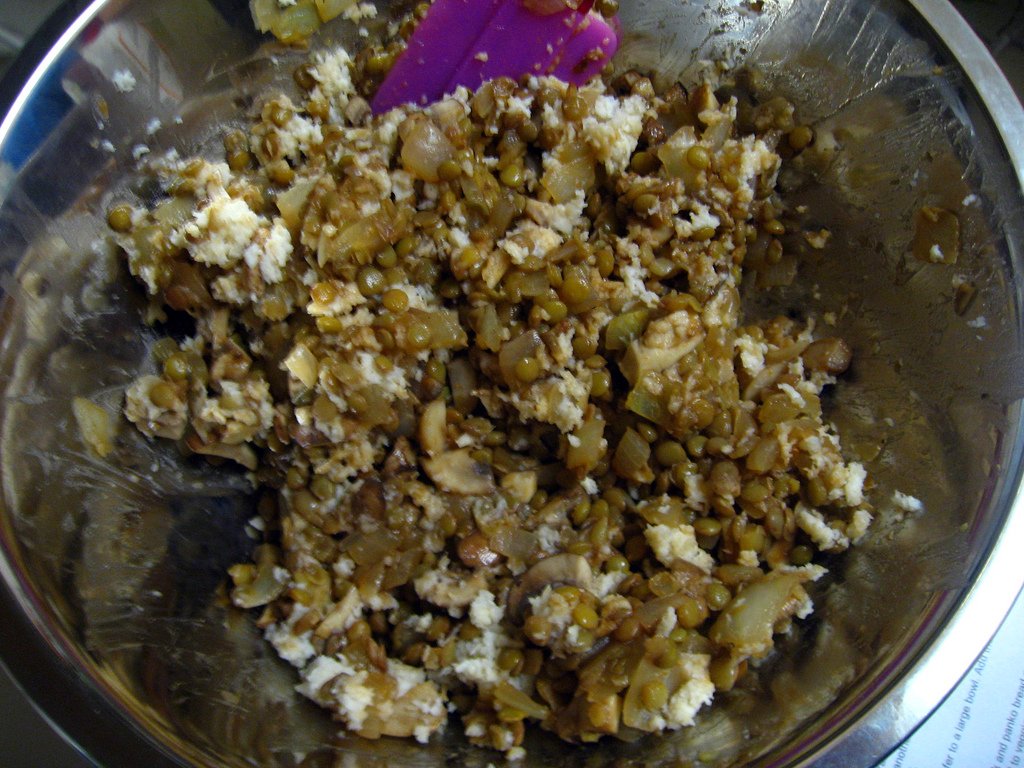
3. Remove from heat and transfer to a large bowl. Add the cooked lentils, salt, pepper, worcestershire sauce and ketchup and mix well.
4. In a small bowl, combine the milk and panko bread crumbs. Let sit for three minutes so the breadcrumbs can absorb a little of the milk. Add to veggie mixture.
5. Add ground turkey and beaten egg and mix well. It’s easiest here to use your hands. Transfer to a greased loaf pan and press down to smooth top.
6. Combine the ingredients for the glaze and pour over top of meatloaf. Spread with a spoon to cover the top.
7. Bake for 55 minutes or until a meat thermometer reads 165 degrees (mine too much longer).

Saturday, November 5, 2011

Spaghetti & Meatballs

meatballs

If I've learned anything by reading cooking blogs, it's if you're going to make something with meat, that's pretty traditional, and you're not trying to skim on calories/fat, go to Ree Drummond.  Her short ribs, for example, are out of this world.  I'm pretty sure my mom and all her friends still make them at least once a month since I showed them this recipe year or two ago.

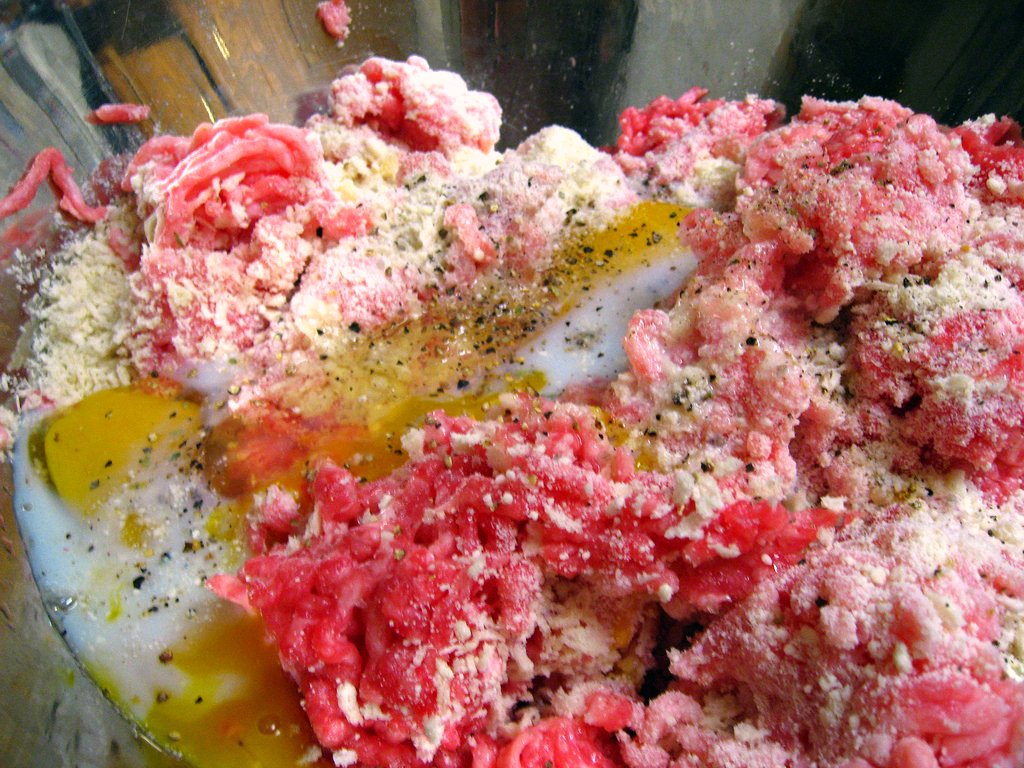
meatballsmeatballs

And let me tell you, Ree's meatballs are no exception.  Ever since I made this recipe back in early 2010, I won't make any other.  It's absolutely perfect and incredibly easy - what else can you really ask for?!  I especially love that you can really use any type of ground meat that you want, because I usually use what's on sale.

meatballs

Now, I have to admit, these aren't nearly as good at the meatballs at 2Amy's, which are hands down one of those best things I've ever eaten.  I don't think the Monkey Scientist will ever forget the day we discovered them.  Or better yet my face when I first ate them.  I was starving one day, and we went to 2Amy's for a late lunch, when I saw the waitress bring over a steaming cast iron dish of sauce to the table next to us.

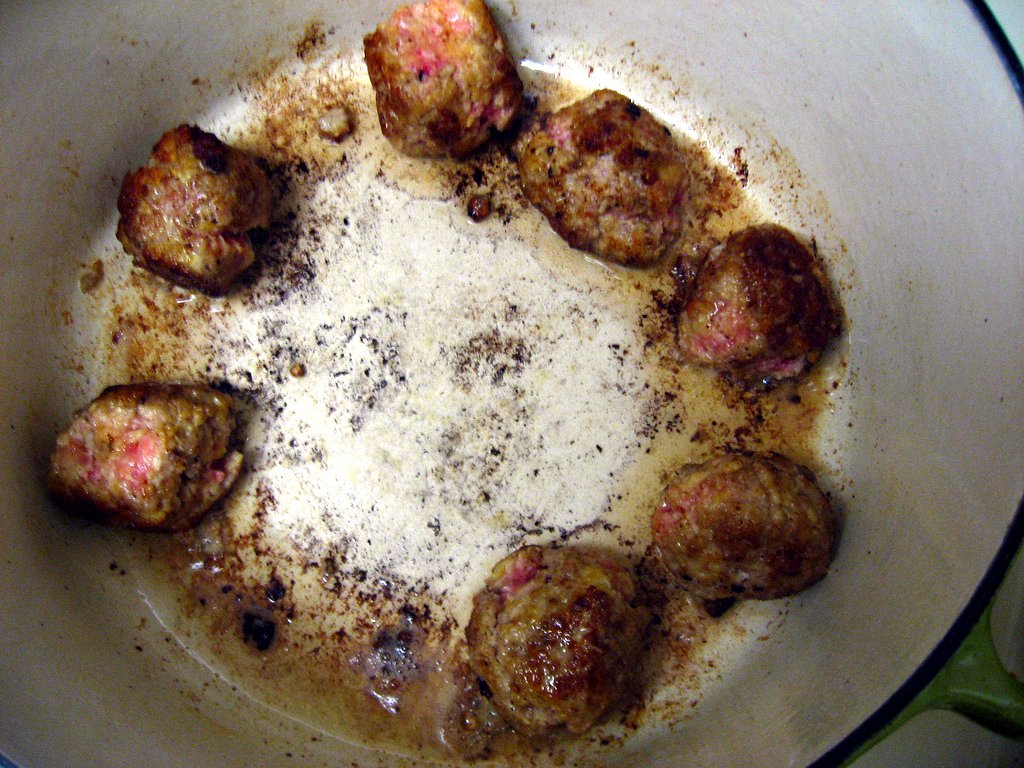
meatballs - browning

I didn't even know what was in it, but I grabbed the waitress and insisted she bring us one.  Then, I saw someone at the next table dig in.  I was mesmerized. I could see the Monkey Scientist realized I wasn't exactly with him anymore.  All I uttered was, "oh my, she just pulled a little meatball out of that...." And then it came to our table, and it was the porky-est, most delicious meatball I had ever had in my life.  I swear, I discovered the reason why that one group of people never actually leaves DC.  They don't want to move too far from these meatballs.  Plus, the rustic bread they serve it with is perfect to sop up the extra sauce.  For my New England friends, all I can compare it to is the artichoke appetizer at Artichokes in Wakefield, MA (formerly in Malden Center).  It's like digging through a puddle of warm, amazing sauce, only to find nuggets of pure food-gold.

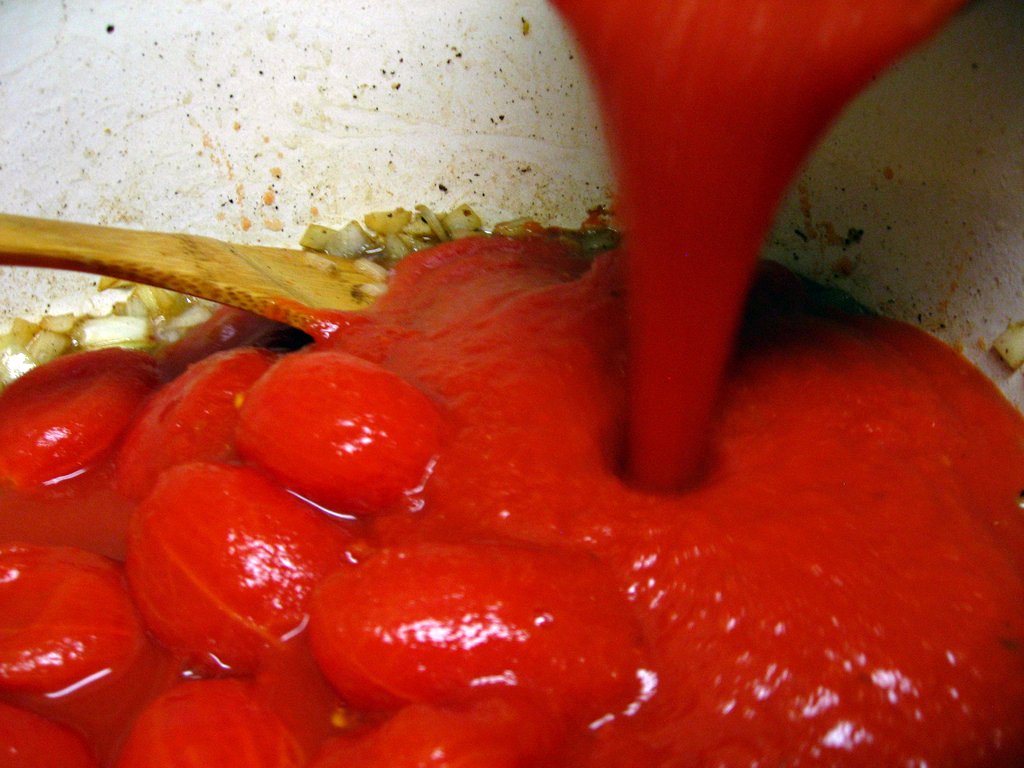
meatballs - sauce

I don't even try to make meatballs like that.  Still it got me on a kick of really wanting to make meatballs for the first time in a long while.  Aren't you craving meatballs after thinking about 2Amy's?  I decided to stick with the more traditional, matzo ball-sized meatballs on top of spaghetti. (Only a true Jewish food-lover would refer to a meatball as matzo ball-sized instead of the reverse haha)  I thought that would be easier to accomplish than the 2Amy's version.

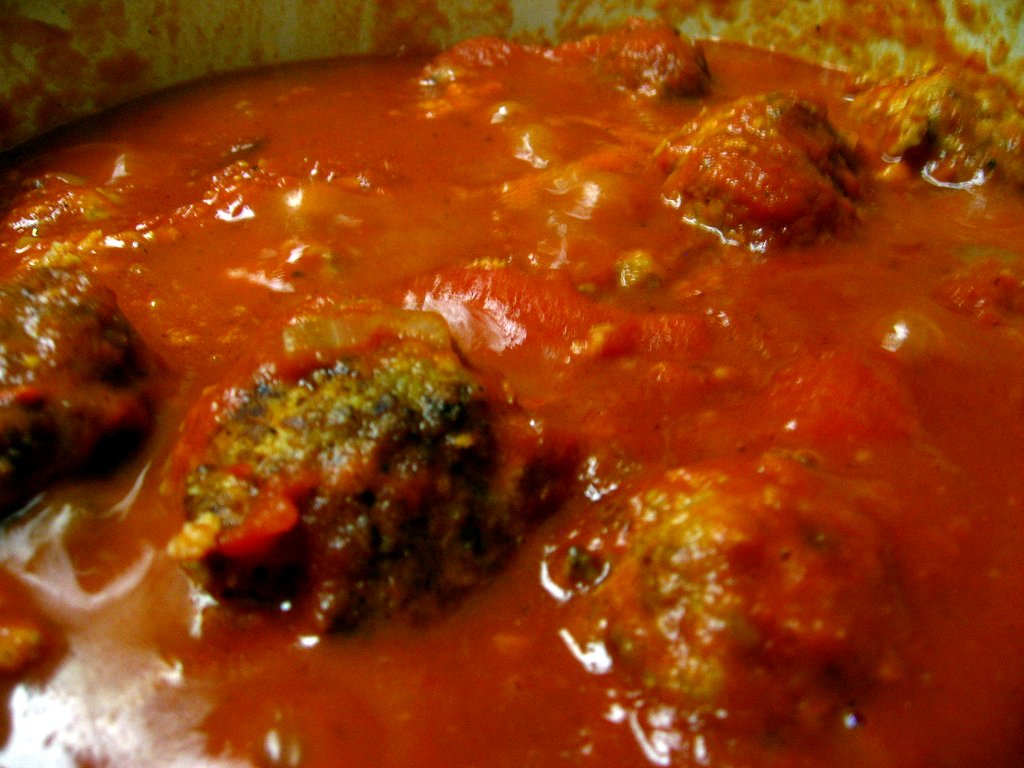
meatballs - steaming in sauce

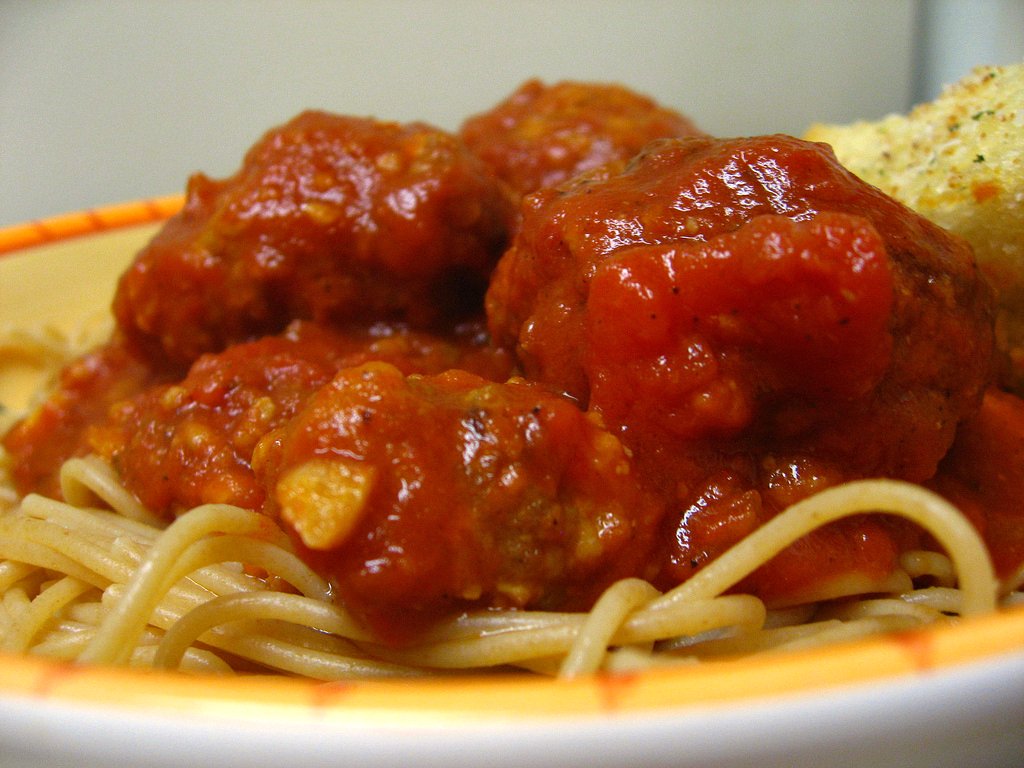
So, while it won't exactly hit your 2Amy's craving, this meatball recipe will definitely do you some good.  It isn't quite as porky as 2Amy's, and it doesn't have quite the same texture, but they are really tasty.  Plus, here's my little trick: I buy a loaf of French bread and cut it in half.  I make garlic bread with one half (softened butter, garlic salt, rub in a garlic clove, bake it) to serve with dinner and then I use the other half for meatball subs with the leftovers the next day!  A perfect 2-for-1 meal!

meatballs with garlic bread

Spaghetti and Meatballs
adapted slightly from The Pioneer Woman

Ingredients:
Meatballs:
3/4 pounds ground veal
3/4 pounds ground pork
3 cloves garlic, minced
3/4 cups Panko bread crumbs
2 eggs
3/4 cups grated parmesan
1/4 teaspoon salt
freshly ground pepper
splash of milk
1/2 cup olive oil
Sauce:
1 whole yellow onion, diced
3 cloves garlic, minced
1 28-ounce can whole tomatoes
1 28-ounce can crushed tomatoes
1/2 cup white or red wine (optional)
1/4 teaspoon salt
2 tsp crushed red pepper flakes
1 teaspoon sugar
freshly ground pepper
2 pounds spaghetti, cooked to al dente

Instructions:
1. To make the meatballs, combine meat, garlic, breadcrumbs, Parmesan, eggs, salt, pepper, and a splash of milk in a mixing bowl. Mix together well with hands. Roll into 25 1 1/2-inch balls and place on a cookie sheet. Place cookie sheet into the freezer for 5 to 10 minutes to firm up.
2. To brown the meatballs, heat olive oil in a dutch oven over medium-high heat. Add meatballs 8 at a time, turning to brown. Make sure each meatball is really brown on each side - you shouldn't really be able to see any pink, even though they'll be pink on the insides still. Remove and drain on a paper towel after each batch. Set meatballs aside.
3. In the same pot, add the onions and garlic and cook for a few minutes, or until translucent. Pour in whole tomatoes, crushed tomatoes, and wine, if using. Add salt, pepper, sugar, and crushed red pepper. Stir to combine and cook over medium heat for 20 minutes.
4. Add meatballs to pot and stir in gently. Reduce heat to a simmer and cook for 30 minutes, stirring very gently a couple of times during the simmer.
5. Serve over cooked spaghetti. Sprinkle with extra Parmesan.

Friday, June 3, 2011

Baby Bacon, Leek, and Cheddar Quiches


For my coworker's baby shower, I made mini quiches.  Since it was a baby shower, I decided to call them baby quiches.  I thought they'd just be an adorable treat for everyone!


I decided to try to lighten this recipe up a bit. Instead of pork bacon, I used turkey bacon.  As a result, I had to add in a little vegetable oil when I went to sauté the leeks.


Man, I love leeks.  They are just one of the most wonderful things I've ever discovered.  Remember that soup I made back in March? This is like a spring version.


I have to find some more leek recipes after this one - they add another dimension to every meal that you can't get from similar ingredients.  They aren't oniony but they do have that carmelized texture.


As long as I was lightening up this recipe, I also used fat free half and half.  I think it didn't affect the taste at all. How do they make it fat free without it getting watery?


The hardest part of this recipe was keeping the filling moist.  I had to stir it between filling each and every quiche to spread the egg evenly.  I also filled a little too much so I was about 6 quiches short.  I also had extra puff pastry - I probably rolled it too thin.


The preparation is pretty simple, although filling all of the muffin tins does take forever. I finished one of my 24 muffin tins and then baked them off while I filled the rest so I didn't have to spend too much time in my hot kitchen.  It's amazing how hot it gets in the summer with the oven on!


These were definitely a hit at the baby shower.  They are salty and a little bit sweet, and definitely savory.  Plus they're so much easier to serve than a full quiche. Mine weren't quite as pretty as Tracy's but they sure were tasty! I tried one hot, which was really good, but they were just as good cold or at room temperature.  They're the perfect appetizer to bring to a baby or bridal shower.  Since 3 people we work with are having babies in late July, I imagine you must know someone getting married or having a baby too!


Baby Bacon, Leek and Cheddar Quiches
Lightened from Tracy’s Culinary Adventures

Ingredients
3/4 lb turkey bacon, cut into medium dice
1 tablespoon vegetable oil
3 cups medium-diced leeks, washed and drained (about 3 leeks, white and light green parts only)
1 1/4 cups fat free half and half
1 cup (4 oz) grated extra-sharp Cheddar
2 large eggs
2 large egg yolks
2 tablespoons chopped fresh thyme leaves or 2 teaspoons dried thyme
1 teaspoon kosher salt
1/2 teaspoon freshly ground black pepper
1/4 teaspoon ground nutmeg
2 1.1-lb packages frozen puff pastry sheets, thawed (homemade puff pastry would work too)

Instructions 
Set a skillet over medium to medium-high heat and cook the bacon until crisp.  Use a slotted spoon to remove the bacon to a paper towel lined plate.  If there is almost no fat in the pan (which is likely) add 1 tablespoon in the skillet (if there is fat, add oil to have total 1 tbsp of liquid).  Return the pan to medium heat and add the leeks.  Cook until softened, stirring occasionally, then set aside to allow the leeks to cool a bit.

Meanwhile, add the half and half, cheese, eggs, egg yolks, thyme, salt, pepper and nutmeg to a medium bowl.  Use a fork to break up the eggs and yolks and mix the ingredients.  Add the bacon and leeks (both of which should be cooled) and toss to distribute evenly.  Set the filling aside.

Preheat oven to 400 F. Spray your mini muffin pans with cooking spray.

Unfold one sheet of puff pastry and place on a lightly floured work surface. Roll the sheet into a rectangle approximately 10x18 inches big. Using a 3-inch round cookie cutter (or the top of a glass cup), cut 12 circles from the sheet of puff pastry. Fit each round into one well of the prepared mini muffin pan, making sure that the dough extends to the top of well. Fill each well with about 1 tablespoon of filling (it's fine to fill it just about to the top). Repeat with the remaining dough and filling.

Bake for about 20 minutes, or until the filling puffs and the crust is golden brown. Remove the quiches from the pans and serve.

Alternatively, you can prep the quiches ahead of time and freeze them (for up to a month). After assembling them, pop the mini muffin pans in your freezer for a few hours, until the quiches are set, then transfer them to resealable freezer bags. When you are ready to bake, transfer the frozen quiches from the bags to the mini muffin pans and bake for about 30-35 minutes.