Showing posts with label paprika. Show all posts

Tuesday, March 19, 2013

Smokey Roasted Chicken Tacos with Spicy Goat Cheese Crema

Chicken and goat cheese creama tacos

As you probably guessed, I've been having a lot of internal debate lately.  There are a lot of days where I just say, that's it. I want to quit the blog.  But then, like the hot girl at the gym, a recipe comes along that I have to share with you that changes my mind.  So I'm back here again.  So don't despair.
Chicken and goat cheese creama tacos

So what have you missed?  We had a delicious Valentine's Day dinner at what just might be our favorite restaurant in Chicago.  I am so excited for my a la Chicago cards to come in the mail so we can go back again ASAP.  The Monkey Scientist had a milestone birthday, which called for two cakes - a graham cracker torte from me and a carrot cake (his favorite) from his mom.  We had a romantic French dinner for our anniversary at a Chicago institution.  And now, of course, Cadbury Mini Eggs have returned to my daily food pyramid.  They almost make up for the fact that Spring has definitely not sprung yet in Chicago.
Chicken and goat cheese creama tacos

For my loyal DC following, I did make a quick trip back to my former home last month.  It was great to be back, even just for a couple of days.  I got in an amazing workout with my old trainer who I miss every time I work out in Chicago.  No one can kick my butt into shape quite like he can.  I also had a really great dinner at Maple with some friends I love and miss every day.  That little corner of Columbia Heights has really transformed since I moved with new restaurants and bars! I'm loving what's going on there food-wise.
Chicken and goat cheese creama tacos

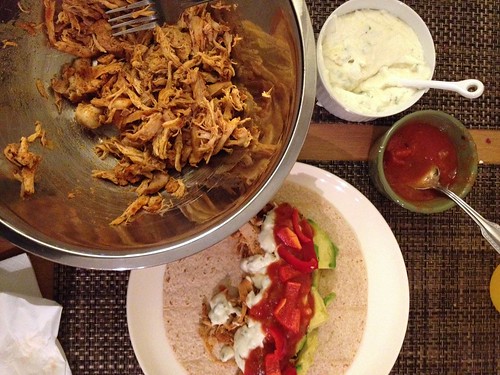
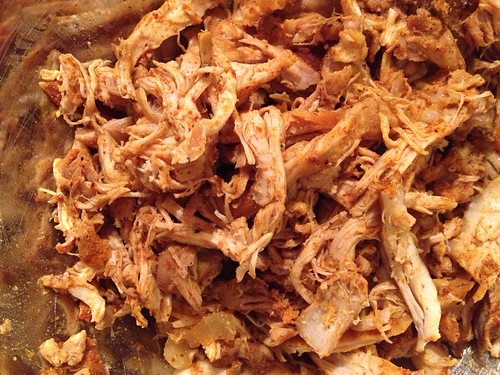
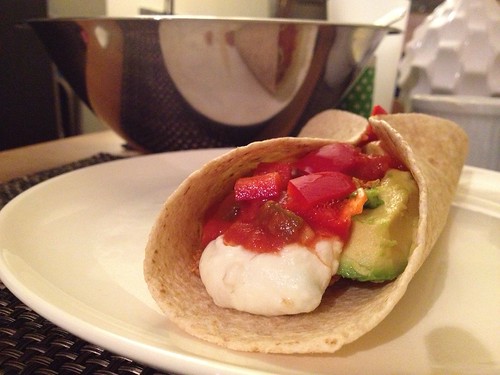
Oh, you just wanted to hear about the tacos?  The tacos are incredible.  This is not your every-Tuesday taco.  It's definitely up a level.  The goat cheese crema has a kick from the jalapenos that I really enjoyed.  And the chicken is smokey, spicy and exactly what I needed.  Way better than my standard ground chicken/turkey (even though I do love my homemade taco seasoning blend).  It takes a little more work, but it's still a pretty easy weeknight dinner if you give yourself the time to roast the chicken.  We will definitely be having this one again soon.  Or at least making some more crema, because I could eat that stuff with a spoon. (OK, I did eat some of it with a spoon.)
Chicken and goat cheese creama tacos

Smokey Roasted Chicken Tacos with Spicy Goat Cheese Crema
slightly adapted from How Sweet Eats

Ingredients
1.5-2 pounds boneless, skinless chicken thighs
1 sweet onion, sliced
1 tsp smoked paprika
1/2 tsp Kosher salt
1/2 tsp pepper
1/2 tsp cumin
1/2 tsp chili powder
1/4 tsp garlic powder
1/4 tsp cayenne pepper
2 tablespoons olive oil
2 limes, sliced into wedges
spicy goat cheese crema
1 tablespoon coconut oil (or unsalted butter)
1/2 jalapeño pepper, diced
1 garlic clove, minced
1 tablespoon flour
1/2 cup milk
6 ounces goat cheese, crumbled
salt and pepper
for serving
whole wheat tortillas, warmed
chopped tomatoes
sliced avocado
diced red onion
tequila lime salsa
lime wedges

Instructions
1. Preheat oven to 425 degrees F. Spray a glass baking dish with nonstick cooking spray.
2. In a small bowl, combine the salt, pepper, paprika, chili powder, cumin, garlic powder, and cayenne, mixing to combine.
3. Pat the chicken thighs dry with a paper towel, then rub to coat with the spice mixture/
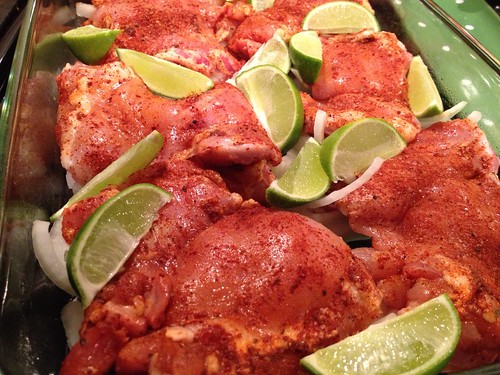
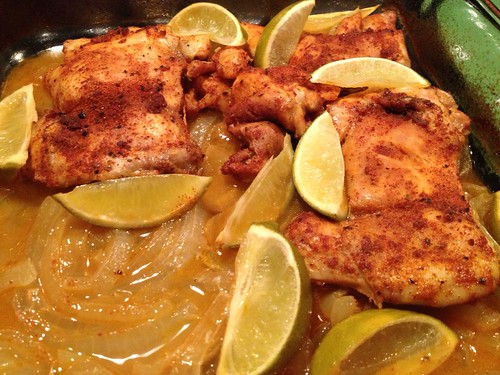
4. Spread the sliced onions evenly across the bottom of the baking dish, then set the chicken on top. Place lime wedges in between the chicken pieces. Cover tightly with foil and bake for 45-60 minutes.
5. Remove chicken and let cool slightly, then shred with two forks.
6. While the chicken is cooling, make the goat cheese crema:  In a medium saucepan, melt the coconut oil over medium heat.  When completely melted, add the garlic and jalapeno, cooking while stirring for 1-2 min.  Add the flour and whisk to form a roux.  Allow to cook for 1-2 minutes to brown very slightly.  Then, whisk in the milk.  Reduce the heat to low and allow to cook for another 1-2 minutes until thick.  Stir in the goat cheese until entirely melted, then season with salt and pepper.
7. Assemble the tacos on warm tortilla shells, with the shredded chicken, goat cheese crema, tomatoes, onions, avocados, and salsa.  If desired, top with fresh squeezed lime juice.


This recipe was featured on Full Plate Thursday!
Miz Helen’s Country Cottage

Sunday, January 27, 2013

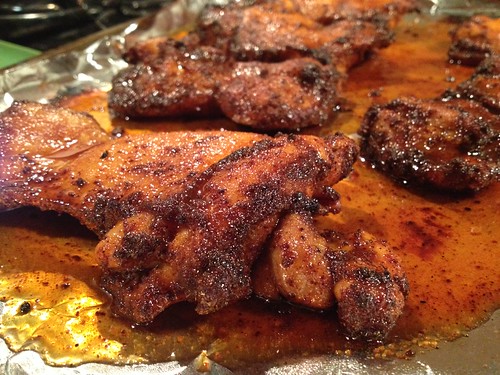
Spicy Honey Brushed Chicken Thighs

Spicy Honey-Brushed Chicken Thighs

To make the understatement of 2013, this post is overdue.  To be honest, after the holidays I needed a little hiatus from blogging. I needed to just get in the kitchen and cook without worrying about taking photos or finding the time to write up a post.  But I knew the blogging bug would come back eventually, so I didn't want to scare you into thinking yelleBELLYboo was gone forever.

Spicy Honey-Brushed Chicken Thighs

So, I probably shouldn't be admitting this, but I was so lame on Friday night.  We came home from work, had a few snacks, and were lying horizontally on our bed looking at cookbooks to find a recipe for dinner.  The next thing I knew, it was 9:30 and I couldn't get myself to fully wake up.  To be fair, we had an incredibly busy week!

Spicy Honey-Brushed Chicken Thighs

Side note - highlight of the week was seeing Book of Mormon.  We went to a great dinner at Bistro Voltaire first (they have an excellent $29 prix fixe pre-theater menu) where we had fabulous french onion soup, creme brulee, and lots of other French favorites.  Then we went to the show - my Chanukah/Christmas present - and laughed the entire time.  It was one of my favorite dates we have ever been on.

Spicy Honey-Brushed Chicken Thighs

Anyways, my week was like that.  Every night was something.  Including a Thursday night gym trip after work that somehow turned into over 2 hours at the gym and not getting home until 9.  By Friday I was exhausted.  So when I couldn't revive out of my coma, I sent the Monkey Scientist to the store and he came back with all of the ingredients to make this recipe.

Spicy Honey-Brushed Chicken Thighs

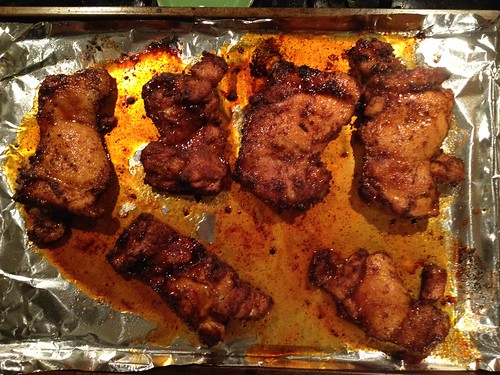
It reminds me a LOT of one of my favorite recipes - Spicy Chicken Thighs with Cucumber Avocado Salsa from Cooking Canuck - and I think it was every bit as good.  We (of course) made it spicier than it originally called for.  Good news - I think my taste buds are growing back because I actually tasted the kick in this one.  The boys? Not so much.  This was a late night dinner, but it was fantastic, quick to put together, and easy as pie.  So easy my brother could make it - and with an ingredient list short enough that we had everything in the house except the chicken.  Served with a salad it was just what I needed!

Spicy Honey-Brushed Chicken Thighs

Spicy Honey Brushed Chicken Thighs
slightly adapted from Cooking Light

Ingredients
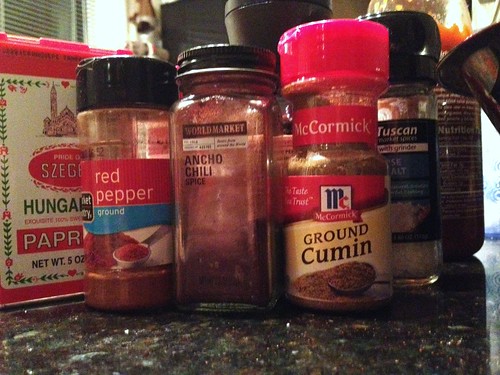
2 tsp garlic powder
2 tsp ancho chili powder (regular chili powder would work fine)
1 tsp salt
1 tsp ground cumin
1 tsp Hungarian sweet paprika
1/2 tsp freshly ground pepper
1/2 tsp ground red pepper (cayenne)
8 skinless, boneless chicken thighs
Cooking spray
6 tbsp honey
2 tsp cider vinegar
1 tbsp sriracha

Instructions
1. Combine the garlic powder, ancho chili power, salt, cumin, paprika, pepper and red pepper in a large bowl.
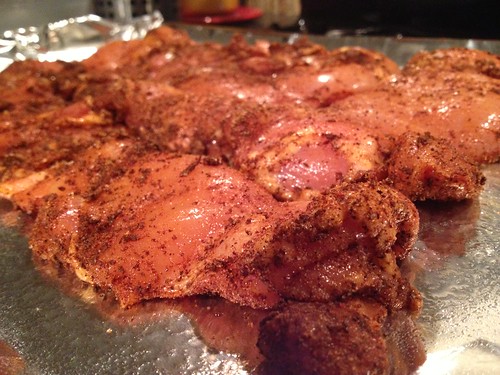
2. Add the chicken thighs to the bowl and toss to evenly coat with all of the spices.
3. Line a cookie sheet with heavy duty foil and spray with cooking spray.  Lay the chicken thighs flat on the cookie sheet.  Broil (on high) for 5 minutes on each side.
4. While the chicken is broiling, combine the honey, vinegar, and sriracha in a small bowl. 
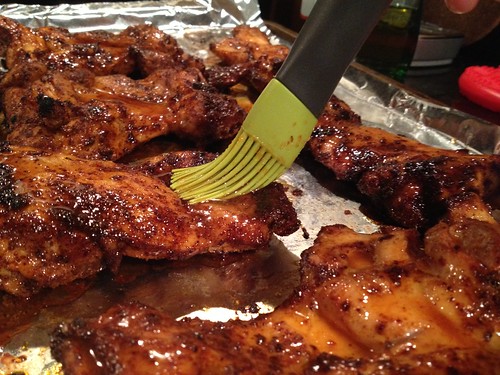
5. Once the chicken has cooked on both sides, remove from the oven and brush one side with the honey mixture.  Broil for an additional 1 minute.  Remove from the oven and flip, then brush the other side with the honey mixture then broil 1 minute or until the chicken is cooked through.  Serve immediately.

Wednesday, August 29, 2012

Paella Shrimp

Shrimp Paella

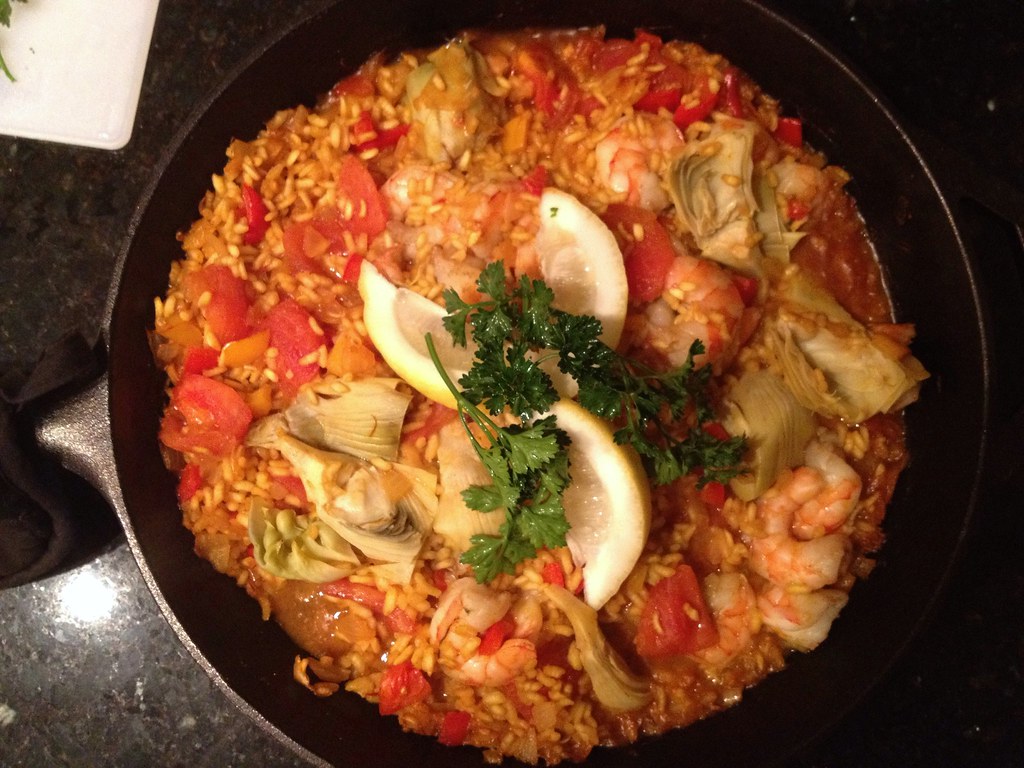
It has been a long time since I last made paella! Honestly, living in Chicago, I never thought we'd make it again.  This isn't exactly the seafood capitol of the world, and I am lacking a paella pan (we used my friend's last time).  So when the roommate suggested it, I was... well, I was asleep. Solidly napping. I didn't even click the link in his text, I just send back the letter K and possibly a "stop texting me I'm napping."  Hey, we had a busy morning eating endlessly and playing Bocce to celebrate the Monkey Scientist's parents' anniversary!  The Monkey Scientist and I deserved a nap!

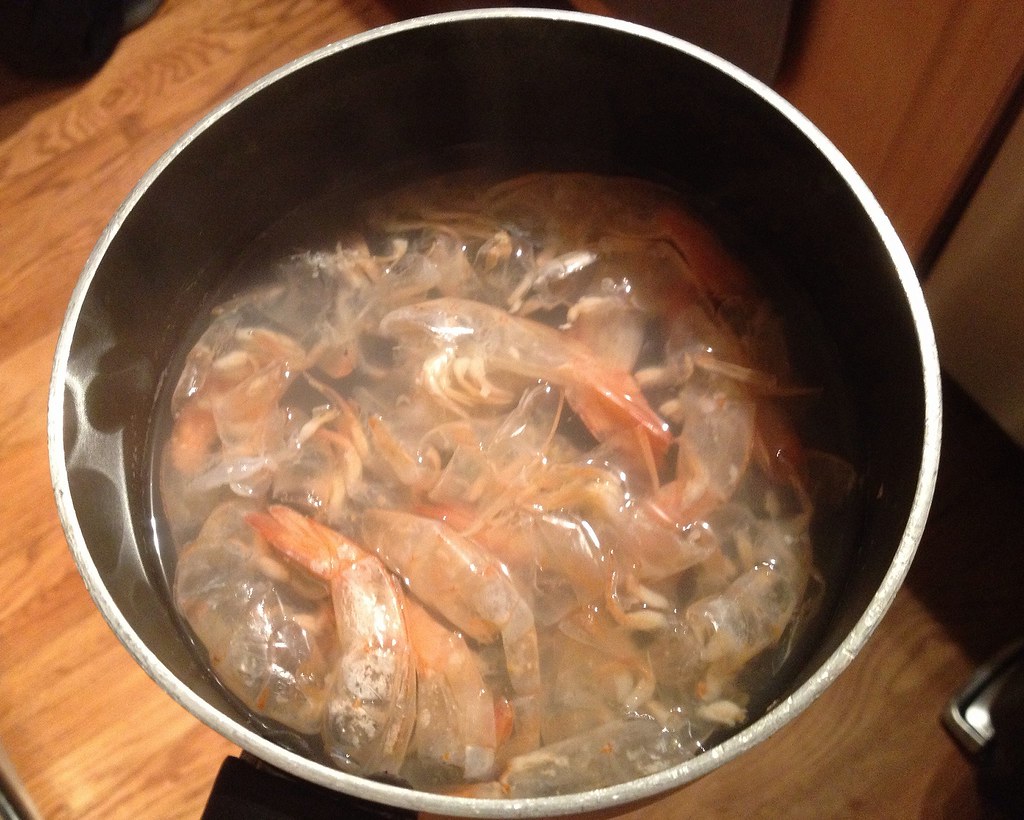
shrimp stock

Anyways when I finally re-entered the world and looked at my phone, I figured out we were having paella and I was actually really excited. Nervous about how to make it without a paella pan, but excited.  As it turns out, you can TOTALLY make paella in the cast iron skillet. So even though I'd totally gorged myself on the all you can eat buffet that morning, I was ready for a big paella dinner.

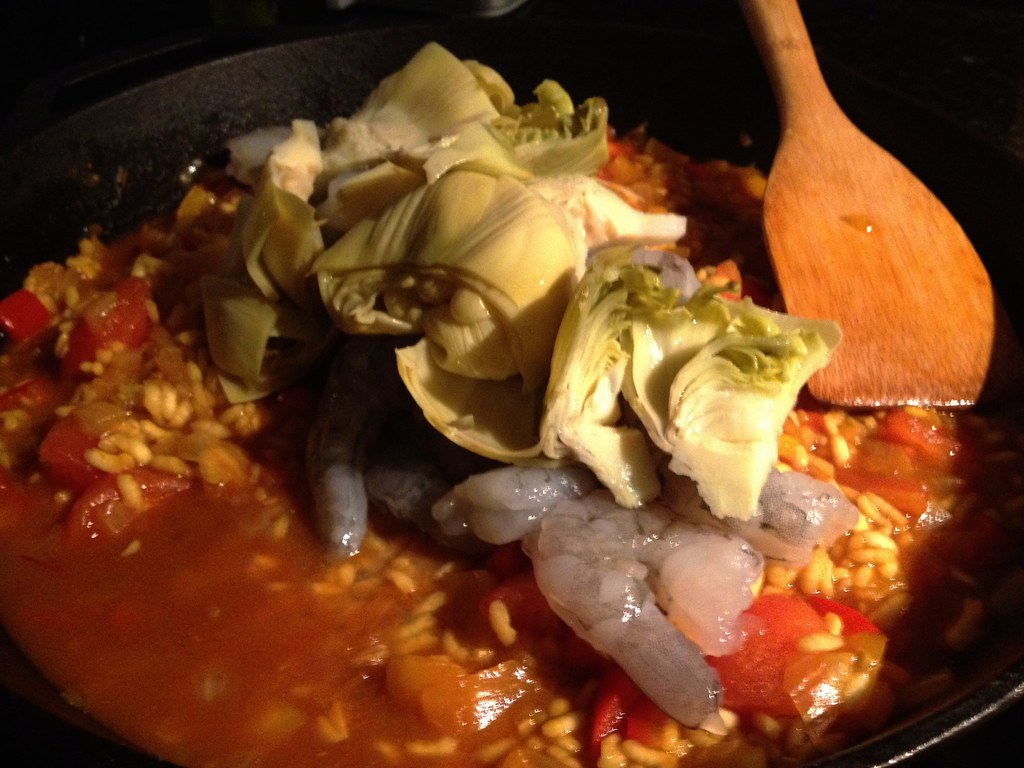
shrimp paella - adding the shrimp and artichokes

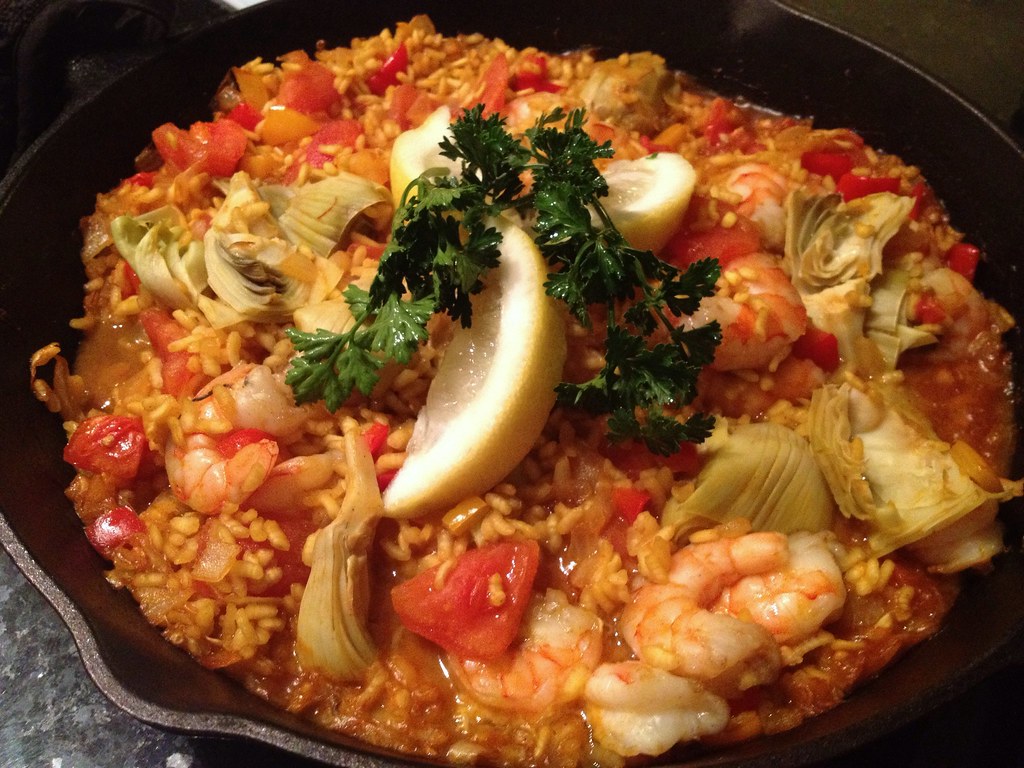
I should start by saying, this recipe is totally different than my other paella recipe.  If you live by the water and have access to great seafood, I'd probably tell you to stick with that one. It's just so loaded with goodies. But for paella in the Midwest, aside from just making a meat-based paella with chorizo, this one is pretty awesome.  The flavors are great. The rice cooks perfectly.  And the shrimp are briny and perfect. Plus artichokes? You can never go wrong with artichokes.  I just might fall asleep and let someone pick my dinner more often!

shrimp paella

Paella Shrimp
from What's Cooking America?

Ingredients
1 to 1 1/2 pounds raw extra-large shrimp, peeled and deveined (save the shells!)
Ground sea salt
2 1/4 cups bottled clam juice or fish stock
3/4 cup white wine
1/2 teaspoon crumbled saffron threads
2 tablespoons olive oil
1/3 cup finely chopped onion
1/2 red bell pepper, cored, seeded and chopped
2 cloves garlic, chopped
1 cup uncooked Spanish or Arborio Rice
2 tomatoes, peeled and coarsely chopped
2 teaspoons Spanish paprika
1 (14-ounce) can artichoke hearts, drained
2 tablespoons chopped fresh parsley (for garnish)
Lemon wedges

Instructions
1. Preheat oven to 350 degrees F.
2. Sprinkle the shrimp with ground sea salt.
3. In a large saucepan over medium-heat heat, heat the clam juice or fish broth, wine, and saffron; reduce heat to low and keep broth hot (not boiling. (I love making my own fish broth, but we didn't have the time so we used bottled clam juice. However, since we didn't have enough, we also boiled the shrimp shells in some water to make extra broth. Like I did here. Easy a pie.)
4. In a large Paella Pan or heavy cast-iron skillet over medium-high heat, heat olive oil. Add onion and red bell pepper. Stir to mix and cook 3 minutes or until slightly softened.
5. Remove pan from heat. Stir in garlic and rice and continue stirring until garlic is fragrant and the rice is evenly coated with oil, about 1 minute.
6. Stir in tomatoes, paprika, and salt. Toss 30 seconds or so.
7. Stir in hot clam/saffron broth mixture. Return to heat, reduce heat to low, and simmer (stirring and rotating the pan occasionally) 10 to 15 minutes or until rice is no longer soupy but sufficient liquid remains to continue cooking the rice in the oven.
8. Stir in shrimp and artichokes hearts.
9. Transfer paella pan/cast-iron skillet to the oven and cook, uncovered, about 15 to 20 minutes until the rice is almost al dente and until almost all liquid is absorbed. (NOTE: Never cook paella until the rice is completely done. If you do, it will be mushy by the time it reaches the table. Remove from the oven when the rice grains are no longer hard but still have more bite than you want and a crust forms around the edge of the pan.)
10. Remove from oven, cover with aluminum foil, and let sit 5 to 10 minutes or until the rice is cooked to taste. Paella must rest after being removed from the oven, during which time the final cooking takes place.
11. To serve, sprinkle with chopped parsley and arrange lemon wedges around the top of the paella. Serve immediately. To eat, squeeze lemon juice over paella.

Makes 4 servings.

Wednesday, May 30, 2012

Harissa Chickpea Burgers with Cucumber Mint Yogurt Sauce

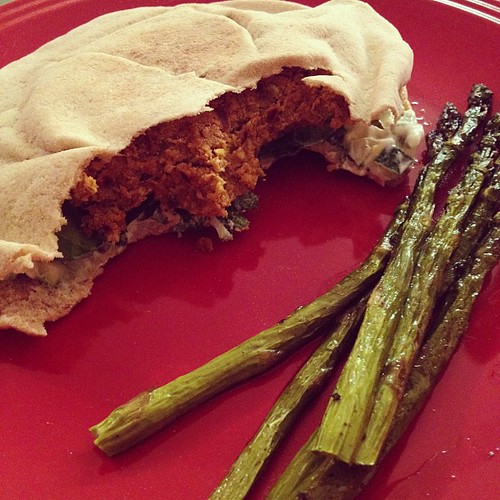
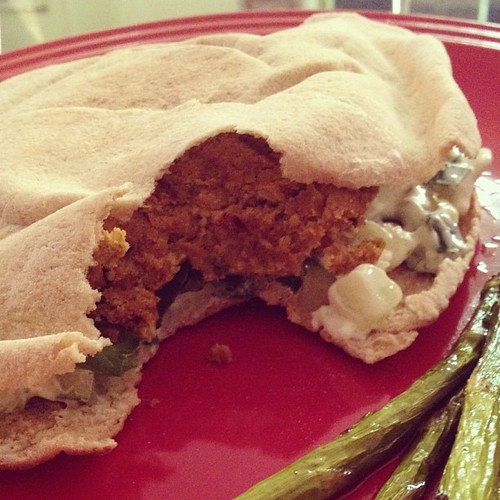
Chickpea Harissa burgers

Last night was the first time in a while that the Monkey Scientist and I were in town at the same time as his roommate.  We decided to celebrate by making a little family dinner.  His roommate loves chickpeas so I knew when I sent him this recipe that he would interested.

The hardest part of this whole recipe was finding harissa.  We finally were able to find it at the mediterranean market/restaurant in Cleveland Park.  They just received a shipment so if you live in DC this is the place to go!

We really enjoyed this recipe. It was perfectly spicy - perfect for me and the MS's roommate, although of course the Monkey Scientist added sriracha on top.  I'm convinced he isn't satified with a meal unless his lips are burning!  I particularly like the pistachios.  That's something I've never included in chickpea burgers I've made before. I loved the yogurt sauce as well.  It's similar to a tzatziki, but with lots of fresh mint.  It was a great and fairly quick weeknight meal (with yummy roasted asparagus)!

Chickpea burger

Harissa Chickpea Burgers with Cucumber Mint Yogurt Sauce
from A Cozy Kitchen

Ingredients
burgers
1/2 shallot, minced
2 garlic cloves, minced
1 tablespoon ground cumin
1/2 teaspoon ground paprika
1/4 teaspoon ground cinnamon
1 1/4 tablespoons harissa
1 (15-ounce) can chickpeas, rinsed and drained
1/4 cup pistachios, unsalted
1 teaspoon kosher salt
1 large egg
3/4 cup bread crumbs
yogurt sauce
1 cup plain greek yogurt
1 cup cucumber, diced
3 tablespoons mint, minced
1 teaspoon lemon zest
salt and pepper

Instructions
1. In a skillet, heat a tablespoon of olive oil over medium heat. When hot, add the shallot and cook for 2-3 minutes, until translucent.
2. When soft, add the minced garlic, cumin, paprika, cinnamon and harissa, along with two tablespoons of water. Mix until combined and until it resembles a thick wet paste.
3. In a food processor, add the shallot/spice mixture, chickpeas, pistachios and salt; pulse until roughly chopped. Using a spatula, scrape down sides and pulse one or two times. Taste for salt (1 teaspoon was perfect for me); add more, if you like. Remove half of the mixture and transfer to a bowl. Add the egg to the food processor and pulse until the mixture is nearly smooth. Add the mixture from the food processor to the bowl and combine both mixtures.
4. Fold in the bread crumbs. Cover the bowl with plastic wrap and transfer to the refrigerator to chill for 30 minutes.
5. In a small bowl, mix together the yogurt, cucumber, mint and lemon zest. Salt and pepper to taste.
6. Scoop about 2 tablespoons of the chickpea mixture onto your palm and form the patties. Heat a grill pan over medium heat and brush it generously with olive oil. Cook on both sides for 3-4 minutes. Serve the burgers on burger buns or fresh soft pita (we toasted our pita in the oven).

Yields 6 burgers

Wednesday, February 1, 2012

Buttermilk Roasted Drumsticks

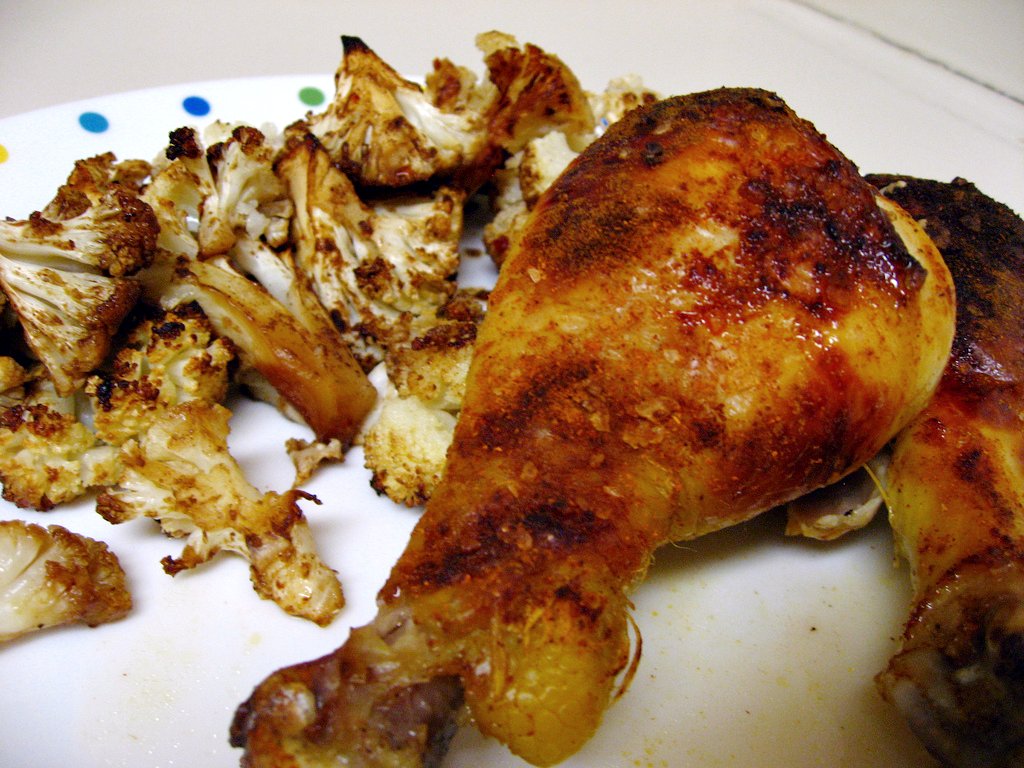
Buttermilk chicken

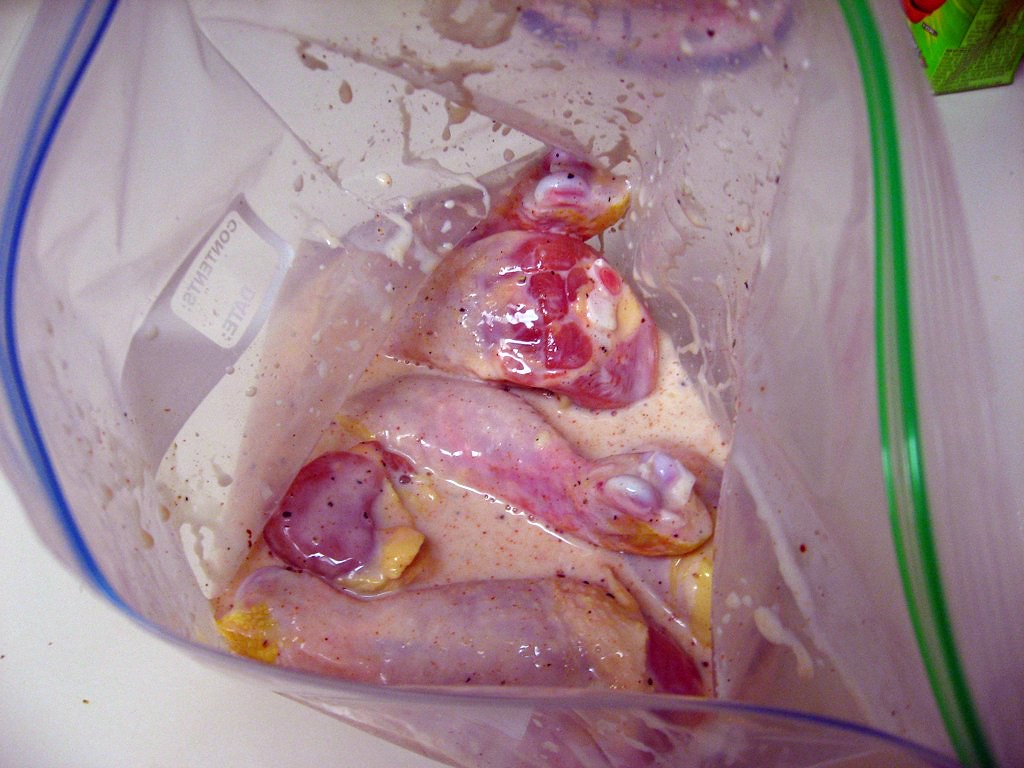
The Monkey Scientist was really busy this week, which meant I had to motivate myself to cook for one.  I ended up inviting a friend over one night, and as long as I was prepping that dinner I also decided to start marinating chicken for my next meal.  I had seen this recipe earlier in the day and it sounded so amazing and juicy, I just had to try it.

Buttermilk chicken

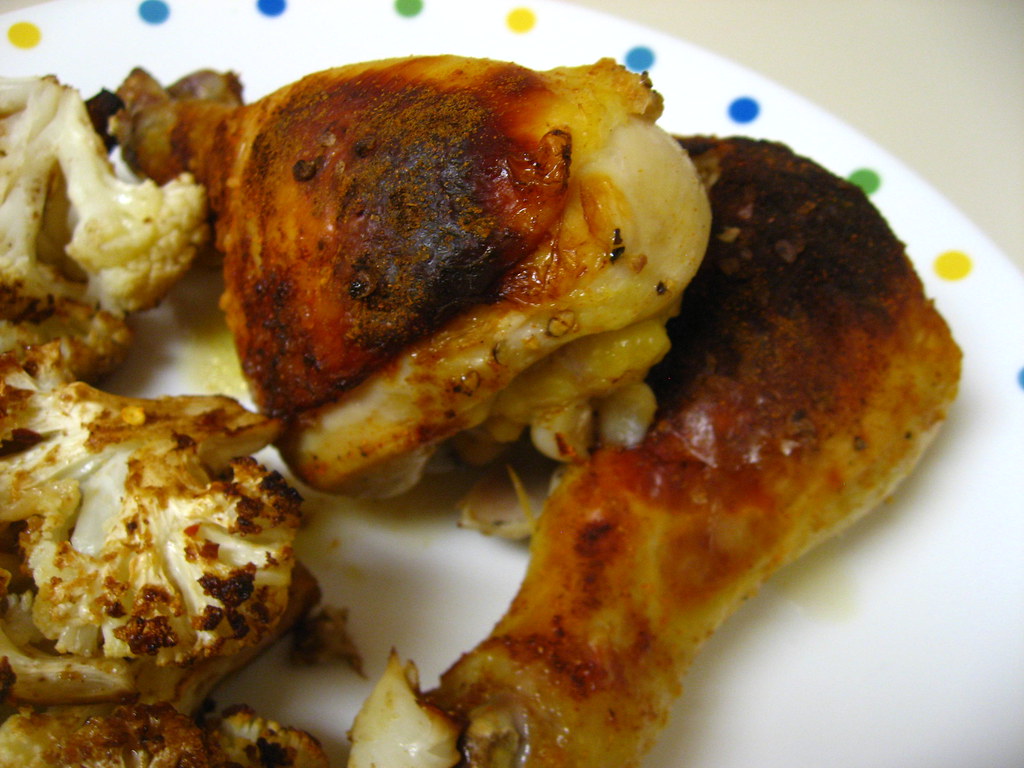
The marinade couldn't have been simpler to throw together - and was super inexpensive.  I dumped in a 14 oz bottle of low fat buttermilk (99 cents at the grocery store), some garlic (maybe 50 cents?), seasonings I already had in the house, and marinated the drumsticks in it (on sale for $4.20 or so for about 2 1/4 lb).  I ate it for dinner with some roasted cauliflower (on sale for $2.99 a head), and actually had leftovers for lunch the next day and for the Monkey Scientist to eat for dinner the day after.  Definitely a great value!

Buttermilk chicken

This was some of the juiciest, most delicious chicken I've ever made.  I really love drumsticks, but this could be great with any part of the chicken.  The skin was crispy, just a bit spicy (except when the MS made the last 2 drumsticks for himself with extra cayenne...they were quite spicy) and the inside was tender and moist.  There's really nothing not to love about this one - just make sure you plan ahead so that you can prep it and let it marinate for a day or two before baking!

Buttermilk chicken

Buttermilk Roasted Drumsticks
every so slightly adapted from smitten kitchen

Ingredients
14 oz (1 1/2 c) buttermilk (I used low fat)
5 garlic cloves, peeled and smashed
1 tablespoon table salt
1 tablespoon granulated sugar
1 1/2 teaspoons paprika, plus extra for sprinkling (I used sweet, but I wanted to use spicy Hungarian)
Lots of freshly ground black pepper
2 1/2 pounds chicken drumsticks (you can use any part you like)
Drizzle of olive oil
Flaked or coarse sea salt and cayenne pepper, to finish

Instructions
1. Whisk buttermilk with garlic, table salt, sugar, paprika and lots of freshly ground black pepper in a bowl.
2. Place chicken parts in a gallon-sized freezer bag (or lidded container) and pour buttermilk brine over them, then swish it around so that all parts are covered.
3. Refrigerate for at least 2 but preferably 24 and up to 48 hours.
4. When ready to roast, preheat oven to 425 degrees.
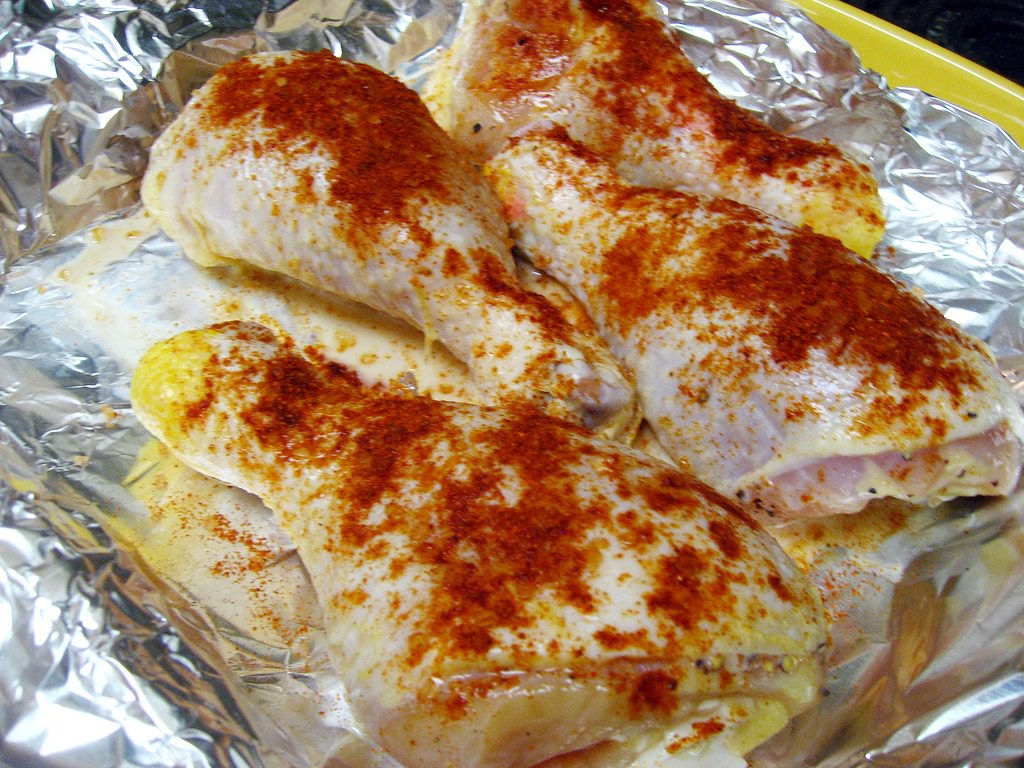
5. Line a baking dish with foil. Remove chicken from buttermilk brine and arrange in dish.
6. Drizzle lightly with olive oil (honestly, I think I skipped this step and they were fine!), then sprinkle with additional paprika, sea salt, and a little cayenne to taste.
7. Roast for 35 minutes, until brown and a bit scorched in spots. Serve immediately.

Wednesday, October 19, 2011

Chorizo-style Pork Chops

chorizo-style pork chops and brussel sprouts

I'm a bit of an early bird.  I love getting up early, even on the weekends, and seizing the day.  By 11 pm on a weekday, I'm already asleep.  It's a little bit of a struggle, since most of my friends aren't exactly excited when I call them at 9 am on a Saturday to go to the farmer's market.  I can't understand why...the morning is always so gorgeous and sunny!

Sometimes on the weekend, I'll try to quietly entertain myself for an hour or two and let the Monkey Scientist sleep a little later before I wake him up.  I'll read a book on my iPad or, lately, brainstorm recipe ideas.  A few weeks ago, lying in bed on a Saturday morning, I had the inspiration for this dish.  Yes, I was thinking about pork chops at 9 am on a Saturday.  I might like food a little bit.

chorizo-style pork chops

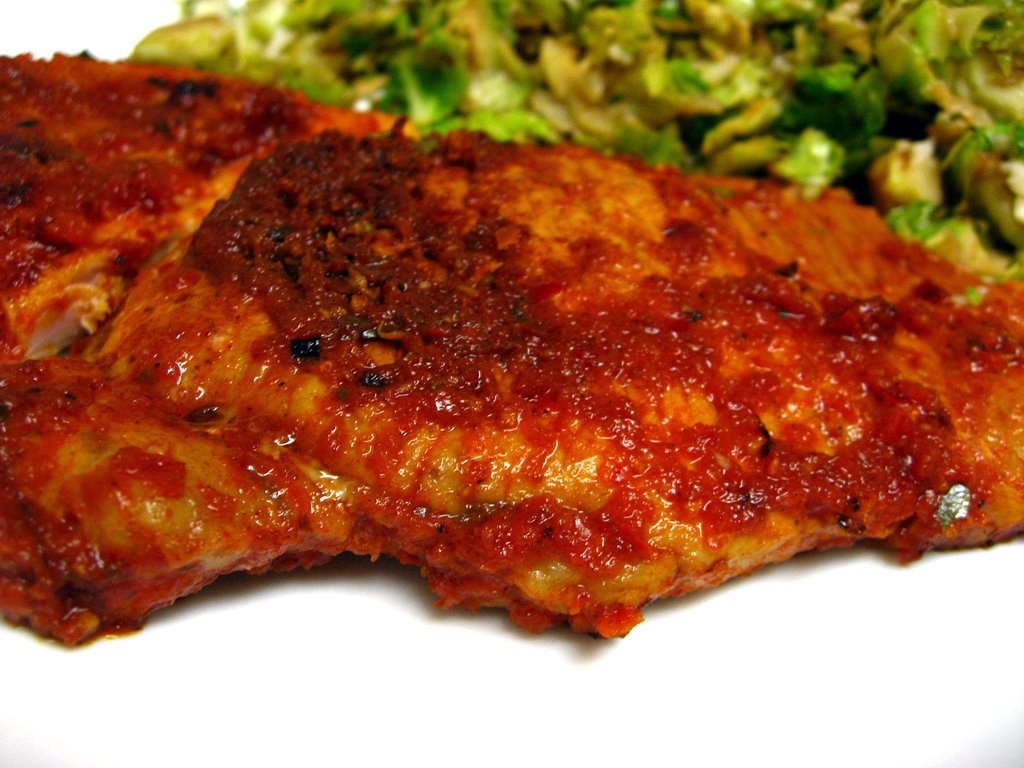
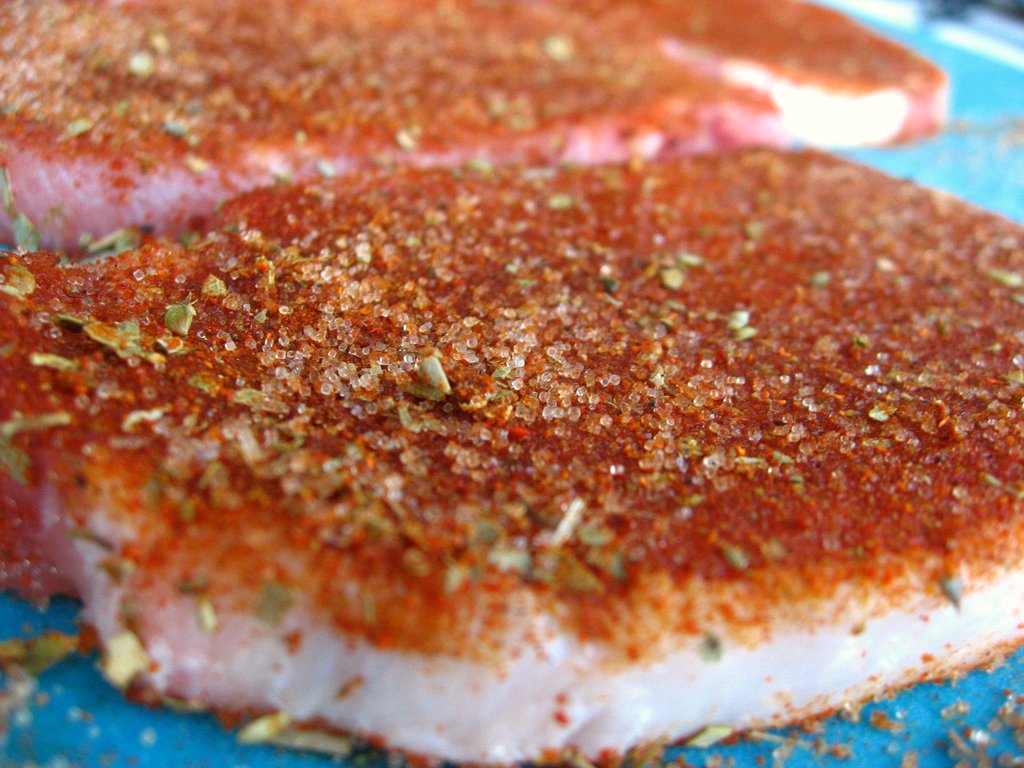
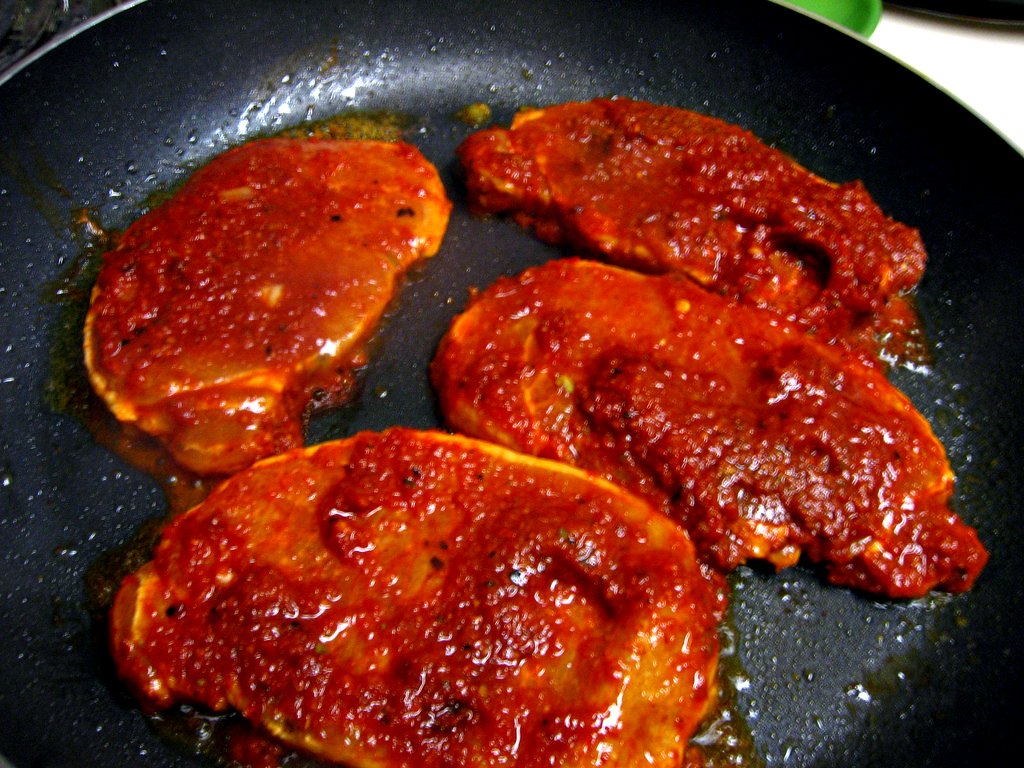
If you didn't notice, I have been a little bit obsessed with chorizo lately.  I would love to eat it fried up for dinner, but pork sausage isn't exactly the healthiest protein in the world.  So I wanted to create a pork dish that could serve as the main course while incorporating all of those spicy, warm chorizo flavors into it. I decided the best way to do this was to make a marinade with all of the ingredients that go into my favorite chorizo sausage (except the ground pork) and smother some boneless pork chops in it.

chorizo-style pork chops

Do you know what gives chorizo that unmistakable red/orange oil?  I couldn't quite figure it out until I started making this recipe.  It's dried chiles!  If you live in DC, you can find dried Mexican chiles in the produce section at most Giant supermarkets.  The best place for dried chiles though is the new Georgetown Safeway.  The Monkey Scientist stopped by there and found a wide selection at very reasonable prices.

chorizo-style pork chops

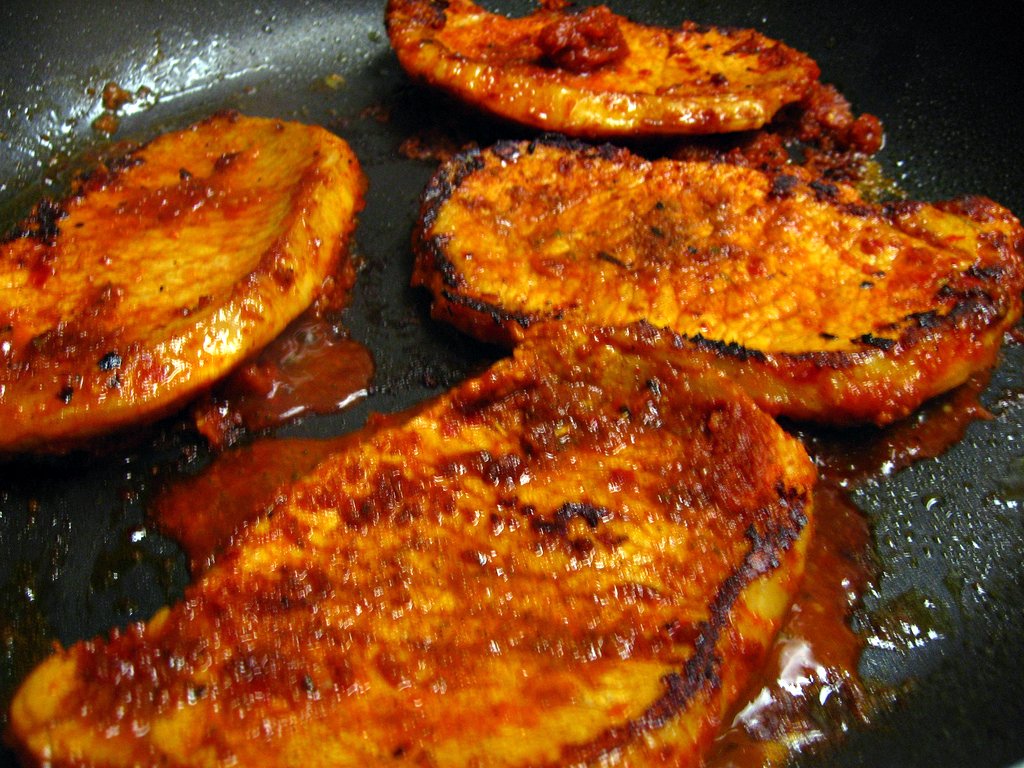
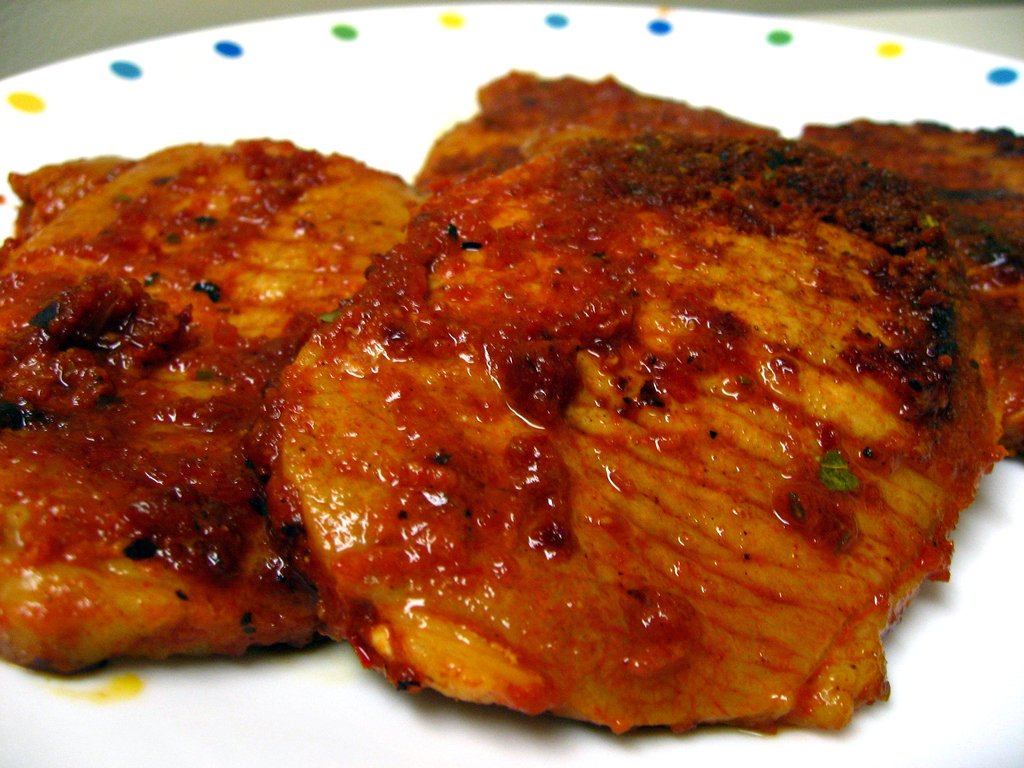
This recipe turned out better than I ever expected!  The sauce was amazing - I could have licked it off the plate.  It did have a solid kick to it - which we love - but you could tone it down by using milder chiles and less cayenne.  It wasn't exactly the same as eating chorizo, but it certainly was healthier.  Except for the whole frying in bacon fat thing - but that was totally worth it. We didn't grow up eating pork chops, but they're fairly inexpensive and super easy and quick to make.  We ate it with my favorite brussels sprouts recipe - I'll share it with you later this week.  This was one of my favorite meals to date!

chorizo-style pork chops

Chorizo-style Pork Chops
adapted from Homesick Texan and Simply Recipes

Ingredients
3 dried New Mexico chiles (or other Mexican dried chile peppers)
1/4 cup apple cider vinegar
1/2 small onion, chopped
3 cloves of garlic, chopped
1/4 teaspoon cinnamon
1/2 teaspoon cumin
1/2 teaspoon sweet paprika
1/2 teaspoon oregano
3/4 teaspoon cayenne
2 teaspoons salt
4-6 boneless pork chops (about 3/4" thick)
1-2 tbsp bacon fat (or olive oil)

Instructions
1. Rinse the dried chiles, and then remove the stem and seeds. Heat the chiles for a couple of minutes on each side in a cast-iron skillet on high heat. Remove from skillet and let soak for half an hour in water.
2. After chiles are moist, drain the water and place the chiles and vinegar in a blender or food processor, also adding the diced onion and chopped garlic. Puree until a smooth, bright red paste is formed (can add a splash of water or vinegar if it's too dry to blend). It will look like ketchup.
3. Combine the remaining spices in a separate bowl.  Rub the pork chops in a heavy coat of the spice blend.  Place them in a Ziploc bag, then add in the chile mixture.  Seal the bag, then shake to coat the pork chops and place in the refrigerator to marinate for about 2 hours.
4.  Heat a skillet over medium high heat until hot.  Add the bacon fat (fry up some bacon, remove it and leave the fat behind) or oil and then the pork chops.  Do not crowd the pan.  Cook for about 2 minutes on each side, until you see a brown sear around the edges (it won't turn very brown because of the marinade).  Juices should run clear and there should be no pink inside when done. Serve immediately.

Friday, August 19, 2011

Homemade Taco Seasoning

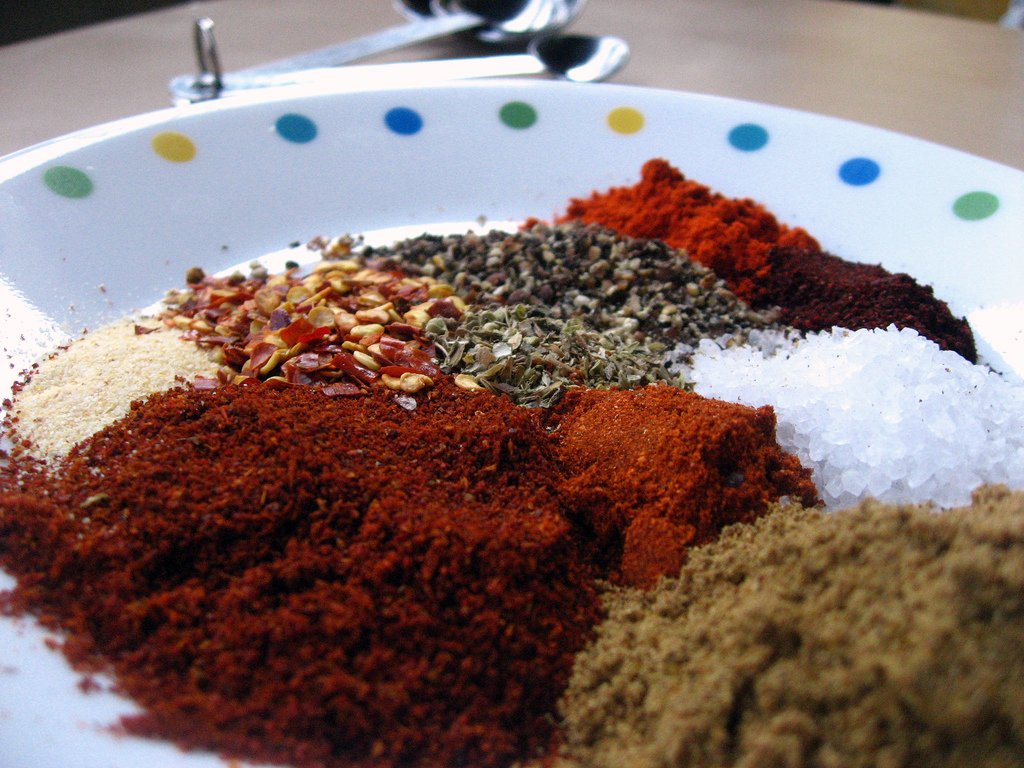
taco seasoning

Tacos are such a fun and easy weeknight dinner.  Meat, vegetables, shell or lettuce wrap - easy as pie.  And in college, we always flavored that meat with taco seasoning.  Have you ever read the ingredients on taco seasoning?  Check out what Ortega puts in theirs:
Yellow Corn Flour, Salt, Maltodextrin, Paprika, Spices, Modified Corn Starch, Sugar, Garlic Powder, Citric Acid, Autolyzed Yeast Extract, Natural Flavor, Caramel Color (sulfites).


Lots of salt (430 mg). Maltodextrin. Autolyzed Yeast Extract. Caramel Color?  The only other food I know with Caramel color in it is Coca-Cola.  Probably not the best things to be throwing into your ground beef.

Taco Seasoning

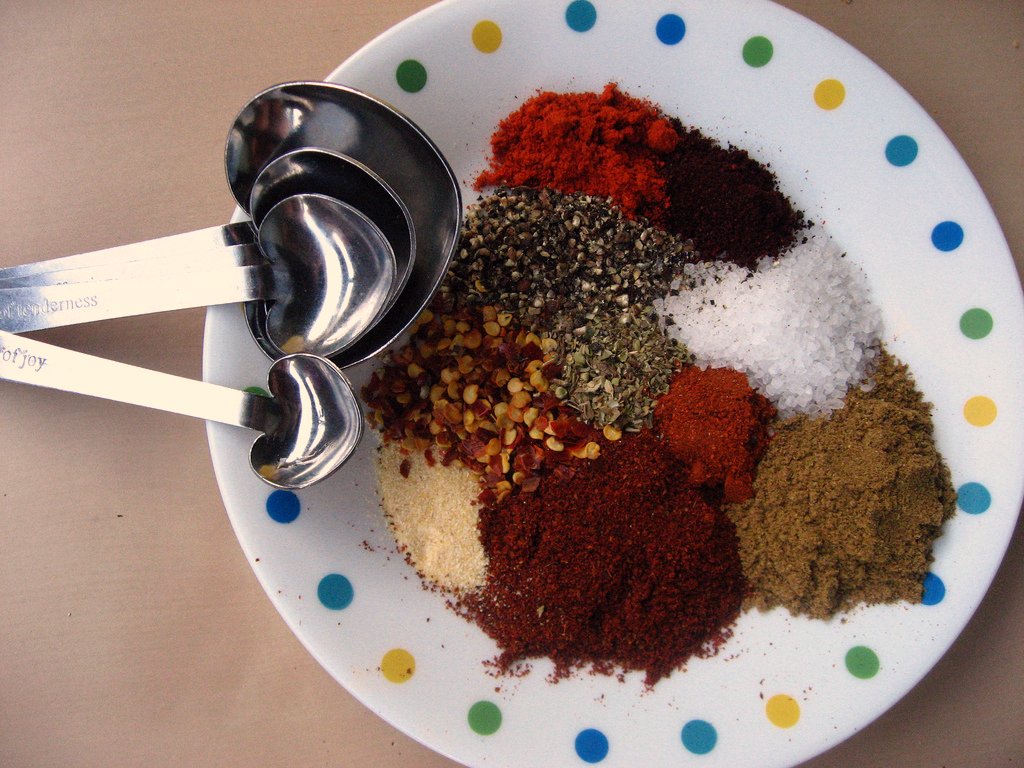
As it turns out, making taco seasoning couldn't be easier.  I used all ingredients that I had in my house. I altered it a little below, based on what I had, but feel free to go back to the original recipe and add in some of the things I removed (like onion powder).  I also kicked up the spice for the Monkey Scientist, so feel free to cut back if you're not into that.

taco seasoning

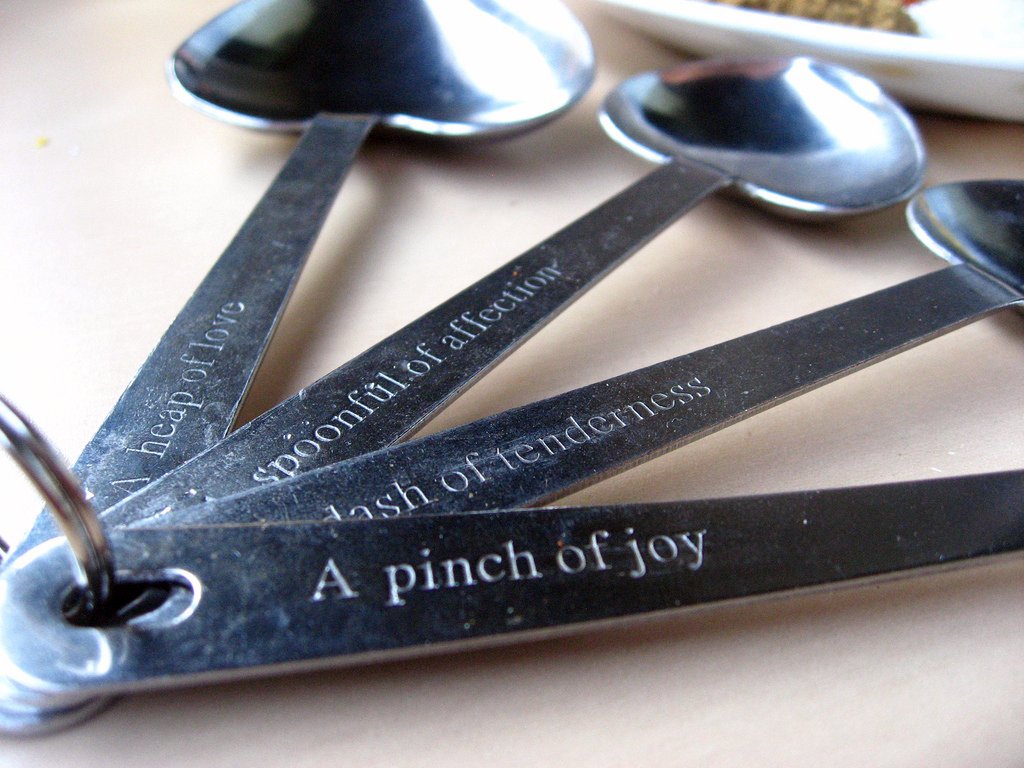
I made the seasoning with these super cute measuring spoons that my mom bought for me. How adorable are they?  I thought about giving you the ingredients in these cutesy measurements, but I figured it might not be that useful.  I just love them though - especially because they remind me of Mom.

taco seasoning

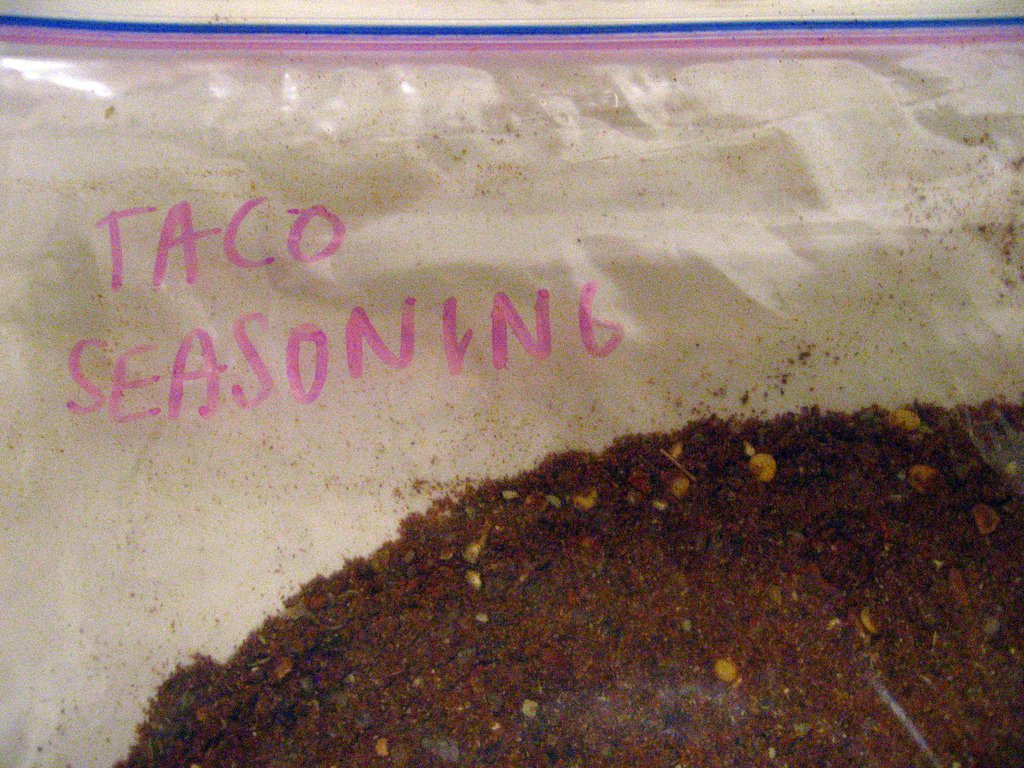
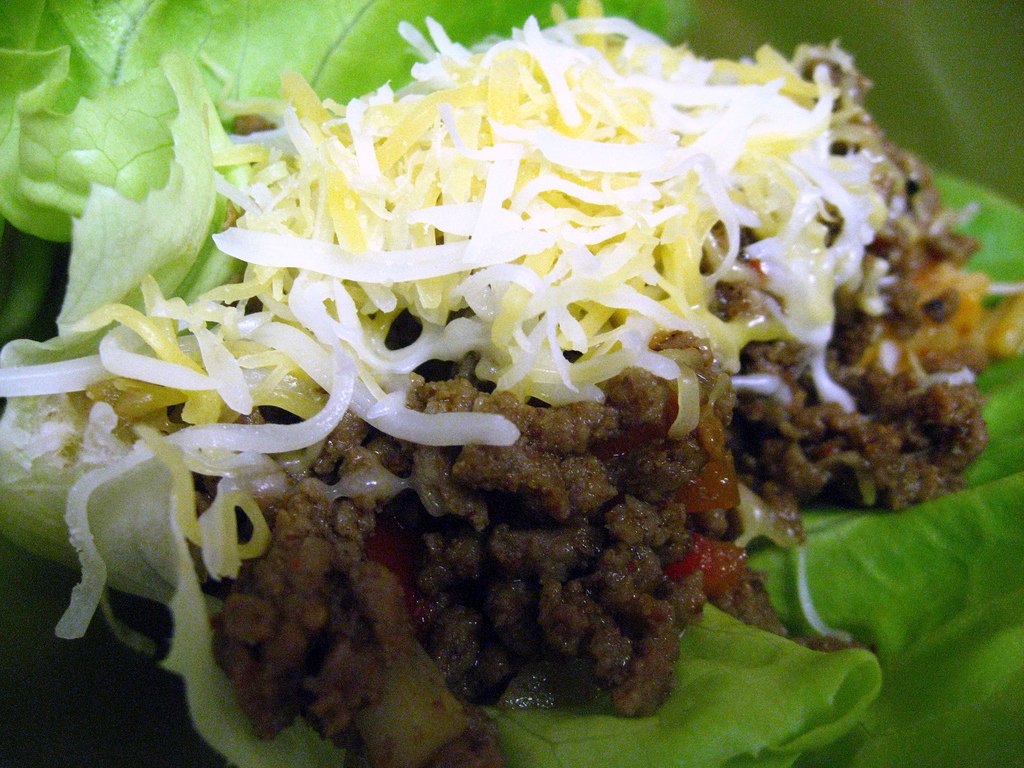
This seasoning is super flavorful - we loved it.  I made lettuce wrap tacos to cut down on the carbs (and then loaded it with cheese, fair tradeoff!) and thought they were tasty and filling.  The seasoning does make a little more than you need for 1 lb of beef, so I put the extra in a ziploc for another day.  Make sure you label it!  Then you can have an easy weeknight dinner, and without all those unnatural ingredients and extra salt, in no time!

lettuce wrap taco with homemade seasoning

Homemade Taco Seasoning
adapted from Food Renegade

Ingredients:
1 tbsp chili powder
1/4 tsp garlic powder
1/2 tsp crushed red pepper flakes
1/4 tsp dried oregano
1/2 tsp paprika (I used sweet)
1 1/2 tsp ground cumin
1 tsp sea salt
1 tsp ground black pepper
1/4 tsp ancho chili powder
1/4 tsp cayenne pepper

Instructions
Combine all spice and use to season your favorite taco meat!

Saturday, April 2, 2011

Chicken Paprikash


I'm sure you've been feeling a lot of suspense, wondering what I ate with the German Red Cabbage.  Finally, here is your answer.  Chicken Paprikash!


Until this week, I had never heard of Chicken Paprikash.  Apparently, it is a Hungarian dish, which makes sense given that good paprika always comes from Hungary.


I was surprised that the chicken is only seasoned with salt.  If I made it again, I'd probably season it with paprika, cayenne, and ground pepper before I browned it.  There was still plenty of flavor from the sauce, but I think it would have made it that much more flavorful.


Overall, this was a pretty easy dish to make as well.  Once the chicken is brown and the onions are caramelized, I could just let it cook low and slow for a half hour or so.  With the cabbage this was a great meal to serve to a guest because I could still chat and not have to think about staying on top of my food to make sure it didn't burn or another step was needed.  When I make Asian foods I find that I have to pay so much attention that I'm running around the kitchen, leaving a mess in my trail - but with this I even had time to clean as I went!


The flavor of this chicken was fantastic. I think I could have kicked up the spice (which seasoning with cayenne before browning would have helped with) and also could have cooked it for a little bit less time (they were a little dryer than I like).  I served it with spätzle, which I bought at World Market.  Of course, the day after I bought it, Deb at Smitten Kitchen posted spätzle recipe - so next time I will make my own! 


Chicken Paprikash
Yield: 3-4

Ingredients:
2 to 2 1/2 pounds of chicken pieces, I used skin-on, bone-in breast
Salt
2-3 Tbsp unsalted butter
2 pounds yellow onions, (about 2-3 large onions)
Black pepper to taste
2 Tbsp sweet paprika, preferably Hungarian
1 teaspoon (or to taste), hot paprika or cayenne
1 cup chicken broth
1/2 cup sour cream

Instructions:
Salt the chicken pieces well and let them sit at room temperature while you cut the onions. Slice the onions lengthwise (top to root).
Heat a large sauté pan over medium-high heat and melt the butter. When the butter is hot, pat the chicken pieces dry with paper towels and place them skin-side down in the pan. Let the chicken pieces cook 4-5 minutes on one side, until well browned, then turn them over and let them cook 2-3 minutes on the other side. (Take care when turning so as not to tear the skin if any is sticking to the pan.) Remove the chicken from the pan to a bowl, set aside.
Add the sliced onions to the sauté pan and cook them, stirring occasionally, scraping up the browned bits from the chicken, until lightly browned, about 7 minutes.
Add the paprika and some black pepper to the onions and stir to combine. Let cook a minute more. Add the chicken broth, again scraping up the browned bits from the bottom of the pan, and then nestle the chicken pieces into the pan, on top of the onions. Cover and cook on a low simmer for 20-25 minutes (depending on the size of your chicken pieces). When the chicken is cooked through (at least 165° if you use a thermometer, or if the juices run clear, not pink when the thickest part of the thigh is pierced with a knife) remove the pan from the heat. (If you want, you can also keep cooking the chicken until it begins to fall off the bone, which may take another 30 minutes or so.)
When the chicken is done to your taste, remove the chicken from the pan. Allow the pan to cool for a minute and then slowly stir in the sour cream and add salt to taste. If the sour cream cools the sauce too much, turn the heat back on just enough to warm it through. Add the chicken back to the pan and coat with the sauce.
Serve with spätzle, dumplings, rice, egg noodles or potatoes. (If cooking gluten-free, serve with rice, potatoes or gluten-free noodles or dumplings.)