Showing posts with label thyme. Show all posts

Friday, May 17, 2013

Gardening in an Apartment

Gardening

While this blog is about cooking, it's also about how to prepare great food at home even if you're living the apartment life, like me. I have just 1 oven, 4 burners (3 of which are small), and limited counter space. Yet nearly everything on this blog, I made at home. Which means you have no excuses. So when it comes to gardening, I want to encourage you to know that you can do it in your apartment, too! You're not going to grow an apple orchard, but there is no reason you can't grow some herbs and things!

Gardening w arrow

The first thing I've been practicing with is what I call shot glass scallions. This is the easiest thing you can try at home! I have managed to kill many a plant in my day, but this has been a great success!

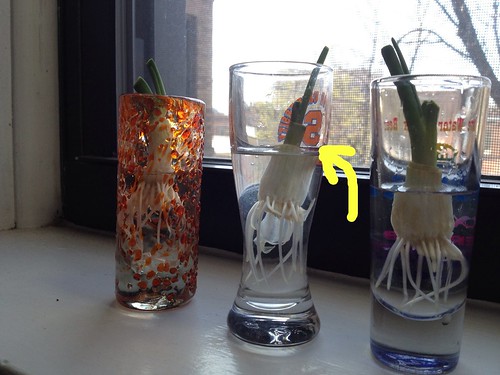
When you're cutting up your green onions, leave just a little bit more than the roots at the bottom. Instead of tossing the ends, plop them in tall shot glasses with a little bit of water. I forgot to take a picture the first day, but after 2-3 days they had already started to sprout this much.  You can see from my arrow where I had cut them.  The green had all grown in that quickly!  I was excited.

Gardening

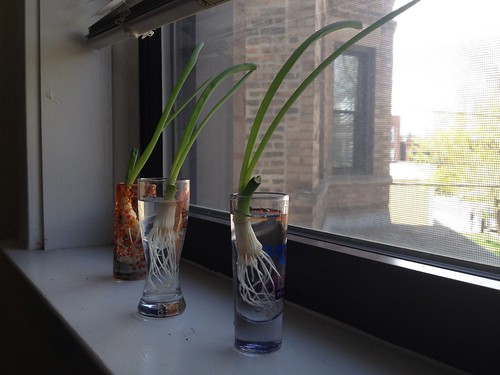
I changed the water once every 3 days or so.  After another week, this is how big my green onions were.  Almost usable!!  I'm so excited.  They needed barely any maintenance: no soil, just a little water and sunlight on our windowsill.  My mom had this great bud vase growing up that was the shape of 6 shot glasses connected to each other.  I think that would be perfect for this if I could find one. I might never need to buy scallions again if I just keep re-growing them!!

Gardening

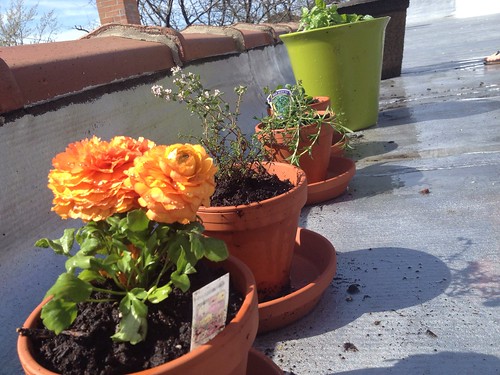
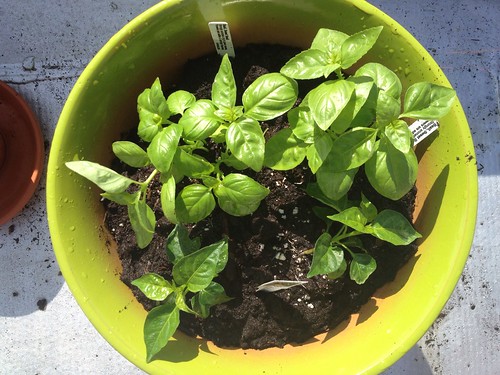
This was such a success that I'm going to start trying to grow a few more herbs - basil, rosemary, thyme, and peppermint - in pots outside.  I have a history of killing all of the above herbs (and even letting a small basil plant disappear off my DC balcony in a thunderstorm once) so we'll see what happens.   We're also trying some cherry tomatoes and habanero peppers, which are even more of an experiment.  I have a pretty little flower, too.  So we'll see what happens.  I'll give you an update in a couple of months!

Gardening


Friday, June 1, 2012

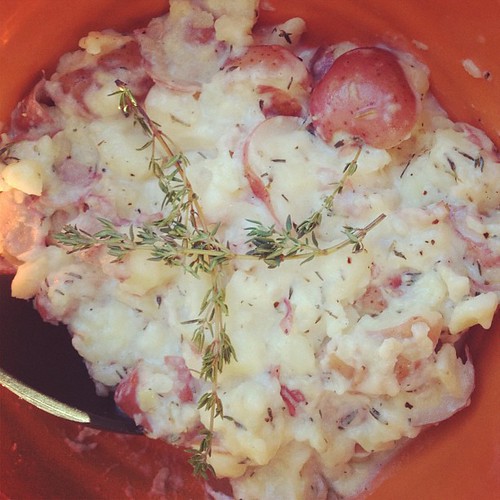
5 Ingredient Smashed Potatoes

Smashed potatoes2

This recipe is so easy you won't believe it!  It has only 5 ingredients - potatoes, creme fraiche, thyme, salt and pepper.  That's it!  But it is literally the most luxurious smashed potato recipe I've ever made.

I usually like to roast potatoes (like all my veggies) but this was a totally different recipe than my usual olive oil laden potatoes.  It's almost like mashed potatoes, but a million times better.  I made it for this week's Thursday night barbecue and it was a hit!  I wish I had made more!  Now, in the name of full disclosure, this isn't the cheapest potato recipe.  I don't grow fresh thyme (I wish I did) and creme fraiche is on the pricier side.  But  the end product is so good, you could serve it anywhere from a barbecue to a fancy dinner party.

I highly recommend this one!  Even if you aren't great in the kitchen, I promise you will impress.

Smashed potatoes

Smashed Potatoes
from Leite's Culinaria

Ingredients
1 1/2 pounds red- or ivory-skinned waxy potatoes, or a mixture or both, each about 1 1/2 inches in diameter, scrubbed
1 cup (8 ounces) creme fraiche
1 tablespoon chopped fresh thyme, plus sprigs for garnish
Sea salt and freshly ground black pepper

Instructions
1. Cut the potatoes in half lengthwise and place them in a large saucepan. Add enough cold water to cover and bring to a boil. Reduce the heat to low, cover, and simmer until the potatoes are tender when pierced with a fork, about 12 minutes or so.
2. Drain the potatoes and return them to the warm pan. Add the creme fraiche and chopped thyme and smash with a potato masher or fork until the potatoes are almost but not quite ready to break apart. Season with salt and pepper, garnish with the thyme sprigs, and serve right away.

Sunday, March 11, 2012

Roasted Cauliflower and White Cheddar Soup (Lightened)

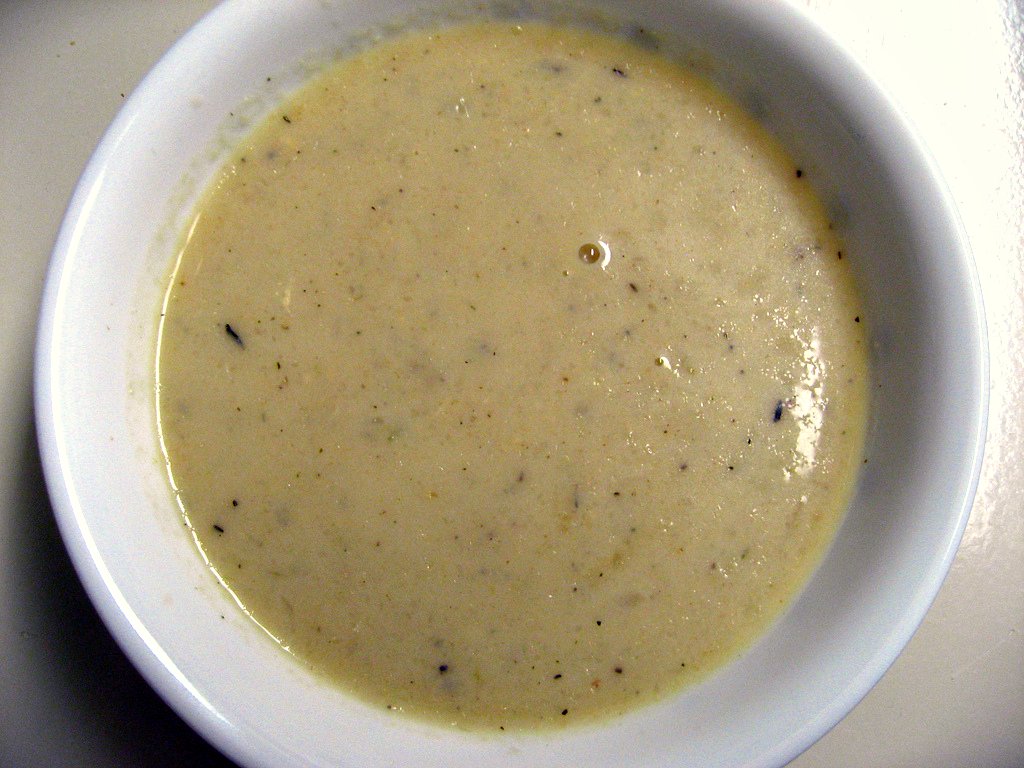
Cauliflower and Cheddar Soup

The weather may have started warming up in DC, but it's still snowing back home in New Hampshire and that means I get to keep making soup.  Right?  There is something about roasted vegetables pureed into soups that just tickles my fancy (remember this guy?).  I love using my immersion blender and the flavor, so this soup absolutely needed to be tried.

Cauliflower and Cheddar SoupCauliflower and Cheddar Soup

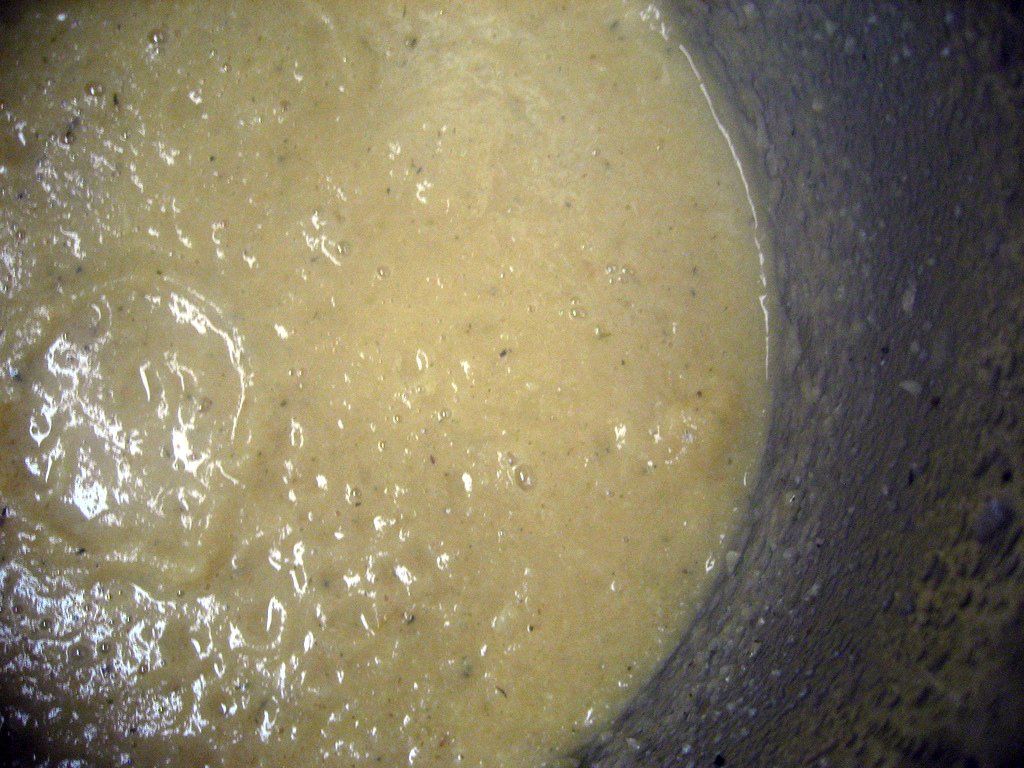
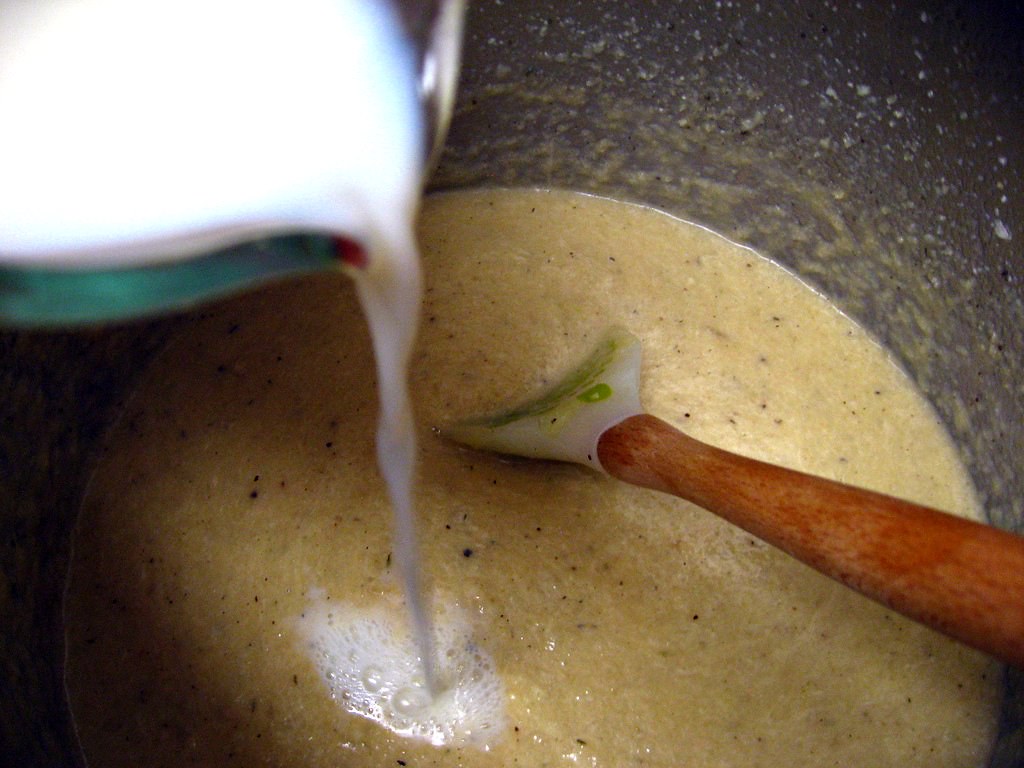
Do you have an immersion blender? They aren't that expensive, but they're so much fun and convenient to use! I felt like a shark attacking cauliflower fishies while I made this soup.  Usually I can just submerge the top of the blender and stir around, but the size of the cauliflower meant I basically had to stab the cauliflower with the blender and rip it to shreds.  Doesn't that sound like a blast?  It really was!

Cauliflower and Cheddar SoupCauliflower and Cheddar Soup

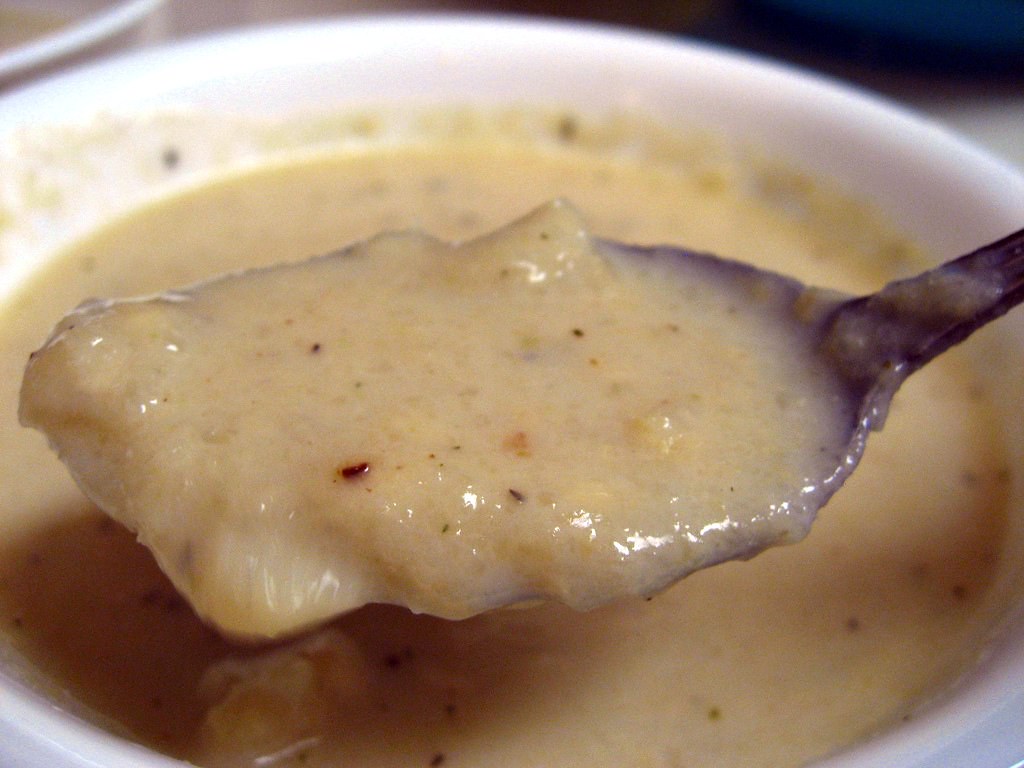
The original recipe called for aged white cheddar and either cream or milk.  I decided to lightened it up with Cabot's 75% reduced fat cheddar and skim milk.  Being a good New England girl, I have always loved Cabot cheese, so it only seemed appropriate to use it here. Despite the lower fat content, this soup was still quite rich and delicious.  The pureed cauliflower made it thick and I think the Monkey Scientist was shocked at how filling it was.  The magic part was that all the low-fat dairy didn't bother my slight lactose intolerance!

Cauliflower and Cheddar SoupCauliflower and Cheddar Soup

We totally loved this recipe.  The Monkey Scientist enjoyed it too, even though I'm not sure he thought he was going to.  Like all pureed soups, it is substantive, filling, and loaded with flavor.  I used smoked salt instead of regular which gave a nice smoky flavor throughout.  If you wanted to use bacon grease instead of oil it would have the same effect.  The roasted cauliflower has a deep complex flavor and is complemented well by the cheese.  This is an easy and delightful pureed soup that you can make any day of the week!

Cauliflower and Cheddar Soup

Roasted Cauliflower and White Cheddar Soup (Lightened)
adapted from Closet Cooking

Ingredients
1 small head cauliflower, cut into florets
3 tablespoons oil, divided
1 medium onion, diced
2 cloves garlic, chopped
1 teaspoon dried thyme
3 cups vegetable broth
1 1/2 cups Cabot 75% reduced fat white cheddar, shredded
1 cup fat free milk
salt and pepper to taste (I used smoked salt)

Instructions
1. Toss the cauliflower florets in the oil along with the salt and pepper and arrange them in a single layer on a large baking sheet.
2. Roast the cauliflower in a preheated 400F oven until lightly golden brown, about 20-30 minutes.
3. Heat the oil in a large sauce pan over medium heat.
4. Add the onion and saute until tender, about 5-7 minutes.
5. Add the garlic and thyme and saute until fragrant, about a minute.
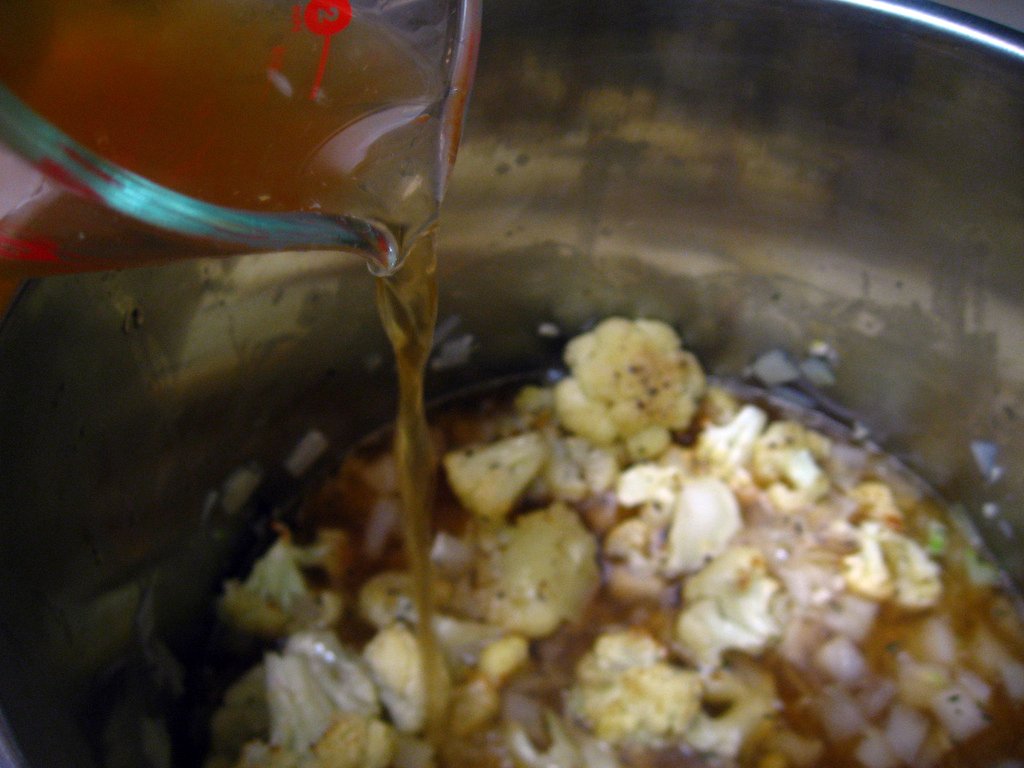
6. Add the broth and cauliflower, bring to a boil, reduce the heat and simmer, covered, for 20 minutes.
7. Puree the soup until it reaches your desired consistency with a stick blender.
8. Mix in the cheese, let it melt and season with salt and pepper.
9. Mix in the milk and remove from heat. Serve immediately.

Tuesday, October 4, 2011

Fish Stock

making fish stock

In high school, I spent a lot of time over at my best friend's house, where her mom was always cooking up some sort of stock.  Usually it was a leftover chicken carcass boiling away on the stove with carrots, onion, and celery. The freezer was full of the stuff, and any time they wanted to make soup (or her mom's gravy) they'd pull out a tupperware, defrost on the stove, and it'd be ready in no time.

I loved this idea!  I am always spending way too much money on stock full of totally unknown ingredients.  I had only every tried making shrimp stock before, but it was so easy that I wanted to try again.  I stayed in my seafood comfort zone, but I will definitely be venturing out to chicken or beef stock next time!

fish carcass for stock

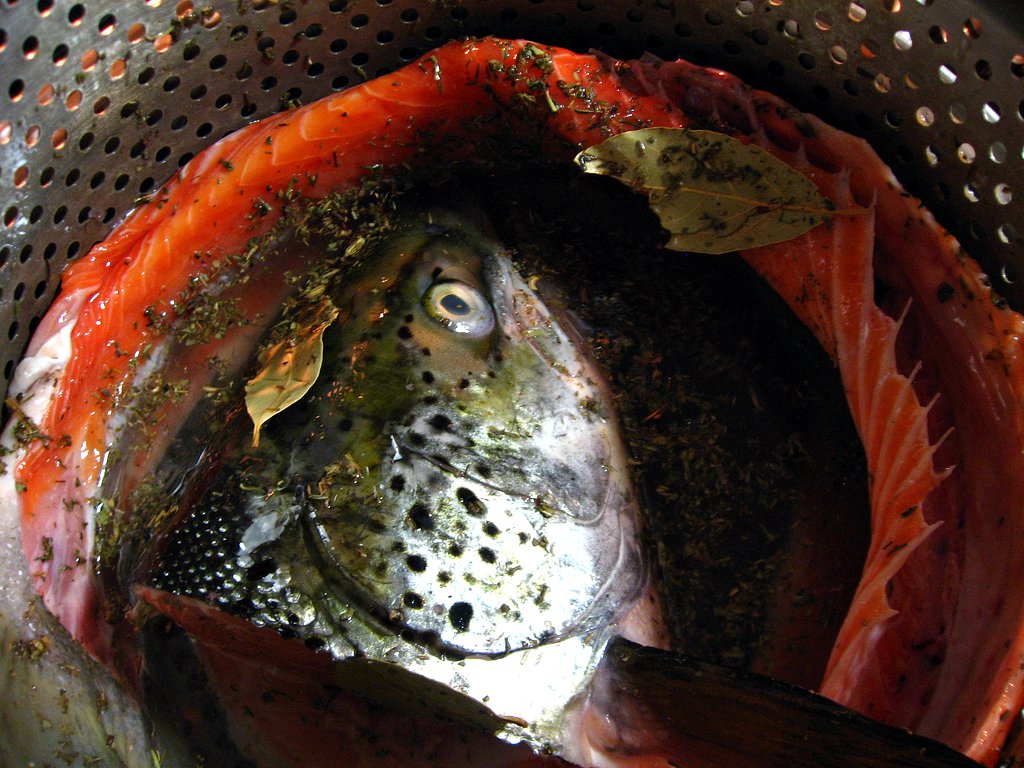
Now I admit, making stock is scary. Mostly because of that scary word I used a minute ago.  You know, carcass.  But think of it as being resourceful.  Using the whole animal, not just the parts you eat directly.  And better yet, think of it as the easiest step you can take for better food at a lower cost.

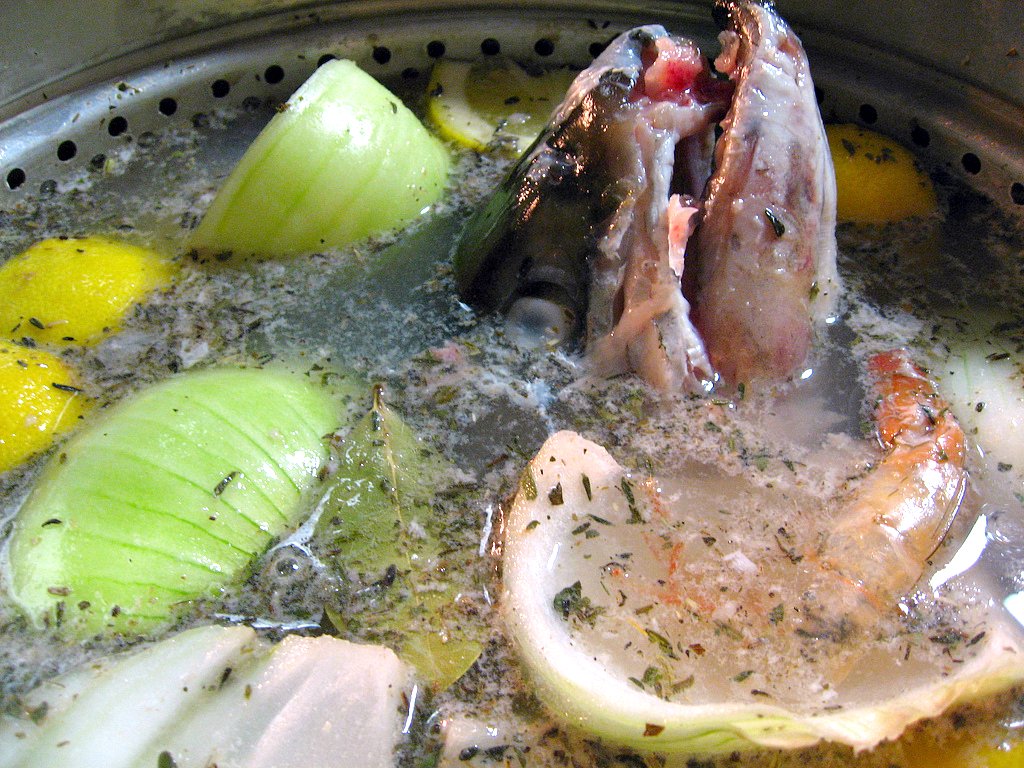
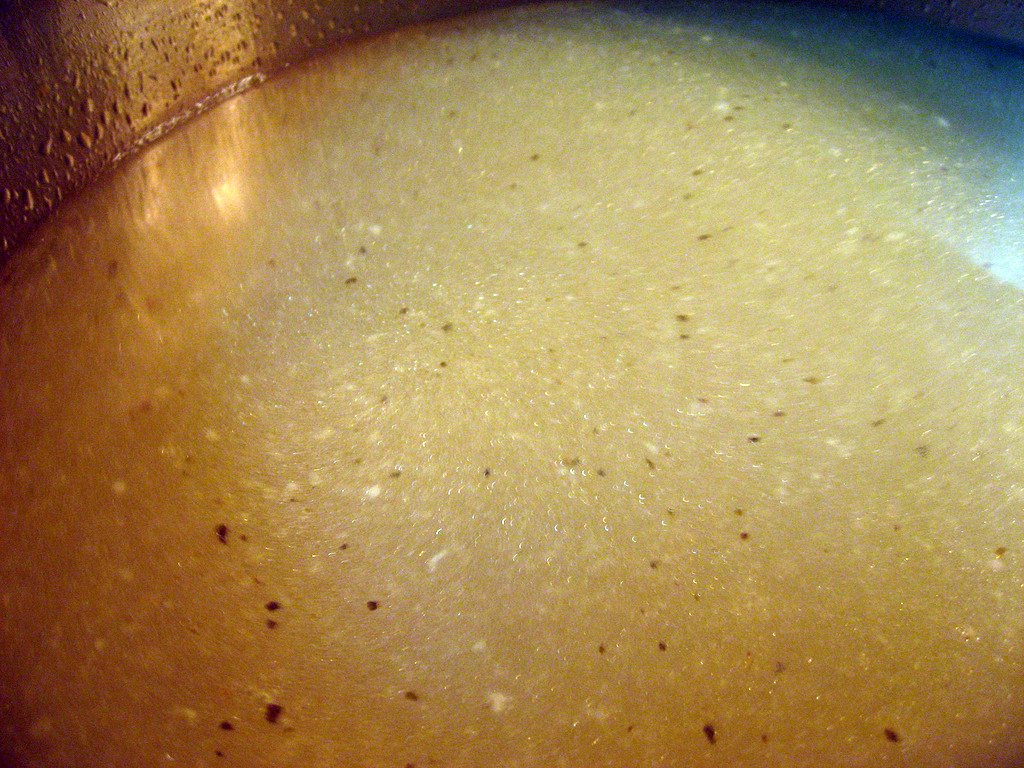
There's much more to tell about how I ended up with this giant fish carcass (the story is coming, I promise) but let's just say I only paid $1 for it and it made enough fish stock for cioppino, shrimp risotto, and much more - including the recipe that's coming up later this week.  It's chocked full of flavor - definitely try it out.  And don't be scared of the picture with the fish head floating up - I just did that for effect... it is almost Halloween after all!

fish stock

Fish Stock


Ingredients
20 cups water
1/4 c white wine
1 fish carcass (everything but the filets - head, bones, fins etc)
2 bay leaves
1 tbsp dried thyme
1 tbsp herbes de provence
3 small carrots, cut in thirds
1 large onion, quartered
shells from 1/2 lb shrimp
2 lemons, quartered (skin on)

Instructions
1. Bring all the ingredients to a boil in a large stock pot.
2. Reduce heat to low and simmer, covered, 30 minutes.
3. Remove fish head, veggies, and lemons using tongs or a slotted spoon (it's nice if you use a pot with a strainer insert and then you can pull that out and dump it).  Run through a mesh strainer to remove any remaining solids.  Use within 3 days or freeze.

Friday, June 3, 2011

Baby Bacon, Leek, and Cheddar Quiches


For my coworker's baby shower, I made mini quiches.  Since it was a baby shower, I decided to call them baby quiches.  I thought they'd just be an adorable treat for everyone!


I decided to try to lighten this recipe up a bit. Instead of pork bacon, I used turkey bacon.  As a result, I had to add in a little vegetable oil when I went to sauté the leeks.


Man, I love leeks.  They are just one of the most wonderful things I've ever discovered.  Remember that soup I made back in March? This is like a spring version.


I have to find some more leek recipes after this one - they add another dimension to every meal that you can't get from similar ingredients.  They aren't oniony but they do have that carmelized texture.


As long as I was lightening up this recipe, I also used fat free half and half.  I think it didn't affect the taste at all. How do they make it fat free without it getting watery?


The hardest part of this recipe was keeping the filling moist.  I had to stir it between filling each and every quiche to spread the egg evenly.  I also filled a little too much so I was about 6 quiches short.  I also had extra puff pastry - I probably rolled it too thin.


The preparation is pretty simple, although filling all of the muffin tins does take forever. I finished one of my 24 muffin tins and then baked them off while I filled the rest so I didn't have to spend too much time in my hot kitchen.  It's amazing how hot it gets in the summer with the oven on!


These were definitely a hit at the baby shower.  They are salty and a little bit sweet, and definitely savory.  Plus they're so much easier to serve than a full quiche. Mine weren't quite as pretty as Tracy's but they sure were tasty! I tried one hot, which was really good, but they were just as good cold or at room temperature.  They're the perfect appetizer to bring to a baby or bridal shower.  Since 3 people we work with are having babies in late July, I imagine you must know someone getting married or having a baby too!


Baby Bacon, Leek and Cheddar Quiches
Lightened from Tracy’s Culinary Adventures

Ingredients
3/4 lb turkey bacon, cut into medium dice
1 tablespoon vegetable oil
3 cups medium-diced leeks, washed and drained (about 3 leeks, white and light green parts only)
1 1/4 cups fat free half and half
1 cup (4 oz) grated extra-sharp Cheddar
2 large eggs
2 large egg yolks
2 tablespoons chopped fresh thyme leaves or 2 teaspoons dried thyme
1 teaspoon kosher salt
1/2 teaspoon freshly ground black pepper
1/4 teaspoon ground nutmeg
2 1.1-lb packages frozen puff pastry sheets, thawed (homemade puff pastry would work too)

Instructions 
Set a skillet over medium to medium-high heat and cook the bacon until crisp.  Use a slotted spoon to remove the bacon to a paper towel lined plate.  If there is almost no fat in the pan (which is likely) add 1 tablespoon in the skillet (if there is fat, add oil to have total 1 tbsp of liquid).  Return the pan to medium heat and add the leeks.  Cook until softened, stirring occasionally, then set aside to allow the leeks to cool a bit.

Meanwhile, add the half and half, cheese, eggs, egg yolks, thyme, salt, pepper and nutmeg to a medium bowl.  Use a fork to break up the eggs and yolks and mix the ingredients.  Add the bacon and leeks (both of which should be cooled) and toss to distribute evenly.  Set the filling aside.

Preheat oven to 400 F. Spray your mini muffin pans with cooking spray.

Unfold one sheet of puff pastry and place on a lightly floured work surface. Roll the sheet into a rectangle approximately 10x18 inches big. Using a 3-inch round cookie cutter (or the top of a glass cup), cut 12 circles from the sheet of puff pastry. Fit each round into one well of the prepared mini muffin pan, making sure that the dough extends to the top of well. Fill each well with about 1 tablespoon of filling (it's fine to fill it just about to the top). Repeat with the remaining dough and filling.

Bake for about 20 minutes, or until the filling puffs and the crust is golden brown. Remove the quiches from the pans and serve.

Alternatively, you can prep the quiches ahead of time and freeze them (for up to a month). After assembling them, pop the mini muffin pans in your freezer for a few hours, until the quiches are set, then transfer them to resealable freezer bags. When you are ready to bake, transfer the frozen quiches from the bags to the mini muffin pans and bake for about 30-35 minutes.