When I went back to visit my parents for Thanksgiving, we had a special treat. On Wednesday night, we had to pick my baby bro up from the airport right around dinner time, which meant we got to make a trip to
Rino's Place, my absolute favorite Italian restaurant. We've been going there for years, but ever since it was featured on Diner's, Drive-ins and Dives (of which it isn't any of the 3) it's been almost impossible to get a table at Rino's. Fortunately, we're the only ones crazy enough to want an Italian meal with
enormous portions the night before Thanksgiving, so it was relatively quiet.

My family is pretty predictable when it comes to Italian food. My brother always orders Ziti with Chicken and Broccoli or Lobster Ravioli. My go-to is chicken piccata, although I tend to be a little more flexible (on this particular night I had an open seafood and vegetable lasagna with huge chunks of lobster and scallops and shrimp, YUM). Mom and Dad are fans of Veal and Eggplant Parmesan. At Rino's, they have a dish that has both Eggplant and Veal in one dish, and it's what they both always order.


I was feeling a bit lazy this week, but I knew I really should cook at least 1 night. Lasagna is always easy to assemble and leaves lots of leftovers, and I loved the idea of an Eggplant Parmesan version. I knew the Monkey Scientist wouldn't quite be satisfied without meat, so I took a tip from Rino's and added veal!

The original recipe was a little bit confusing, so I tried to simplify it and be super clear for you. I ended up making a few
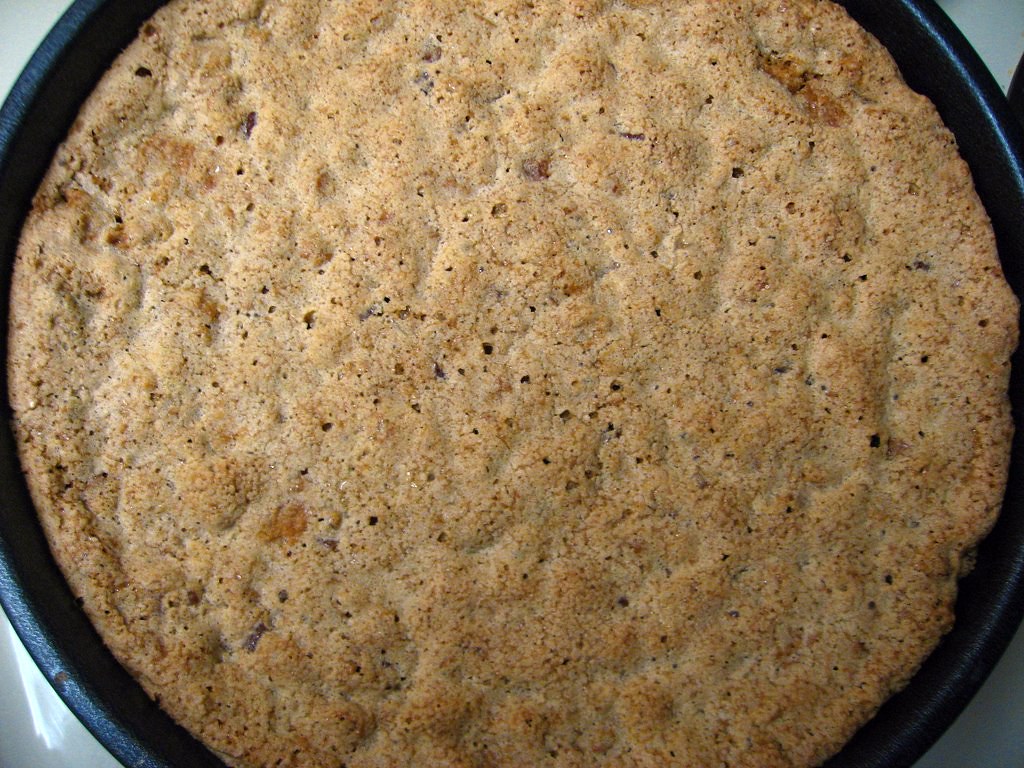
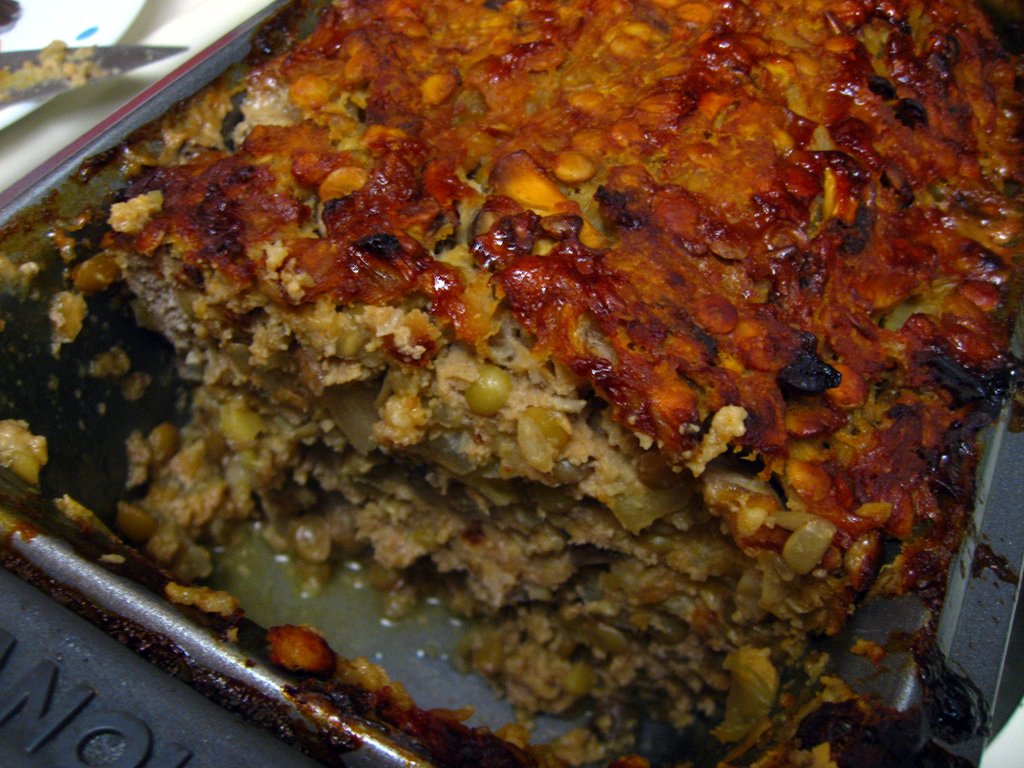
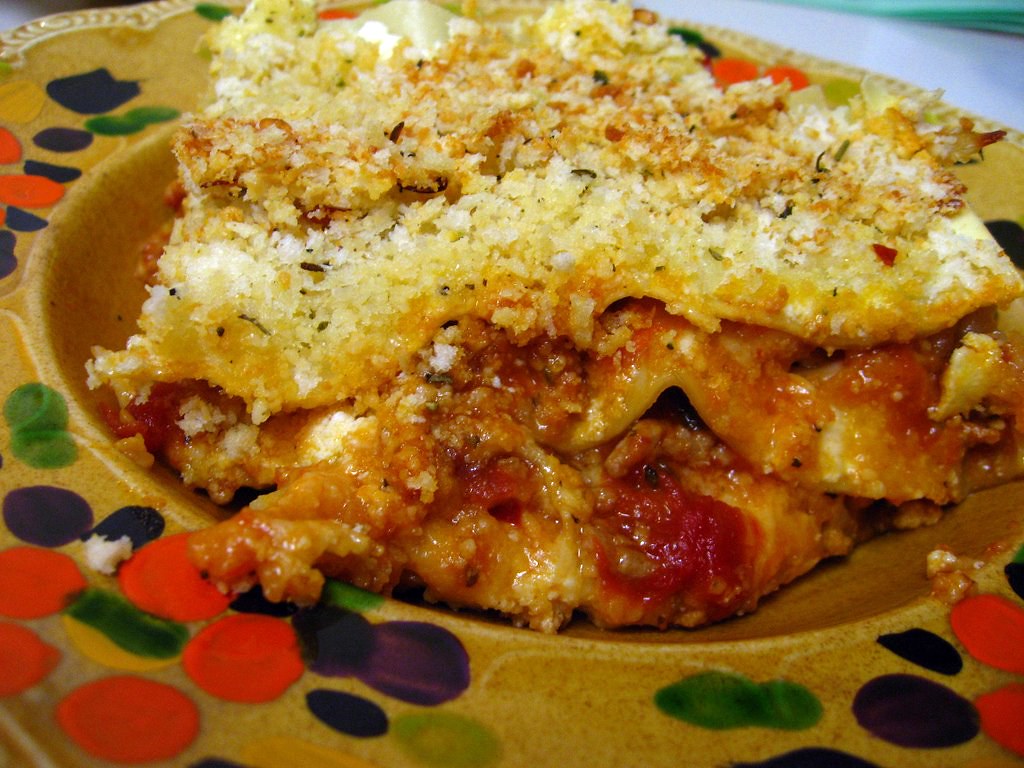
mistakes changes to mine, including mixing ALL the parm with all the breadcrumbs so I ended up having breadcrumbs in every layer - oops. It didn't turn out all that different, but my topping definitely didn't bake the same way as the recipe I was following. I also added an extra layer of lasagna noodles, which wasn't so smart since I used no-boil and there wasn't enough liquid on the last layer to really cook them. Don't be like me.

Despite my lack of being able to follow instructions, this came out delicious! I loved the mix of veal and eggplant; it added good depth of flavor. Per usual, I kicked up the spice a lot, and it made it superbly tasty. I probably used twice the spice that I put in the recipe below, so don't be too afraid, but you can leave it out if you aren't into spicy foods. The Monkey Scientist said this just might be one of his favorite meals I've ever made (although he still keeps talking about those
stuffed peppers I made last spring). I've been eating this lasagna for lunch and dinner for a couple days now and I'm not tired of it yet :)
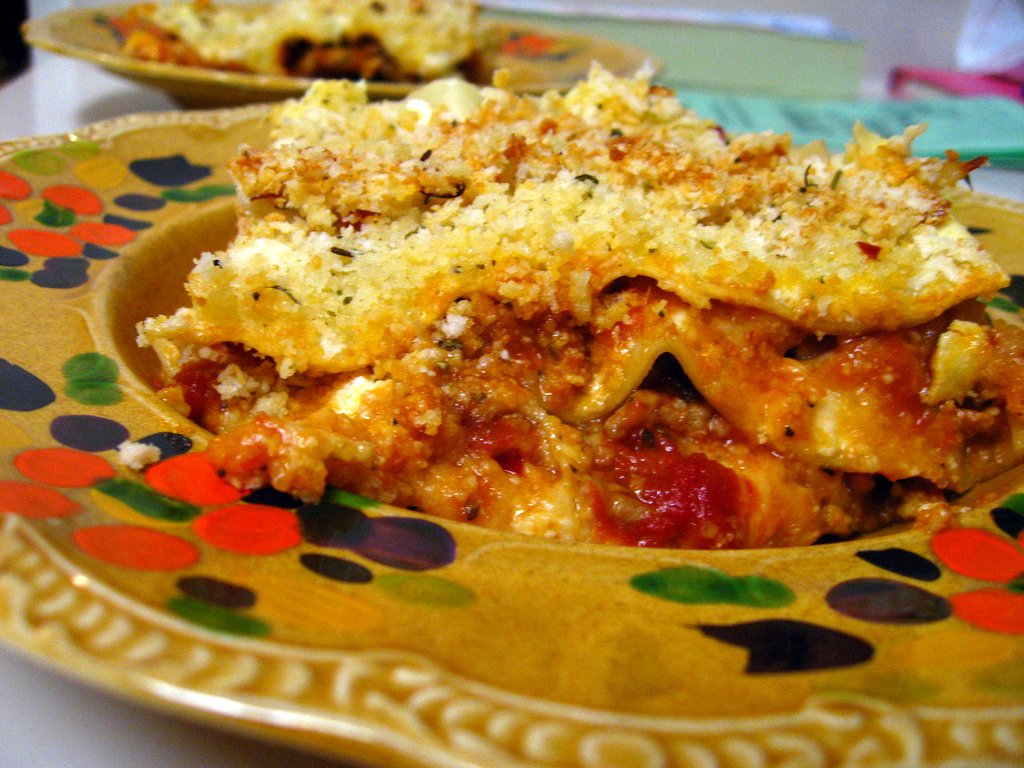
 Eggplant and Veal Parmesan Lasagna
adapted from
Heather's Dish
Ingredients
1 large eggplant, peeled and chopped into small pieces
2 Tbsp olive oil (divided) + more for drizzling
1 tsp salt
1/2 tsp pepper
1/2 tsp cayenne pepper (more if you like it spicy)
1 lb ground veal
1 jar of your favorite spaghetti sauce (or use homemade if you’d like!)
2 cups low fat shredded mozzarella cheese
15 oz fat free ricotta cheese
1 egg
1 tsp garlic powder
1 1/4 cups parmesan (divided)
3/4 cup Italian breadcrumbs (I used plain Panko with a tbsp of Italian seasoning)
1 tsp red pepper flakes (more if you like it spicy)
~1/2 box pre-boil lasagna noodles (I use Barilla)
Instructions:
1. Preheat oven to 375.
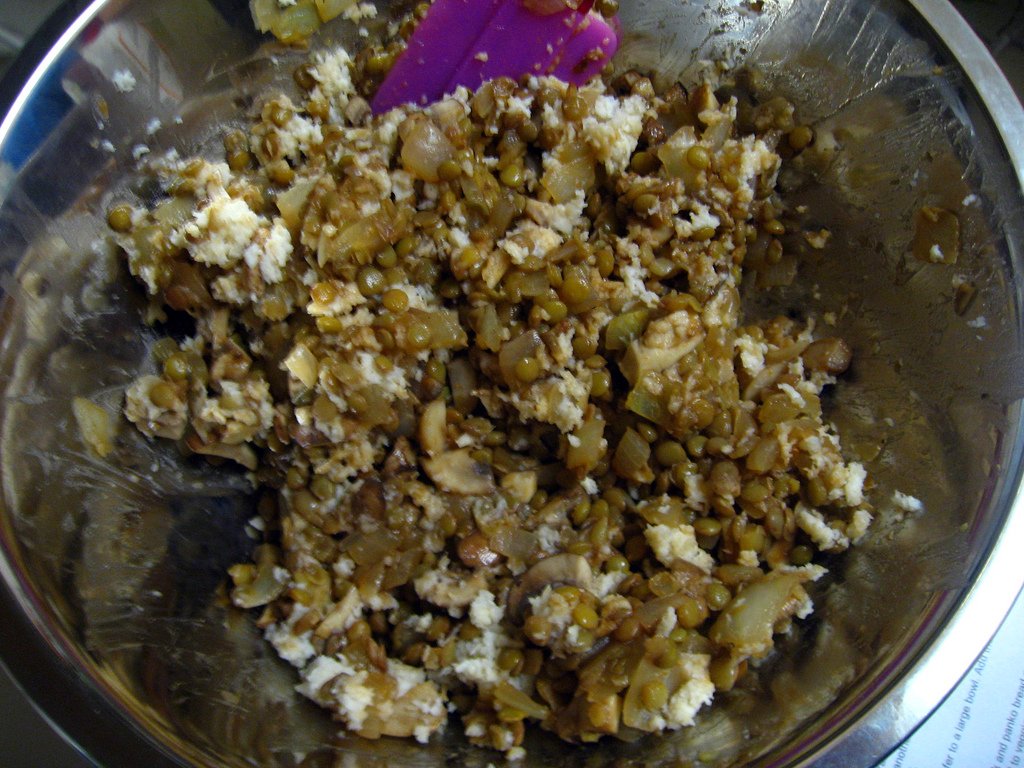
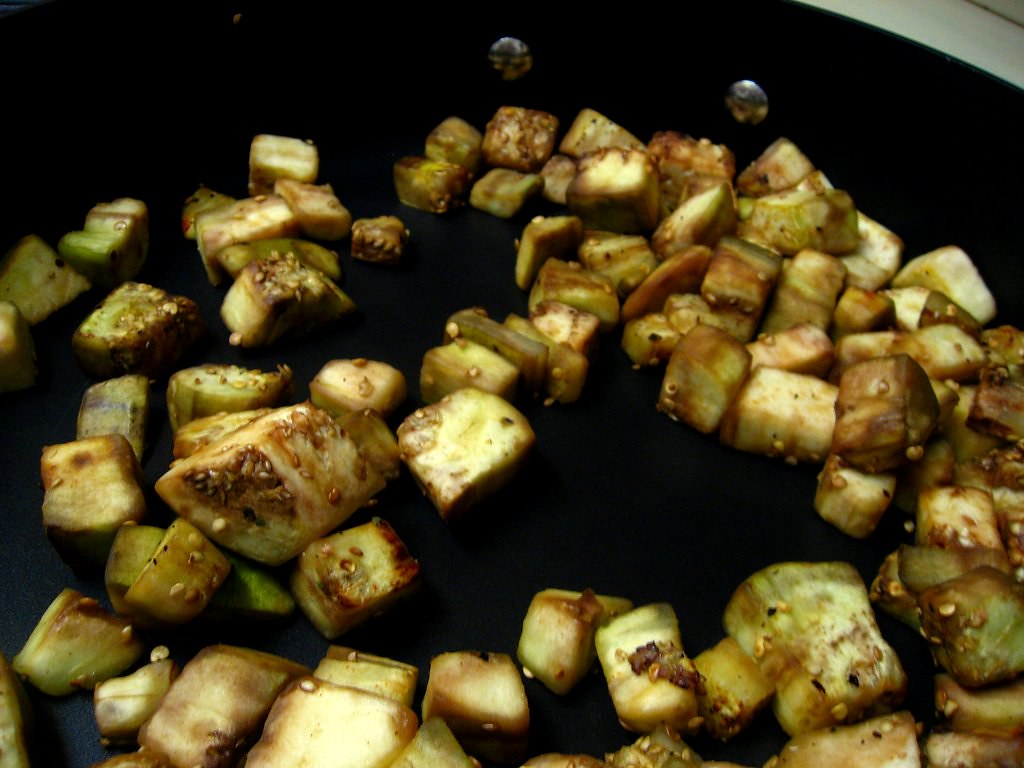
2. Heat a nonstick skillet over medium heat. Add 1 tbsp olive oil and eggplant, salt, pepper, and cayenne and cook until soft and golden brown. Move the eggplant to a large bowl.
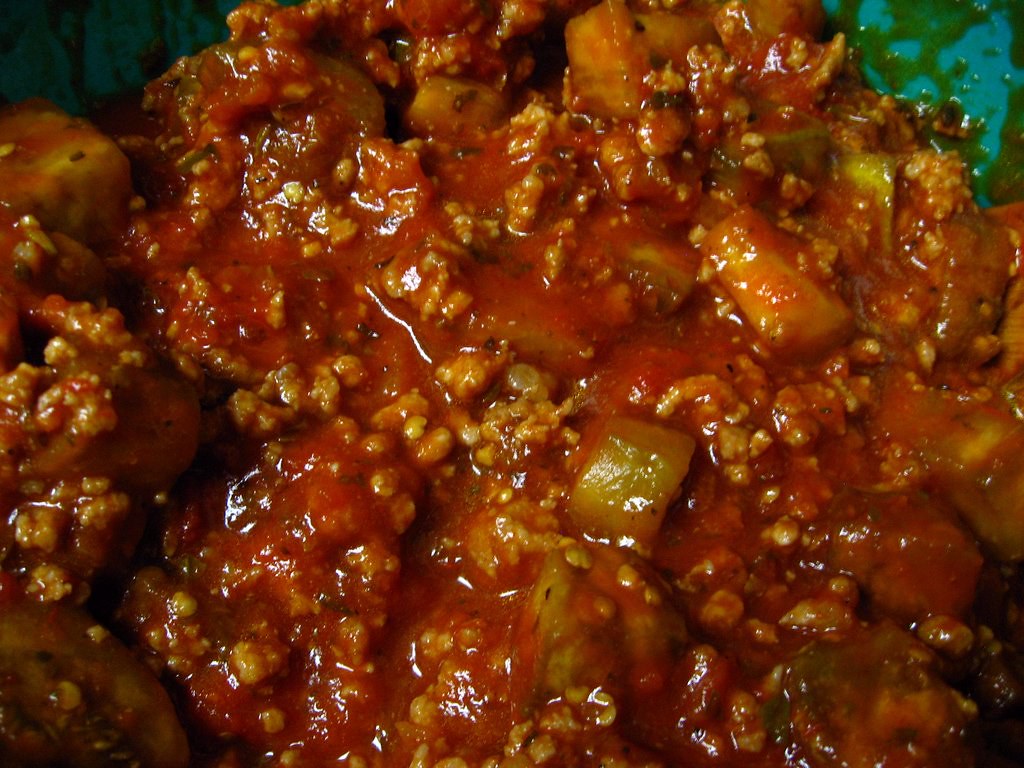
3. In the same skillet, add remaining olive oil and veal. Break up and cook until brown.
4. With a slotted spoon, move veal to the same bowl as the eggplant. Add tomato sauce and toss.
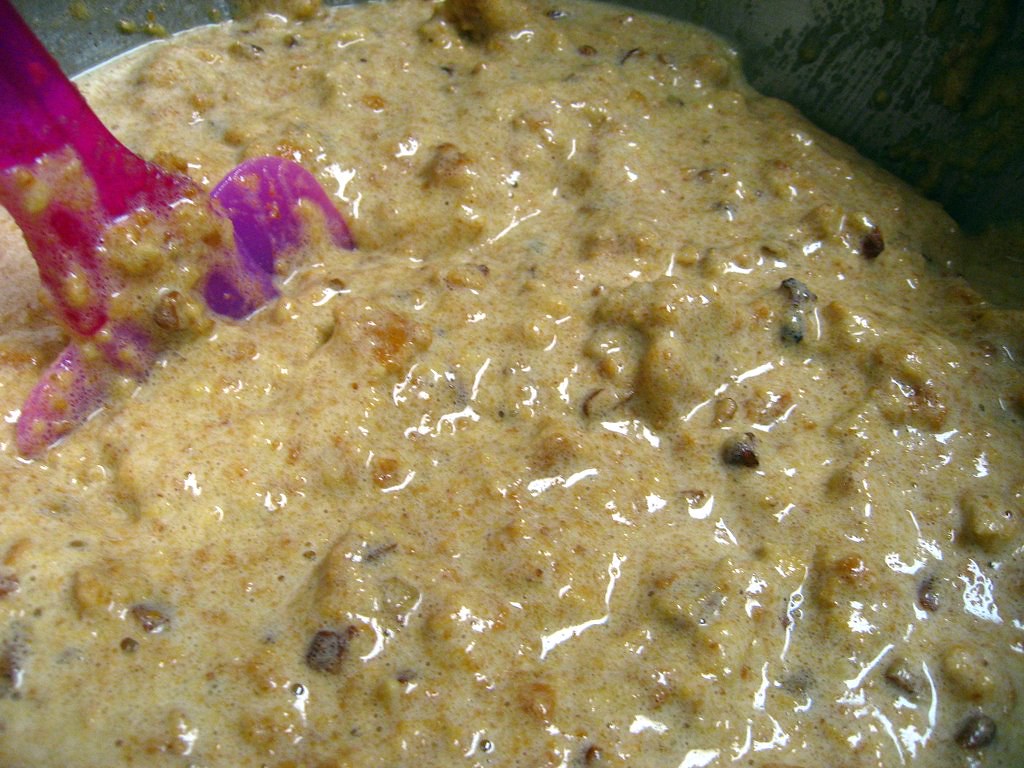
5. In another bowl whisk together the ricotta, egg, and garlic powder.
6. In another bowl (sorry for the dishes…big thanks to the Monkey Scientist for helping clean!) mix together 3/4 of a cup of the parmesan, red pepper flakes, and the breadcrumbs.
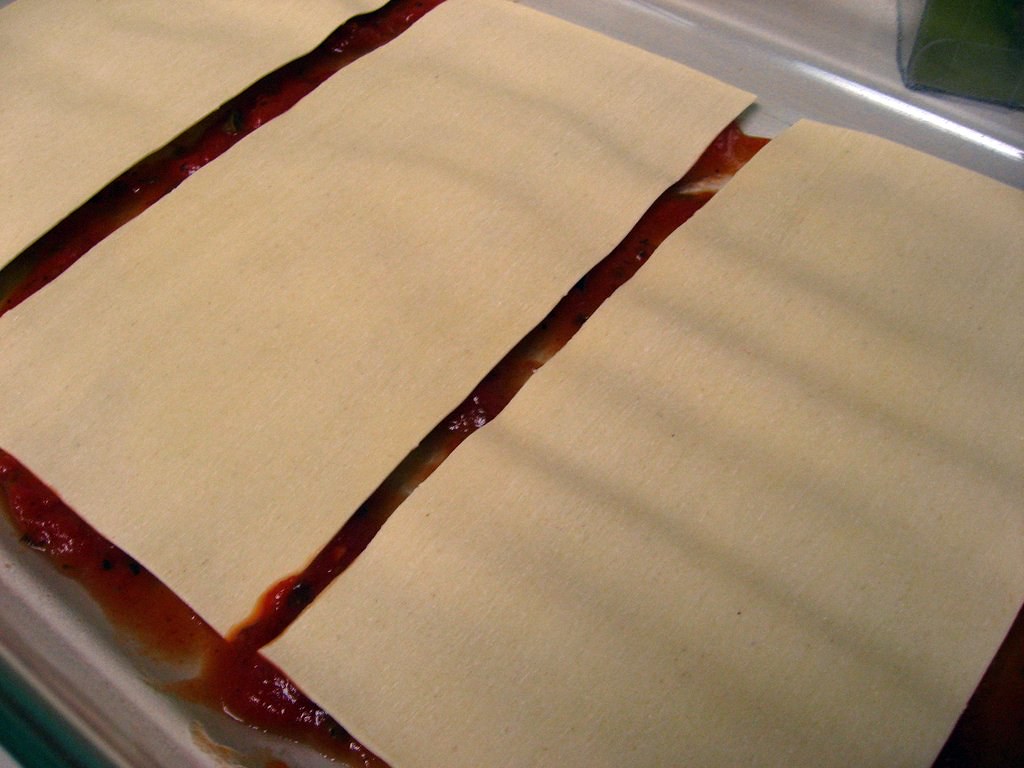
7. Spray a 9×13 dish with nonstick spray and layer the lasagna:
- a small amount of tomato sauce, a layer of lasagna noodles
- 1/3 of the ricotta mixture
- 1/3 of the mozzarella
- 1/4 cup of parmesan cheese (not the mixture)
- 1/2 of the tomato sauce/eggplant/veal mixture
- a layer of lasagna noodles
- 1/3 of the ricotta mixture
- 1/3 of the mozzarella
- 1/4 cup of parmesan cheese
- 1/2 of the tomato sauce/eggplant/veal mixture
- the last of the ricotta mixture
- the last of the mozzarella
- the breadcrumbs/parmesan mixture
8. Drizzle with a little olive oil, cover with foil and bake at 375 for 1 hour.
9. Remove the foil and let bake another 10 minutes or until the top is golden brown and bubbly.
10. Allow to cool for about 10 minutes to let the juices set before serving.