Showing posts with label shallots. Show all posts

Tuesday, October 1, 2013

Harvest Roasted Chicken with Grapes, Olives, and Rosemary

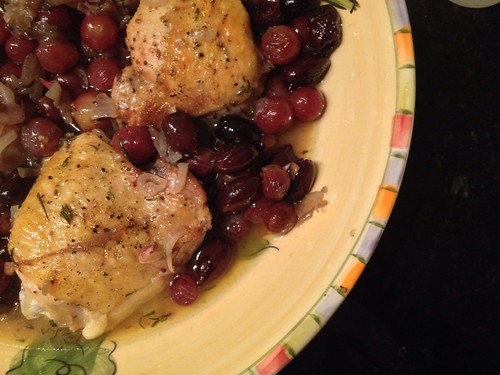
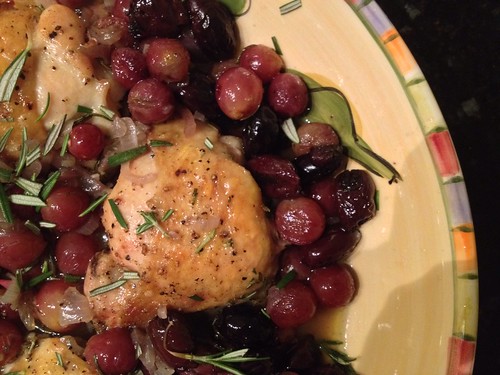
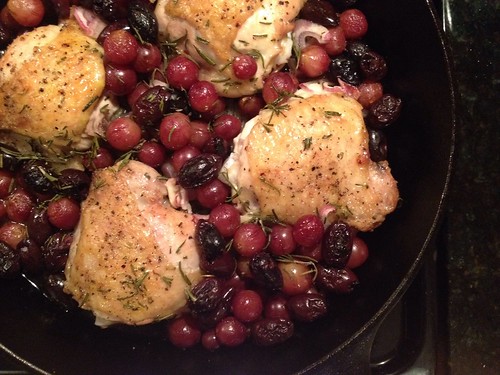
Harvest chicken with grapes olives and rosemary

Fall is here.  Well, it's officially here, but we've had plenty of days that still feel like summer.  I'm not complaining.  Summer was so short this year in Chicago that I welcome the gorgeous days where I can spend my weekend basking in the sun.  I know it's going to hide behind the gray clouds of winter soon enough, so I want to enjoy every last minute before that happens.

Harvest chicken with grapes olives and rosemary

But that doesn't mean I'm not ready for fall foods.  The summer produce is dwindling.  Last week was the glorious bit of time where the peaches were OK enough to make peach applesauce - the Monkey Scientist's favorite - with the first of the fall apples.  I think by this week that short overlap of seasons will be over.  I'm just waiting on pumpkin as long as I can so I don't get sick of it too quickly.  And so the season of roasting begins.

Harvest chicken with grapes olives and rosemary

My first autumn meal was this roasted  chicken.  I love the sweet grapes with the savory rosemary, contrasted by the brine-y olives.  I picked up the world's largest shallot at the Farmer's market (which sadly has only 3 weeks left) as well as some small pink potatoes to serve on the side.  It was a perfect and hardy warm dinner that the Monkey Scientist even loved, despite his hatred of olives (he picked around them).  And when Deb says your guests will slurp this up with a spoon, she's spot on.  I totally found the Monkey Scientist with a spoon in the serving dish as we were cleaning up.

Harvest chicken with grapes olives and rosemary

Harvest Roasted Chicken with Grapes, Olives, and Rosemary
from Smitten Kitchen via Serious Eats

Ingredients
2-3 lbchicken parts (thighs, drumsticks, and/or breasts), with skin and bones
Table salt
Freshly ground black pepper
1 tbsp olive oil
1 c seedless grapes
1 c pitted Kalamata olives
2 small or 1 very large shallot, thinly sliced
1 tbsp finely chopped fresh rosemary
1/2 c dry white wine
1/2 c chicken broth

Instructions
1. Put the oven rack in the middle of the oven. Preheat the oven to 450.
2. Heat the olive oil in a cast iron skillet over medium high heat. Pat the chicken dry then season well with salt and pepper. Once the oil is hot, add the chicken skin side down and cook until the skin is seared and golden brown (3-5 min). Then flip over and sear on the other side, 2-3 minutes.
3. Turn the heat off and add the shallots, then olives and grapes to the pan in all of the gaps around the chicken pieces. Sprinkle half of the rosemary over the chicken.  Carefully move the skillet to the oven and bake for 20 minutes or until the meat is no longer pink. (I like to poke the chicken with my finger to tell when its done using the finger test it should feel at least "medium").
4.  Remove from the oven and transfer the chicken, grapes and olives to a serving platter.  Return the skillet to the stove over medium to medium-high heat.  Add the wine and scrape the pan as it's boiling off to get all of the remaining chicken bits.  Add the chicken broth and allow to simmer until the liquid thickens and reduces by at least half.
5.  Pour the sauce over the chicken.  Garnish with the remaining rosemary and serve immediately.

Saturday, August 25, 2012

Mango Guacamole (Taco night!)

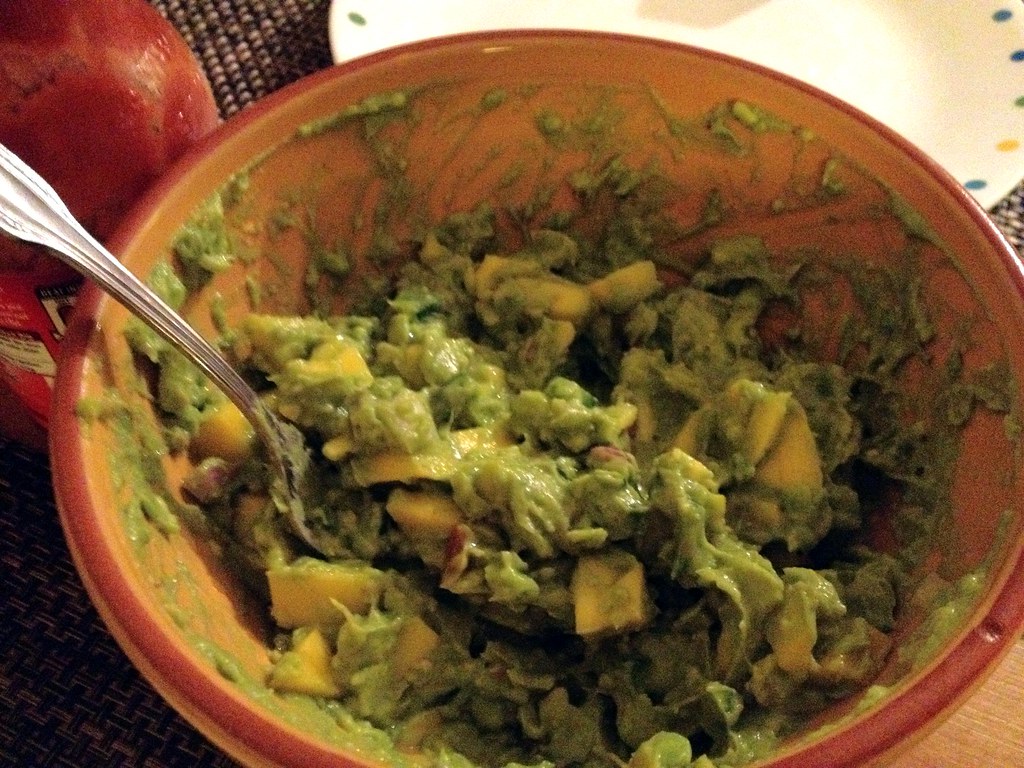
Mango Guacamole

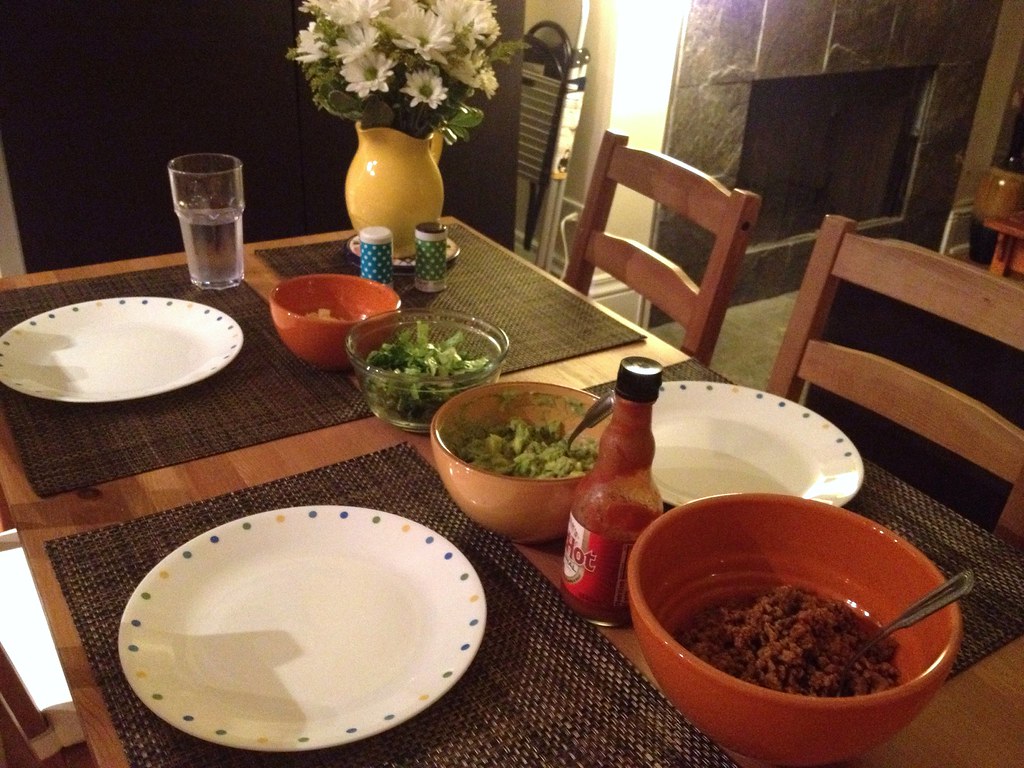
We hadn't had a taco night in a loooong time. When the roommate suggested taco night, even though it wasn't Tuesday, the Monkey Scientist and I were totally on board! Tacos might just be the easiest, tastiest dinner I can think of it.  We actually ate before 9 (which around our place lately has been a struggle)!

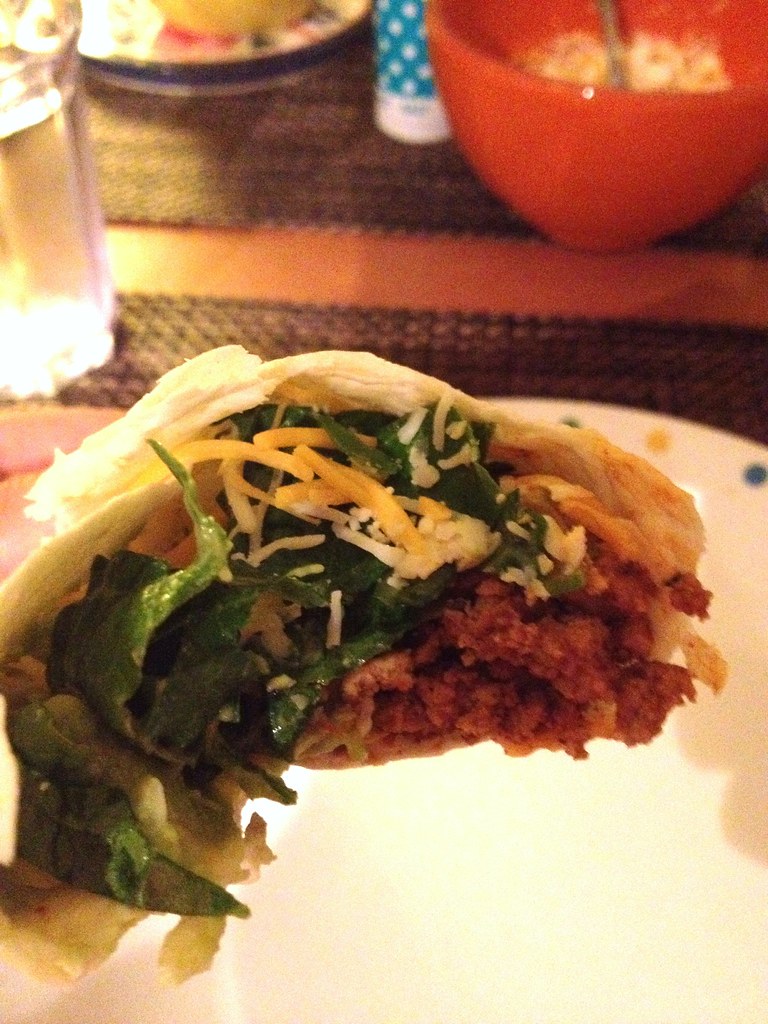
These were turkey tacos, of course seasoned with a full batch of my favorite taco seasoning.  I swear, this taco seasoning is so good, you won't even remember that you used turkey instead of beef.  On a side note, where on earth are those adorable measuring spoons my mom gave me, featured so prominently in that taco seasoning post? I swear, moving has caused me to misplace SO many things.  I'll have to investigate and figure out where they ended up. Hopefully they aren't still back in DC with my oven thermometer!

Taco night

Oh yeah, tacos. So the special element of these tacos was a mango guacamole we made up on the fly.  It added the perfect sweetness to counter the spicy meat. And by spicy, I mean the Monkey Scientist only had to add 2 kinds of hot sauce to his tacos to make them hit his flavor pallet. Plus salsa.  I swear, he's burned off all of his taste buds. I might just start snaking ghost chilis into his food - do you think he'd notice?

P.S. What do you think of our new dining room area?  I'm so excited to have a slightly bigger table. And it looks extra great with the flowers my bff sent us!

Taco night

Mango Guacamole

Ingredients
3 ripe avocados, pitted, removed from skins, and cubed
2 shallots, diced
1 clove garlic, diced
juice of 1 lime
1 jalapeno, seeds removed and diced
1 tomatillo, diced
1 tsp cayenne
salt and pepper to taste
1 mango, peeled, pitted, and cubed

Instructions
1. Add avocado, shallots, garlic, lime juice, jalapeno, tomatillo and cayenne to a medium bowl. Mash with a potato masher until smooth.  Add salt and pepper to taste.
2. Add mango cubes and stir to incorporate. Serve on tacos.

Wednesday, May 30, 2012

Harissa Chickpea Burgers with Cucumber Mint Yogurt Sauce

Chickpea Harissa burgers

Last night was the first time in a while that the Monkey Scientist and I were in town at the same time as his roommate.  We decided to celebrate by making a little family dinner.  His roommate loves chickpeas so I knew when I sent him this recipe that he would interested.

The hardest part of this whole recipe was finding harissa.  We finally were able to find it at the mediterranean market/restaurant in Cleveland Park.  They just received a shipment so if you live in DC this is the place to go!

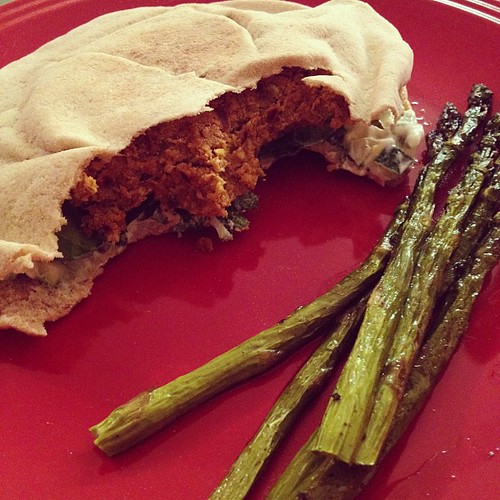
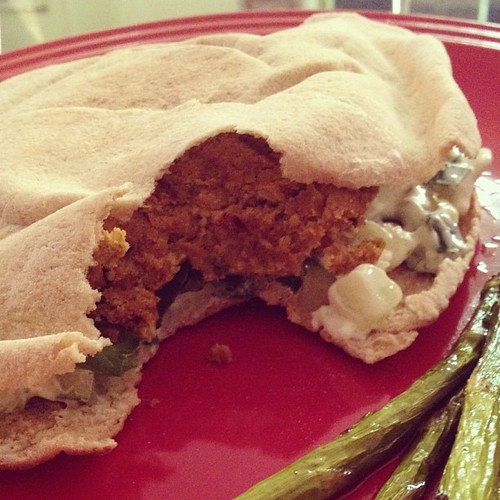
We really enjoyed this recipe. It was perfectly spicy - perfect for me and the MS's roommate, although of course the Monkey Scientist added sriracha on top.  I'm convinced he isn't satified with a meal unless his lips are burning!  I particularly like the pistachios.  That's something I've never included in chickpea burgers I've made before. I loved the yogurt sauce as well.  It's similar to a tzatziki, but with lots of fresh mint.  It was a great and fairly quick weeknight meal (with yummy roasted asparagus)!

Chickpea burger

Harissa Chickpea Burgers with Cucumber Mint Yogurt Sauce
from A Cozy Kitchen

Ingredients
burgers
1/2 shallot, minced
2 garlic cloves, minced
1 tablespoon ground cumin
1/2 teaspoon ground paprika
1/4 teaspoon ground cinnamon
1 1/4 tablespoons harissa
1 (15-ounce) can chickpeas, rinsed and drained
1/4 cup pistachios, unsalted
1 teaspoon kosher salt
1 large egg
3/4 cup bread crumbs
yogurt sauce
1 cup plain greek yogurt
1 cup cucumber, diced
3 tablespoons mint, minced
1 teaspoon lemon zest
salt and pepper

Instructions
1. In a skillet, heat a tablespoon of olive oil over medium heat. When hot, add the shallot and cook for 2-3 minutes, until translucent.
2. When soft, add the minced garlic, cumin, paprika, cinnamon and harissa, along with two tablespoons of water. Mix until combined and until it resembles a thick wet paste.
3. In a food processor, add the shallot/spice mixture, chickpeas, pistachios and salt; pulse until roughly chopped. Using a spatula, scrape down sides and pulse one or two times. Taste for salt (1 teaspoon was perfect for me); add more, if you like. Remove half of the mixture and transfer to a bowl. Add the egg to the food processor and pulse until the mixture is nearly smooth. Add the mixture from the food processor to the bowl and combine both mixtures.
4. Fold in the bread crumbs. Cover the bowl with plastic wrap and transfer to the refrigerator to chill for 30 minutes.
5. In a small bowl, mix together the yogurt, cucumber, mint and lemon zest. Salt and pepper to taste.
6. Scoop about 2 tablespoons of the chickpea mixture onto your palm and form the patties. Heat a grill pan over medium heat and brush it generously with olive oil. Cook on both sides for 3-4 minutes. Serve the burgers on burger buns or fresh soft pita (we toasted our pita in the oven).

Yields 6 burgers

Monday, April 9, 2012

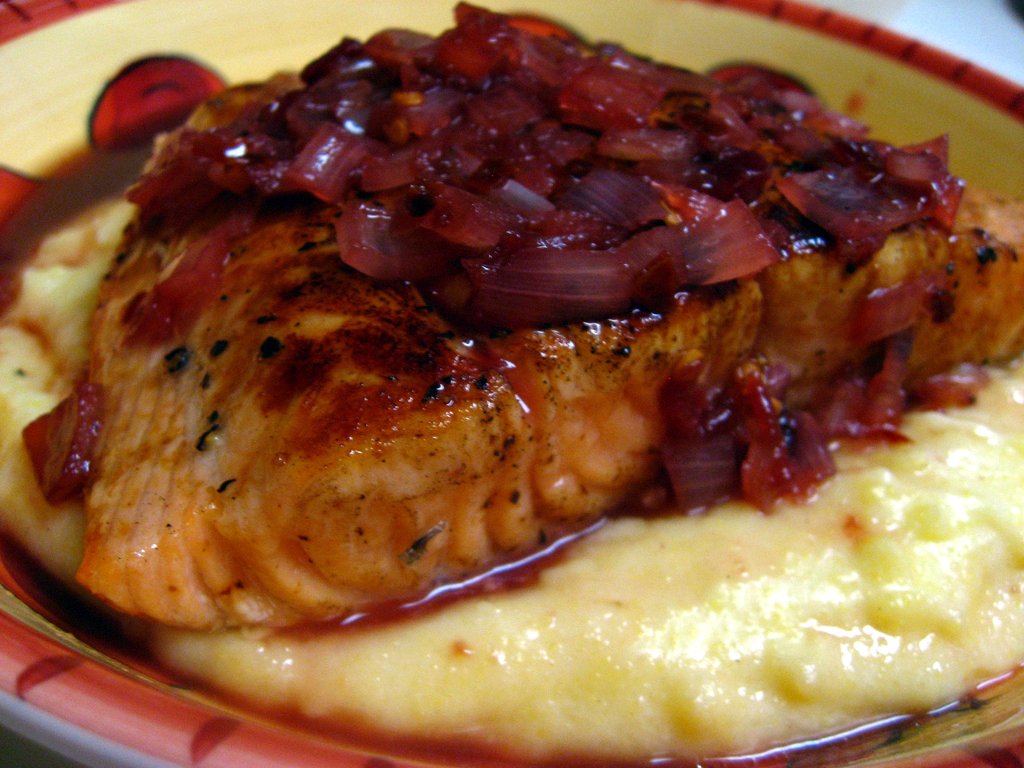
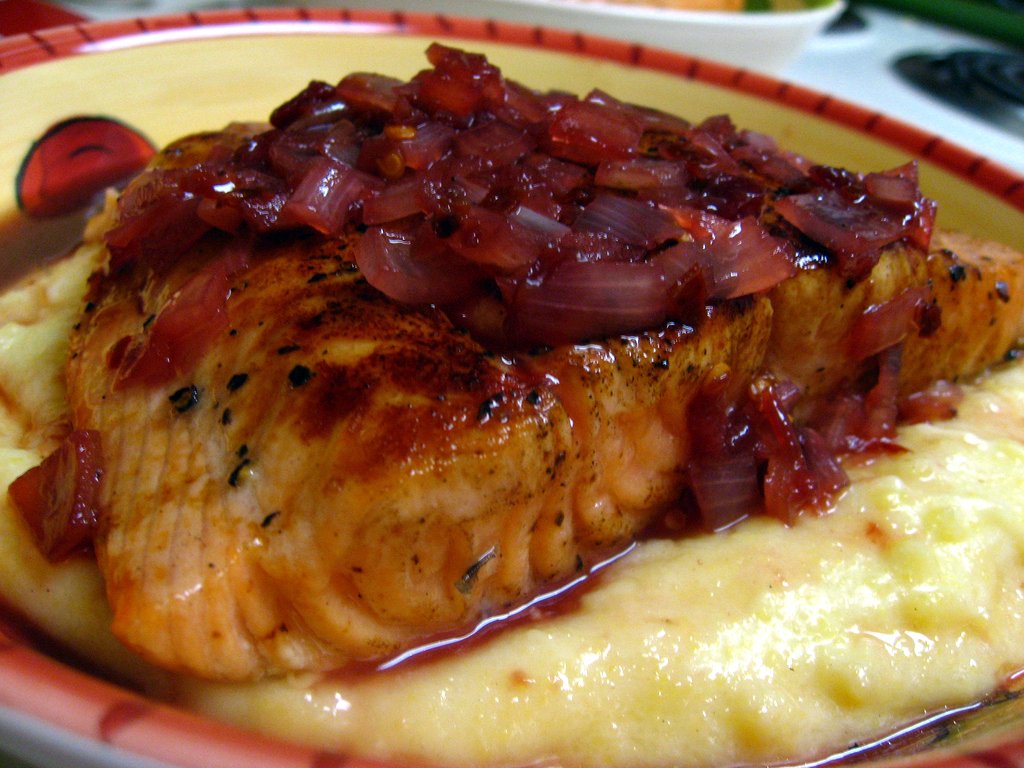
Salmon with Cherry Sauce

Cherry Salmon over Polenta

There has been a theme lately on cooking shows and in cooking magazines - making a restaurant-style meal at home.  The Chew and Simple & Delicious both featured some amazing meals you can make at home with ease that would be as elegant as going out to an expensive restaurant.  The Monkey Scientist and I frequently try to save money by eating at home, and it's nice every once in a while to splurge a little bit more on an upscale dinner at home.

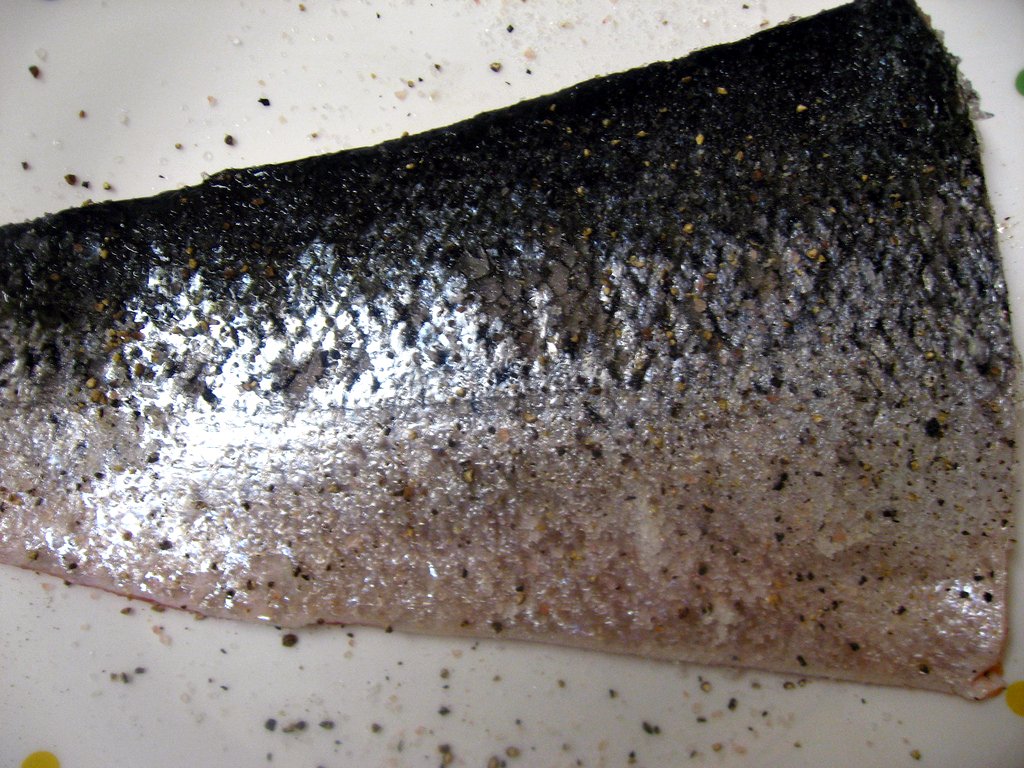
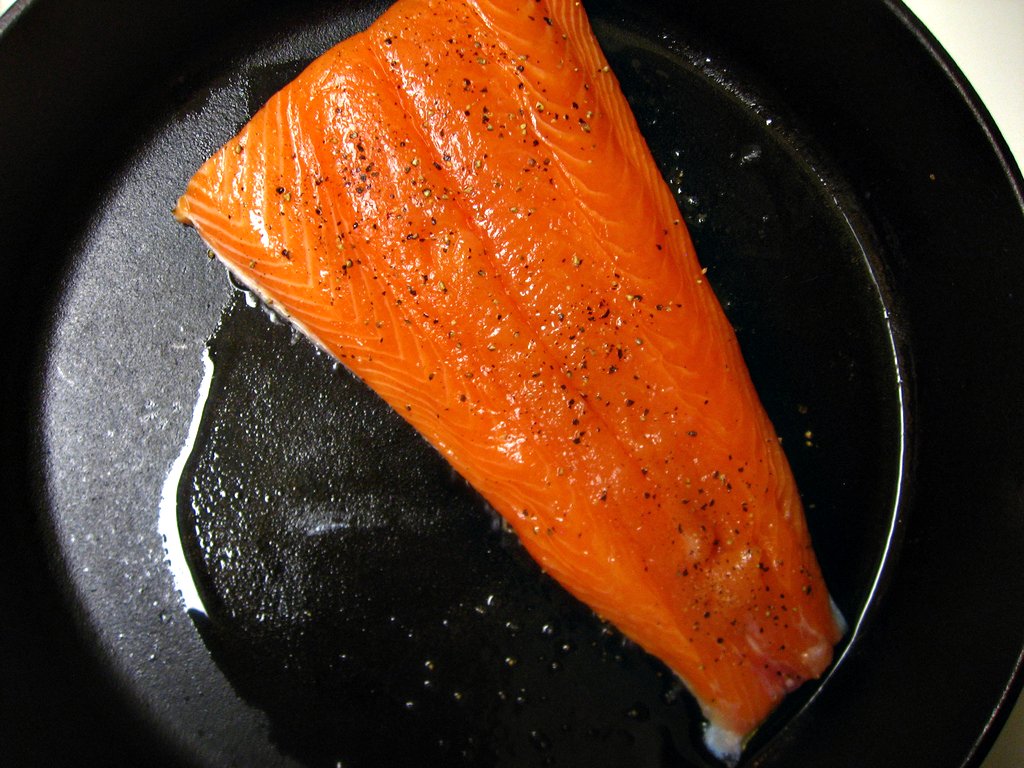
Salmon, seasoned with salt, pepper, and sugarSalmon

Even though this is one of the more expensive meals I make, it's still about a quarter of the price of getting a similar meal in a restaurant!  Salmon can be expensive, especially if you live in the middle of the country, but we waited and it went on sale for $6.99/lb which made it about the same price as the meats we usually make.  I estimate 1/2 lb per person, so for the 2 of us I bought just under a pound of fish.  The only other expensive ingredient is the cherry preserve.  I recommend a high quality preserve like Bonne Maman (it has been on sale 2/$7 at Giant lately), but if you'd like to make your own from fresh cherries this summer (especially if you're a Michigander), I bet it would be even better!

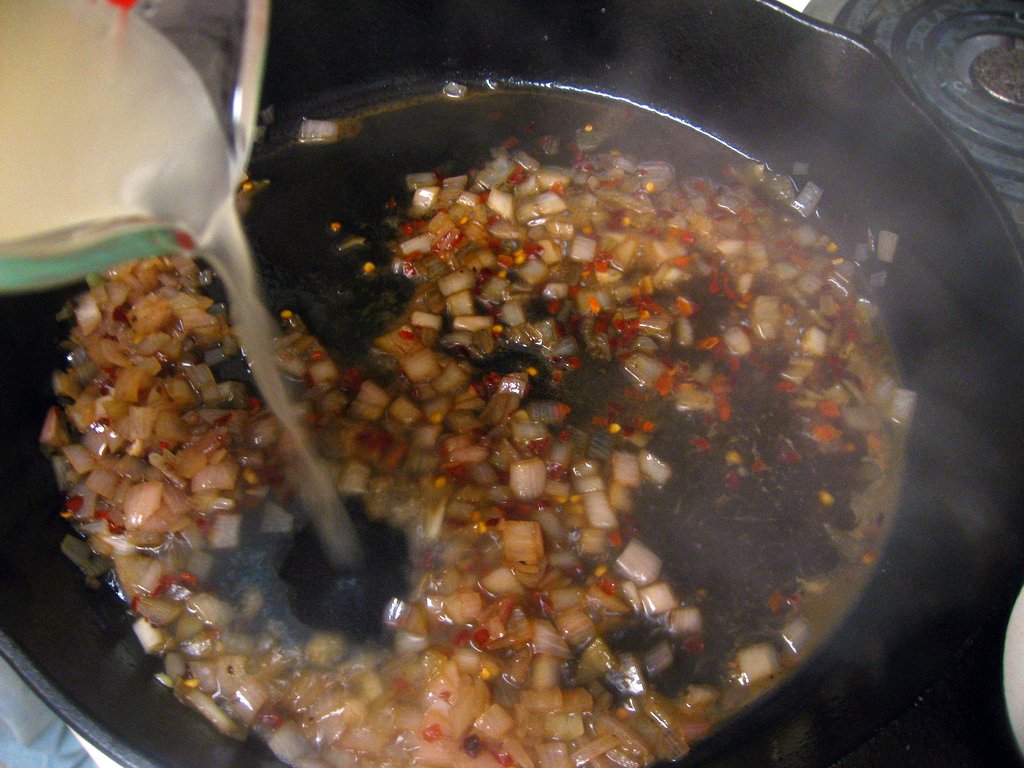
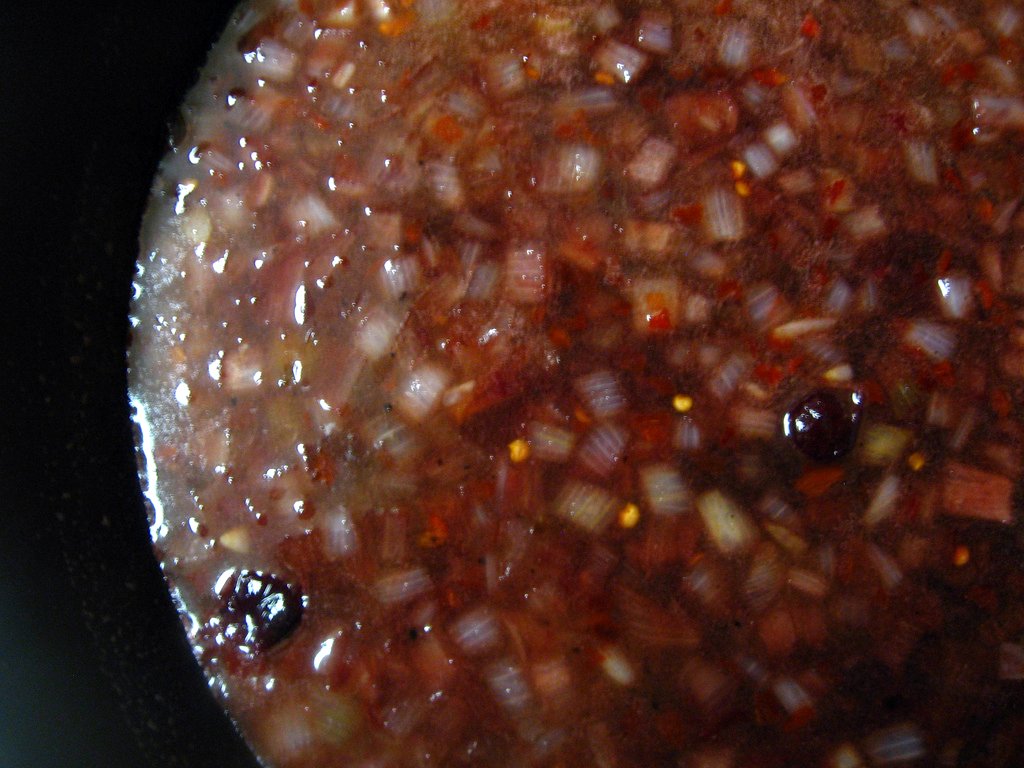
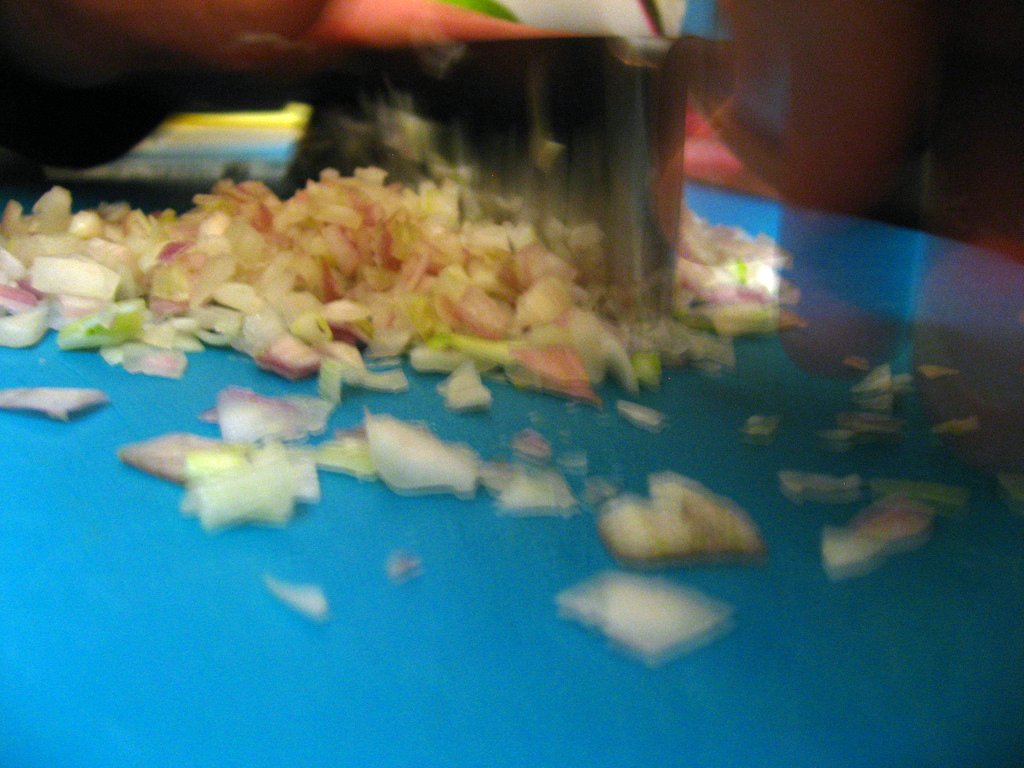
Shallots

The best part is how quickly and easily this meal comes together.  I've actually made it twice in the last couple weeks (that's how good it is).  Each time we started cooking after 7 and were still able to eat before 8!  I'd estimate the total prep and cooking time around a half hour.  That's it! It's even quicker than going out to eat.  Even the busiest mom can find time to delight and impress your family with this meal.

Cherry Sauce

I like to serve this recipe over my favorite creamy polenta.  I have a wonderful recipe I'll share with you later this week!  Usually I only make polenta with red meat, but it complements the salmon fabulously.  The cherry sauce mixes with the polenta to make it tangy and sweet.  Polenta is incredibly easy and inexpensive to make, but, if you prefer, you can serve this with roasted root vegetables or potatoes instead.

Cherry Sauce with Butter

The key to making this feel like a fancy meal out is making this meal look as good as it tastes.  When you plate it for everyone, it's very impressive looking.  There are beautiful colors - pink salmon, yellow polenta, and dark purple cherry sauce.  A friend was over the first time we made this and she was so impressed that in such a short period of time we put together a plate that looked so delicious.  The next time you have a few friends over for dinner, they will be very impressed if you bring this to the table.  If you wanted to add a vegetable, roasted asparagus would complement this dish very well and add a bit of green.

Cherry Sauce, finished.

My review of this recipe is, of course, is that it is wonderfully delicious.  The mild salmon is complemented well by the sweet and tart cherry sauce.  If you serve it with polenta, the soft and creamy texture works well with the flaky salmon.  Salmon is one of the healthiest foods on the planet - high in omega-3 fatty acids, vitamin D and selenium - so you can feel good about eating this meal, too.  This week, give your family a high quality, ultra delicious and healthy meal - at home!

Cherry Salmon over Polenta

Salmon with Cherry Sauce
from Emeril

Ingredients
4 Salmon fillets, skin-on, 6 ounces each, scaled and scored
1 teaspoon salt
1 teaspoon freshly ground black pepper
2 teaspoons sugar
1 tablespoon olive oil
2 tablespoons minced shallots
Pinch crushed red peppers (we use about a teaspoon)
1/2 cup dry white wine
1/4 cup red wine vinegar
1/4 cup cherry preserve (I like Bonne Maman best)
2 tablespoons unsalted butter
1/2 cup chicken stock

Instructions
1. Preheat a large sauté pan or cast iron skillet with the olive oil over medium to medium high heat. Season one side of the fillets with half of the salt, pepper and sugar; flip them over and season the other side with the remaining seasonings.
2. Place the salmon in the pan, skin side down, and cook until it is nicely browned and caramelized, 3 minutes. Flip over and cook on the other side for 1 to 1 1/2 minutes. Remove from the pan and store in a low temperature oven (175-200 degrees F is fine) to keep warm, skin side up.
3. Using the same pan, add the shallots and crushed red pepper and saute, stirring, until just tender, 15 to 20 seconds.
4. Add the wine, red wine vinegar and cook until it is almost completely evaporated, 30 seconds.
5. Add the chicken stock and cherry preserve, stir to incorporate and let it simmer to slightly reduce it, 1 minute.
6. Stir in the butter and remove the pan from the heat.
7. Plate the salmon fillets and spoon the cherry sauce on top.  Serve over polenta or roasted vegetables.

Thursday, March 8, 2012

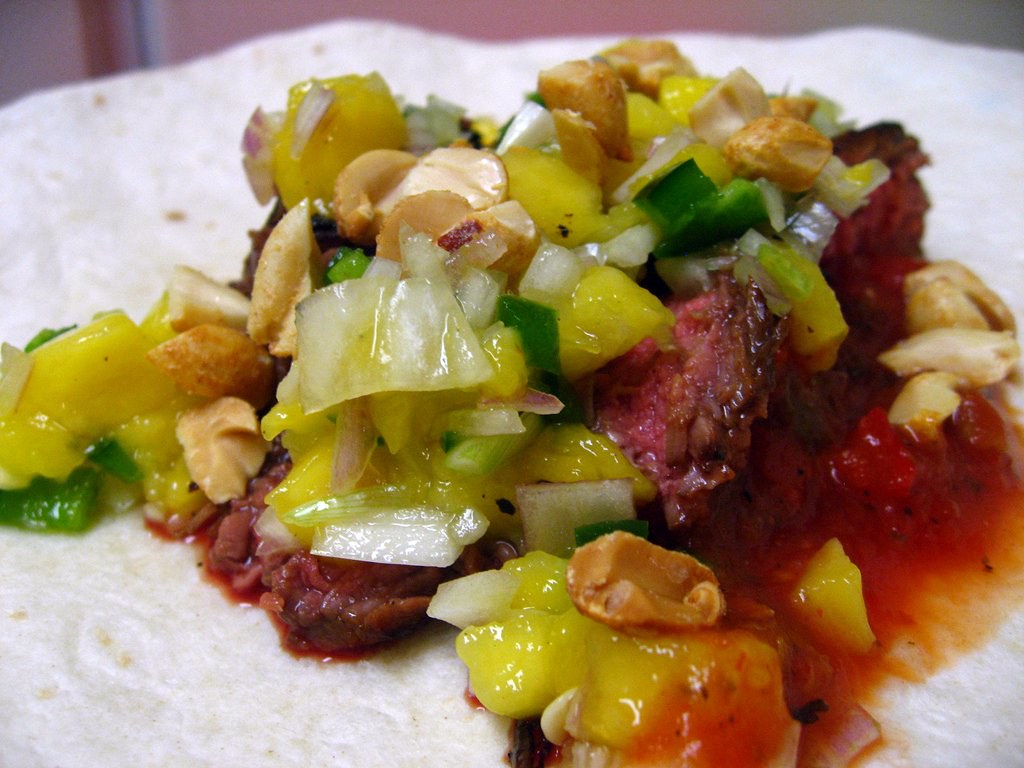
Thai Beef Tacos

Thai Beef Tacos

You might have noticed, we aren't big red meat eaters.  I don't have anything in particular against beef, and I'm pretty sure the Monkey Scientist grew up eating loads of steaks (he is from Chicago), but it has some drawbacks.  It really isn't that good for you.  And more importantly, it's expensive.  So when we do have beef, it's a special treat and we usually buy pretty cheap cuts.

Thai Beef Tacos

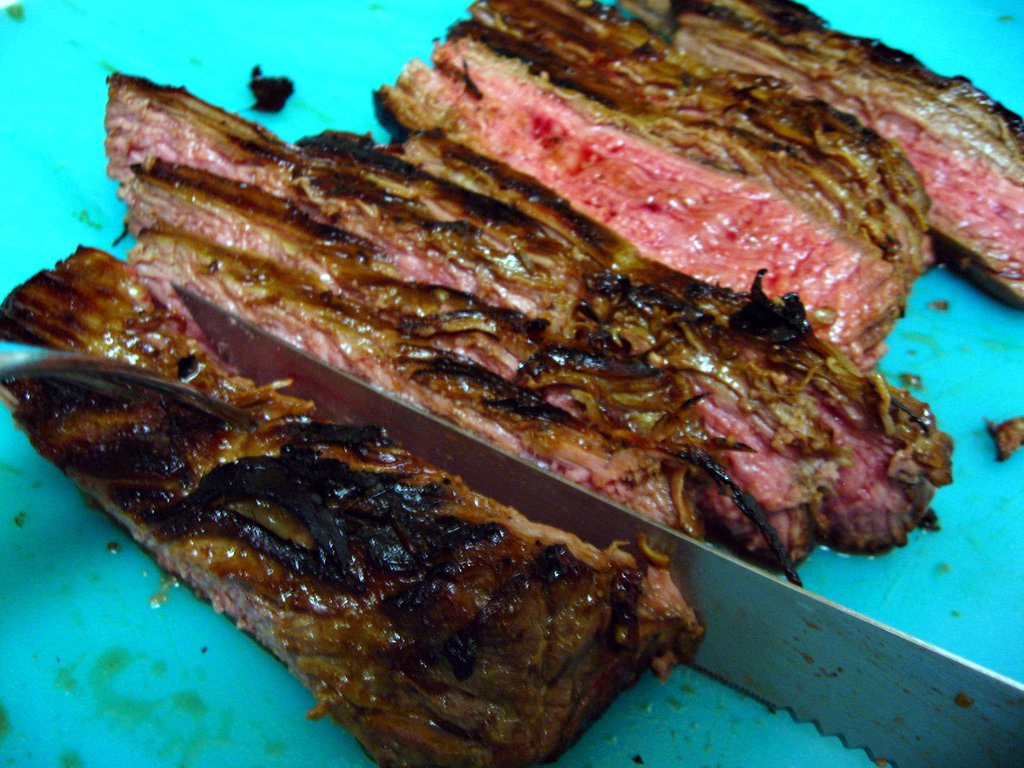
The key to enjoying these cheaper cuts is not to eat them in a steak-and-potatoes kind of way.  While the Monkey Scientist does broil a mean teriyaki flank steak, tacos might just be the best way to eat flank steak. Tacos are such a simple recipe to throw together on a weeknight, and I loved the Asian twist in this recipe.  Definitely made for a unique dinner!

Thai Beef Tacos

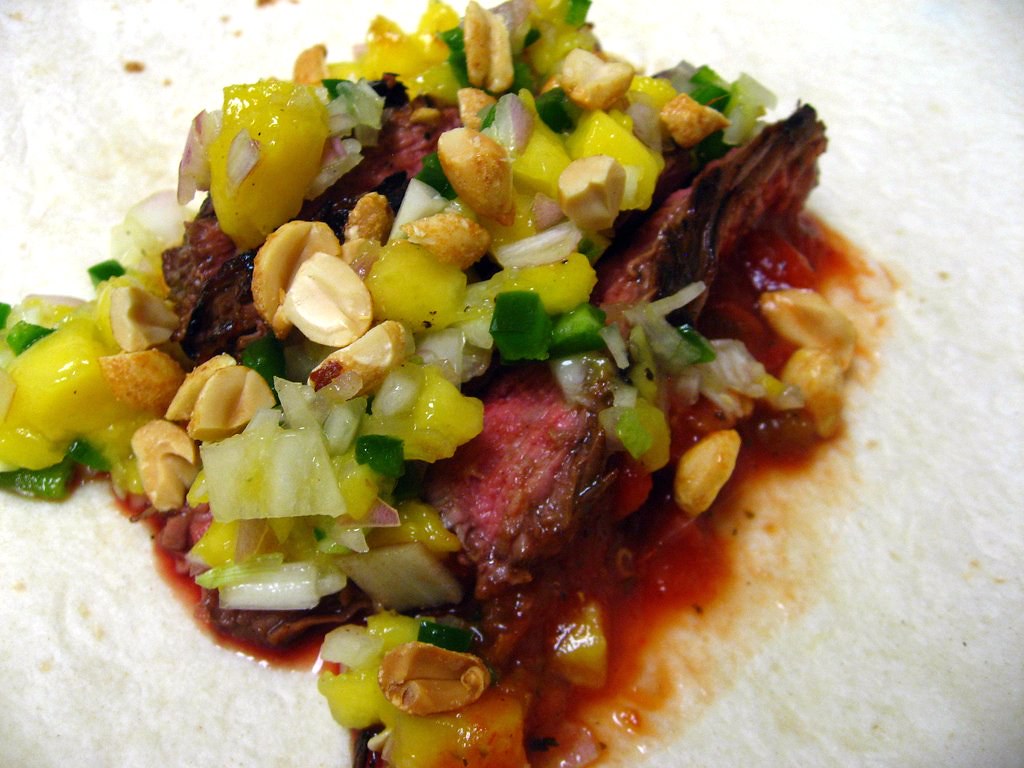
The Monkey Scientist did a lot of work to help me put this recipe together.  He made the mango salsa!  Since the mango salsa on our pork tenderloin a few weeks ago was too spicy, we left the jalapeno seeds out  this time around.  I liked it so much better!  The shallots were much milder than onions and the mango brought out the sweetness of the coconut milk in the marinade.  It was a great addition to the tacos.

Thai Beef Tacos

These were some of the best tacos I've ever made.  The Monkey Scientist said this was one of his favorite dinners - I think he was happy to have some red meat, plus he's a big Chipotle lover.  I think marinading for longer than 2 hours (I should learn to prep ahead of time a little better) would have been a good idea, but it was still great.  I particularly liked the peanuts on top.  They brought out the Asian flavors from the marinade while adding a nice crunch.  This is an easy weeknight meal that you will really enjoy!

Thai Beef Tacos

Thai Beef Tacos
every so slighty adapted from How Sweet It Is

Ingredients
1-1 1/2 pounds flank steak
1 teaspoon salt
1 teaspoon pepper
3/4 cup light (canned) coconut milk
4 garlic cloves, minced or pressed
2 teaspoons freshly grated ginger
2 tablespoons brown sugar
1/3 cup sweet chili sauce
1/2 mango, chopped
1 shallot, diced
1 jalapeno, diced (seeds removed)
a sprinkle each of sugar, salt & pepper
1 teaspoon vegetable oil
8-10 flour tortillas (I used burrito sized, but you could go smaller)
1/2 cup sweet chili sauce or hot salsa
1/4 cup peanuts, chopped

Instructions
1. Sprinkle flank steak with salt and pepper. Combine coconut milk, chili sauce, garlic, ginger, and sugar in a bowl and whisk.
2. Add flank steak to a ziplock bag or a shallow baking dish and pour marinade overtop. Refrigerate and let sit for 6-24 hours. (I only waited about 2 hours because I don't plan ahead well)
3. When ready to prepare, remove steak from fridge and let sit for 20-30 minutes. (Yep, I skipped this)
4. In a bowl, combine mango, shallot, jalapeno, salt, sugar and pepper, mix thoroughly, then set aside.
5. Heat a large oven-safe skillet (like cast iron) over high heat. At the same time, preheat the broiler in your oven. (You can also grill the steak if you wish.)
6. Using a pastry brush, brush oil onto the skillet so there is only a very thin layer. (CAREFUL! The oil may jump when you start to brush it!)
7. Remove steak from marinade with kitchen tongs, placing in the skillet. Sear on both sides for 1-2 minutes per side.
8. Remove skillet and place is the oven directly under the broiler. Cook for 3 minutes, then flip and cook for 3 minutes more. (Less time if you like it rarer, more if you like it more well done.)
9. Remove skillet from over, and place steak on a cutting board to rest for 15-20 minutes.
10. At this time, assemble your tortillas (warm them if desired), salsa, extra chili sauce for drizzling and peanuts. After the steak has rested, slice it into thin strips. Assemble tacos as desired and eat!

Wednesday, January 11, 2012

Tom Yom Shrimp and Noodle Soup

Tom Yom Soup

Something that's always disappointed me about DC has been the lack of ethnic culture in the city.  Sure, we have some really great restaurants, but where am I supposed to get my chopped liver? Where can I get a hot stone bi bim bop? And, maybe I'm just from Boston and have always been spoiled, but I've yet to have a really good (and not overpriced) Italian meal - with homemade pasta, fresh seafood, and way over-sized portions.

Tom Yom Soup

After being here for a while, I found that there is one ethnic fix that I can't get in the District - but exists just a short drive away (when someone's willing to take me).  Fantastic, authentic (I don't mean orange flavored chicken) Chinese food.  "Chinatown" in DC is a hoax - it mostly has a bunch of chain stores and restaurants (like Legal Seafood and Clyde's) with their names in Chinese.  The real Chinatown exists just north of the District in southern Maryland.

Tom Yom Soup

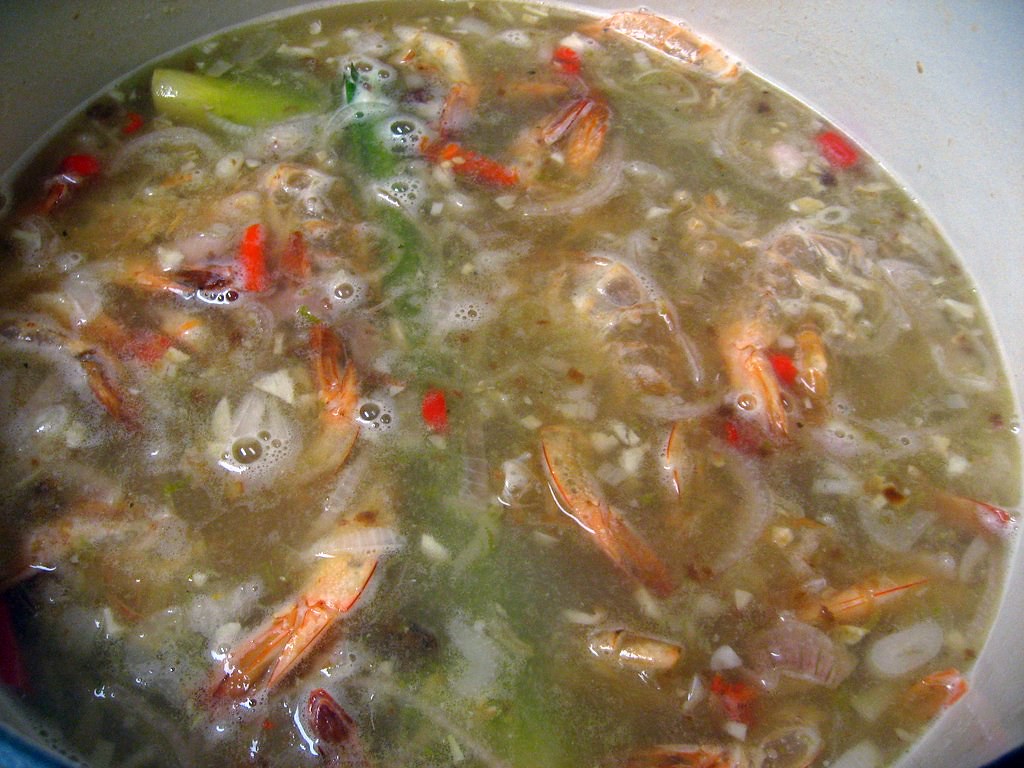
This weekend, the Monkey Scientist and I took a trip up to Wheaton, MD.  We had some really good dim sum at Hollywood East and then made a trip to the H Mart there.  I have to admit, not the best H Mart I've ever been to, but I found nearly everything I needed for several dishes - including this Tom Yom soup.  Tom Yom is one of my favorite soups - Paragon Thai and Spices in Cleveland Park make delicious versions.  I've been wanting to try making my own for a few months now, so I got all of the ingredients I could at H Mart to make it this week!

Tom Yom Soup

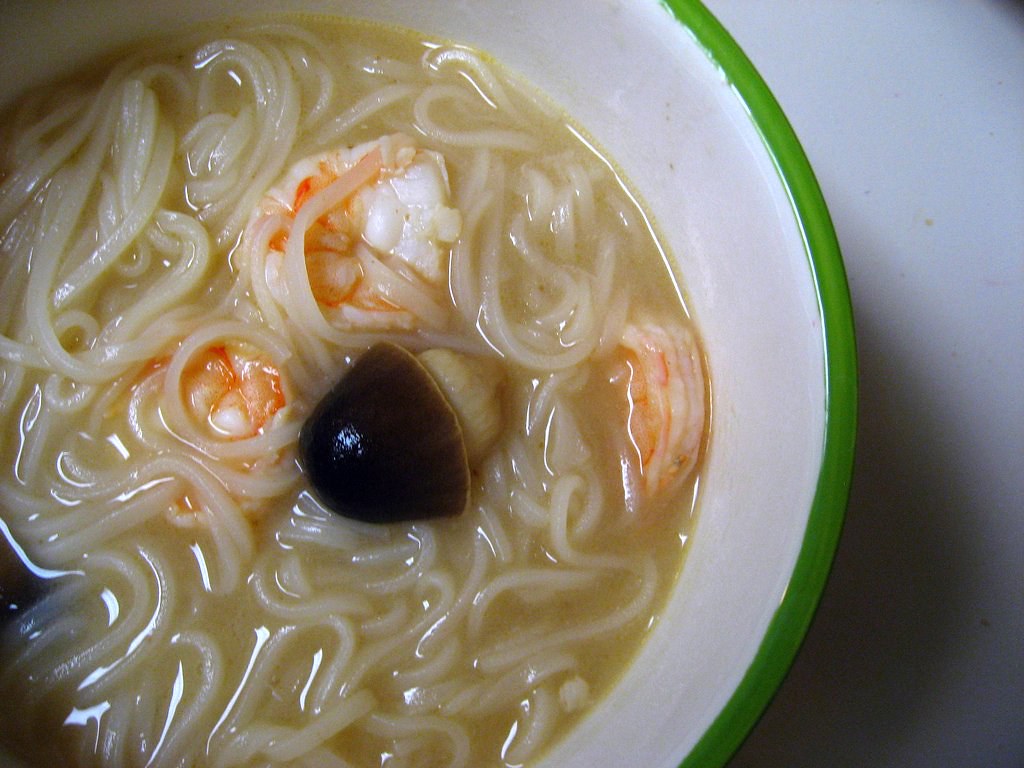
My Tom Yom Soup broth wasn't as dark or red as the versions I've eaten in restaurants.  I think that this color may come from using dried chilis and frying them with the shallots at the beginning - I'd like to try making this again to see if that works.  The flavor however, was really close - I was actually surprised!  And man oh man is this broth good - sweet, sour, a little bit spicy, and the lemongrass is so unique and brings great depth of flavor.

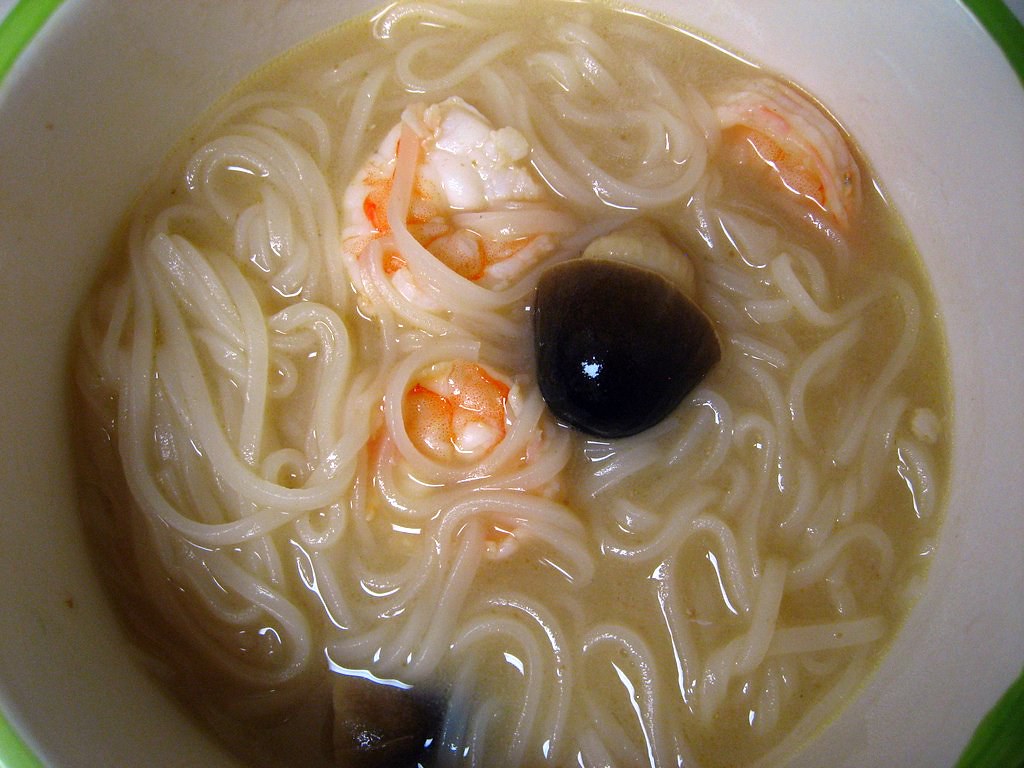
I decided to add rice noodles to give this soup a little more substance so that we could have it as dinner - Paragon Thai has a version similar to this that they serve as a meal - but if you wanted to serve this as an appetizer you could leave them out.  I also changed the recipe below to use about half as many noodles as I actually used, since they soaked up almost all of the broth, and the broth really is the best part.

You could also add more vegetables at the end if you wanted, but I like the simplicity of this soup with such a complex broth.  Other things that may make sense to add would be chicken and green onions (my store has been out of green onions for a while).  My final review?  This a really great soup that will impress your family and friends.  Take a trip to your local Asian market and make this - you won't regret it!

Tom Yom Soup

Tom Yom Shrimp and Noodle Soup
Adapted from Wandering Chopsticks and Tyler Florence

Ingredients
1 lb shrimp with shells and heads
2 tbsp olive oil
1 large shallot, sliced
2 cloves garlic, minced
2 inch knob galangal or ginger, minced
2 quarts fish stock (water or chicken stock would work, too)
2 tsp tamarind paste (optional, but add umami)
2 stalks lemongrass, bruised
1 tsp salt
2 tsp sugar (white or brown)
1 tbsp fish sauce
3 small Vietnamese red chili peppers, diced (more if you like it hot)
2 limes, zested and juiced
4 oz small-width rice stick noodles
1 15-oz can straw mushrooms, drained

Instructions
1. Peel and de-vein shrimp. Set aside both shrimp and the shells in separate bowls.
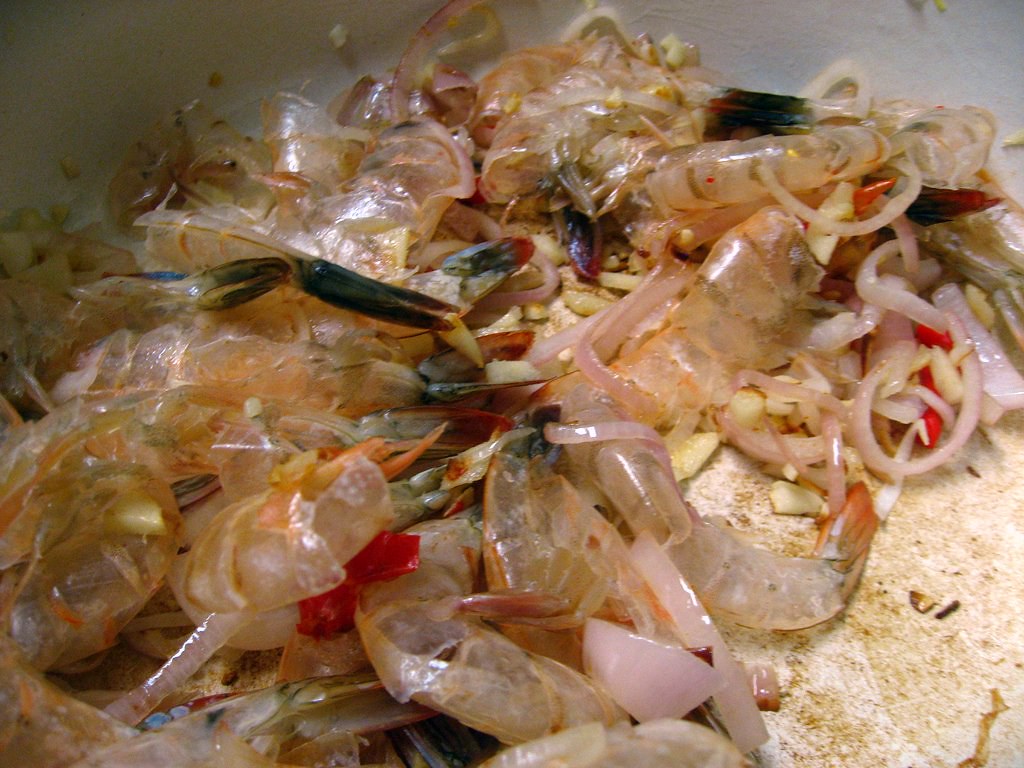
2. In a heavy pot over medium heat, heat oil. Once hot, add shallots, garlic, and galangal or ginger. Sauté until edges begin turning brown.
3. Add shrimp heads and sauté until pink. Add stock.
4. Mix in tamarind paste, lemongrass, salt, sugar, fish sauce, chili peppers, lime juice and zest. Simmer 1/2 hour.
5. Meanwhile, soak noodles in warm water for 5-10 minutes. Strain.
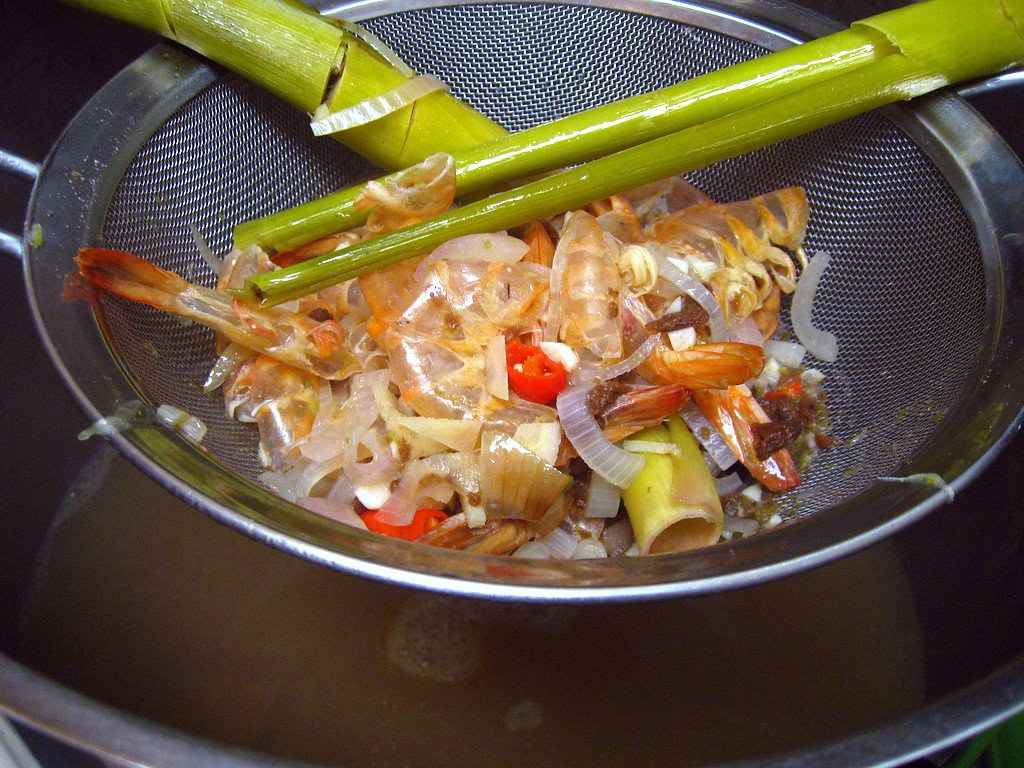
6. Strain out all of the ingredients from the soup to get a clean broth. Return to a simmer/gentle boil then add shrimp, noodles, and mushrooms. Cook for 5-8 minutes until noodles are soft and shrimp is cooked through. Serve immediately.

Wednesday, August 3, 2011

Lentil Pot Pie

Lentil Pot Pie

I know, yet again, it's been a while.  I know you've felt neglected, and I'm sorry. I have some excuses.

For one, I had some terrible stomach thing going on where I'd be starving, I'd eat 2 bites and be full.  It was not fun.  Then, I had to enjoy my last few times going out to eat in DC with one of my favorite coworkers, who's left me to move to New Haven and work from home. We also had to go out to dinner to say goodbye to the Monkey Scientist's roommates, some of whom have left us for med school.  It was a big Chinese-food-in-Rockville week. And after all that, the Monkey Scientist has been moving into a new apartment and I've been trying to help him.  There was lots of packing and box-carrying.  I really hadn't cooked anything since my roast chicken.
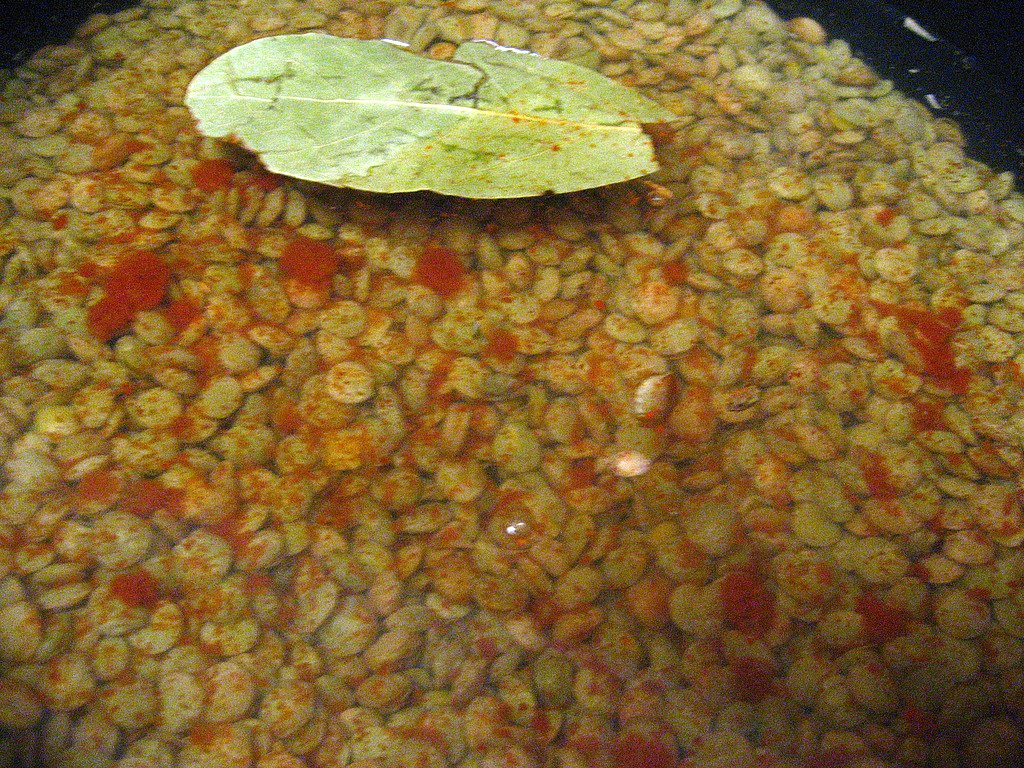
Lentils boil in cayenne with a bay leaf

That's not entirely true, I did make one meal...but it wasn't exactly blog-worthy and I didn't exactly have time/energy to take photos.  The night we moved the MS into the new apt, at 10 pm when we were exhausted and starving, I cooked with the only food he moved from the old house.  Which was frozen fish, Ritz crackers, and spices.  I defrosted the fish, crushed and seasoned the crackers with Caribbean jerk seasoning, coated the fish with the crumbs, added some olive oil and baked.  See, not blog-worthy. (But yes, I was impressed with myself for throwing that one together!)
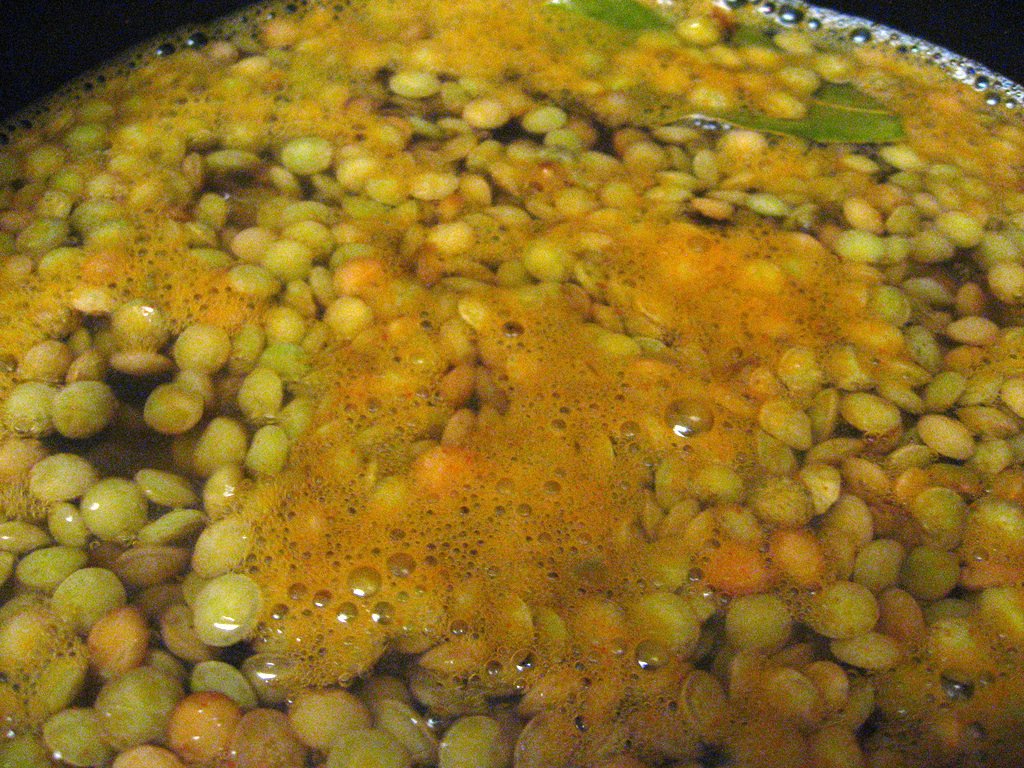
Lentils boiling

To be honest, I wasn't even really going to cook dinner again last night, but I had this great idea.  Really, my idea was to make up my own recipe with lentils and puff pastry, which I already had at home.  I was going to cook the lentils with onions and then add tomato paste and somehow wrap them up in puff pastry... well I wasn't quite sure.  So I googled "lentils puff pastry" and this is what came up.
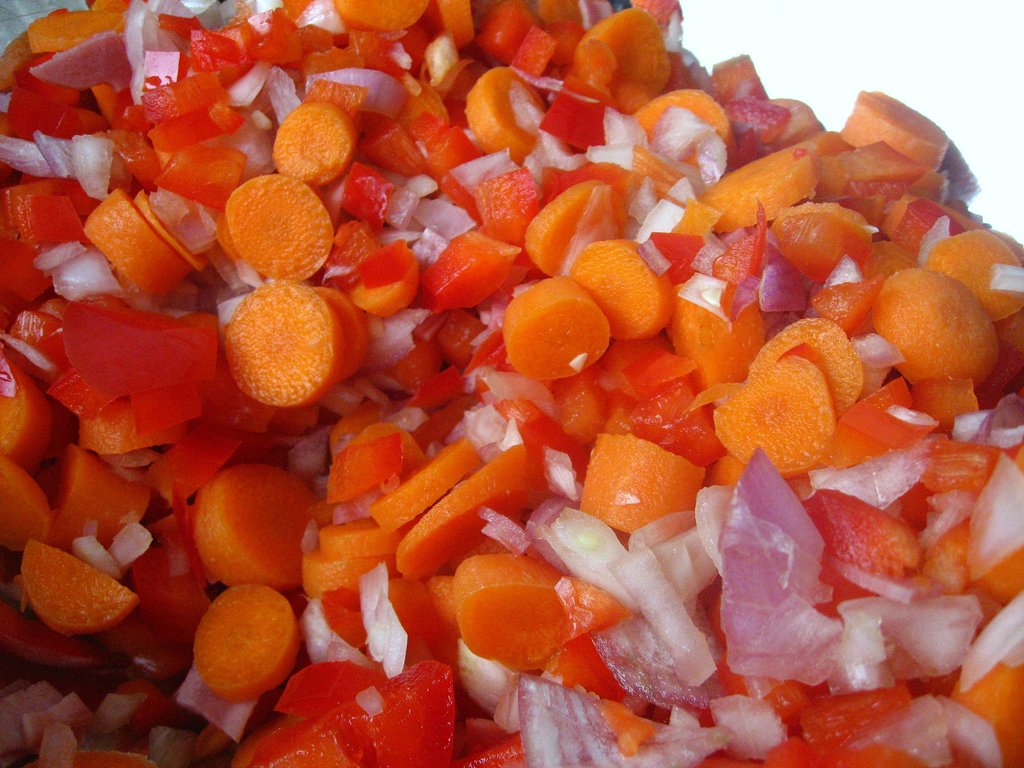
Veg and Bacon, prepped

When I made it, I realized it looked a lot like pot-pie, so that's why I named it that.  Plus, my Lentil Sheperd's Pie was such a hit, I figured this could be like a follow up post.  If you liked that you'll like this - it also is a great way to use lentils, is SUPER inexpensive to make, has a warm, comfort food feel, and tastes great!   And of course, I kicked the spice factor way up in both recipes.  If you're not a spice person, you can leave out all the cayenne and red pepper flakes I added here (but that'd be bo-ring!).  The one comfort food joy it does lack that goo (...err gravy?) inside a real chicken pot pie.  I need to work on that.
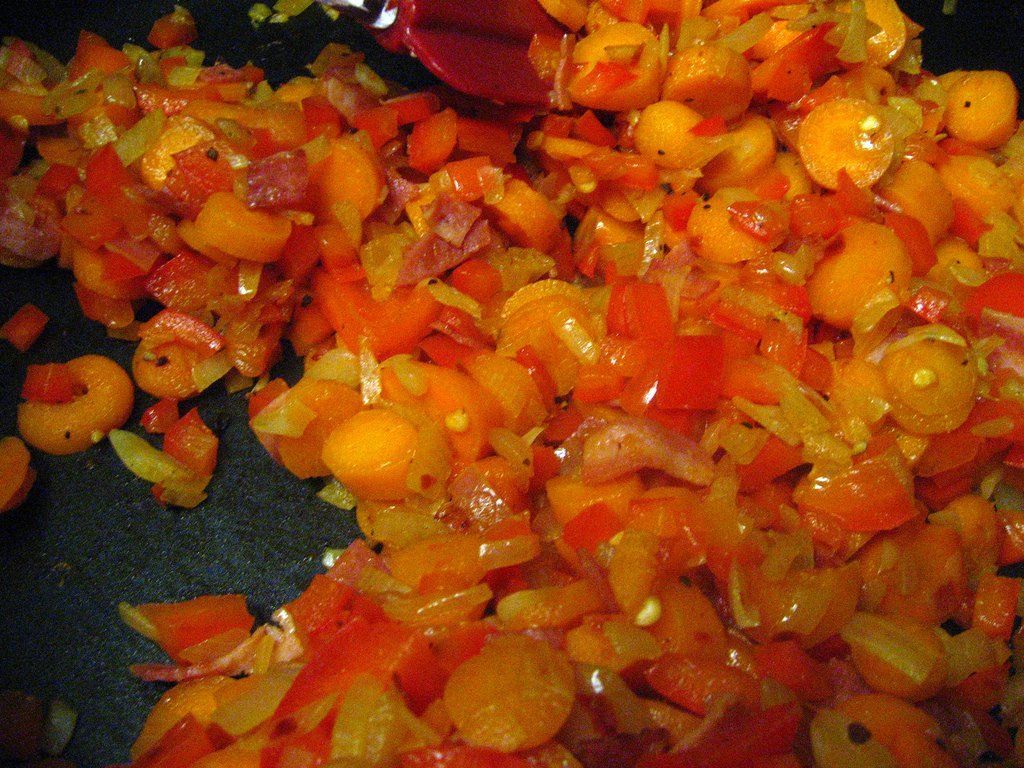
Veg and Bacon, browned and cooked down

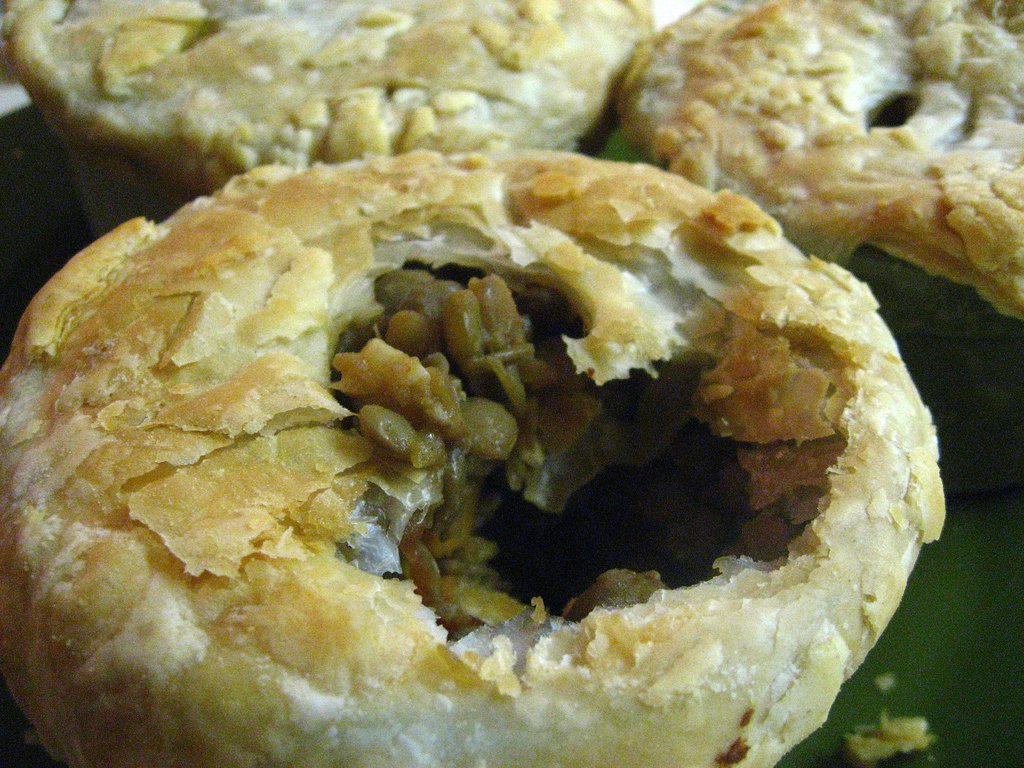
So some caveats.... The puff pastry was left over and the box was already open, so it was a little dried out.  It tasted fine, but that's why it looks crackled in the pictures.  Also, the original recipe called for French green lentils.  Being the good American I am, I used American brown lentils.  I think they cook a lot quicker than the French green ones, so I adjusted the recipe that you see below from the original - mainly that I didn't soak them.  The lentil bag said I didn't have to! Just be aware depending on the kind of lentils you use.  Finally, I added bacon because...well like I said I'm a good American.  If you're a vegetarian, you can totally take it out. But then it won't taste at all like bacon...which may be a crime.
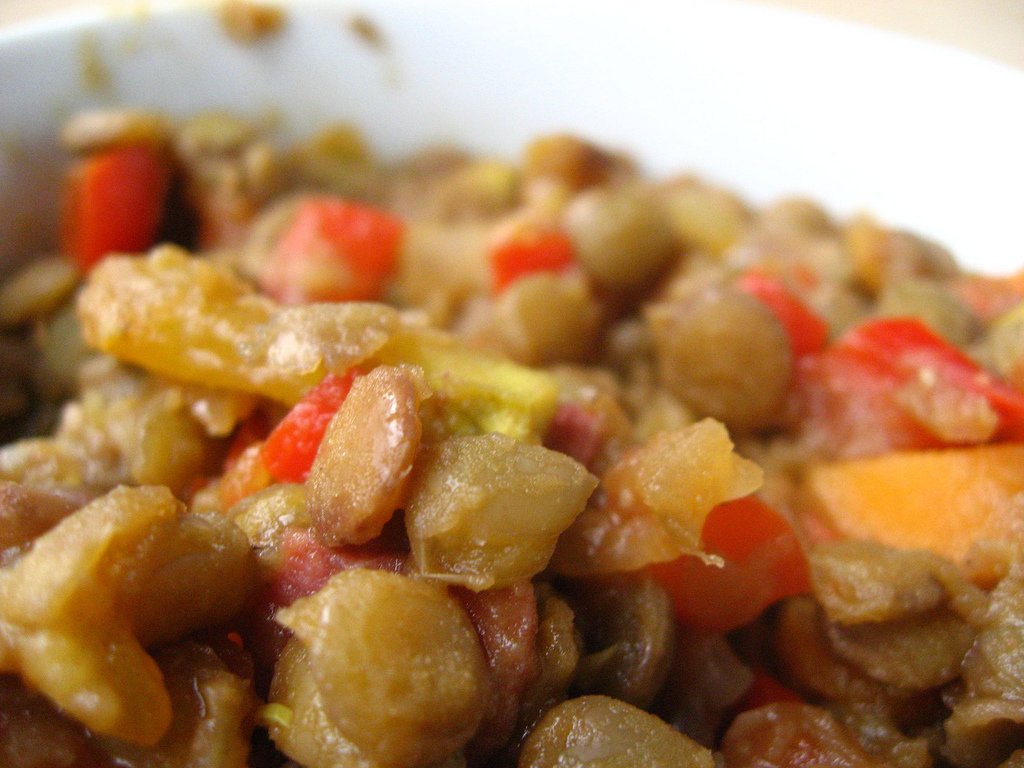
Lentil Pot Pie filling

The MS was working pretty late, so I prepped the filling earlier in the evening and then brought it over to the new apartment to add the dough topping and bake them.  This worked out perfectly (can you see his new kitchen in the background of some of the photos?).  The filling filled all the ramekins I have (2 big, 4 little) with some leftover.  The puff pastry only covered the ones I filled, but I probably could have rolled it out thinner to cover one extra.  The MS ate 2 big ramekins, and I ate 1 little for dinner, in case you're wondering how many portions you'll get.
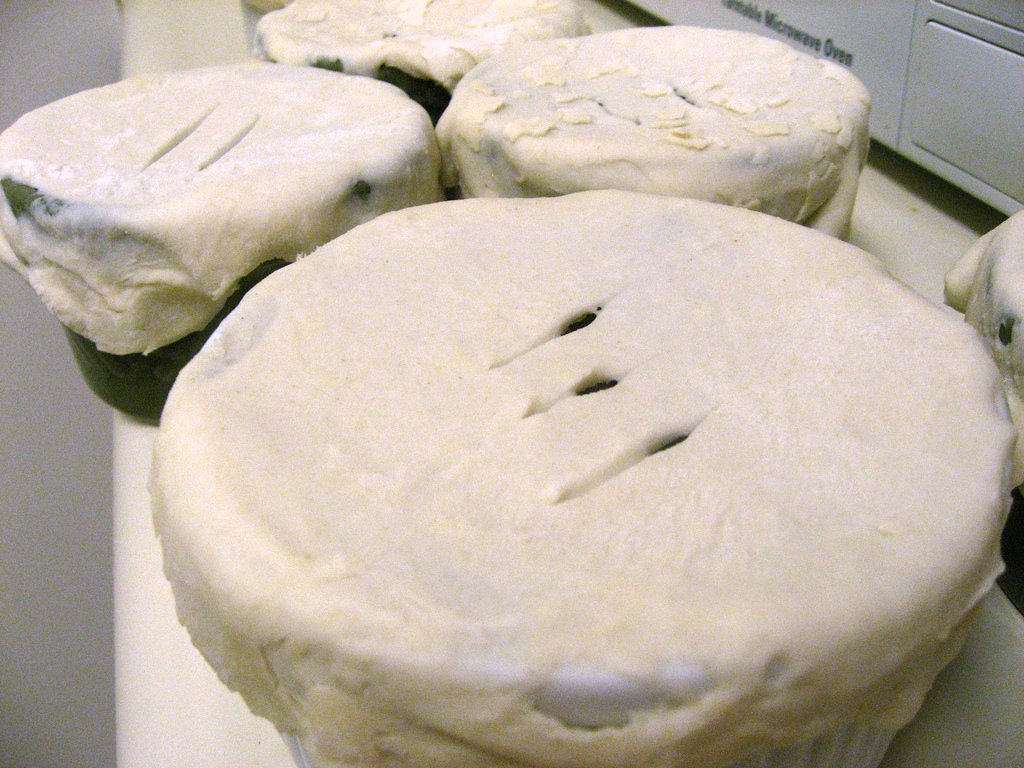
Lentil Pot Pies - ready for the oven!

This one was a pretty good recipe.  When they were fresh out of the oven, I was thinking some cheese probably could have helped this.  If you make your own puff pastry, maybe add some shredded cheddar into the dough.  As I mentioned, I would have liked a little more liquid as well.  There has to be some way to imitate the gravy in pot pie for these.  I think the extra spice was totally necessary to give it good flavor. I enjoyed this one - and the little pies are super cute! A big version would be a good thing to bring to Thanksgiving (and man that's coming up sooner than I'd like to believe!).
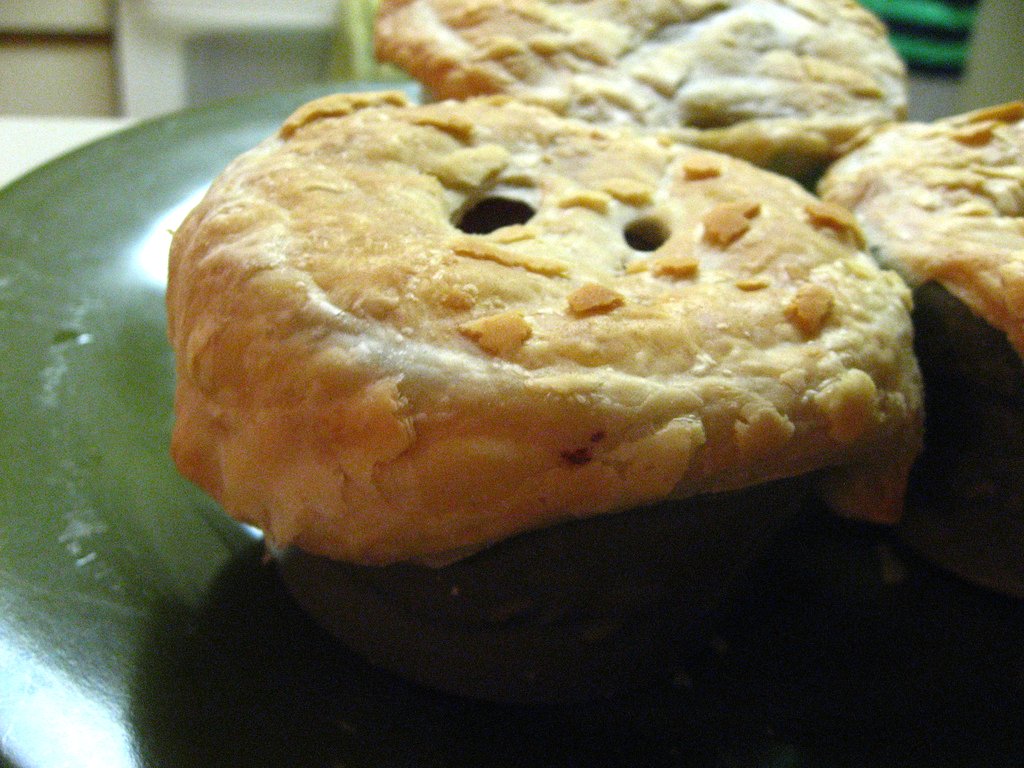
Lentil Pot Pie

Lentil Pot Pie
adapted from Whole Foods

Ingredients
1 1/2 cups lentils, sorted and rinsed
1 dried bay leaf
1 tsp cayenne pepper
1 tbsp extra virgin olive oil
2-3 shallots, finely chopped
10 baby carrots, chopped
1 large red bell pepper, diced
2 pieces turkey bacon (you can use pork bacon, but then you probably don't need the oil)
Salt, pepper, cayenne pepper, and red pepper flakes to taste
2 cloves garlic, finely chopped
1 medium tomato, seeded and chopped
1/2 cup dry red wine (I used Manischewitz)
1/2 package puff pastry, defrosted (you can make your own if you like!)

Instructions
1. Put lentils in a medium pot with 3 cups water, bay leaf, and 1 tsp cayenne pepper.  Bring to a boil, then reduce heat to low and simmer, uncovered, until lentils are tender but still hold a little texture, about 30 minutes.
2. Preheat oven to 375 degrees F.
3. Heat oil over medium heat in a larger pot. Add shallots, carrots, bell pepper, bacon, salt, pepper, cayenne, red pepper flakes and cook, stirring frequently, until browned, 7-8 minutes.
4. Add garlic and tomatoes, stir well, then add wine to deglaze.  Scrape up all the bacon goodness.  Bring to a boil and then reduce heat and simmer, covered, for an additional 5 minutes.
5. Add lentils and any remaining cooking liquid to pot with vegetables.  Simmer over medium low heat, uncovered, until sauce has thickened, 10-15 minutes.  Season with salt, pepper, cayenne, and red pepper flakes.
6. Pour lentils into individual ramekins (or one deep pie dish).  On a lightly floured surface, roll out puff pastry dough to 1/8" thickness. Cut into circles just slightly larger than the tops of the ramekins. Place dough over lentils and make a few slashes over the top to allow steam to escape.
7. Bake until golden brown and piping hot, 25-30 min (ramekins on the higher oven racks will be done faster).