Showing posts with label cheddar cheese. Show all posts

Wednesday, November 28, 2012

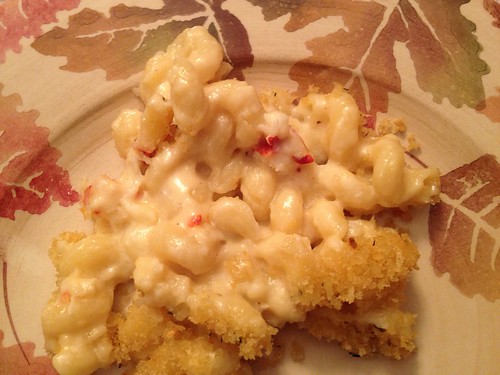
Lobster Mac and Cheese

Untitled

I'm pretty sure the thing I miss the most about living in New England is the seafood.  The ability to go to the grocery store, grab a lobster or some fish without spending a week's grocery budget (or fearing digestive disaster) is a luxury I took for granted growing up in Massachusetts.  Now, when I'm back home, I take any advantage to enjoy all the seafood there is to offer.
Untitled

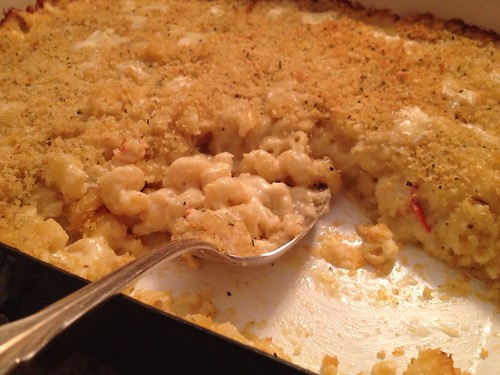
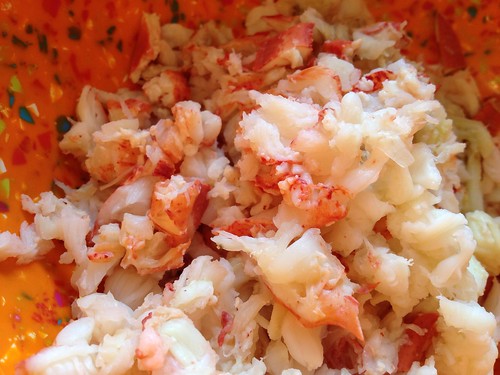
We had my little cousins over for dinner on my last night home and decided to make mac and cheese.  Of course, this meant I had to get some lobster in there.  It was the right thing to do.  It's the bacon of the ocean, after all.
Untitled

I was mostly inspired to eat lobster because of my camp friend.  She grew up a pescatarian, so she's never had meat or poultry at all.  For Thanksgiving, her family has lobster and oysters.  How amazing is that?  I am not a turkey person so I'd take lobster and oyster Thanksgiving over the traditional any day!
Untitled

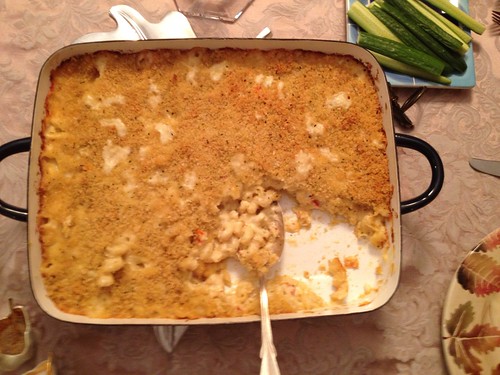
By the way, why does anyone still eat mac and cheese out of the box?  I mean it serves its purpose, and sometimes I crave it, but man it does not COMPARE to homemade mac and cheese. Sure, it's more expensive to make it from scratch, but it's easy to do and the taste is night and day.  This is the serious comfort food I need in the middle of winter.  Plus you can change it up in so many different ways - using different kinds of cheese or any mix in from lobster to bacon to pumpkin.  It's a versatile dish that guests of all ages love.
Untitled

Oh right, the recipe. I don't think I even need to tell you how good this was.  My little cousins scarfed it down despite being sometimes-picky eaters (we conveniently didn't tell them there was lobster in it) and I couldn't resist taking a second helping.  We doubled the recipe and used meat from 2 small-ish lobsters and I'm not sure how many ounces it actually was, but I'd use more next time.  I'm sure it was way less than 24 oz though so I think you'll be OK using the recipe as is below.  I might need to go home soon so I can make some more!
Untitled

Lobster Mac and Cheese
from Annie's Eats

Ingredients
8 oz. pasta (I used cavatappi)
4 tbsp. unsalted butter, divided
3 tbsp. all-purpose flour
2 cups milk
6 oz. fontina cheese, shredded or finely diced
4 oz. white cheddar cheese, shredded
½ tsp. kosher salt
¼ tsp. ground black pepper
Dash grated nutmeg
12 oz. cooked lobster meat, cut into ½-inch chunks (claws and tail)
½ cup Panko breadcrumbs
Minced fresh chives, for garnish

Instructions
1. Preheat the oven to 400˚ F.
2. Lightly grease a 2-quart baking dish with butter.
3. Bring a pot of water to boil. Cook the pasta for about 2 minutes less than the package directions say is "al dente". Drain well into a large colander.
4. While the pasta is in the colander, return the pot to the medium heat. Melt 3 tablespoons of the butter in the pot. Whisk in the flour and cook, stirring constantly, until light golden brown, about 1-2 minutes.
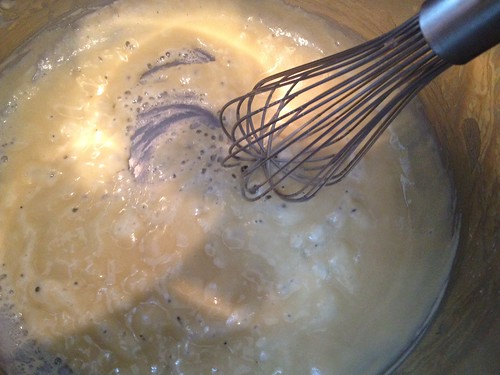
5. Slowly whisk in the milk in small additions until completely added and no lumps of flour remain. Stir in the salt, pepper, and nutmeg. Continue to heat, stirring frequently, until the sauce bubbles and thickens, about 5 minutes.
6. Once bubbling, cook for 2 more minutes, stirring constantly, scraping the bottom of the pan to prevent burning. Remove the pan from the heat.
7. Stir in the cheese one handful at at time and mix until completely melted.
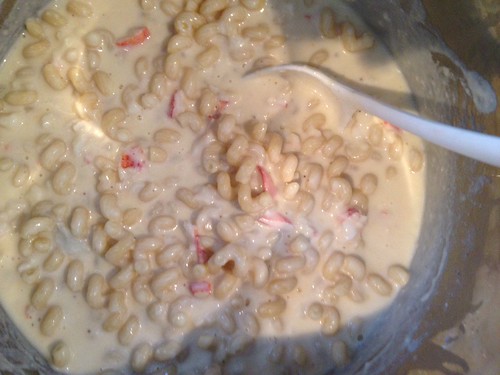
8. Return the pasta to the pot and mix to coat well with the cheese sauce. Gently fold in the lobster meat. Transfer to the prepared baking dish.
9. In a small bowl, melt the remaining 1 tablespoon of butter in the microwave. Stir in the Panko and toss until the crumbs are evenly coated. Sprinkle the crumb mixture over the pasta in the baking dish.
10. Bake uncovered for about 20-25 minutes or until the top is browned and the cheese is bubbling. Serve warm topped with fresh minced chives, if desired.

Friday, June 8, 2012

Grilled Stuffed Jalapeños

Jalapeño poppers!

I realized that somehow, even though I have been posting my weekly recipes from Thursday Night Grilling, I haven't actually posted any recipes that you make on the grill. So this week we're mixing it up!

I whipped up these stuffed jalapeños on Wednesday night, so on Thursday I just thew them in the grilling basket and cooked them up.  They were super easy to make and had great flavor!  They honestly are not that spicy if you're at all accustomed to spice, so don't be afraid!  The hottest part of a jalapeño is the seeds, and since they're all scraped out these are actually pretty mild and perfectly smoky.

I was so surprised to see this recipe originally derived from a Cooking Light recipe.  Don't be fooled my friends - you're eating cheese and bacon.  Don't get me wrong - two of my favorite ingredients - but don't go eating all 28 pepper halves on your own!  They're definitely worth saving some weekly calories for, though.  They're absolutely scrumptious!

Jalapeño poppers for TNG

Grilled Stuffed Jalapeños
slightly adapted from Tracey's Culinary Adventures

Ingredients
4-6 slices bacon
14 jalapeño peppers, halved lengthwise
1 (8-oz) package reduced fat cream cheese, at room temperature
1/4 cup shredded cheddar cheese (I used sharp)
1/4 cup minced scallions
1 teaspoon freshly squeezed lime juice
1/4 teaspoon kosher salt
1 garlic clove, minced

Instructions
1. Preheat grill to medium heat.
2. In a medium skillet set over medium-low heat, cook the bacon until browned and crisp. Transfer to a paper towel-lined plate. Allow to cool slightly, then crumble.
3. While the bacon cooks, scoop the seeds and ribs from the insides of the halved peppers using a small spoon. In a medium bowl, combine the crumbled bacon, cream cheese, cheddar cheese, scallions, lime juice, salt and garlic. Stir to combine.
4. Stuff each of the pepper halves with some of the cheese mixture. (At this point, you can cover and refrigerate the stuffed peppers, then cook them later.)
4. Spray a grill basket or pan with nonstick cooking spray then transfer the peppers to the prepared pan. Place the pan in the preheated grill and cook (with the grill cover closed) for about 8-15 minutes, or until the cheese mixture browns slightly, and the bottom of the peppers is charred. Transfer the peppers to a serving platter and serve immediately.

Sunday, April 15, 2012

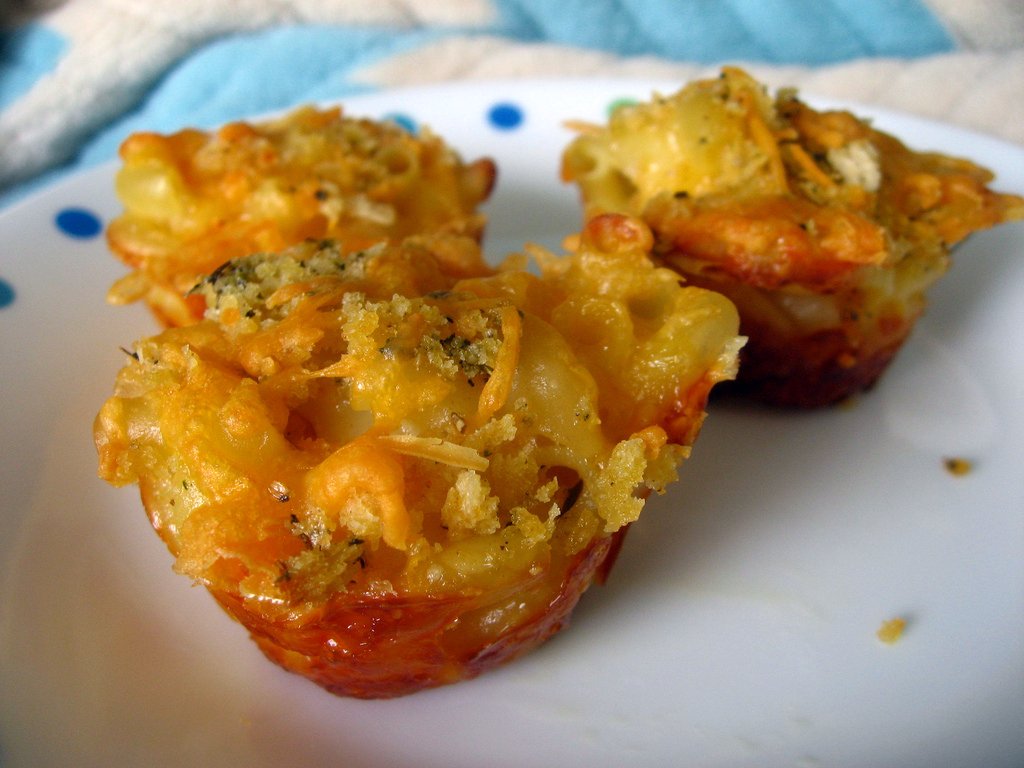
Macaroni and Cheese Cups


Mac and Cheese Cups

Even though I had my last day at my old job, I didn't want to miss a baby shower that we'd been planning for months.  Luckily, it fell during my week off between jobs, so I was able to make it!  I was especially excited to meet my former coworker's wife, Christina, because I love her blog, Proper Hunt.  She is absolutely gorgeous and has amazing taste!  She looked gorgeous at the shower in a floor length blue dress.  You couldn't even tell she was pregnant until she turned around!

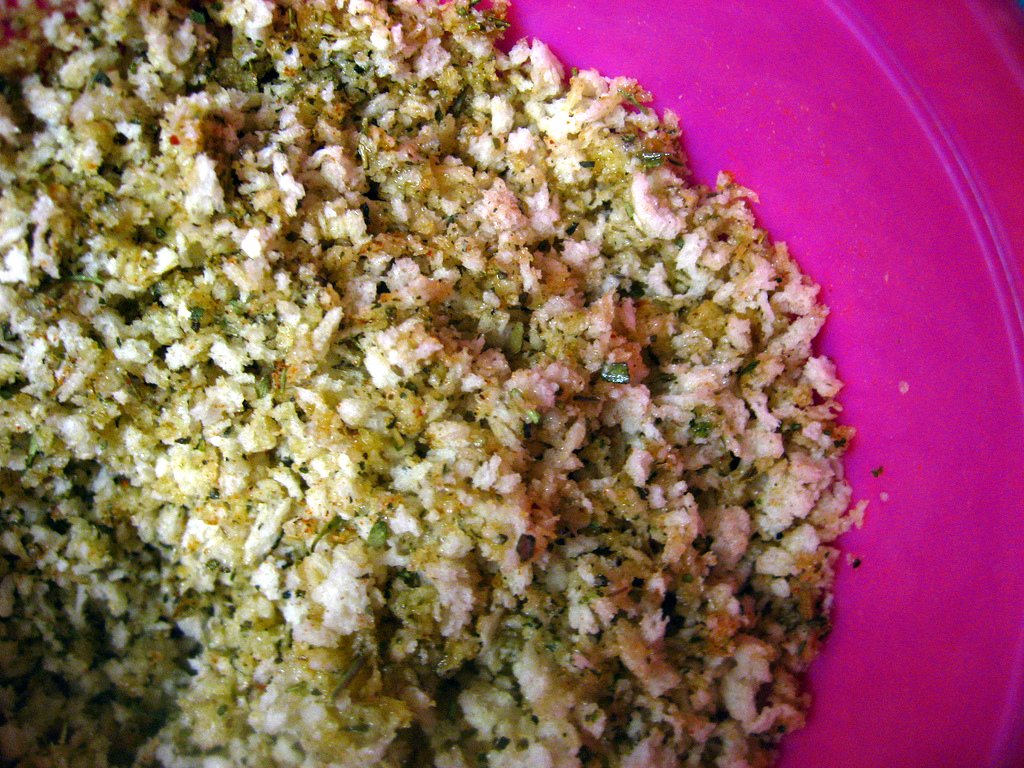
Breadcrumbs

The shower was a really nice time.  We played the "baby food game" which I'd never played before.  We guessed based on look alone what a whole bunch of 1 ingredient baby foods were.  The chicken and turkey with gravy are some of the grossest looking foods I've ever seen!  Then, we had a few extra credit multi-ingredient baby foods.  The fruit ones weren't so bad, but the chicken-based jars smelled so terrible.  There was no way I was tasting those!  Do people really give these to their kids? Or do they make their own foods for their babies?

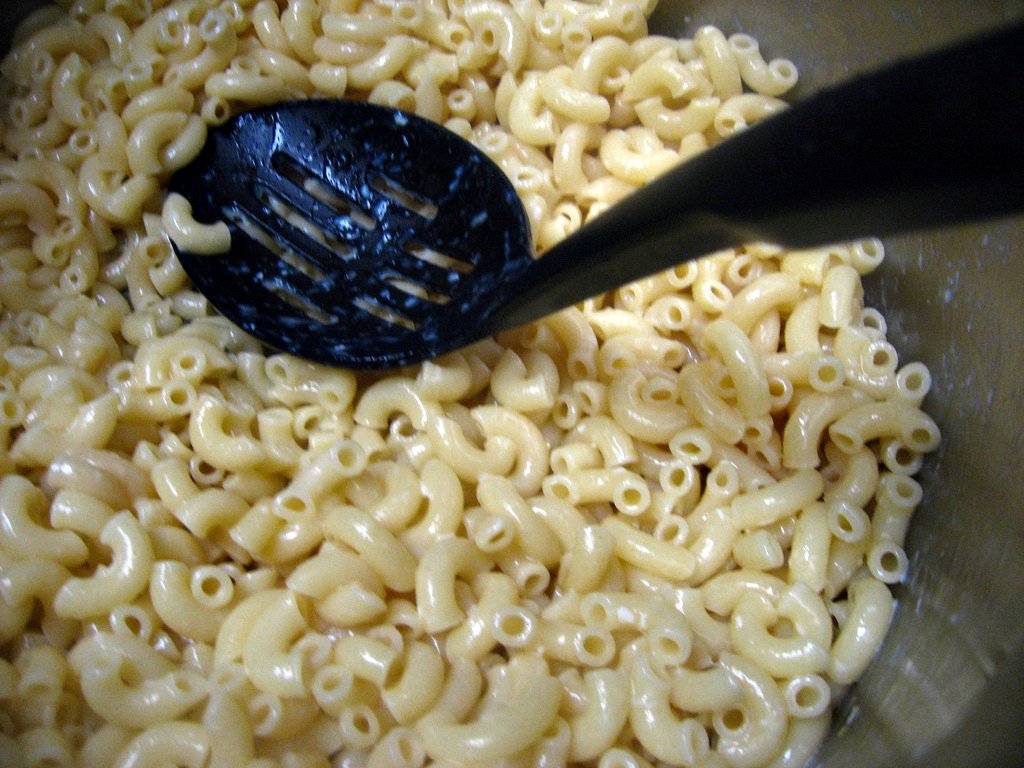
Macaroni Noodles

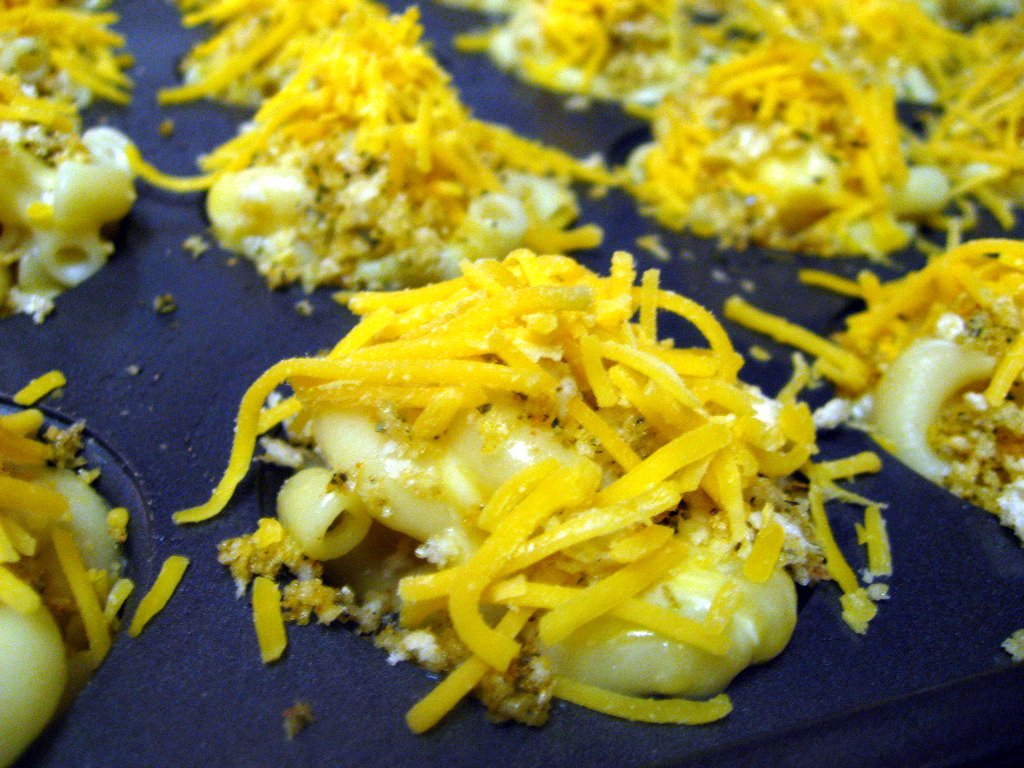
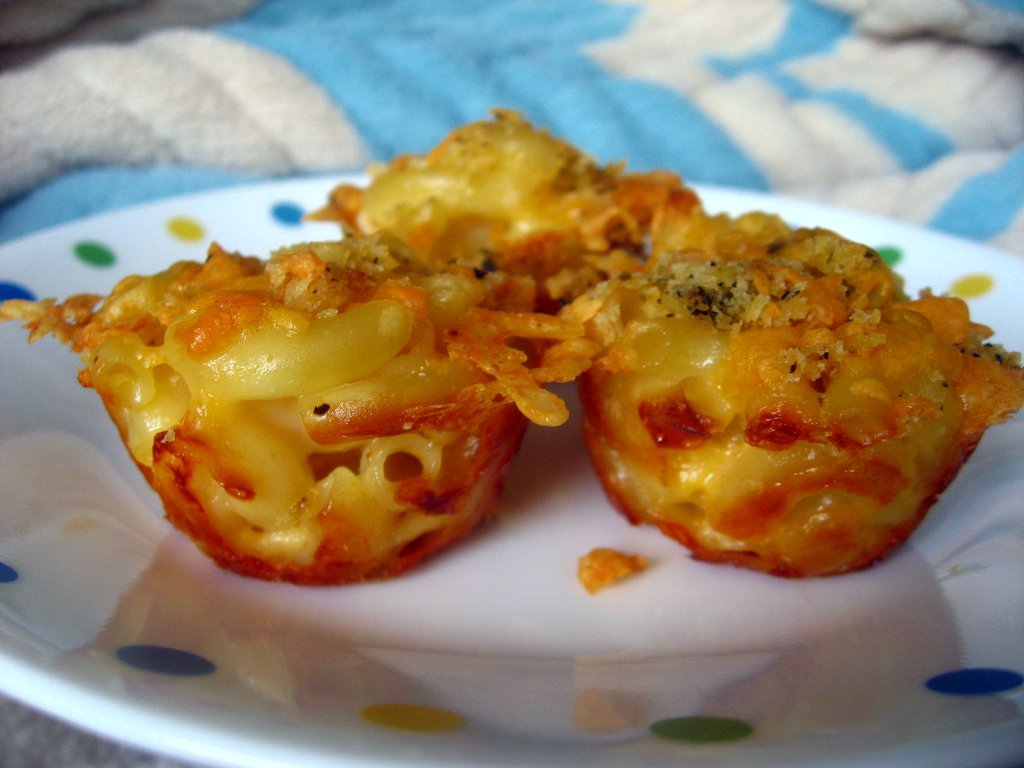
I wanted to make something for the adults that would be a little bit fun.  I love these Mac and Cheese cups because they are filling enough for a luncheon, but don't require a knife and fork.  The original recipe used full size muffin cups, but I wanted to make them a little bit smaller to fit with the "baby" theme.  I think they came out super adorable and everyone seemed to enjoy them!

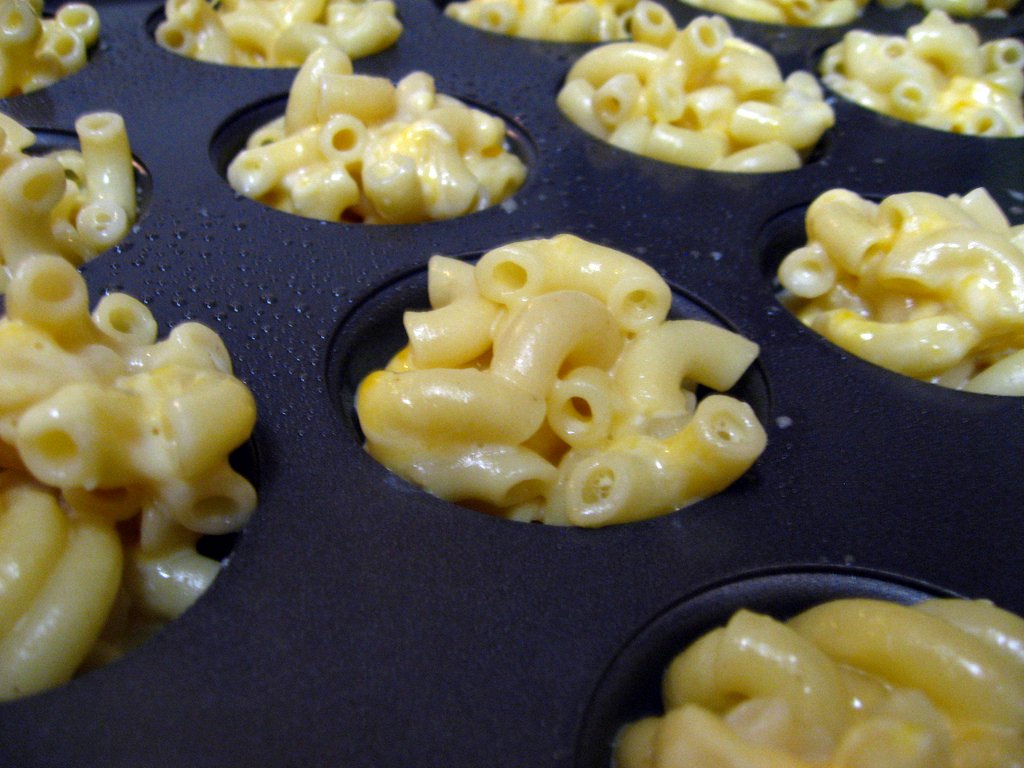
Mac and Cheese Cups

The original recipe called for seasoned breadcrumbs, but I really like to season my own.  It allows me to have more control over my ingredients and salt content.  I added a dash of cayenne because I know that the father-to-be enjoys a little bit of heat.  It was just enough to add flavor but shouldn't scare away anyone who doesn't like spice - they definitely weren't spicy!  I really like panko breadcrumbs so I decided to use them for this recipe, but you can use anything you have on hand or even make your own.

Mac and Cheese Cups

I think this recipe came out pretty tasty.  They are super easy to put together and you can eat them with your hands.  These would be a delicious and fun meal to make for your kids or to serve at a barbeque as a vegetarian option.  If you wanted to make them even more special, you could use different types of cheese like goat cheese or monterey jack.  You could even add in chopped bacon for some extra flavor.   But really, it's pretty wonderful as is!

Mac and Cheese Cups

Macaroni and Cheese Cups
adapted slightly from all recipes

Ingredients
2 c uncooked elbow macaroni
1 tbsp butter
1 egg, beaten
1 c milk
1 1/2 c shredded sharp Cheddar cheese (divided)
1 1/2 c shredded mozzarella cheese
1/2 c Panko bread crumbs
1 tbsp Italian seasoning
1/4 tsp cayenne pepper
2 tsp olive oil
1/2 tsp salt

Instructions
1. Preheat the oven to 350 degrees F.
2. Grease a mini muffin tin with nonstick cooking spray. In a small bowl, stir together the bread crumbs, italian seasoning, cayenne pepper, olive oil, and salt. Set aside.
3. Bring a large pot of lightly salted water to a boil. Add the macaroni and cook for about 8 minutes (it should still be a little bit firm). Drain and return to the pan, removing from heat.
4. Stir in the butter and egg until pasta is evenly coated.
5. Stir in milk, mozzarella cheese, and 1 c of the cheddar cheese into the pasta.
6. Spoon into the prepared mini muffin tin.
7. Sprinkle the reserved cheese and the bread crumb mixture over the tops.
8. Bake for 30 minutes in the preheated oven, or until the topping is nicely browned. Allow the muffins to cool for a few minutes before removing from the pan and serving.

Sunday, March 11, 2012

Roasted Cauliflower and White Cheddar Soup (Lightened)

Cauliflower and Cheddar Soup

The weather may have started warming up in DC, but it's still snowing back home in New Hampshire and that means I get to keep making soup.  Right?  There is something about roasted vegetables pureed into soups that just tickles my fancy (remember this guy?).  I love using my immersion blender and the flavor, so this soup absolutely needed to be tried.

Cauliflower and Cheddar SoupCauliflower and Cheddar Soup

Do you have an immersion blender? They aren't that expensive, but they're so much fun and convenient to use! I felt like a shark attacking cauliflower fishies while I made this soup.  Usually I can just submerge the top of the blender and stir around, but the size of the cauliflower meant I basically had to stab the cauliflower with the blender and rip it to shreds.  Doesn't that sound like a blast?  It really was!

Cauliflower and Cheddar SoupCauliflower and Cheddar Soup

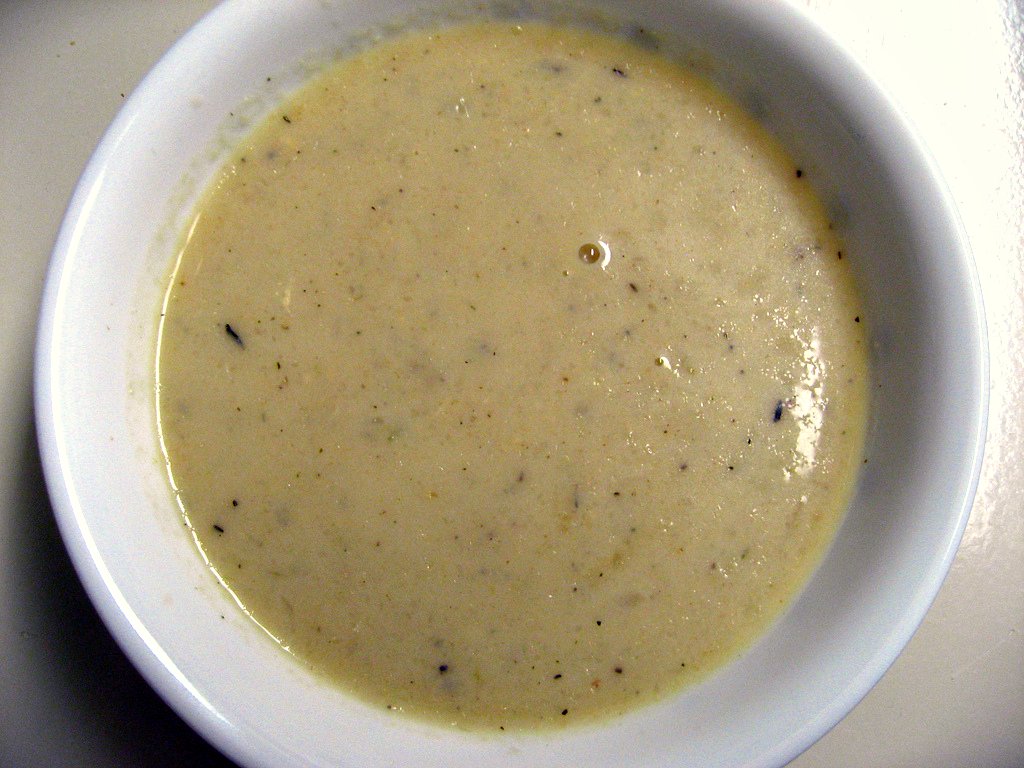
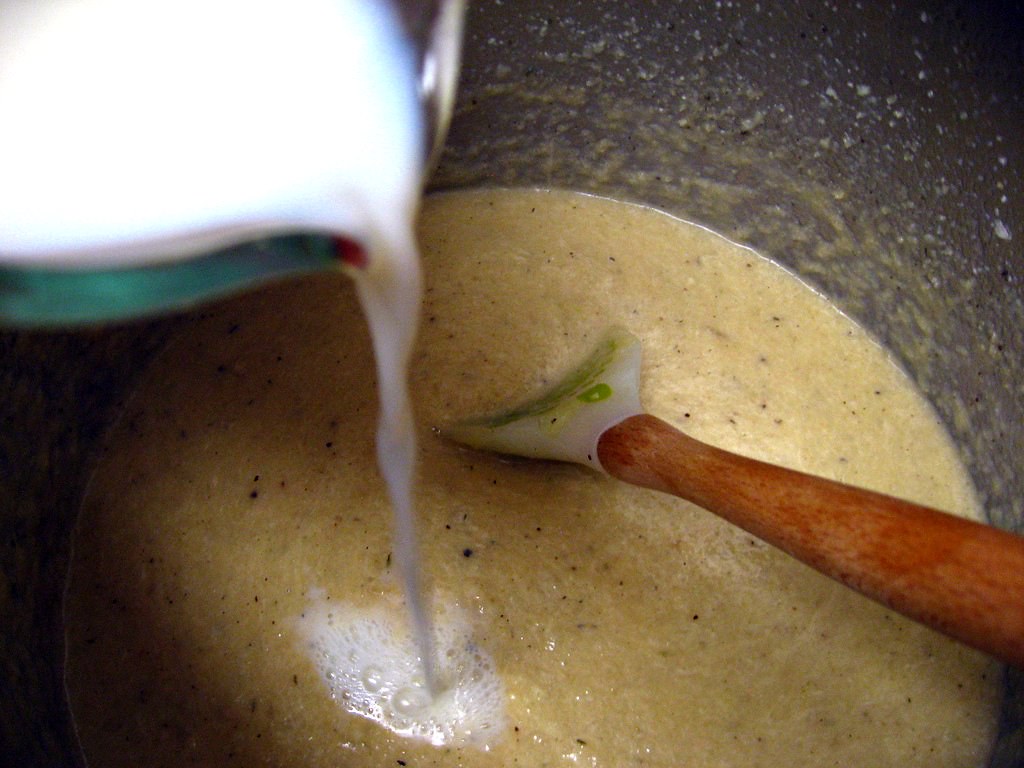
The original recipe called for aged white cheddar and either cream or milk.  I decided to lightened it up with Cabot's 75% reduced fat cheddar and skim milk.  Being a good New England girl, I have always loved Cabot cheese, so it only seemed appropriate to use it here. Despite the lower fat content, this soup was still quite rich and delicious.  The pureed cauliflower made it thick and I think the Monkey Scientist was shocked at how filling it was.  The magic part was that all the low-fat dairy didn't bother my slight lactose intolerance!

Cauliflower and Cheddar SoupCauliflower and Cheddar Soup

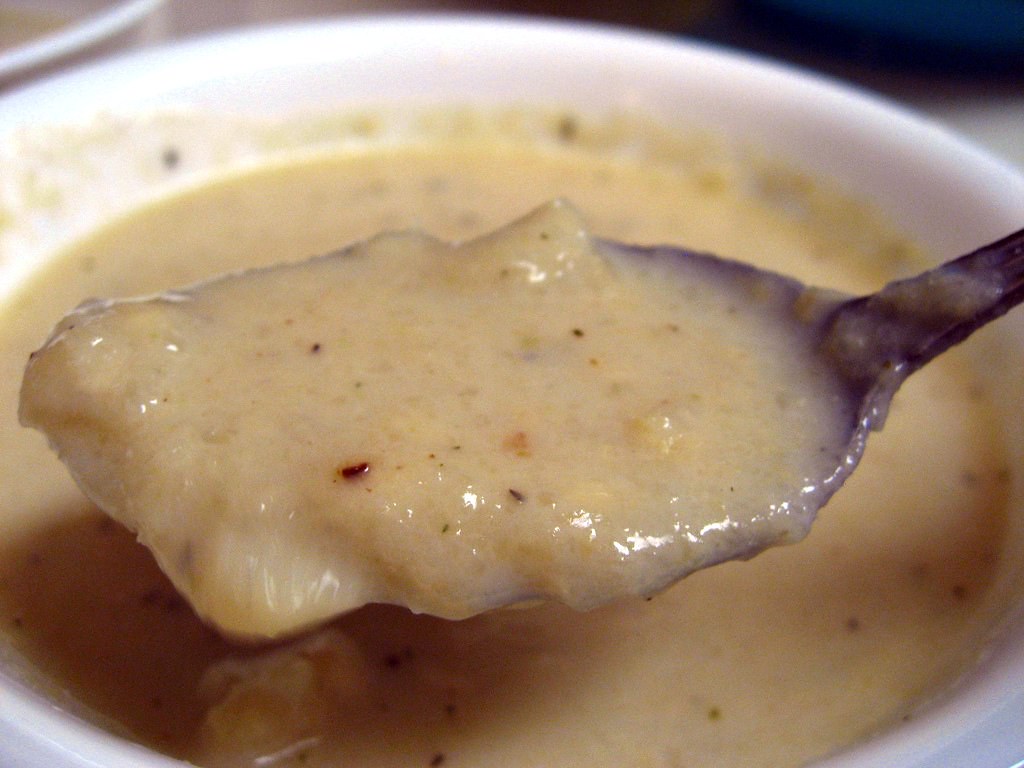
We totally loved this recipe.  The Monkey Scientist enjoyed it too, even though I'm not sure he thought he was going to.  Like all pureed soups, it is substantive, filling, and loaded with flavor.  I used smoked salt instead of regular which gave a nice smoky flavor throughout.  If you wanted to use bacon grease instead of oil it would have the same effect.  The roasted cauliflower has a deep complex flavor and is complemented well by the cheese.  This is an easy and delightful pureed soup that you can make any day of the week!

Cauliflower and Cheddar Soup

Roasted Cauliflower and White Cheddar Soup (Lightened)
adapted from Closet Cooking

Ingredients
1 small head cauliflower, cut into florets
3 tablespoons oil, divided
1 medium onion, diced
2 cloves garlic, chopped
1 teaspoon dried thyme
3 cups vegetable broth
1 1/2 cups Cabot 75% reduced fat white cheddar, shredded
1 cup fat free milk
salt and pepper to taste (I used smoked salt)

Instructions
1. Toss the cauliflower florets in the oil along with the salt and pepper and arrange them in a single layer on a large baking sheet.
2. Roast the cauliflower in a preheated 400F oven until lightly golden brown, about 20-30 minutes.
3. Heat the oil in a large sauce pan over medium heat.
4. Add the onion and saute until tender, about 5-7 minutes.
5. Add the garlic and thyme and saute until fragrant, about a minute.
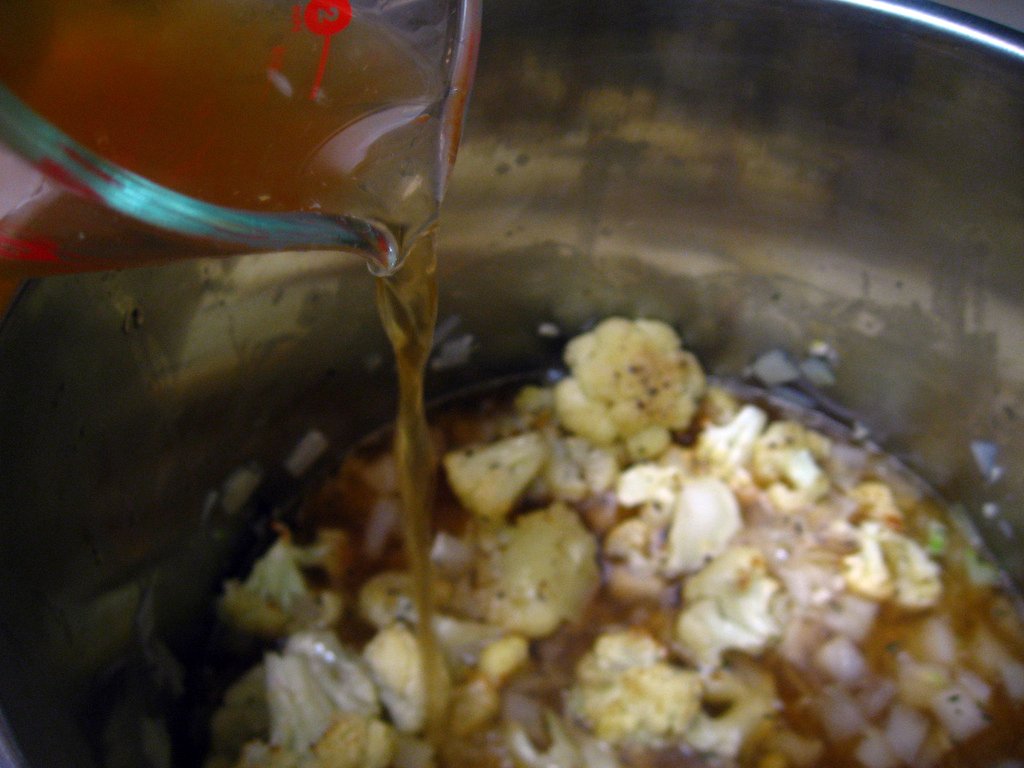
6. Add the broth and cauliflower, bring to a boil, reduce the heat and simmer, covered, for 20 minutes.
7. Puree the soup until it reaches your desired consistency with a stick blender.
8. Mix in the cheese, let it melt and season with salt and pepper.
9. Mix in the milk and remove from heat. Serve immediately.

Friday, June 3, 2011

Baby Bacon, Leek, and Cheddar Quiches


For my coworker's baby shower, I made mini quiches.  Since it was a baby shower, I decided to call them baby quiches.  I thought they'd just be an adorable treat for everyone!


I decided to try to lighten this recipe up a bit. Instead of pork bacon, I used turkey bacon.  As a result, I had to add in a little vegetable oil when I went to sauté the leeks.


Man, I love leeks.  They are just one of the most wonderful things I've ever discovered.  Remember that soup I made back in March? This is like a spring version.


I have to find some more leek recipes after this one - they add another dimension to every meal that you can't get from similar ingredients.  They aren't oniony but they do have that carmelized texture.


As long as I was lightening up this recipe, I also used fat free half and half.  I think it didn't affect the taste at all. How do they make it fat free without it getting watery?


The hardest part of this recipe was keeping the filling moist.  I had to stir it between filling each and every quiche to spread the egg evenly.  I also filled a little too much so I was about 6 quiches short.  I also had extra puff pastry - I probably rolled it too thin.


The preparation is pretty simple, although filling all of the muffin tins does take forever. I finished one of my 24 muffin tins and then baked them off while I filled the rest so I didn't have to spend too much time in my hot kitchen.  It's amazing how hot it gets in the summer with the oven on!


These were definitely a hit at the baby shower.  They are salty and a little bit sweet, and definitely savory.  Plus they're so much easier to serve than a full quiche. Mine weren't quite as pretty as Tracy's but they sure were tasty! I tried one hot, which was really good, but they were just as good cold or at room temperature.  They're the perfect appetizer to bring to a baby or bridal shower.  Since 3 people we work with are having babies in late July, I imagine you must know someone getting married or having a baby too!


Baby Bacon, Leek and Cheddar Quiches
Lightened from Tracy’s Culinary Adventures

Ingredients
3/4 lb turkey bacon, cut into medium dice
1 tablespoon vegetable oil
3 cups medium-diced leeks, washed and drained (about 3 leeks, white and light green parts only)
1 1/4 cups fat free half and half
1 cup (4 oz) grated extra-sharp Cheddar
2 large eggs
2 large egg yolks
2 tablespoons chopped fresh thyme leaves or 2 teaspoons dried thyme
1 teaspoon kosher salt
1/2 teaspoon freshly ground black pepper
1/4 teaspoon ground nutmeg
2 1.1-lb packages frozen puff pastry sheets, thawed (homemade puff pastry would work too)

Instructions 
Set a skillet over medium to medium-high heat and cook the bacon until crisp.  Use a slotted spoon to remove the bacon to a paper towel lined plate.  If there is almost no fat in the pan (which is likely) add 1 tablespoon in the skillet (if there is fat, add oil to have total 1 tbsp of liquid).  Return the pan to medium heat and add the leeks.  Cook until softened, stirring occasionally, then set aside to allow the leeks to cool a bit.

Meanwhile, add the half and half, cheese, eggs, egg yolks, thyme, salt, pepper and nutmeg to a medium bowl.  Use a fork to break up the eggs and yolks and mix the ingredients.  Add the bacon and leeks (both of which should be cooled) and toss to distribute evenly.  Set the filling aside.

Preheat oven to 400 F. Spray your mini muffin pans with cooking spray.

Unfold one sheet of puff pastry and place on a lightly floured work surface. Roll the sheet into a rectangle approximately 10x18 inches big. Using a 3-inch round cookie cutter (or the top of a glass cup), cut 12 circles from the sheet of puff pastry. Fit each round into one well of the prepared mini muffin pan, making sure that the dough extends to the top of well. Fill each well with about 1 tablespoon of filling (it's fine to fill it just about to the top). Repeat with the remaining dough and filling.

Bake for about 20 minutes, or until the filling puffs and the crust is golden brown. Remove the quiches from the pans and serve.

Alternatively, you can prep the quiches ahead of time and freeze them (for up to a month). After assembling them, pop the mini muffin pans in your freezer for a few hours, until the quiches are set, then transfer them to resealable freezer bags. When you are ready to bake, transfer the frozen quiches from the bags to the mini muffin pans and bake for about 30-35 minutes.