Showing posts with label cheese. Show all posts

Wednesday, November 28, 2012

Lobster Mac and Cheese

Untitled

I'm pretty sure the thing I miss the most about living in New England is the seafood.  The ability to go to the grocery store, grab a lobster or some fish without spending a week's grocery budget (or fearing digestive disaster) is a luxury I took for granted growing up in Massachusetts.  Now, when I'm back home, I take any advantage to enjoy all the seafood there is to offer.
Untitled

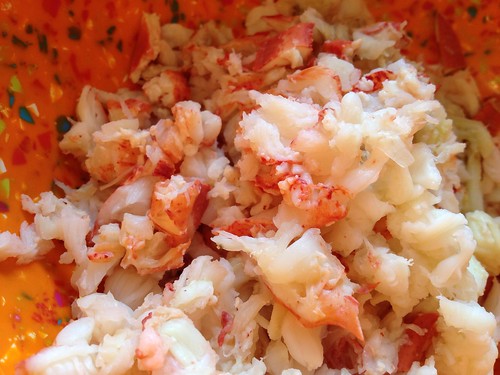
We had my little cousins over for dinner on my last night home and decided to make mac and cheese.  Of course, this meant I had to get some lobster in there.  It was the right thing to do.  It's the bacon of the ocean, after all.
Untitled

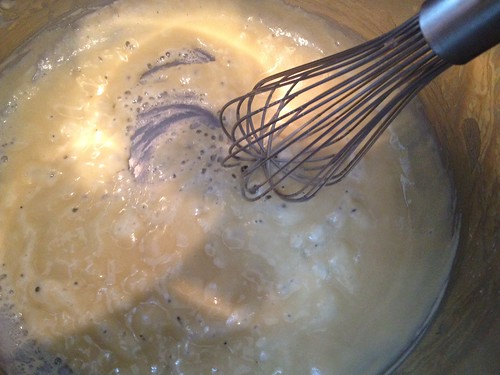
I was mostly inspired to eat lobster because of my camp friend.  She grew up a pescatarian, so she's never had meat or poultry at all.  For Thanksgiving, her family has lobster and oysters.  How amazing is that?  I am not a turkey person so I'd take lobster and oyster Thanksgiving over the traditional any day!
Untitled

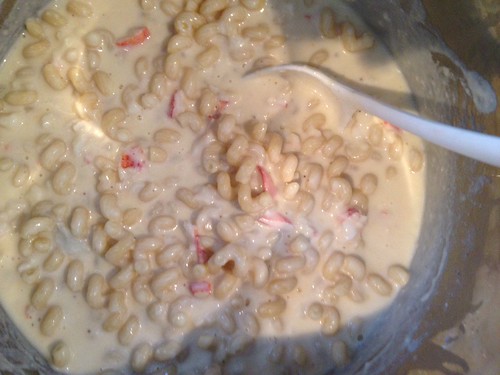
By the way, why does anyone still eat mac and cheese out of the box?  I mean it serves its purpose, and sometimes I crave it, but man it does not COMPARE to homemade mac and cheese. Sure, it's more expensive to make it from scratch, but it's easy to do and the taste is night and day.  This is the serious comfort food I need in the middle of winter.  Plus you can change it up in so many different ways - using different kinds of cheese or any mix in from lobster to bacon to pumpkin.  It's a versatile dish that guests of all ages love.
Untitled

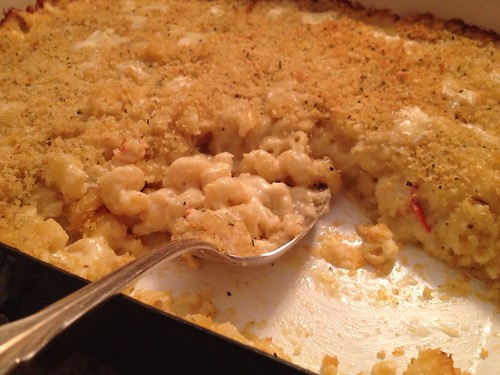
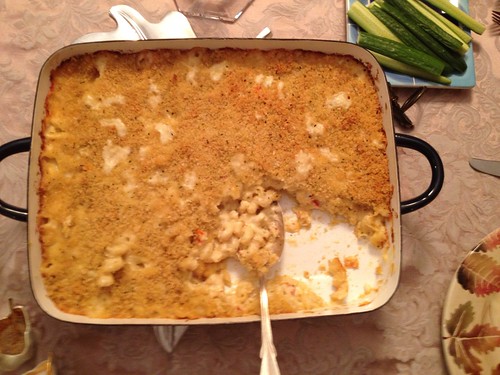
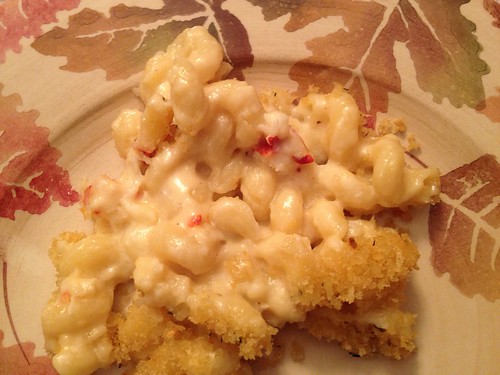
Oh right, the recipe. I don't think I even need to tell you how good this was.  My little cousins scarfed it down despite being sometimes-picky eaters (we conveniently didn't tell them there was lobster in it) and I couldn't resist taking a second helping.  We doubled the recipe and used meat from 2 small-ish lobsters and I'm not sure how many ounces it actually was, but I'd use more next time.  I'm sure it was way less than 24 oz though so I think you'll be OK using the recipe as is below.  I might need to go home soon so I can make some more!
Untitled

Lobster Mac and Cheese
from Annie's Eats

Ingredients
8 oz. pasta (I used cavatappi)
4 tbsp. unsalted butter, divided
3 tbsp. all-purpose flour
2 cups milk
6 oz. fontina cheese, shredded or finely diced
4 oz. white cheddar cheese, shredded
½ tsp. kosher salt
¼ tsp. ground black pepper
Dash grated nutmeg
12 oz. cooked lobster meat, cut into ½-inch chunks (claws and tail)
½ cup Panko breadcrumbs
Minced fresh chives, for garnish

Instructions
1. Preheat the oven to 400˚ F.
2. Lightly grease a 2-quart baking dish with butter.
3. Bring a pot of water to boil. Cook the pasta for about 2 minutes less than the package directions say is "al dente". Drain well into a large colander.
4. While the pasta is in the colander, return the pot to the medium heat. Melt 3 tablespoons of the butter in the pot. Whisk in the flour and cook, stirring constantly, until light golden brown, about 1-2 minutes.
5. Slowly whisk in the milk in small additions until completely added and no lumps of flour remain. Stir in the salt, pepper, and nutmeg. Continue to heat, stirring frequently, until the sauce bubbles and thickens, about 5 minutes.
6. Once bubbling, cook for 2 more minutes, stirring constantly, scraping the bottom of the pan to prevent burning. Remove the pan from the heat.
7. Stir in the cheese one handful at at time and mix until completely melted.
8. Return the pasta to the pot and mix to coat well with the cheese sauce. Gently fold in the lobster meat. Transfer to the prepared baking dish.
9. In a small bowl, melt the remaining 1 tablespoon of butter in the microwave. Stir in the Panko and toss until the crumbs are evenly coated. Sprinkle the crumb mixture over the pasta in the baking dish.
10. Bake uncovered for about 20-25 minutes or until the top is browned and the cheese is bubbling. Serve warm topped with fresh minced chives, if desired.

Thursday, May 24, 2012

Carnitas Pizza with Guacamole

Untitled

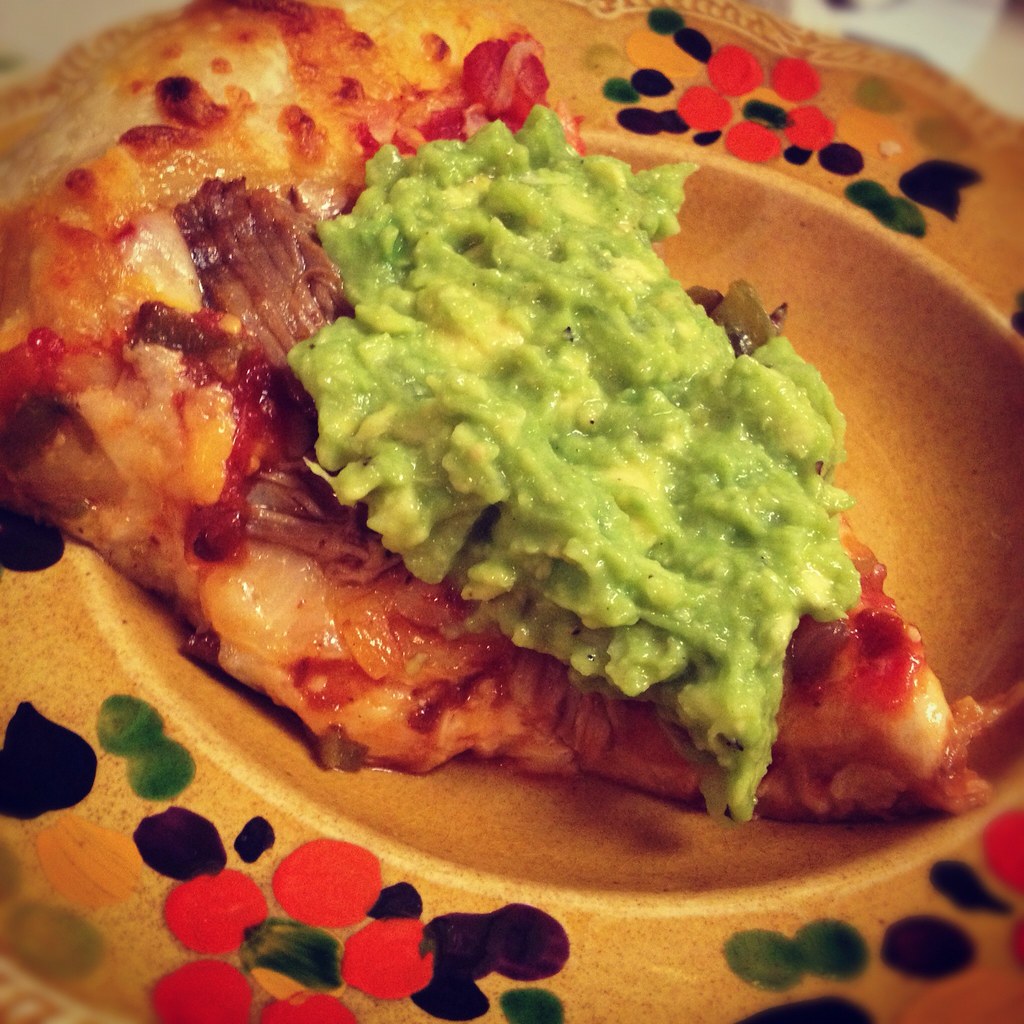
The Monkey Scientist and I have been experimenting with carnitas lately. There is nothing like delicious shredded pork. We've tried making it in both the Dutch oven and the CrockPot but I haven't decided which tasted better. Since we had so many leftovers, we decided to make a carnitas pizza!

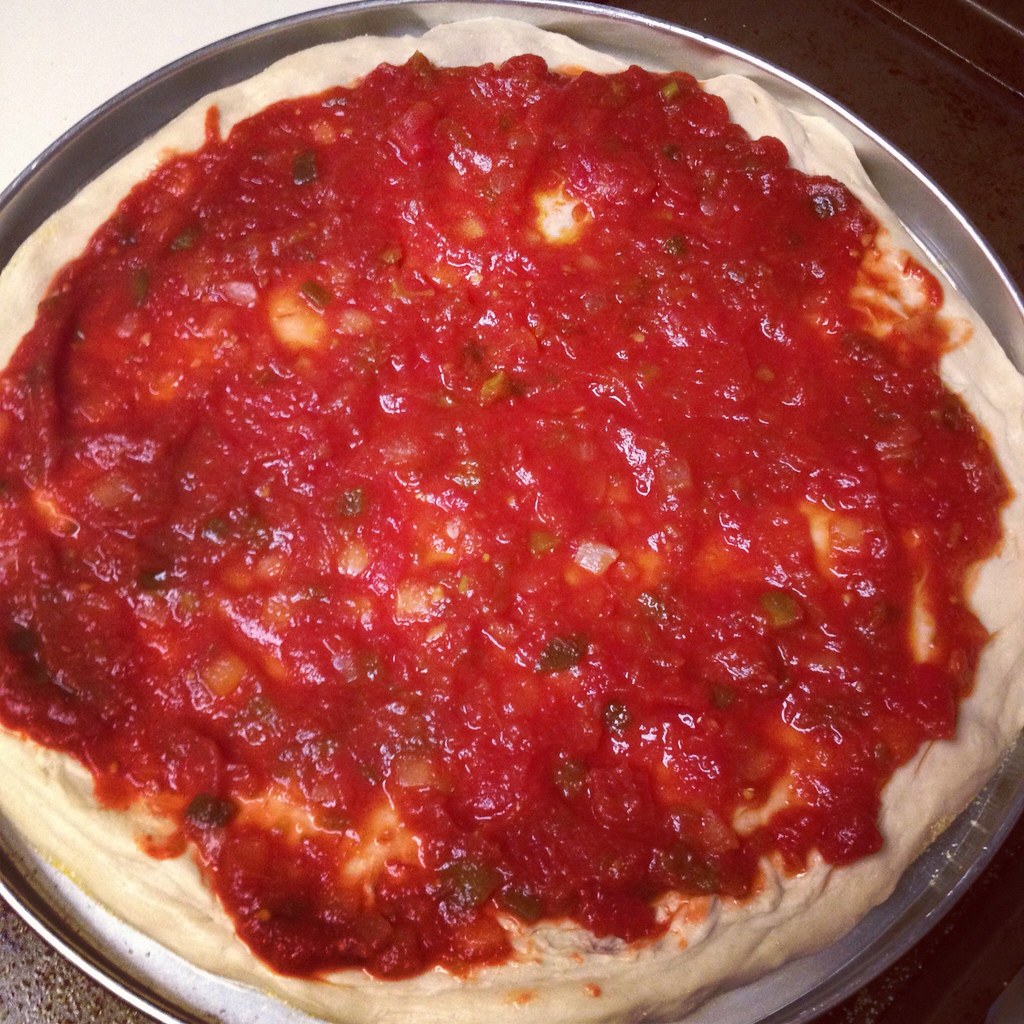
Pizza with salsa sauce

I have to admit (and maybe you've noticed) that I'm not a huge fan of Mexican food. It's surprising since I love spicy food, but between the cilantro and corn tortillas there are so many things I don't like at all. I was excited that this recipe let me bring in all of the Mexican flavors I like in a familiar favorite - pizza.

I loved how this came together. The Monkey Scientist picked up the dough at the Italian market in Cleveland Park. It has wonderful flavor and came out nice and crispy on the edges. The pizza was the perfect combination of spicy, cheesy and tangy. I liked the hot pizza topped by the cool guacamole as well, it was a nice contrast. This is the guacamole recipe I always use (usually with chips of course) and I adore it! Next time we may try to make this pizza on the grill like Mom does - I bet it would be fantastic!

Untitled

Carnitas Pizza with Guacamole
carnitas adapted from My Baking Addiction
pizza adapted from What's Gabby Cooking?
guacamole is a yelleBELLYboo original

Ingredients
Carnitas
1 large Vidalia onion, thinly sliced
2 tbsp brown sugar
1 tbsp paprika
2 tbsp kosher salt
1/4 tsp freshly ground pepper
1 pork butt (ours was 2 1/2 lb)
3/4 c cider vinegar
4 tsp Worcestershire sauce
1/2 can chipotles in adobo, roughly chopped
2 oranges, juiced
1 1/2 tsp crushed red pepper
1 1/2 tsp sugar
1/2 tsp dry mustard
1/2 tsp garlic salt
1/4 tsp cayenne
1 bottle beer
Pizza
1 batch pizza dough
1/2 jar salsa
1 bag shredded Mexican cheese
1/2 can fire-roasted chiles
2 tbsp adobo sauce from chipotles in adobo
Guacamole
2 ripe avocados, diced
2 tomatillos, diced
2 cloves garlic, minced
1 lime, juiced
Salt and pepper
Dash cayenne
Dash cumin

Instructions
Carnitas
1. Rinse pork under cold water and pat dry with paper towels.
2. Place onions in Crock pot. In a small bowl, combine brown sugar, paprika, salt and pepper. Rub to cover the roast. Place roast on top of onions.
3. Mix remaining ingredients and add to Crock pot. Add water to just cover pork.
4. Cook on low 10-12 hours.
5. Remove meat and onions from Crock pot. Chop or shred meat and onions. Add a bit of the cooking liquid for flavor.
Pizza
1. Preheat the oven to 500.
2. Carefully stretch dough to the size of your pizza pan or cookie sheet.
3. Top with salsa, then cheese, chiles, and adobo.
4. Bake 8 minutes, remove from onion. Top with shredded carnitas (maybe 2/3 c worth).
5. Return to oven and bake an additional 4 minutes.  Let rest for at least 5 minutes before slicing.
Guacamole
1. Add all ingredients to a medium bowl.
2. Mash with a potato masher or the back of a fork until well combined.
3. Smear on top of each slice of pizza.

Sunday, April 15, 2012

Macaroni and Cheese Cups


Mac and Cheese Cups

Even though I had my last day at my old job, I didn't want to miss a baby shower that we'd been planning for months.  Luckily, it fell during my week off between jobs, so I was able to make it!  I was especially excited to meet my former coworker's wife, Christina, because I love her blog, Proper Hunt.  She is absolutely gorgeous and has amazing taste!  She looked gorgeous at the shower in a floor length blue dress.  You couldn't even tell she was pregnant until she turned around!

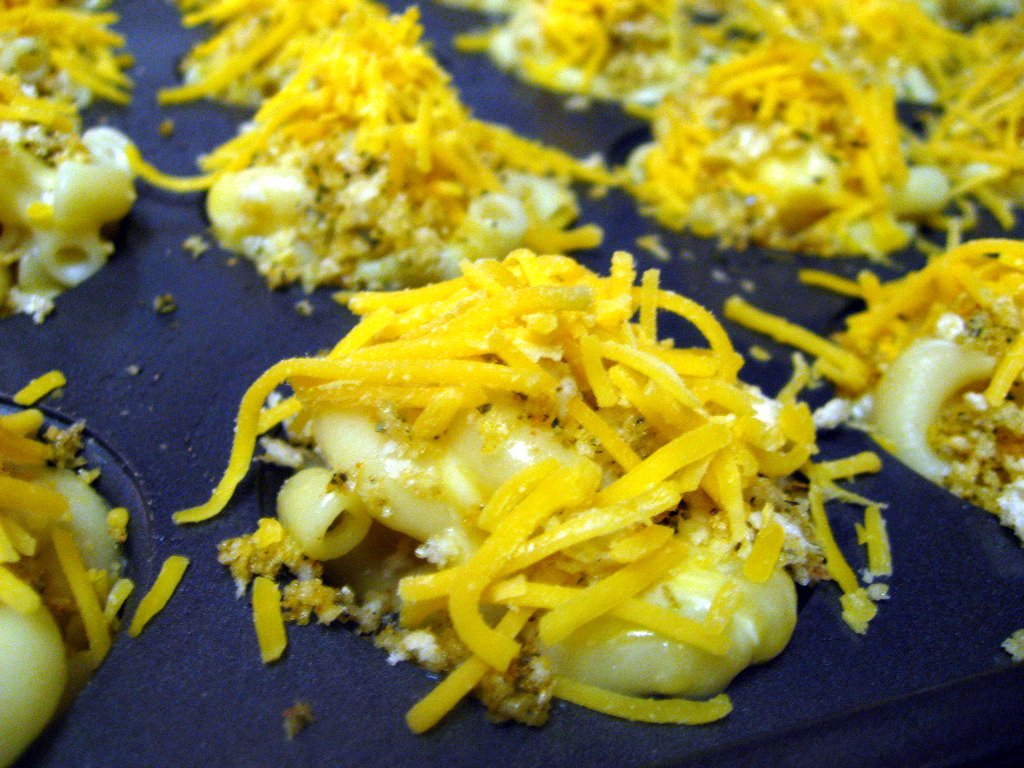
Breadcrumbs

The shower was a really nice time.  We played the "baby food game" which I'd never played before.  We guessed based on look alone what a whole bunch of 1 ingredient baby foods were.  The chicken and turkey with gravy are some of the grossest looking foods I've ever seen!  Then, we had a few extra credit multi-ingredient baby foods.  The fruit ones weren't so bad, but the chicken-based jars smelled so terrible.  There was no way I was tasting those!  Do people really give these to their kids? Or do they make their own foods for their babies?

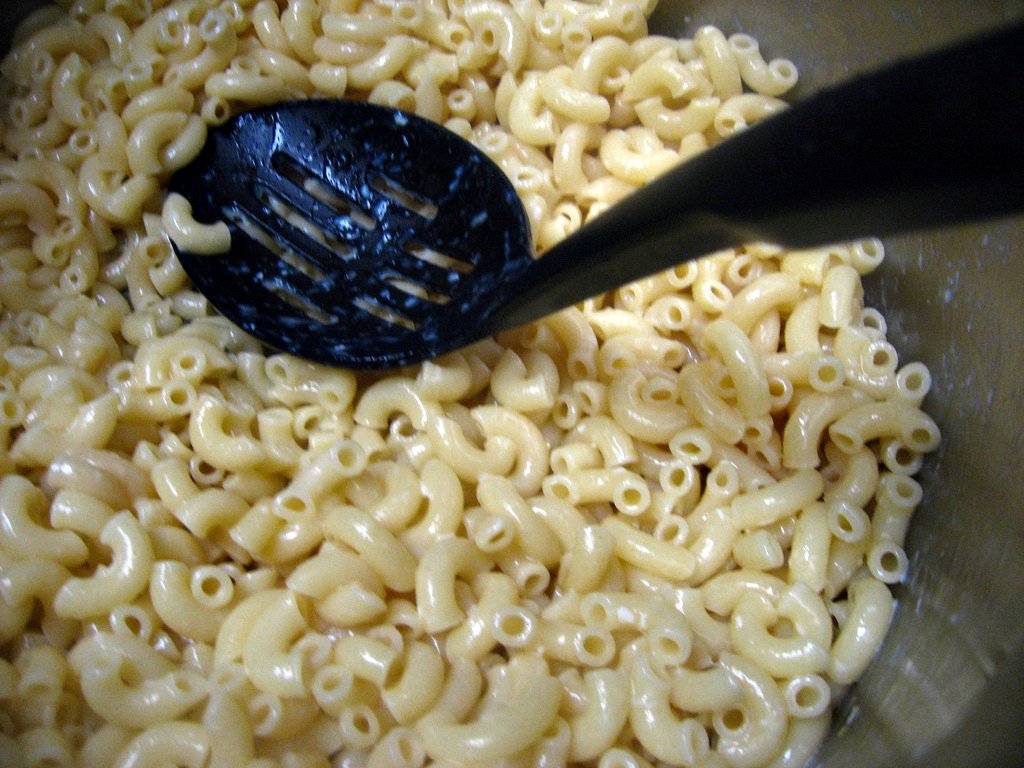
Macaroni Noodles

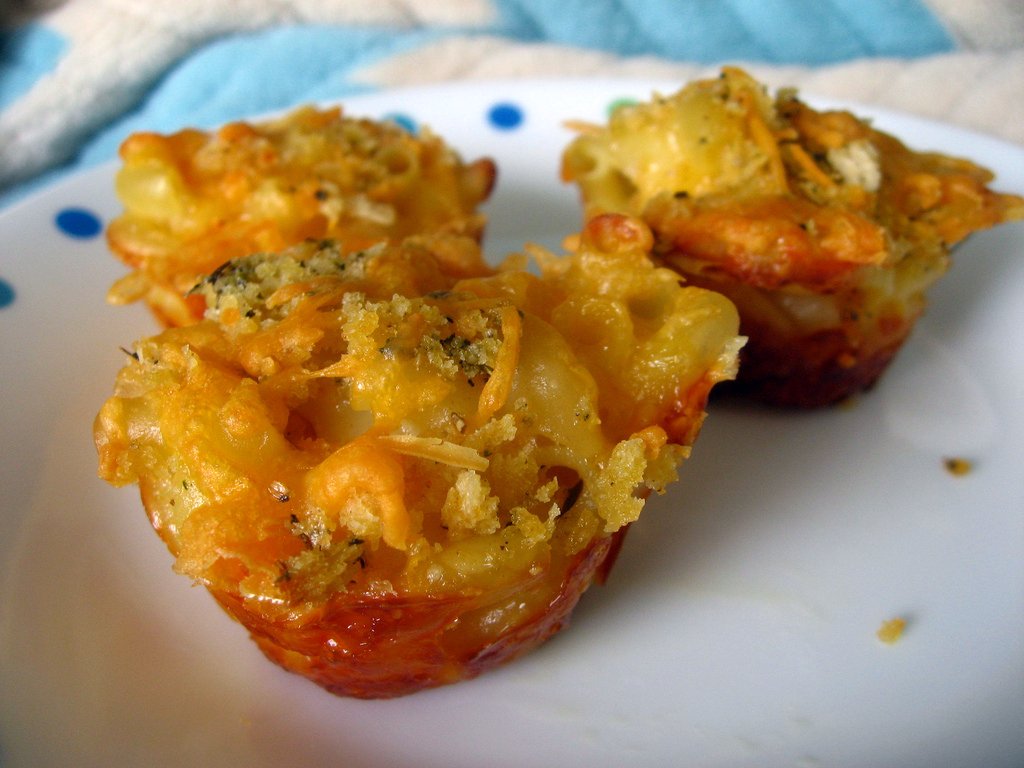
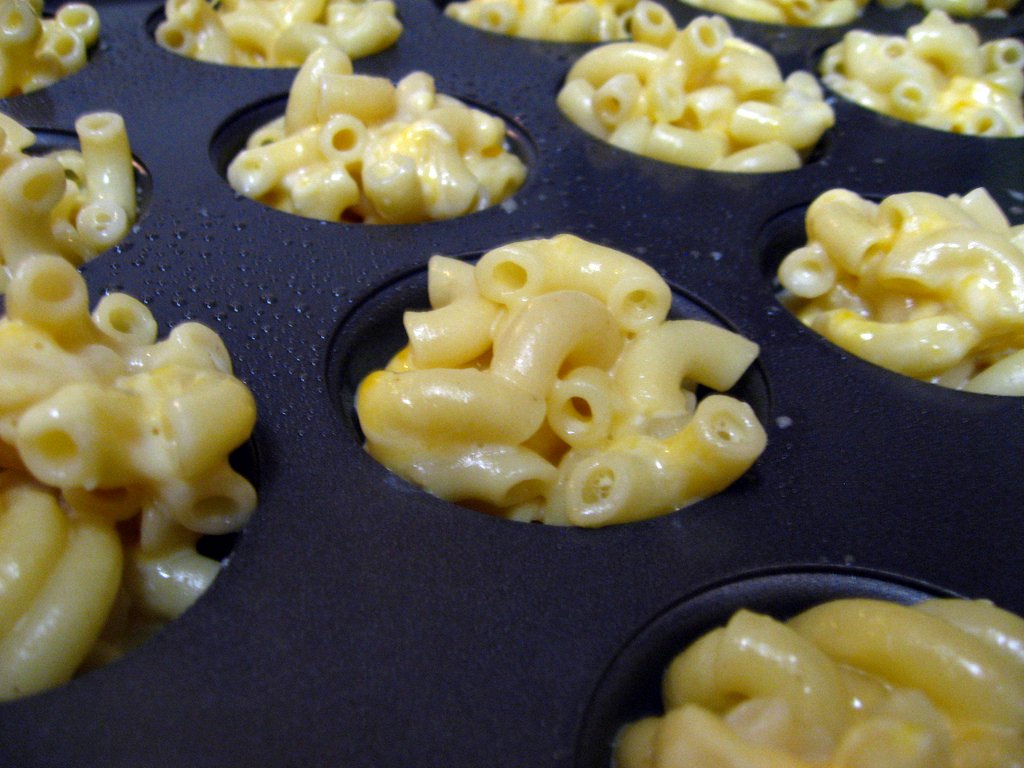
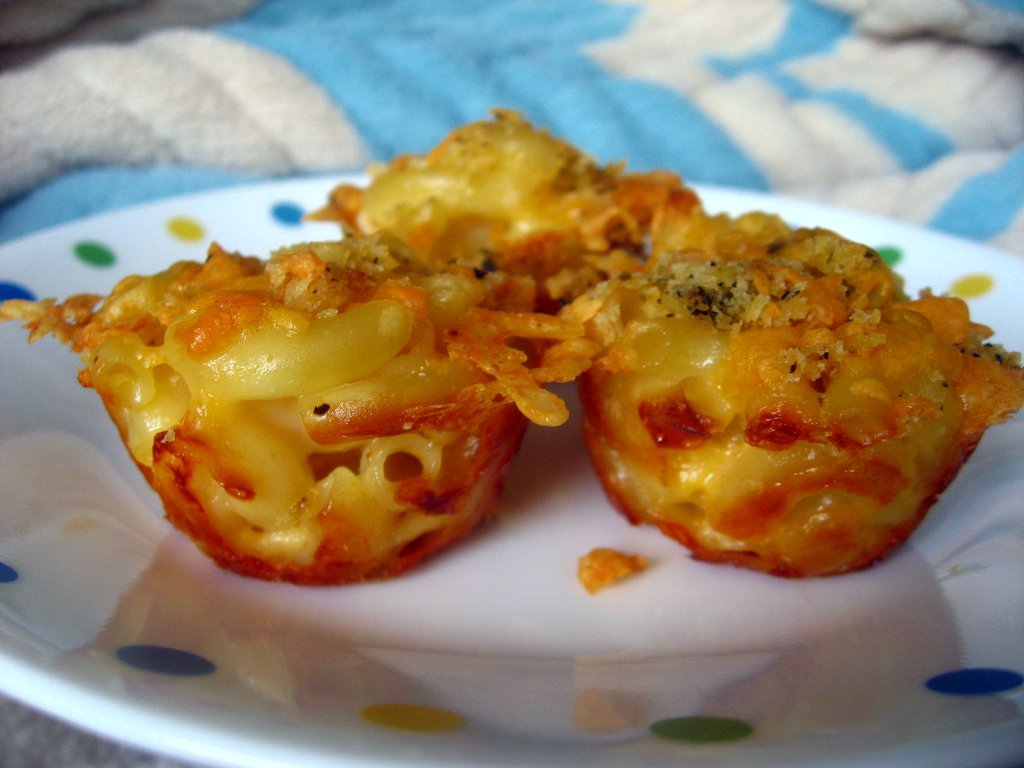
I wanted to make something for the adults that would be a little bit fun.  I love these Mac and Cheese cups because they are filling enough for a luncheon, but don't require a knife and fork.  The original recipe used full size muffin cups, but I wanted to make them a little bit smaller to fit with the "baby" theme.  I think they came out super adorable and everyone seemed to enjoy them!

Mac and Cheese Cups

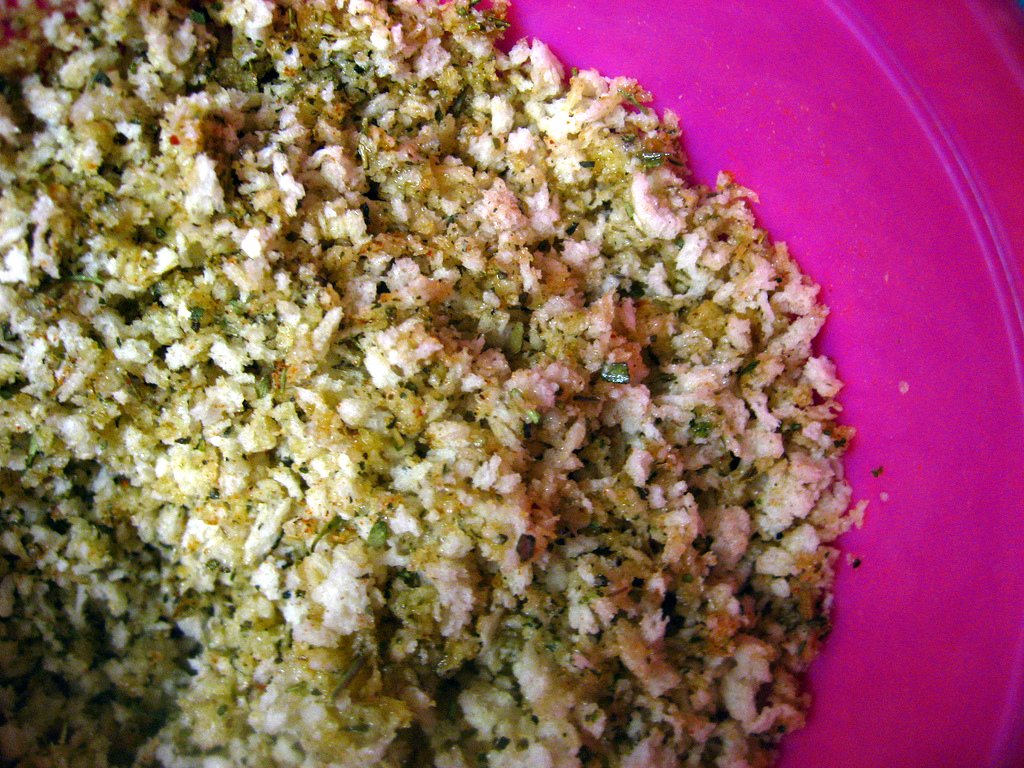
The original recipe called for seasoned breadcrumbs, but I really like to season my own.  It allows me to have more control over my ingredients and salt content.  I added a dash of cayenne because I know that the father-to-be enjoys a little bit of heat.  It was just enough to add flavor but shouldn't scare away anyone who doesn't like spice - they definitely weren't spicy!  I really like panko breadcrumbs so I decided to use them for this recipe, but you can use anything you have on hand or even make your own.

Mac and Cheese Cups

I think this recipe came out pretty tasty.  They are super easy to put together and you can eat them with your hands.  These would be a delicious and fun meal to make for your kids or to serve at a barbeque as a vegetarian option.  If you wanted to make them even more special, you could use different types of cheese like goat cheese or monterey jack.  You could even add in chopped bacon for some extra flavor.   But really, it's pretty wonderful as is!

Mac and Cheese Cups

Macaroni and Cheese Cups
adapted slightly from all recipes

Ingredients
2 c uncooked elbow macaroni
1 tbsp butter
1 egg, beaten
1 c milk
1 1/2 c shredded sharp Cheddar cheese (divided)
1 1/2 c shredded mozzarella cheese
1/2 c Panko bread crumbs
1 tbsp Italian seasoning
1/4 tsp cayenne pepper
2 tsp olive oil
1/2 tsp salt

Instructions
1. Preheat the oven to 350 degrees F.
2. Grease a mini muffin tin with nonstick cooking spray. In a small bowl, stir together the bread crumbs, italian seasoning, cayenne pepper, olive oil, and salt. Set aside.
3. Bring a large pot of lightly salted water to a boil. Add the macaroni and cook for about 8 minutes (it should still be a little bit firm). Drain and return to the pan, removing from heat.
4. Stir in the butter and egg until pasta is evenly coated.
5. Stir in milk, mozzarella cheese, and 1 c of the cheddar cheese into the pasta.
6. Spoon into the prepared mini muffin tin.
7. Sprinkle the reserved cheese and the bread crumb mixture over the tops.
8. Bake for 30 minutes in the preheated oven, or until the topping is nicely browned. Allow the muffins to cool for a few minutes before removing from the pan and serving.

Sunday, January 8, 2012

Tortilla Pizzas

Tortilla Pizzas

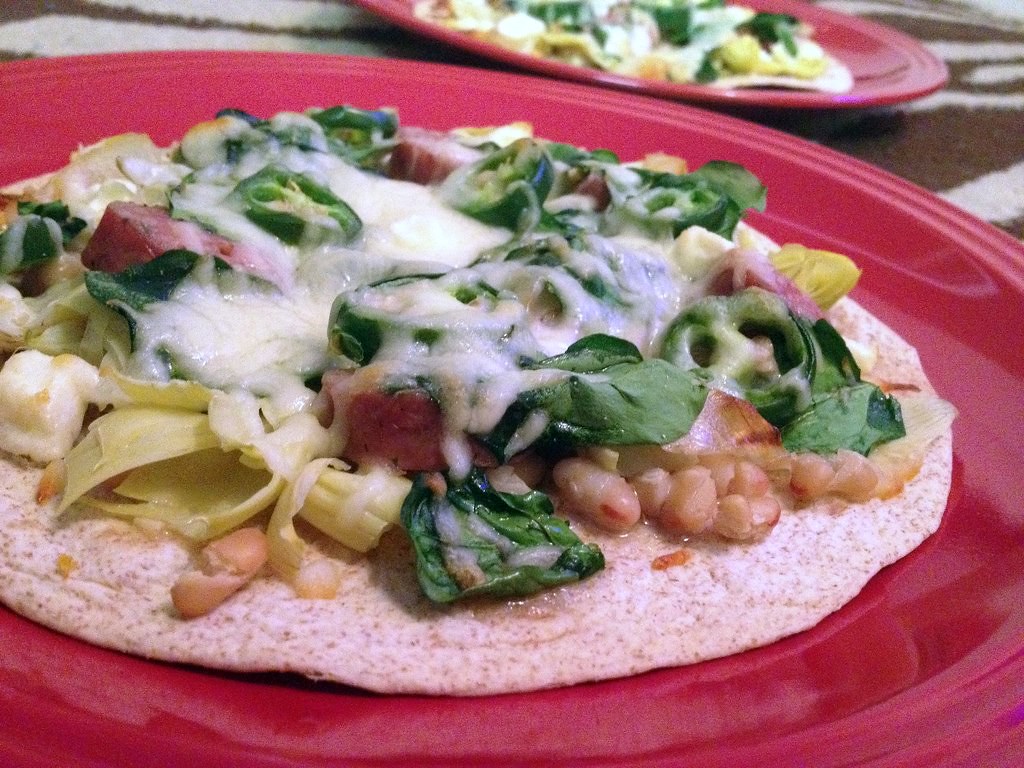
I have a confession to make.  These are iPhone photos.  And, I was simply the sous chef behind this recipe. It was a Monkey Scientist creation (although I may or may not have emailed him the recipe).  Regardless, this is such an easy, healthy recipe, that I wanted to share it with you despite not having my camera with me when the MS was cooking.  Forgive any lack of quality in photos - it doesn't indicate a lack of quality in the recipe.

Tortilla pizzas

My next warning I should give you, is about the jalapenos. They make this pizza VERY spicy, especially if you use whole slices, with seeds, and as many as we did.  The Monkey Scientist liked it, but my mouth was on fire and I ended up having to peel a lot of them off.  Giardiniera was a little less spicy, although of course it's very regional and you may not be able to find it (the Monkey Scientist may or may not have smuggled a jar back with him from Chicago).  If you're not into spicy (I'm talking to you, Mom and Dad), leave the jalapenos out.  The pizza will still be delicious!

Tortilla Pizzas

I am a huge pizza lover.  I mean seriously, who isn't?  But come New Year's Resolution time, it just doesn't fit the healthy diet I'm striving for.  These tortilla pizzas are such a great alternative.  The carb-filled crust is swapped out for a crispy, crunchy tortilla.  It's no Chicago deep dish, but it turns into almost a sweet cracker - absolutely awesome.  Plus, if you load on enough veggies, you don't need to add nearly as much cheese while maintaining that cheesy taste of a delicious pizza.

Tortilla Pizza

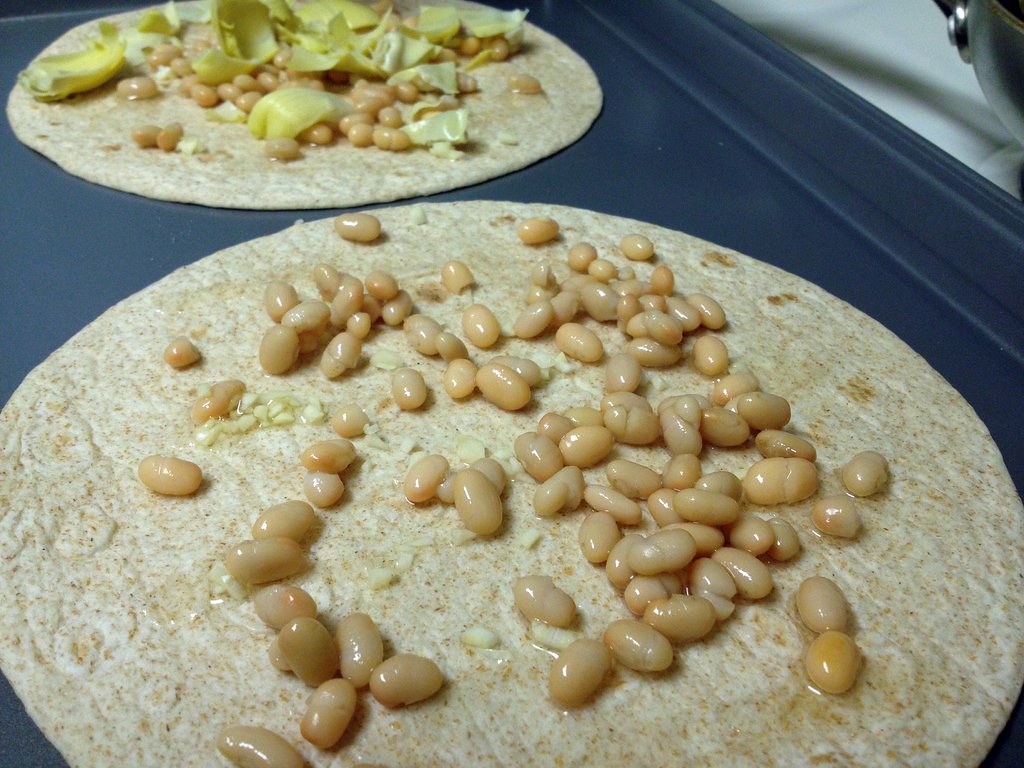
I love this pizza! It can be adapted so many different ways to fit the ingredients you love.  While we pretty much stuck by the original recipe, we added sausage for some extra protein. I absolutely LOVED the white beans in it.  I didn't stick by the proportions of the original recipe, but compared to what you see on my pizza, I wish I'd had a lot more beans.  Per usual, I also dug the artichokes on this pizza - they're one of my favorite things.  As far as portions - I had 1 plus less than 1/4 of a second, and the Monkey Scientist ate 2.  I would aim for 1 for a light (read: female) meal and 2 for a more robust (read: male) meal.  This would also be a really fun recipe to make with your kids - let them load the toppings on themselves! (Just do the "putting in the oven" yourself please!)

Tortilla Pizzas

Tortilla Pizzas
from Eighty Twenty, with some small additions

Ingredients
4 10" whole wheat flour tortillas
3 Tbsp olive oil, divided
1 cup sliced onions
2 tsp minced garlic
1 cup white beans, drained and rinsed well
1 1/3 cups quartered artichoke hearts (patted dry if canned), separated into smaller pieces
1/2 cup low fat, low sodium chicken sausage, sliced (optional)
1 1/3 cups baby spinach leaves, stemmed
2 oz crumbled feta cheese
1 cup shredded part-skim mozzarella cheese
1/4 cup jalapeno slices or giardiniera (optional)

Instructions
1. Preheat oven to 350 degrees.
2. Heat 1 tsp in a skillet over medium heat. Add sliced onions and saute until soft, ~5 minutes. Remove from heat and set aside.
3. On each tortilla, spread 1/2 tsp olive oil. Sprinkle 1/2 tsp minced garlic onto each tortilla, then spread white beans, artichoke pieces, sausage, spinach leaves, sauteed onions, cheeses and jalapenos (if desired) evenly onto tortillas.
4. Place in oven, directly on middle rack or on a cookie sheet, and bake for 10-16 minutes, or until tortilla is crispy and cheese is melted. Remove from oven and allow to cool for ~2 minutes prior to cutting into quarters and serving.

Monday, December 5, 2011

Mom's Stuffed Mushrooms

stuffed mushrooms

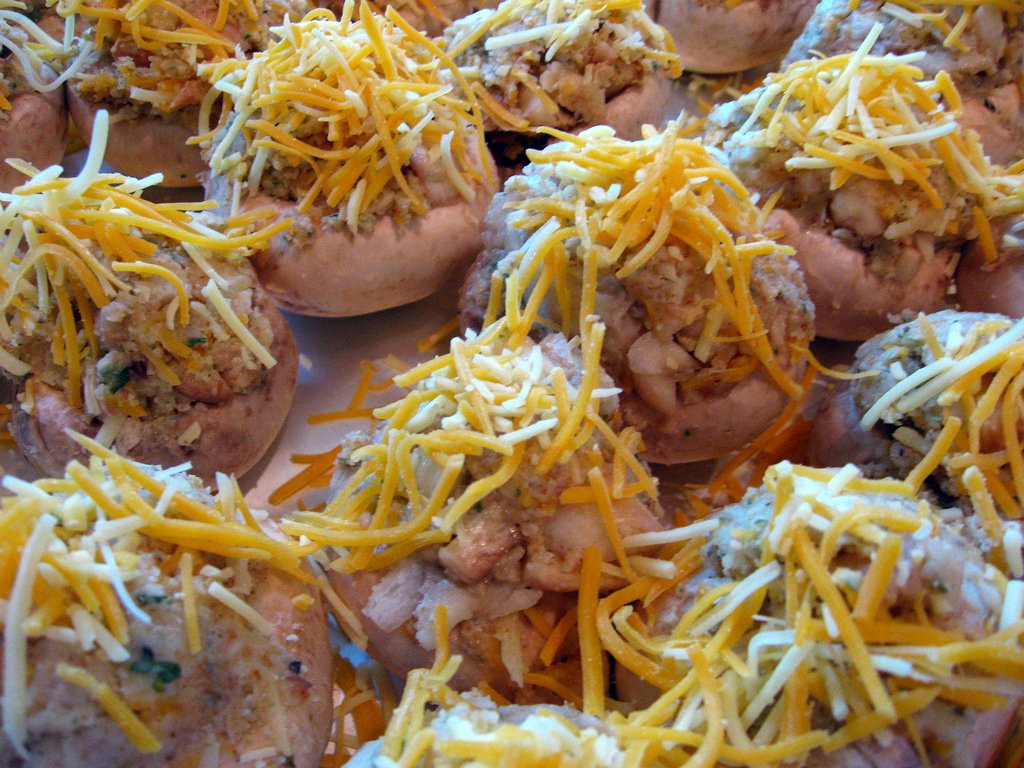
This Thanksgiving, Mom asked me to put together a recipe list before I came home for the holiday so she could start getting organized.  My first request for appetizers was her famous stuffed mushroom recipe. She has been making this hor d'oeurve for as long as I can remember and it is one of my absolute favorites.

un-stuffed mushrooms


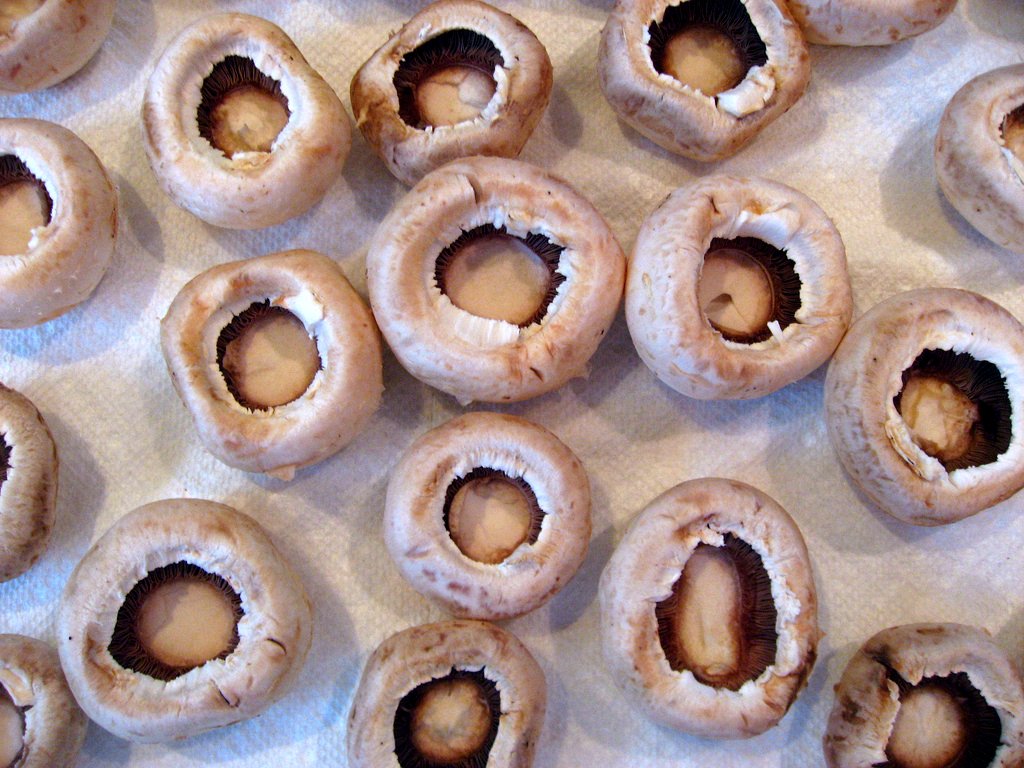
I always thought this recipe had been my Mimi's and she had passed it on to my mom.  I learned that, actually, my mom got the recipe from her old tennis partner.  I think pre-2006 my mom mush have used a different stuffed mushroom recipe, but this one was such a hit that it must have replaced her old classic.  Either way, I'm definitely not complaining.

stuffing for mushrooms

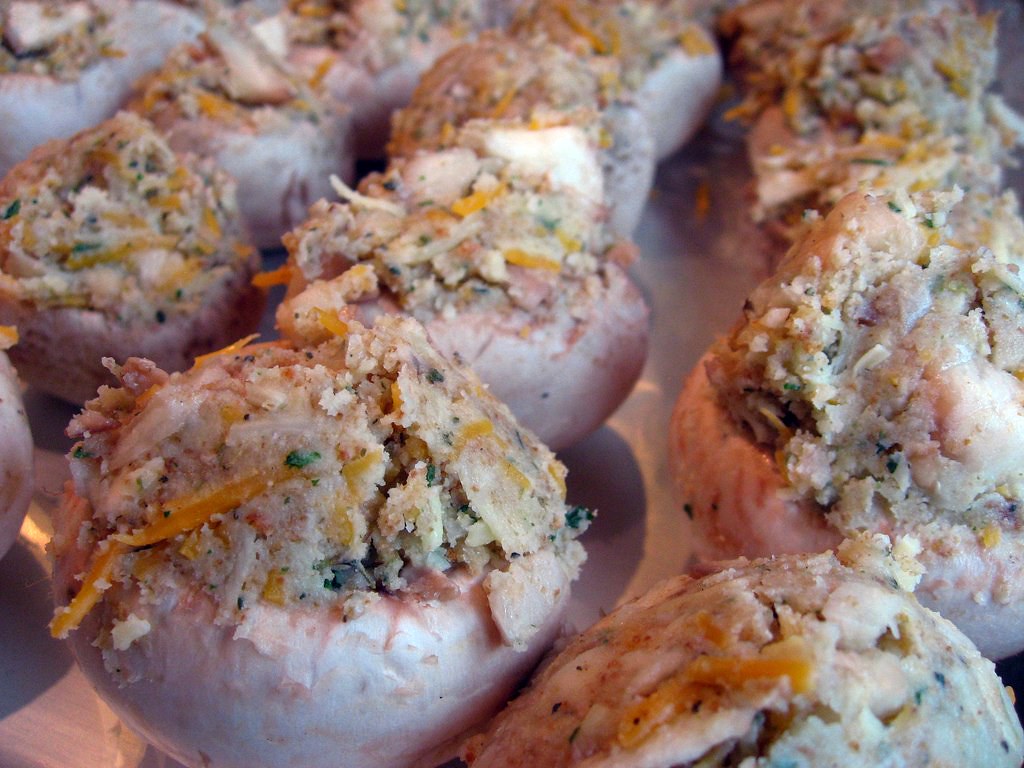
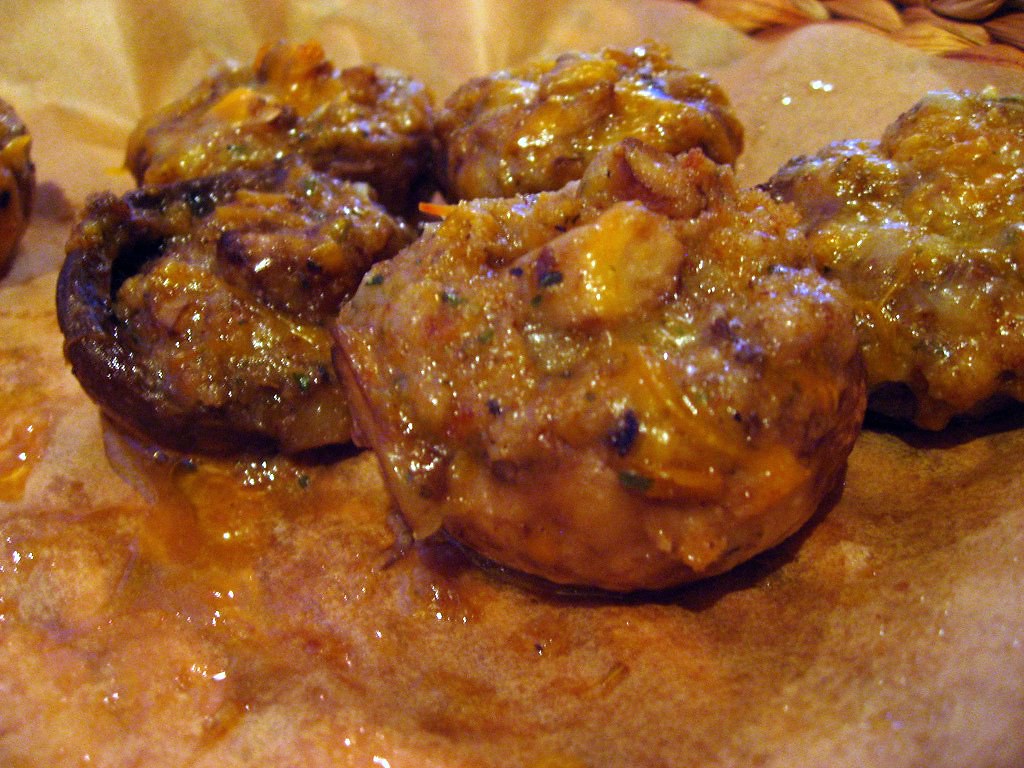
This is the first time I remember actually making these mushrooms, and it is way easier than I realized.  I love that you add the stems of the mushrooms back into the stuffing - that way nothing goes to waste.  We were actually able to assemble everything the day before and just throw them in the oven before we were ready to serve them.  Making things ahead is always the key to holding a successful holiday party. (However, I do apologize that since we made them ahead and baked them at night, the final photos are a bit dim.  Someday I'll by a DSLR so I can make manual adjustments to the ISO and make these photos come out better!)

stuffed mushroomsstuffed mushrooms

If I didn't make this clear yet, these mushrooms are awesome.  This time they actually came out a little greasy, but that usually isn't the case.  They are the perfect size to pop in your mouth (I love a one-bite treat!) so there is no need for a fork and knife or even a plate.  They're warm and cheesy with depth from the oregano and breadcrumbs.  If you have a holiday party coming up, these are a simple and delicious appetizer that is sure to delight!

stuffed mushrooms

Mom's Stuffed Mushrooms
Recipe courtesy of Lisa Dunn circa 2006 via my mom

Ingredients
½ lb medium to large mushrooms
1/3 c dry, seasoned breadcrumbs
2 green onions, chopped (optional)
¼ c butter or margarine, melted
½ c cheddar or romano cheese, grated + extra for sprinkling
Dash white wine
½ tsp Italian seasoning
½ tsp salt
¼ tsp garlic powder
½ tsp Worcestershire sauce
Dash freshly ground black pepper

Instructions
1. Carefully remove stems from mushrooms and chop.
2. Combine stems and remaining ingredients (except mushroom caps) to make the stuffing.
3. Fill caps with stuffing mixture. Sprinkle top with extra cheese.
4. Bake at 350 degrees for about 15 minutes.

Monday, October 31, 2011

Mrs. Poineau's White Chicken Chili

white chicken chili

If you were on the Michigan Ski Team any time from, oh say 2006-2010, you know exactly what this chili is.  You got inside quickly after every race to eat this chili.  You thanked Mrs. Poineau endlessly for warming us up with this chili.  You thanked Kelsey for having such an amazing mom.  I'm not convinced that people didn't join the team just to eat this chili.

chicken, boiling

After I begged her endlessly, Kelsey and her mom sent me this recipe back in February of 2009.  But then I didn't make it.  I'm not sure what I was thinking - maybe I was afraid it wouldn't be as good as when her mom makes it - but I let it sit in my email inbox for that long.  Every once in a while, I'd look it up and think how good it would be, but I'd never make it.

white chicken chili

Then finally this weekend, when the temperature dropped (though we were fortunate to be spared of the snow that hit my home state of Massachusetts!!) it was officially chili and soup season.  Now I don't like regular bean/beef chili, but after 3 years of skiing with Kelsey, white chicken chili is definitely one of my favorite soups.  After raving about this soup to the Monkey Scientist for weeks, I had to actually make it for him and our friends.

white chicken chili

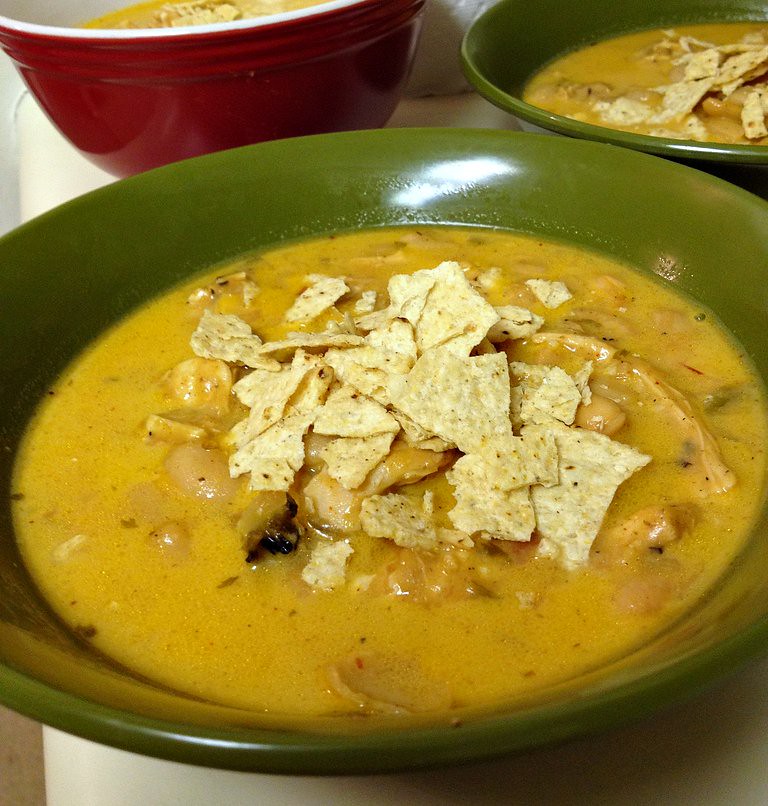
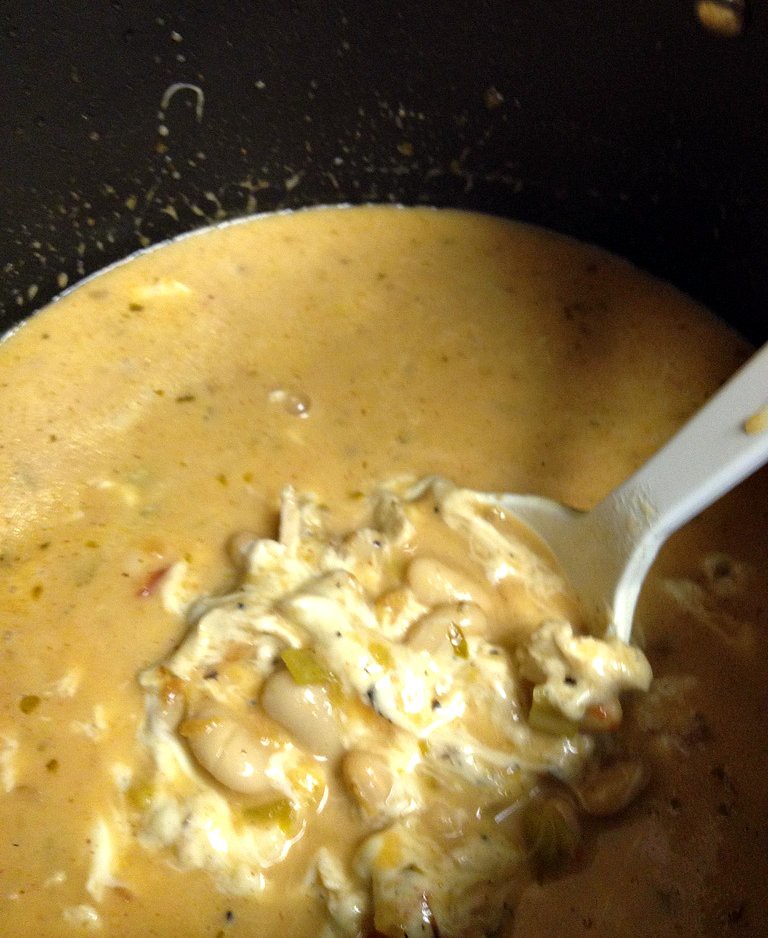
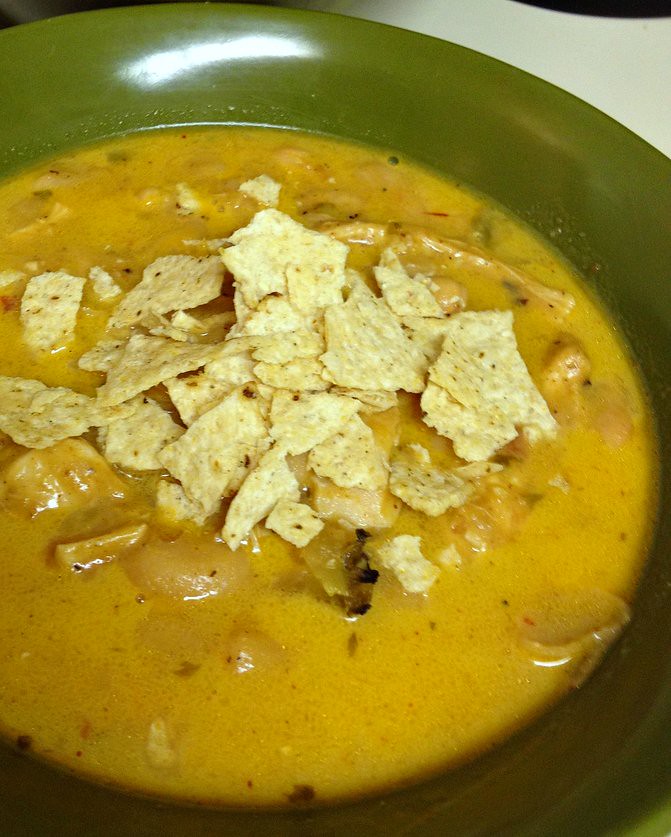
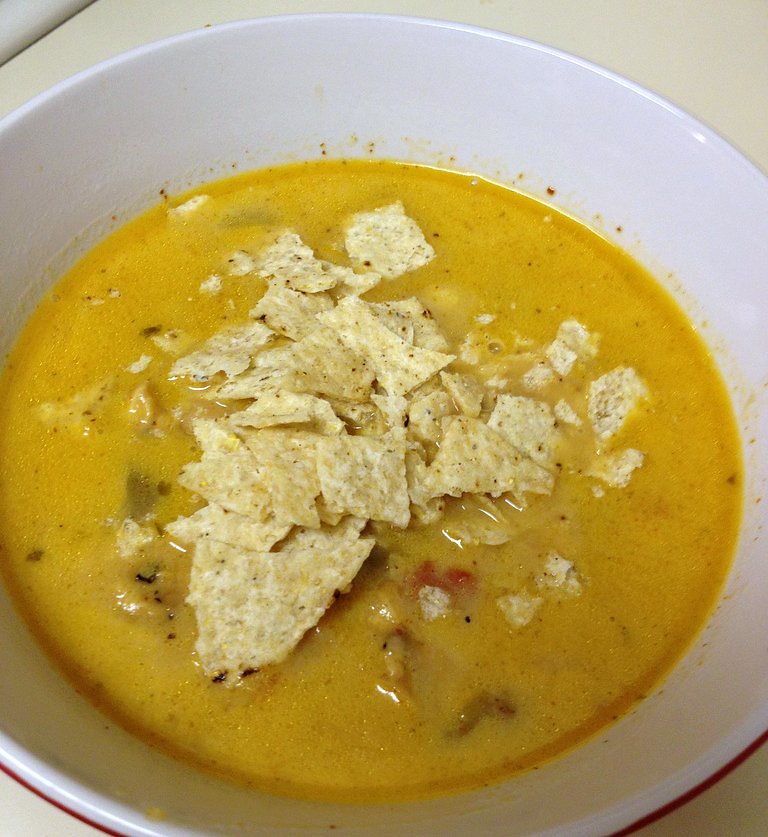
Needless to say it was a huge hit.  This soup is ridiculously cheesy, with a great kick and tons of flavor.  It is incredibly easy to make - it comes together like magic.  As Mrs. Poineau wrote in all caps - STIR OFTEN SO THE CHEESE DOESN'T BURN ON THE BOTTOM OF THE POT.  She's serious, stir it every 5 min or so.  Now, I have to apologize because I made this at the Monkey Scientist's apartment, so the photos are all from my iPhone.  They aren't great, but I had to share this recipe with you ASAP - please don't wait as long as I did to make it!

white chicken chili

White Chicken Chili
from the kitchen of the Poineau family

Ingredients:
2 lbs chicken (I used half of a whole, 4-5 lb chicken)
48 oz jar northern beans (with juice) (note: I used 3 15-oz cans of white kidney beans)
2 tsp cumin
1 lb Monterrey Jack or Jalapenas (Pepper Jack) cheese, sliced thin or shredded (I finely diced it)
16 oz salsa or picante (I used Trader Joe's Chipotle and Garlic Salsa, but use your favorite)
3 cloves garlic, minced
salt and white pepper to taste (I used smoked salt from TJ's)
(note: we also seasoned with chili powder and cayenne and added a can of diced fire roasted chilis from TJ's to make it spicier, but this wasn't in the original recipe and you can leave it out)
lightly salted tortilla chips

Instructions:
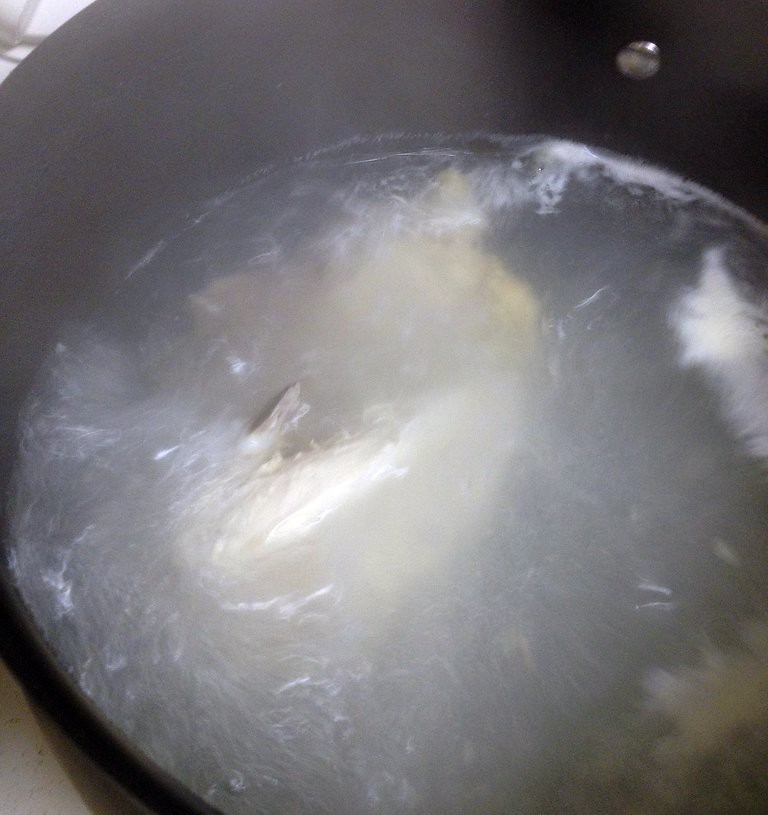
1. Boil chicken until cooked through, about 15 minutes.  Save 2 cups of the broth, drain the rest and remove the chicken.  Shred and debone.
2.  Add chicken and remaining ingredients into a pot, including the 2 cups of broth you boiled in the chicken in. Simmer 45 minutes to an hour, making sure the cheese is well melted.  Stir often so that the cheese doesn't burn the bottom of the pan. Add salt and white pepper to taste.
3. Serve in individual bowls topped with slighly crumbled tortilla chips.