Showing posts with label balsamic vinegar. Show all posts

Tuesday, August 20, 2013

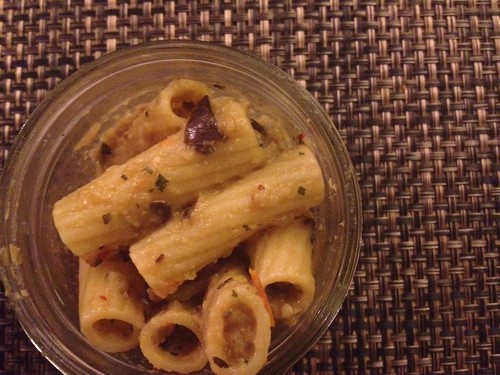
Rigatoni with Eggplant Puree

Eggplant rigatoni

We're back!  Our vacation was amazing.  We explored all over the Pacific Northwest then hung out at the beach in California for a few days.  We were out in the mountains and forests without cell service and it was the perfect excuse to check out from every day life for a little while.  There are lots of pictures up on my tumblr, strangeplaceforyoga, so go check them out!
Eggplant rigatoni

Cooking on our trip was well... minimal.  We picked up food from a few farmer's markets and cooked it over an open fire in the woods.  Usually this resulted in charred burgers and more baked potatoes than we'd ever eat at home, but we found a few treats as well.  Corn over the open fire was charred and absolutely delicious! I didn't even miss the butter.  Still, I was happy to get back home and start cooking again.
Eggplant rigatoni

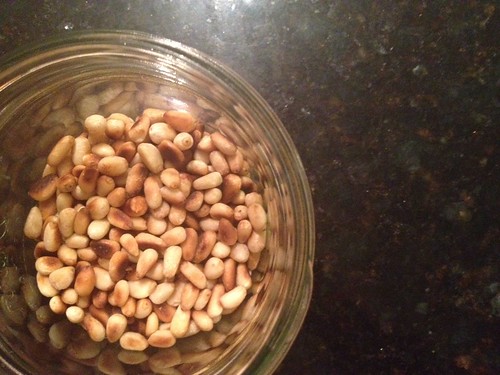
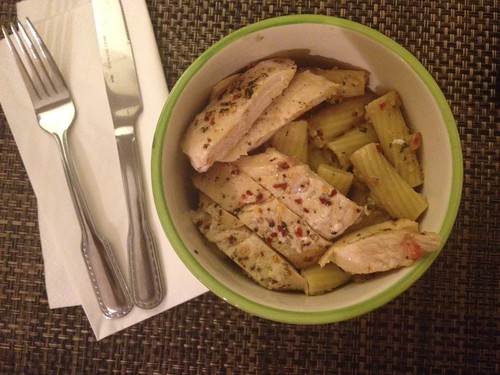
The Monkey Scientist stayed out in California for a fellowship for a week after I left.  I have to admit - before he got back I was lazy.  But when he flew in the other night I put this meal together while his brother picked up him up at the airport.  It had just the amount of cutting necessary to relax me and remind me why I love cooking so much.  Plus, pasta = comfort food.  And pine nuts are my favorite.  I made a few pan-seared chicken breasts to throw on top because I knew he'd want some meat and they were an easy addition.  The dish is warm, cozy and comforting.  Despite the reliance on summer veggies, I'll definitely be bringing it back out this winter!
Eggplant rigatoni

Rigatoni with Eggplant Puree
from smitten kitchen

Ingredients
1 small eggplant, cut into 1-inch cubes
1 pint cherry tomatoes, halved (I used the golden variety)
3 cloves garlic, whole
3 tablespoons olive oil
1 teaspoon salt
1 teaspoon freshly ground black pepper
1 teaspoon red pepper flakes
1/4 cup toasted pine nuts
1 pound rigatoni pasta
1/4 cup torn fresh mint leaves
3 tablespoons extra-virgin olive oil
1/2 cup grated Parmesan
1 oz balsamic vinegar
1 tbsp freshly-squeezed lemon juice

Instructions
1. Preheat the oven to 400 degrees F.  Line a large baking sheet with foil.
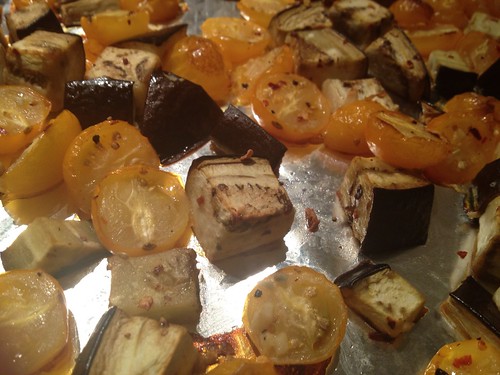
2. Combine the cubed eggplant, tomatoes, garlic, olive oil, salt, pepper and red pepper flakes in a large bowl and toss to coat. Spread the mixture evenly on the foil-lined baking sheet.  Bake for 35 minutes or until the vegetables are tender and the eggplant is golden and beginning to brown on the edges.
3. Meanwhile, in a very small frying pan (I use one designed for 1 egg) add just the pine nuts.  Toast over medium heat, stirring nearly constantly, until they begin to brown.  Remove to a small plate or jar and set aside.
4. At the same time, bring a large pot of salted water to a boil.  Cook according to package instructions then drain, reserving at least 2 cups of the pasta water.
5. Combine 3 tbsp olive oil and the mint leaves in the bowl of your food processor.  Add the roasted vegetables, then puree.
6. Pour the pureed vegetables, Parmesan, balsamic vinegar, and lemon juice over the pasta.  The sauce will be thick, so add the reserved pasta water 1/2 cup at a time until it reaches your desired consistency.

Tuesday, May 7, 2013

Caprese-Topped Steak

Caprese-topped steak

I have been learning to love craft beers over the last few years.  Since college, I'm not a huge drinker, but I am getting quite skilled at drinking a half to a whole bottle of a really good beer lately.  It's been a long journey from ordering light beers to understanding what types of beers I actually like.  I know I'm not the only one who would choose a nice craft beer over a Bud Light.  The growing number of bars with loads of beers on tap are a statement that wine-lovers aren't the only ones who get to be picky anymore!

Caprese-topped steak

In DC, we used to love going to Comet Ping Pong, where not only is the beer list long, but the pizza is pretty stellar as well.  The fact that you can play ping pong while you wait for a table on their patio doesn't hurt either.  And it was at Comet Ping Pong that I learned to love a brown ale, but more specifically learned that my very favorite beer just might be Tommyknocker's Maple Nut Brown Ale.  If you're surprised that this beer infused with maple syrup is my favorite... Hi, I'm Dani and welcome to my blog that might as well be named yellebelly-full-of-maple.  And lucky for me, I found a single bottle of this gem in the Make Your Own 6-Pack section of my local Jewel last week.  Unlucky for me, I only found a single bottle.  Can we find me some more please?

Caprese-topped steak

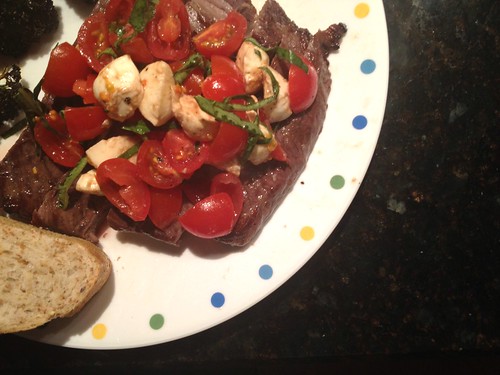
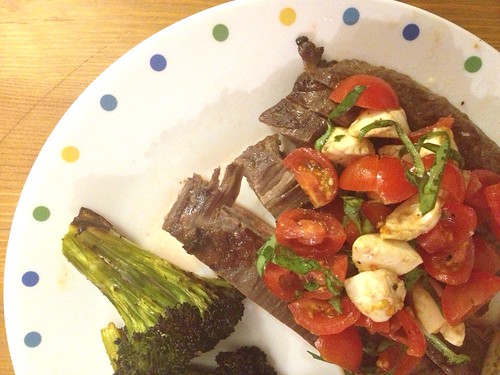
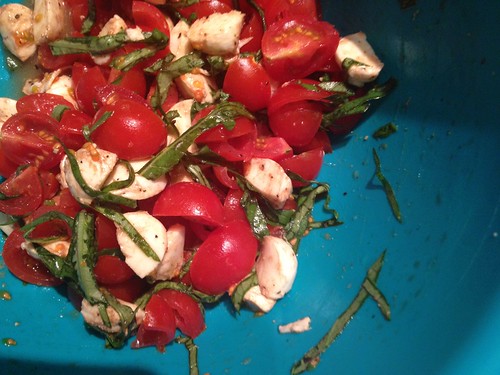
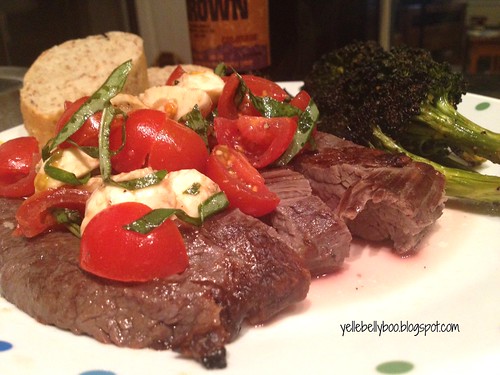
My favorite beer, well most beers really, went great with this flank steak, broiled and topped with a caprese salad.  I know what you're thinking, "wait a minute, Dani, you ate tomatoes?"  Yes folks, I have been learning to tolerate, maybe even like, cherry tomatoes.  As long as they've never seen a refrigerator.  Maybe you can teach an old dog new tricks after all!  Because man, I loved every bite of this dish!

Caprese-topped steak

Caprese-Topped Steak
from How Sweet It Is

Ingredients
1 (2 lb) flank steak, about 1 inch thick
1 1/2 c dry red wine
1/2 c olive oil
4 garlic cloves, minced
1 tsp salt
1 tsp pepper
caprese topping
1 pint cherry tomatoes, quartered
1 small shallot, diced (I left this out)
1/2 c mini mozzerella balls, quartered
10 basil leaves, freshly chopped or chiffonaded
1 tsp balsamic vinegar
1/2 tsp olive oil
1/8 tsp garlic salt
pinch of pepper


Instructions
1.  In a large ziploc bag, combine the steak, red wine, olive oil, garlic, salt and pepper.  Shake it up, then let it marinate for 2-24 hours in the refrigerator.
2. Place the marinated steak on a foil-lined cookie sheet and broil on high for 6 minutes on each side, or until it's starting to char.  You're welcome to grill it too, if you're into that.
3. Pour the extra marinade into a small saucepan and bring to a boil. Turn down the heat and allow to simmer for 10-15 minutes until it is reduced and you've killed all the evil steak bacteria.
4.  In a bowl, combine the tomatoes, shallot (if using), mozzarella balls, basil, balsamic vinegar, olive oil, garlic salt, and pepper.  Toss to coat.
5.  Allow the steak to rest for 10 minutes before slicing (unless you're impatient like me and hungry enough to eat dried out steak).  Serve slices topped with caprese salad.  Serve the reduced marinade on the side as a sauce for those who'd like it (or would like to dip freshly baked french bread in it).

Wednesday, June 6, 2012

Roasted Strawberry Buttermilk Cake

Strawberry buttermilk cake

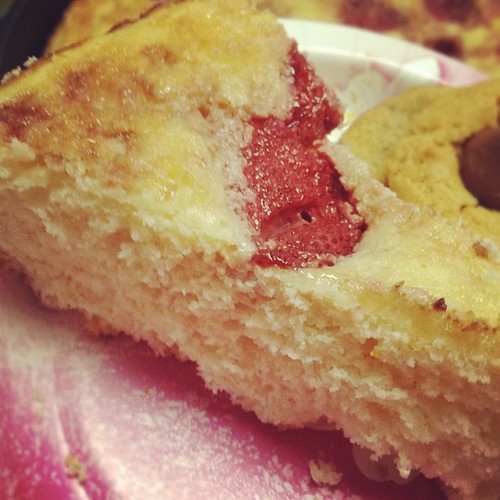
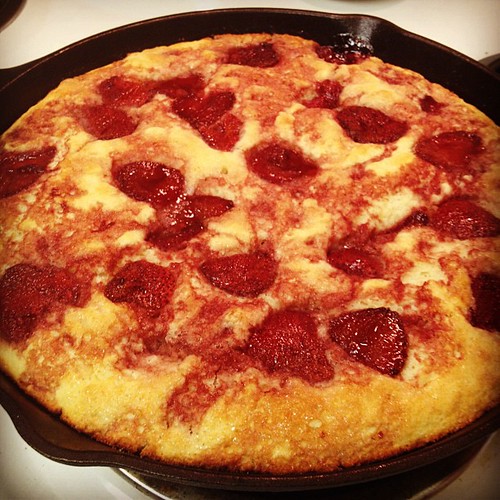
I don't know about you, but I'm starting to really feel summer.  We've already been to the beach, the pool, and even for a small hike.  I love being able to get outside, but more importantly, I love summer foods.  Nectarines, peaches, and berries have been arriving and looking gorgeous at our grocery store and I couldn't be happier.  When I saw this recipe, it just screamed summer to me with fresh strawberries and buttermilk.

Strawberry buttermilk cake

We brought this cake to a party the Monkey Scientist's office has every year for the team members ending their 2-year Fellowship (like him).  I was really excited to meet everyone who he works with.  I've heard many of their names for a long time, it was nice to be able to associate each one with a face.  The dinner was absolutely lovely.  There was tons of food and everyone was really nice.  His PI made us all feel at home in his house, which always makes for a particularly enjoyable party.

Oh yeah, and the cake!  Everyone seemed to enjoy the cake!  I had to make it the day before and keep it in the fridge, so honestly it was a bit dried out.  But the flavors were great - I think that the almond extract was KEY!  The strawberries were delightful, but you could really use any type of berry or fruit (peach slices would be great!) on top.  It was so easy to throw together - I recommend it for any summer event!

Strawberry buttermilk cake

Roasted Strawberry Buttermilk Cake
from joy the baker

Ingredients
Roasted Strawberries:
8-oz (1/2 lb) medium strawberries, hulled
2 tbsp maple syrup
1 tbsp olive oil
pinch of salt
2 tsp balsamic vinegar
Buttermilk Cake:
2 1/2 c all-purpose flour
1 tbsp baking powder
1/2 c granulated sugar
1/2 tsp salt
2 large eggs
1 1/2 c buttermilk
1/4 c unsalted butter, melted and slightly cooled
1/4 tsp pure almond extract
1/4 tsp vanilla extract
roasted strawberries
3 tbsp turbinado sugar for topping

Instructions
To make the strawberries:
1. Place a rack in the center of the oven and preheat oven to 375 degrees F.
2. Line a rimmed baking sheet with parchment paper. The strawberries get juicy, so a rimmed baking sheet is important. Set aside.
3. Cut each strawberry in half and place in a mixing bowl. In a small bowl, whisk together maple syrup, olive oil, and salt (notice I didn't say balsamic vinegar...made that mistake). Whisk together until completely incorporated. Drizzle the mixture over the strawberries and toss until each strawberry is coated. Arrange strawberries in a single layer across prepared baking sheet.
4. Roast strawberries for 40 minutes. The juices will thicken, but remove the strawberries from the oven before the juices begin to burn. Remove the berries and juice from the pan while still warm. Place in a small bowl, stir in balsamic vinegar, and set aside.
To make the cake:
1. Place a rack in the center of the oven and heat oven to 400 degrees F. Butter an 11-inch cast iron skillet. You can also use an 11-inch round tart or quiche pan, or a 9×13-inch pan… although the cake will be more thin and you’ll need to keep a close eye on it in the oven.
2. In a medium bowl, whisk together flour, baking powder, salt and sugar. Set aside.
3. In a small bowl, whisk together buttermilk, eggs, and butter. Whisk in the vanilla or almond extract.
4. Add the buttermilk mixture all at once to the dry ingredients. Stir until just combined and no lumps remain. Spoon batter into the prepared pan. Top batter with half of the roasted strawberries and juice. Sprinkle generously with turbinado sugar.
5. Bake for 20-25 minutes, or until a skewer inserted in the center of the cake comes out clean. Allow cake to cool to room temperature before slicing to serve. Serve with the remaining roasted strawberries.

Cake will last, well wrapped in the refrigerator, for up to 3 days.

Thursday, May 17, 2012

Blackberry Lemon Goat Cheese Squares

Katie is amazing

For this week's barbecue, I convinced my friend to upgrade her contribution from a simple fruit salad to these amazing puff pastry squares. Even though she ended up nearly catching her apartment on fire (wax paper is not a substitute for parchment paper. Don't bake it!), I am so so glad she went the extra mile.

Not only are these the most impressive looking dish that anyone has ever brought to our Thursday night BBQs, they were completely delicious. I love that they fell somewhere in between sweet and savory - they could really be a dessert or an appetizer. The goat cheese is perfectly tangy and tart mixed with lemon and the blackberry brings just the right touch of sweetness, brought out by balsamic vinegar, without being overly sugary. And puff pasrty is always a hit with me - it's so flaky and wonderful. The touch of green doesn't add much flavor but it's nice pop of color that takes these to the next level.

If you want to impress your friends, definitely try this recipe out. My friend definitely impressed me!

Blackberry goat cheese lemon squares

Blackberry Lemon Goat Cheese Squares
from Shutterbean

Ingredients
6 oz goat cheese, at room temperature
1 tablespoon lemon zest
2 tablespoons honey
1/2 pint blackberries
2 tablespoons balsamic vinegar
2 sheets puff pastry, thawed
small handful arugula

Instructions
1. Preheat oven 400F. Line a baking sheet with parchment (not wax) paper or a silicon mat and set aside.
2. In a small bowl, mix the goat cheese, lemon zest and honey together.
3. In another small bowl stir the blackberries with the balsamic vinegar and let sit for 10 minutes. 
4. On a lightly floured surface, cut the puff pastry into 2 inch squares. Place squares onto the parchment lined sheet  about 2 inches apart and score a square into the pastry, making sure not to cut all the way through to the bottom.
5. Place a dollop of lemon goat cheese on top of each square and top with a blackberry. Bake squares for 15-20 minutes until golden.
6. Let squares cool and place a leaf of arugula under each blackberry. Serve warm or at room temperature.

Saturday, March 31, 2012

Chicken with Mushrooms and Orzo

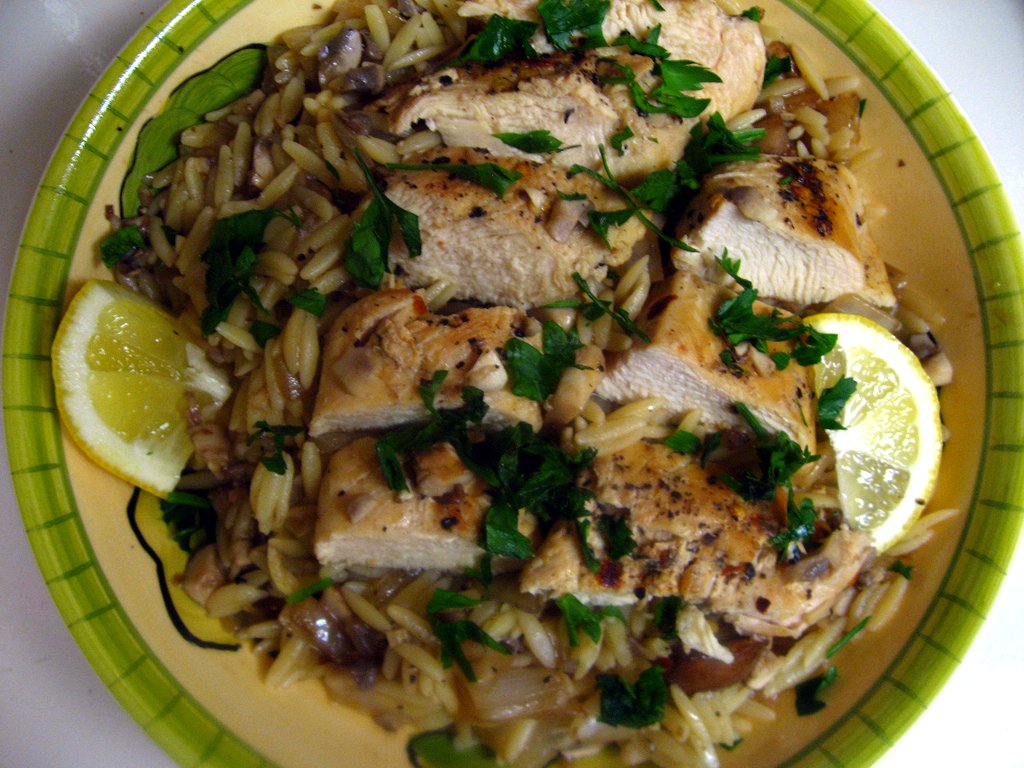
Chicken with Orzo and Mushrooms

Well today, it's official.  I'm officially done with my first big-girl job.  After nearly 2 years, I left to take a new job.  I'm so excited about my new role, but I'm a little sad as well.  I adore the people I worked (ah past tense!) with and will miss them dearly.  I hope that my new coworkers enjoy my baked goods as much as they did!

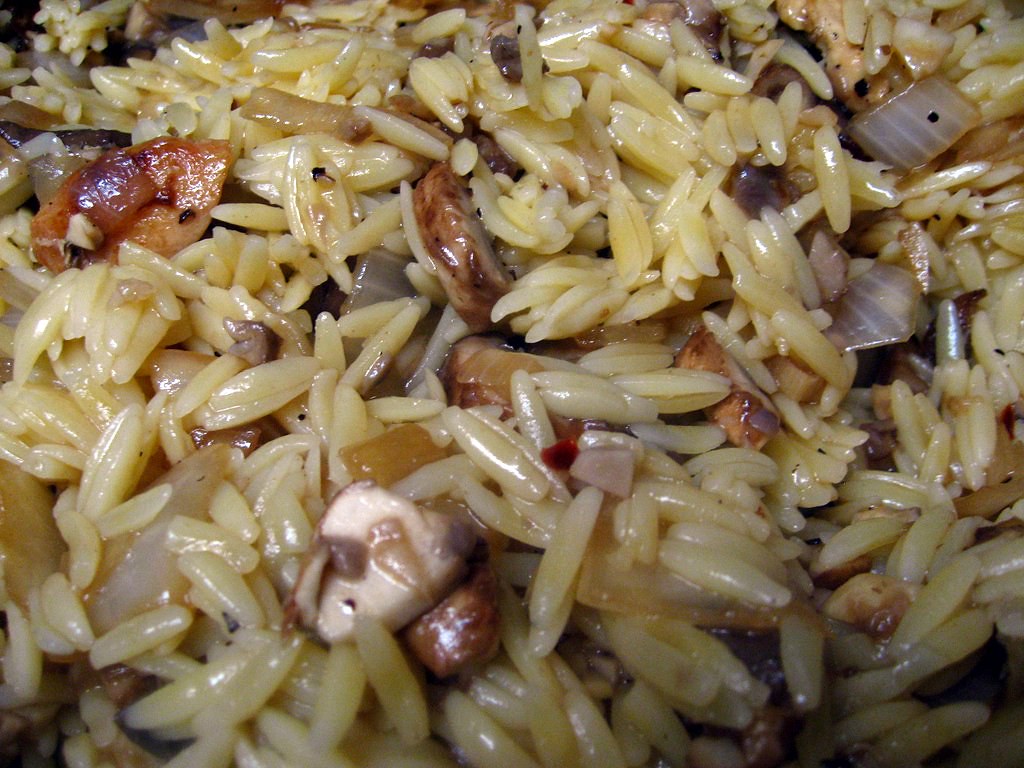
Mushrooms and Garlic

While I was cleaning out my office last week, I finally brought home all the cookbooks that had been donated to me by my coworker. One of these was Cooking Thin with Chef Kathleen.  This is a great cookbook for a beginner chef or to make a quick weeknight dinner.  The recipes are super simple - rarely more than a handful of ingredients, most of which I usually have on hand - and everything is fresh and mostly healthy.  This is supposed to be a diet food cookbook, but it does have a lot of desserts and other things so I think it's better as a "simple recipes" cookbook rather than diet.

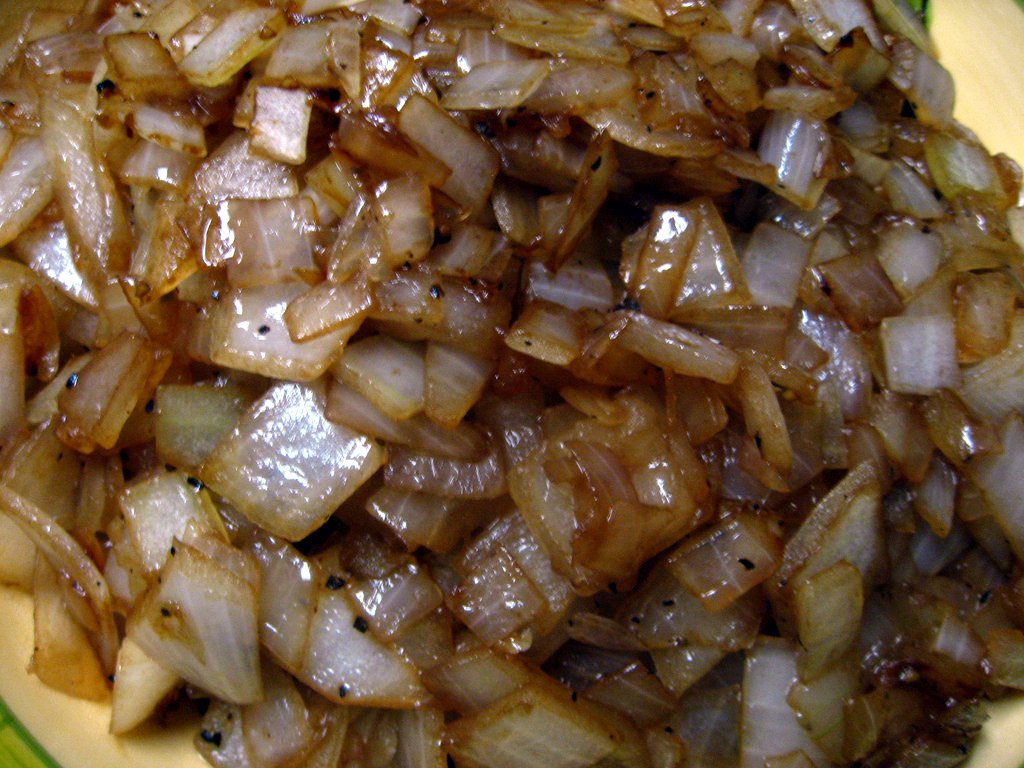
Carmelized Onions

Even though I've flagged a bunch of things I want to try, I'm really thinking of sending it off to my baby brother.  He's moving out of the dorms and into his first college house in a few months, which means he needs to start cooking for himself.  I think these recipes would be easy for him to make and allow him to change it up from Ramen noodles and  mac 'n' cheese.  If you know someone moving out on their own for the first time, I'd definitely recommend this as a great first cookbook.

Chicken with Orzo and Mushrooms

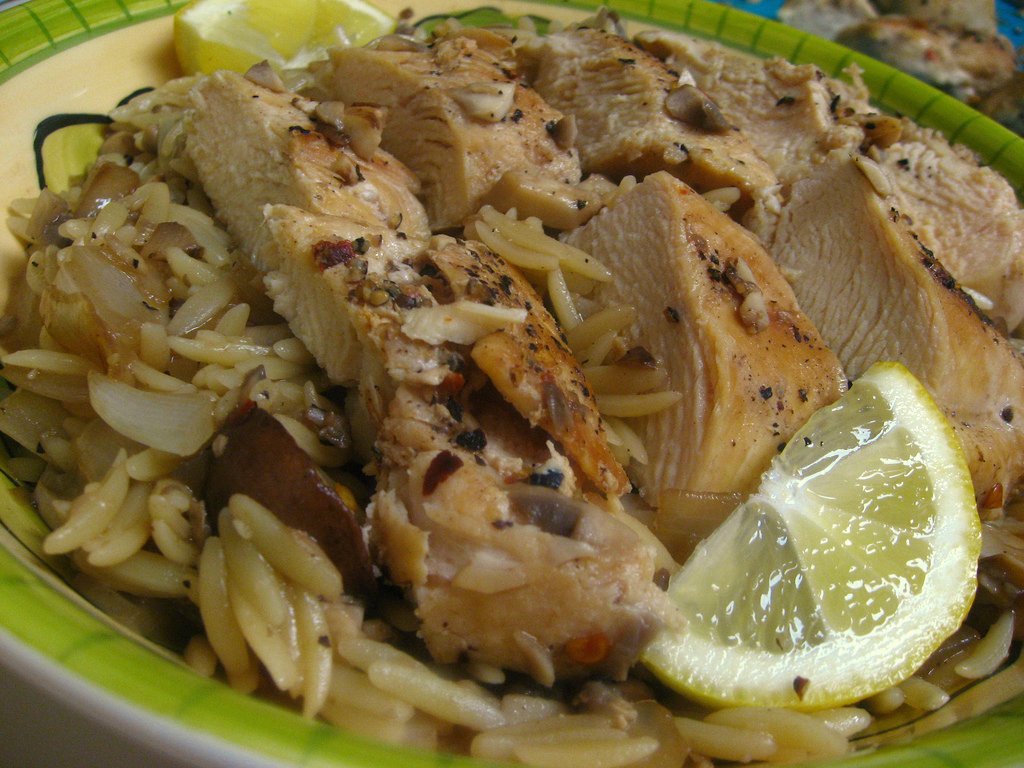
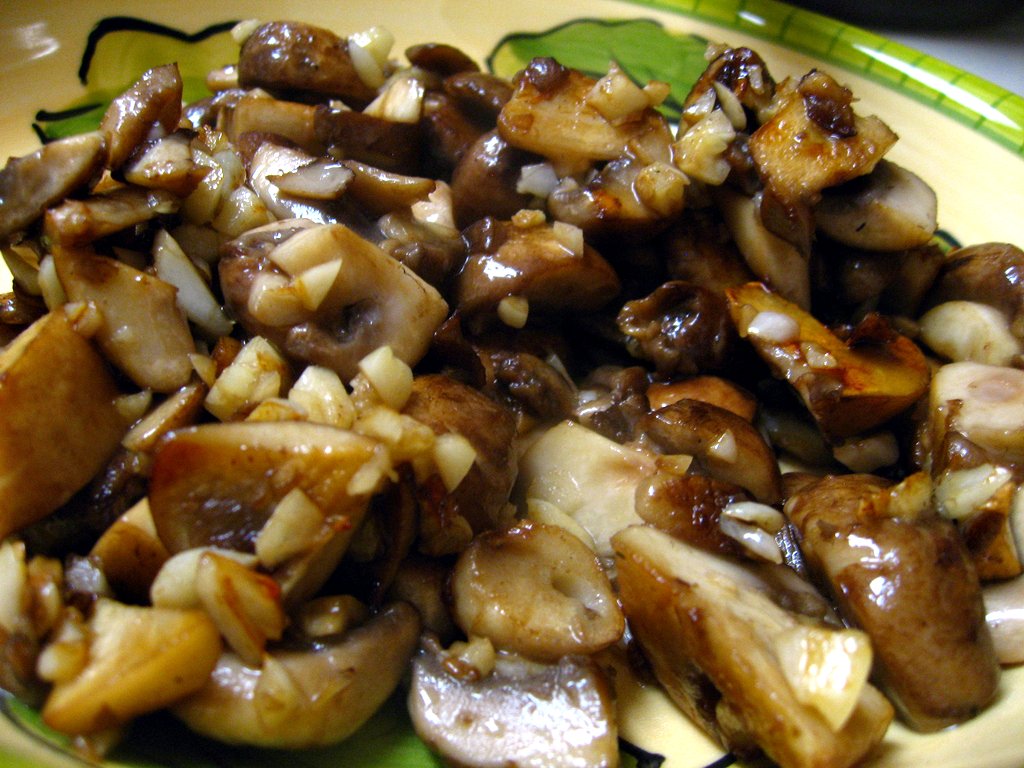
This recipe is simple but tasty.  The Monkey Scientist said he enjoyed it a lot.  I love orzo in anything, and the lemon and herbs make this fresh and cool.  I added a lot more seasoning than the original recipe called for (salted and peppered between every step) but beyond that did not alter the recipe dramatically.  I like the heartiness from the mushrooms.  They give a nice earthy undertone that works well with the caramelized onions.  It's a nice weeknight dinner, but nothing special.

Chicken with Orzo and Mushrooms

Chicken with Mushrooms and Orzo
adapted from Cooking Thin with Chef Kathleen

Ingredients
1 1/2 cups of orzo, uncooked
6 tsp olive oil, divided
16 oz mushrooms (1 packages, I used baby bella), roughly chopped
4 cloves garlic, minced
1 sweet onion, diced
salt and pepper to taste
1 tbsp balsamic vinegar
4 boneless, skinless chicken breasts
1 tsp crushed red pepper flakes
1 lemon, juiced
1/2 cup parsley, chopped
1 lemon, sliced

Instructions
1. Cook orzo according to package instructions, reserving the cooking liquid when draining.
2. Heat 2 tsp olive oil in a large skillet over medium to medium high heat.  Add the mushrooms and cook until soft, about 8 minutes. Add the garlic and cook until fragrant, about 2 more minutes.  Remove the mushrooms and garlic from the pan and set aside.
3. Add another 2 tsp of olive oil to the skillet.  Add the onion, season with salt and pepper, and cook until brown and caramelized, 10-20 minutes.  When they are almost done, add the balsamic vinegar and stir throughout.  Remove from pan and place on top of the mushrooms and garlic.
4.  Add the last 2 tsp of olive oil to the pan to heat up.  Meanwhile, season the chicken breasts with salt, pepper, and red pepper flakes.  Add the chicken breasts to the pan and cook on each side until just cook through and browned, about 2-3 minutes per side.  Remove chicken from the pan and set aside to rest.
5. Add the onion and mushroom mixture back to the pan, along with the orzo and 1/2 cup of the reserved cooking liquid and the lemon juice.  Season to taste with salt and pepper.
6. Slice chicken on the diagonal and serve over the orzo mixture.  Top with parsley and serve with additional lemon slices.

Friday, December 2, 2011

Kicked-up Meatloaf

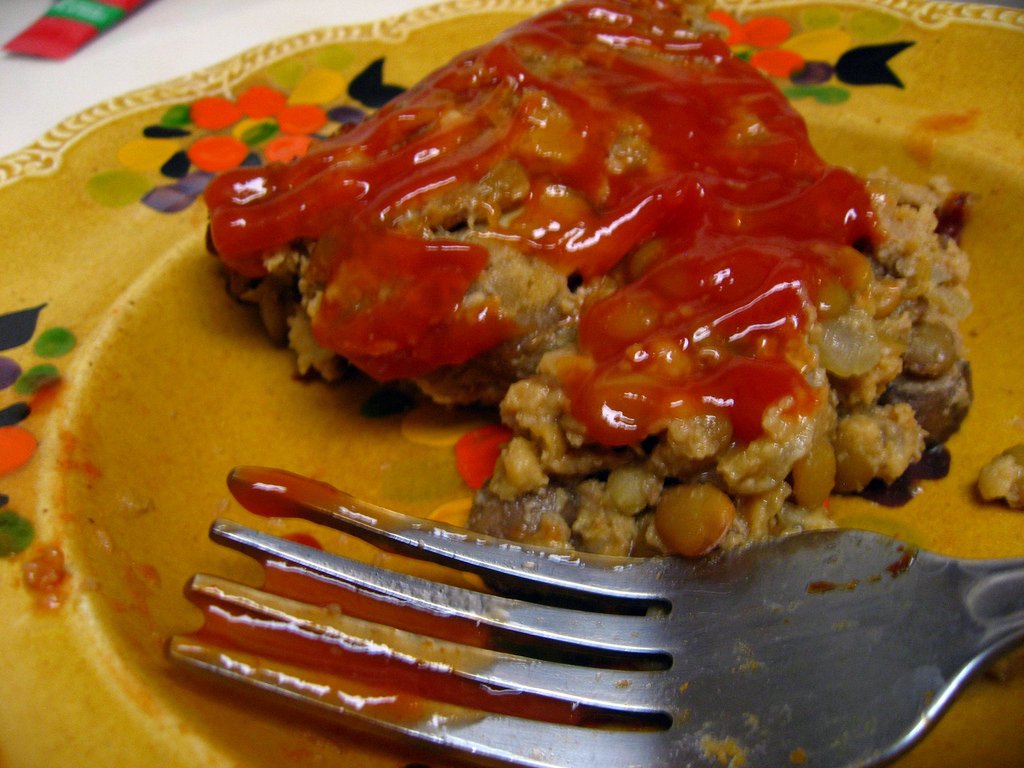
kicked up meatloaf

I am so sorry! I wrote up this post a long time ago and realized I never posted it for you!! And now I've made you wait allll this time without a new post.  Shame on me.

To be honest, I wasn't so excited about this recipe, so I guess that's what led to my hesitation in posting it.  When I have a recipe I totally love - like buttery cloverleaf rolls - I post it right that night. But this one was just, eh.  I still figured it might appeal to some of you.

kicked up meatloaf

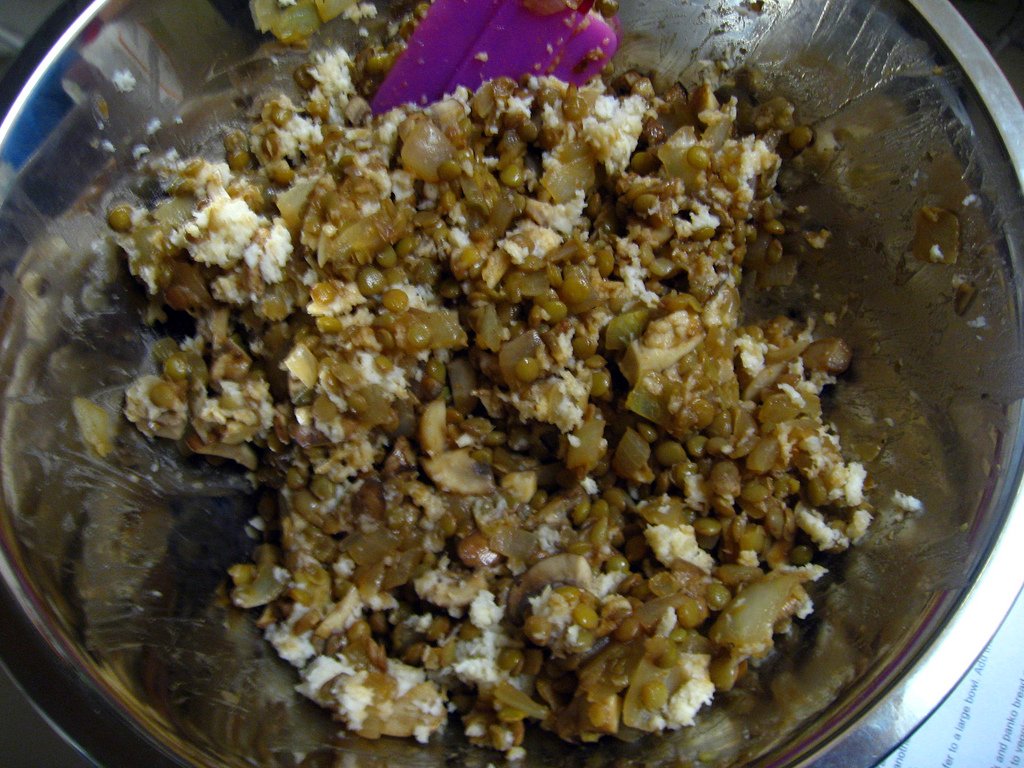
My favorite part of this meatloaf was the addition of mushrooms.  I'd never put mushrooms in my meatloaf before, but I absolutely loved them.  I used baby portabellas, which were absolutely perfect. I'm usually not that into veggies in my meatloaf (which is why I left out the carrots - I'm not into cooked carrots at all) but mushrooms are meaty enough that they work well.

kicked up meatloaf

I was also intrigued by the step where you soak the bread crumbs in milk.  I'd never done that before.  I'm not sure what exactly it did, but maybe it made a juicier meatloaf.  I wished it had a bit more egg - I know it's weird but I actually love an eggy meatloaf like my college roommate used to make.

kicked up meatloaf

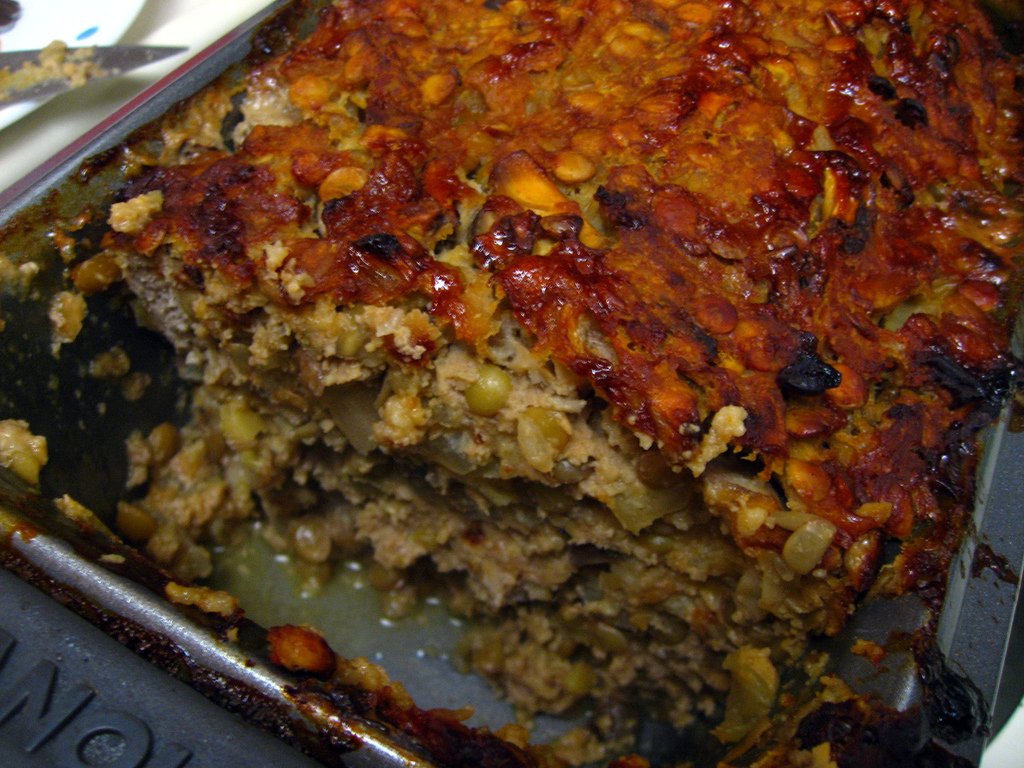
My biggest issue with this recipe happened once it was cooked.  As soon as I sliced it, it was almost impossible to get a nice piece out of the dish.  It kept falling apart.  It tasted fine, but it wasn't exactly a gorgeous presentation.  I think it's all the lentils that made it not turn into a loaf quite as much as meat typically does.

kicked up meatloaf

Overall, not a bad recipe. It's nowhere near my favorite meatloaf recipe, but it is definitely a different and fairly delicious dinner.  It's especially good with a little sriracha on top (you know that's how the Monkey Scientist ate it!), smothered in ketchup, or even with soy sauce.  If you've cut out red meat and didn't want to go all turkey, it's certainly a good alternative to traditional meat loaf.

kicked up meatloaf

Kicked up Meatloaf
from ELR on Perry's Plate

Ingredients:
1 lb lean ground turkey
1 cup cooked black or green lentils
1 large carrot, diced (I actually left this out)
1 large onion, diced
2 cloves garlic, minced
2 cups mushrooms, chopped
1 1/2 tsp worcestershire sauce
1/4 cup ketchup
1 tsp salt
1/2 T olive oil
1/4th tsp black pepper
3/4 cup panko breadcrumbs
1/3 cup milk
1 egg, slightly beaten
glaze:
2 T ketchup
1 T pure maple syrup (I was out so I used honey)
1 T balsamic vinegar

Instructions:
1. Preheat oven to 400.
2. Heat the olive oil in a large skillet over medium high heat. Add the diced onions and saute for about six minutes, until soft and translucent. Add the carrot and garlic and cook for three minutes. Add the chopped mushroom and cook for another five minutes or so, until the mushroom has turned soft and all the veggies are nice and juicy.
3. Remove from heat and transfer to a large bowl. Add the cooked lentils, salt, pepper, worcestershire sauce and ketchup and mix well.
4. In a small bowl, combine the milk and panko bread crumbs. Let sit for three minutes so the breadcrumbs can absorb a little of the milk. Add to veggie mixture.
5. Add ground turkey and beaten egg and mix well. It’s easiest here to use your hands. Transfer to a greased loaf pan and press down to smooth top.
6. Combine the ingredients for the glaze and pour over top of meatloaf. Spread with a spoon to cover the top.
7. Bake for 55 minutes or until a meat thermometer reads 165 degrees (mine too much longer).

Friday, October 21, 2011

Shredded Sprouts Salad

brussels sprouts

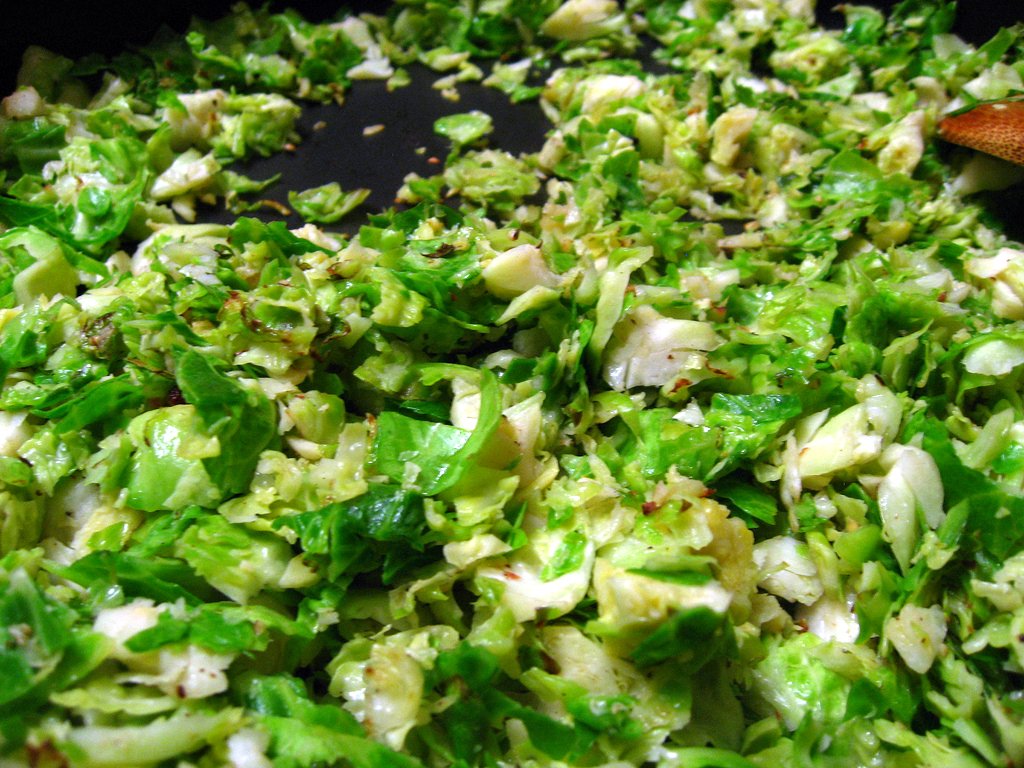
I have always been terrified of brussels sprouts.  They just don't sound good, and until recently they've only been featured as a weird ingredient on the menu that no one really orders, like liver and onions.  But these little veggies, they've made a comeback!  And with good reason, they're actually delicious!

brussels sprouts

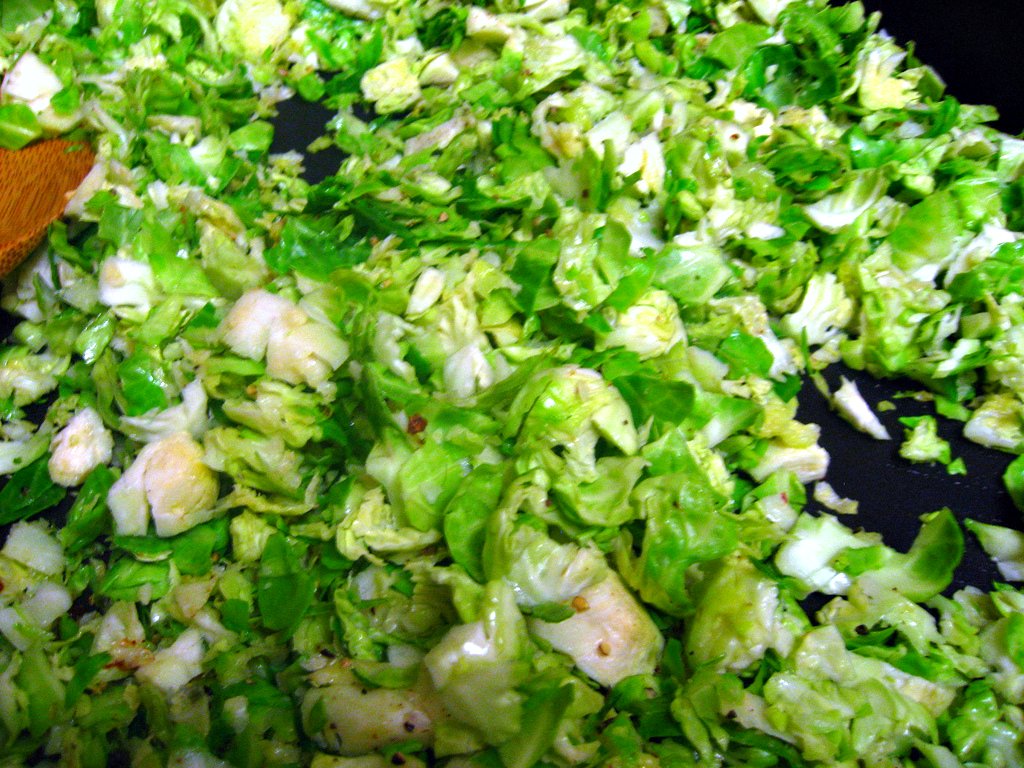
My mom makes a brussels sprouts recipe where she keeps them whole and then cooks them in bacon fat.  I much prefer the shredded version.  When it's whole, the outside gets cooked and caramelizes but the inside often remains a bit raw.  Raw brussels sprouts have a very strong cabbage flavor, which is probably the flavor that gave these babies a bad rep in the first place.  So step 1 in making them delicious - shred your sprouts.

brussels sprouts

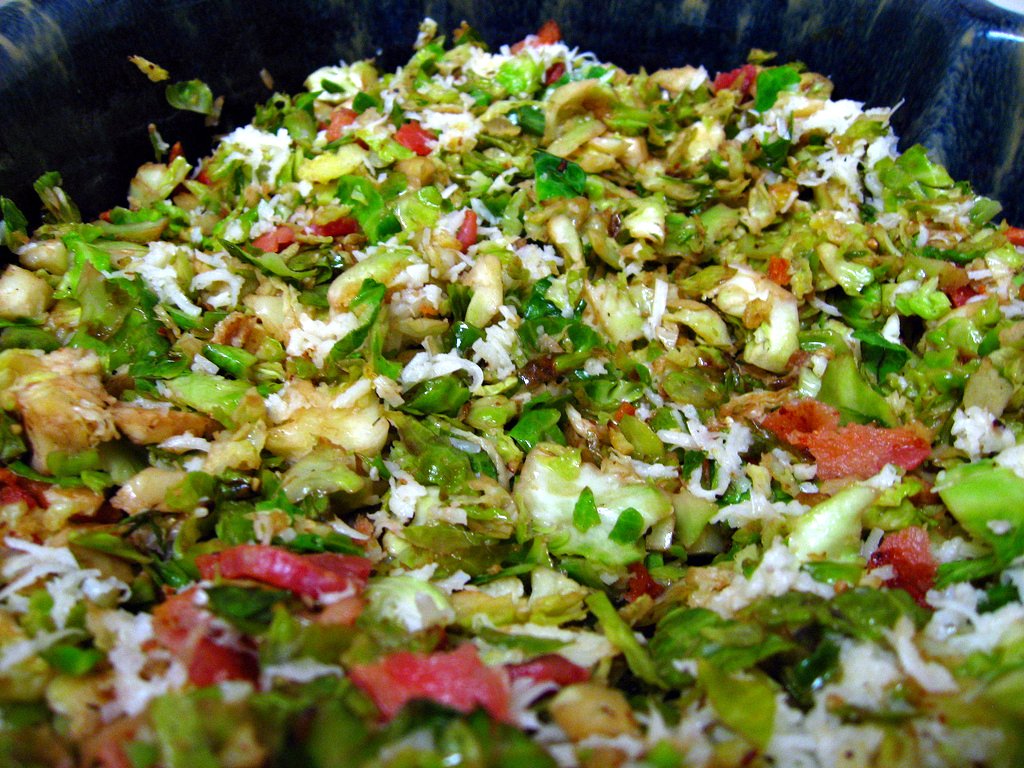
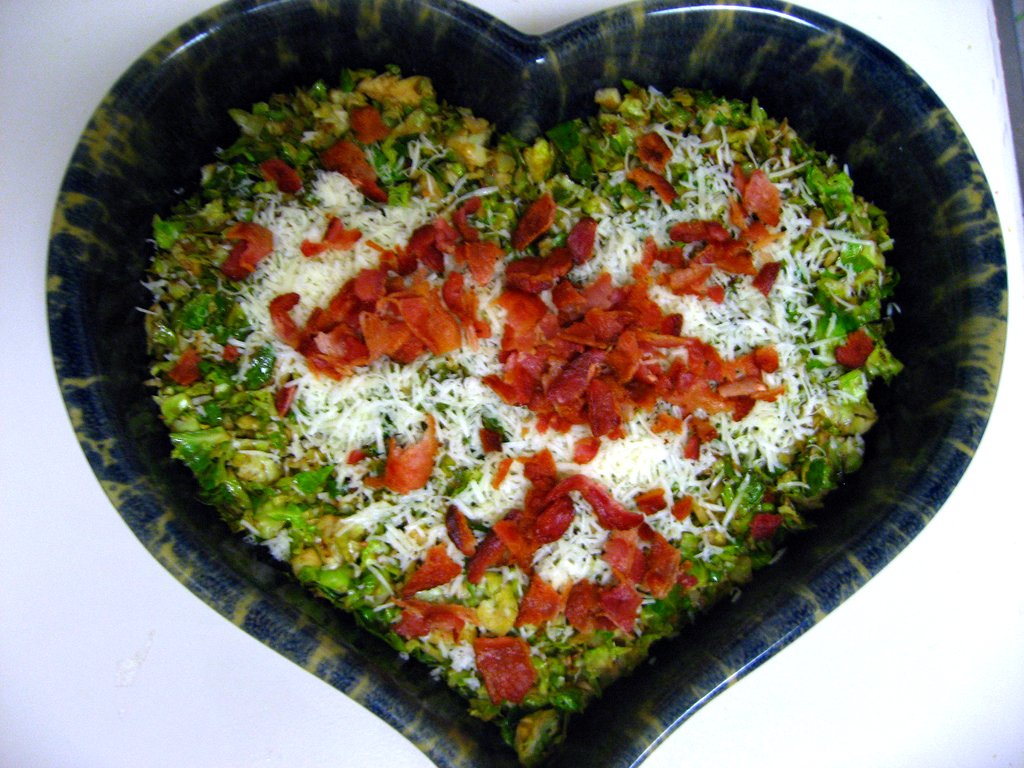
Of course, everything tastes better with bacon.  Step 2 is to fry them up in bacon fat.  Sprinkle back in the crumbled bacon.  You won't be sorry.  Even 1 piece of bacon in the whole batch goes a long way.  If you don't eat pork, use turkey bacon and fry them in butter or oil, still does the trick.

brussels sprouts with bacon and asiago cheese

Step 3 is balsamic vinegar.  It gives the perfect bit of acidity while adding some sweetness to the sprouts. Sprouts need balsamic.  They were meant to be together.

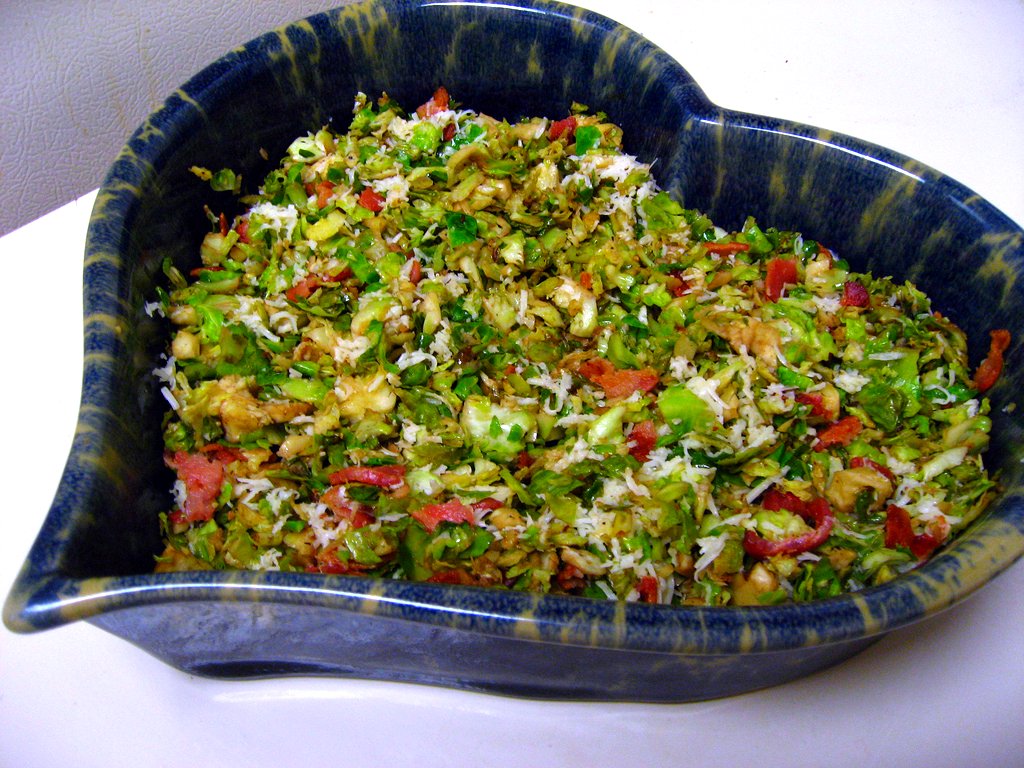
Finally, cheese.  Like bacon, everything tastes better with cheese.  Asiago is fantastic because its a little salty and it's plenty hard to grate in easily.  I'd like to say you can never have enough cheese, but a little goes a long way here.

brussels sprouts

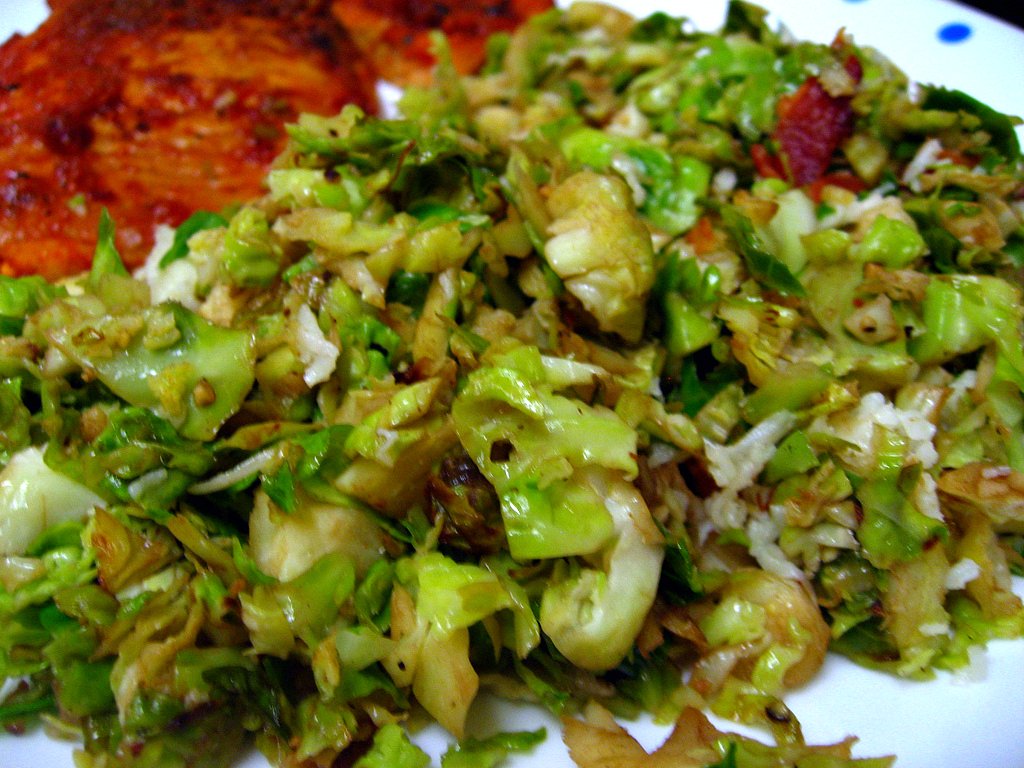
This recipe is my favorite vegetable side dish, maybe ever.  I can gobble up a whole batch on my own.  I almost never make a dish more than once (I love trying new things) but I've made this probably 5 times now and I'm dreaming about making it again tonight.  Even the Monkey Scientist, who claims to hate brussels sprouts, loved this dish.  Leave it to Jessica, a self-proclaimed veggie hater, to bring me the best thing to happen to brussels sprouts since...well ever.  Now go home and make these, you won't regret it!

chorizo-style pork chops and brussel sprouts

Shredded Sprouts Salad
from How Sweet Eats

Ingredients
2 cups whole brussels sprouts
1/2 clove of garlic, minced
1/4 teaspoon salt
1/4 teaspoon pepper
1 tablespoon balsamic vinegar
1 tablespoon butter or bacon fat
1 slice bacon, fried and crumbed
1/2 ounce grated asiago cheese

Instructions
1. Cutting the stems off of the brussels sprouts.
2. Add sprouts to a food processor and pulse until sprouts are tiny shreds. Do it manually so you can control the size of the shreds. You want some larger pieces and you don’t want them to be crumbs!
3. Melt butter or heat up bacon fat in a large skillet over medium heat. Add garlic and shredded sprouts, sprinkle with salt and pepper, and saute for about 5-7 minutes, or until sprouts are browning. Add vinegar, salt, and pepper while stirring and make sure sprouts are all coated. Saute for another 1-2 minutes. Remove and plate.
4. Top with crumbled bacon and a small sprinkling of asiago cheese. Devour!