Monday, October 31, 2011

Mrs. Poineau's White Chicken Chili

white chicken chili

If you were on the Michigan Ski Team any time from, oh say 2006-2010, you know exactly what this chili is.  You got inside quickly after every race to eat this chili.  You thanked Mrs. Poineau endlessly for warming us up with this chili.  You thanked Kelsey for having such an amazing mom.  I'm not convinced that people didn't join the team just to eat this chili.

chicken, boiling

After I begged her endlessly, Kelsey and her mom sent me this recipe back in February of 2009.  But then I didn't make it.  I'm not sure what I was thinking - maybe I was afraid it wouldn't be as good as when her mom makes it - but I let it sit in my email inbox for that long.  Every once in a while, I'd look it up and think how good it would be, but I'd never make it.

white chicken chili

Then finally this weekend, when the temperature dropped (though we were fortunate to be spared of the snow that hit my home state of Massachusetts!!) it was officially chili and soup season.  Now I don't like regular bean/beef chili, but after 3 years of skiing with Kelsey, white chicken chili is definitely one of my favorite soups.  After raving about this soup to the Monkey Scientist for weeks, I had to actually make it for him and our friends.

white chicken chili

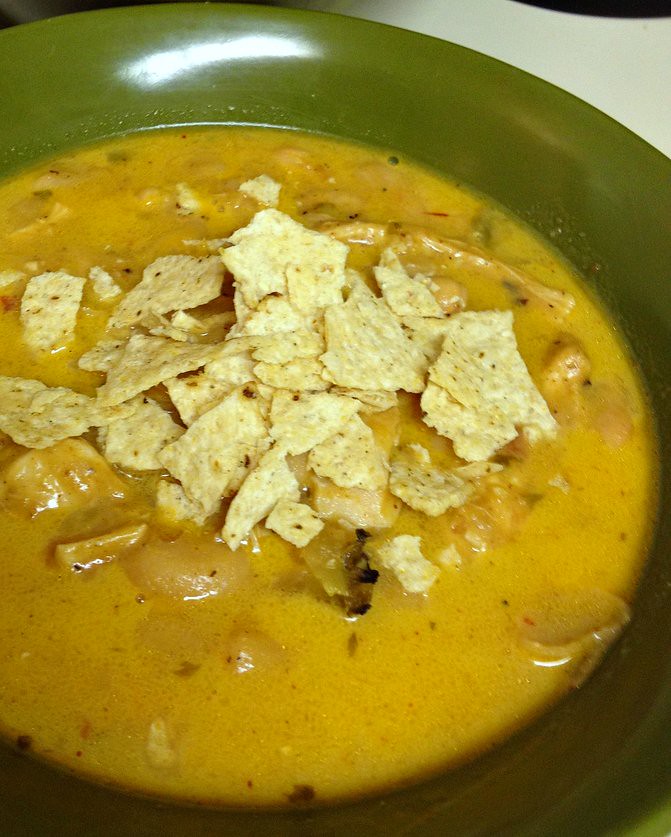
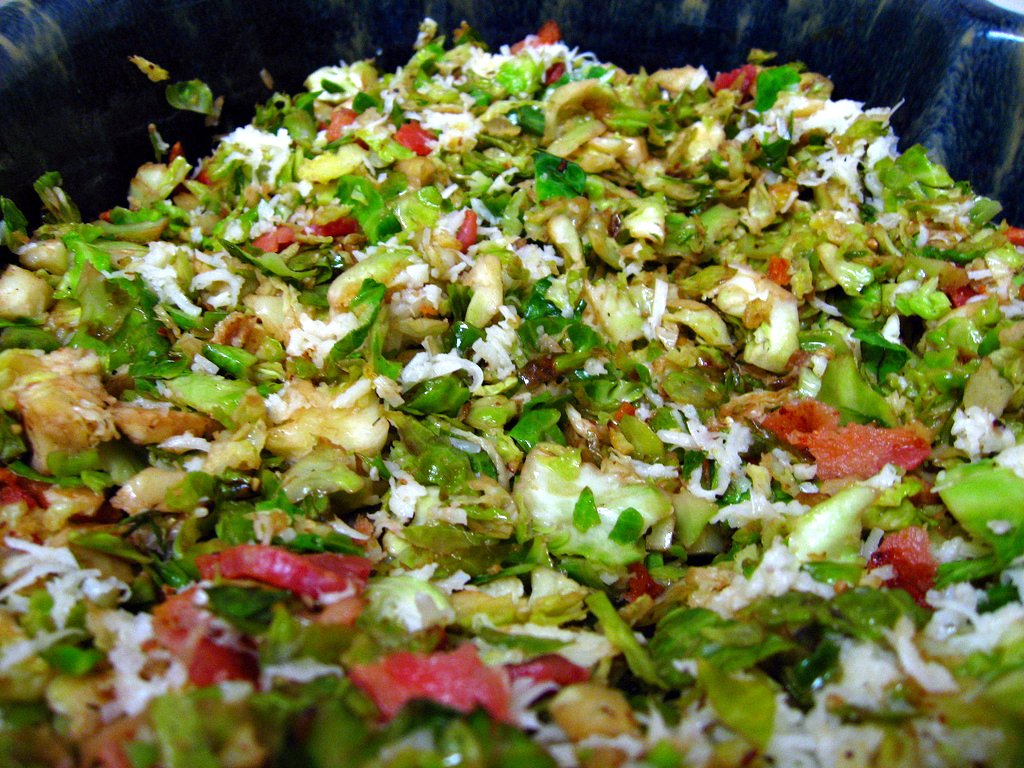
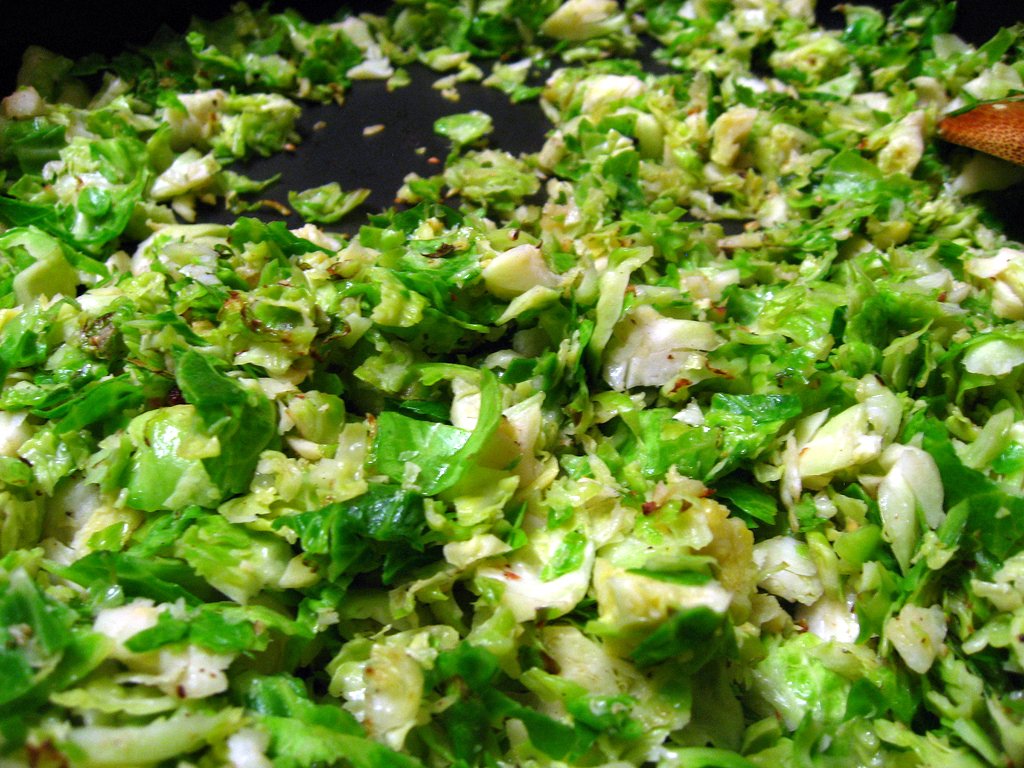
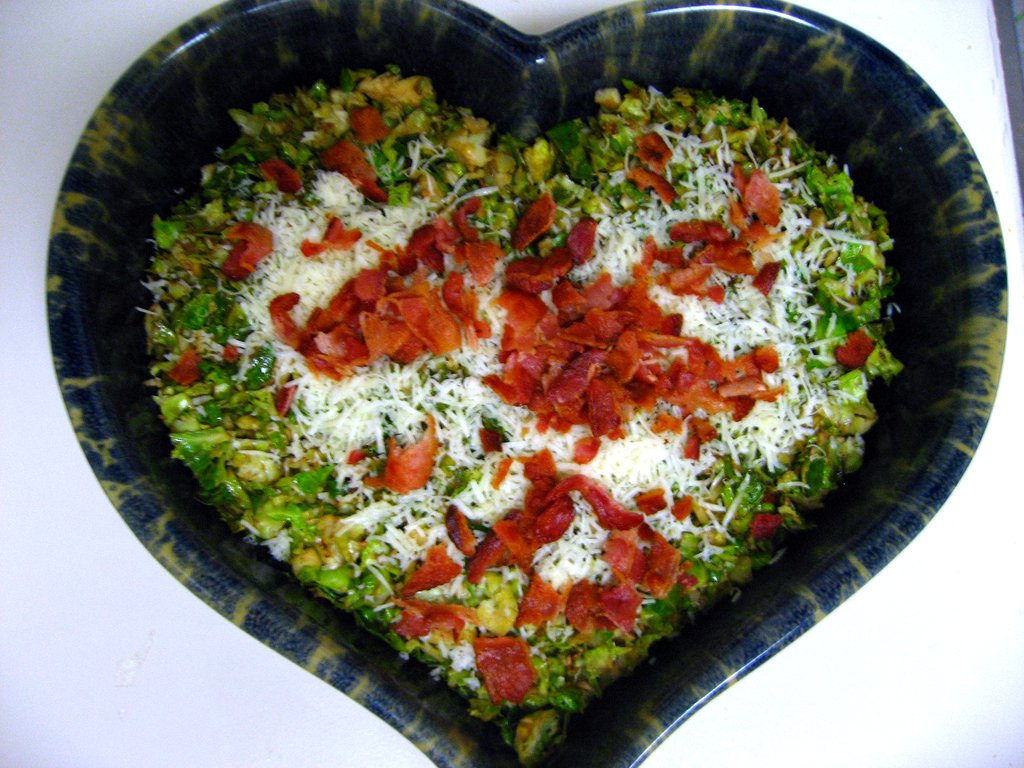
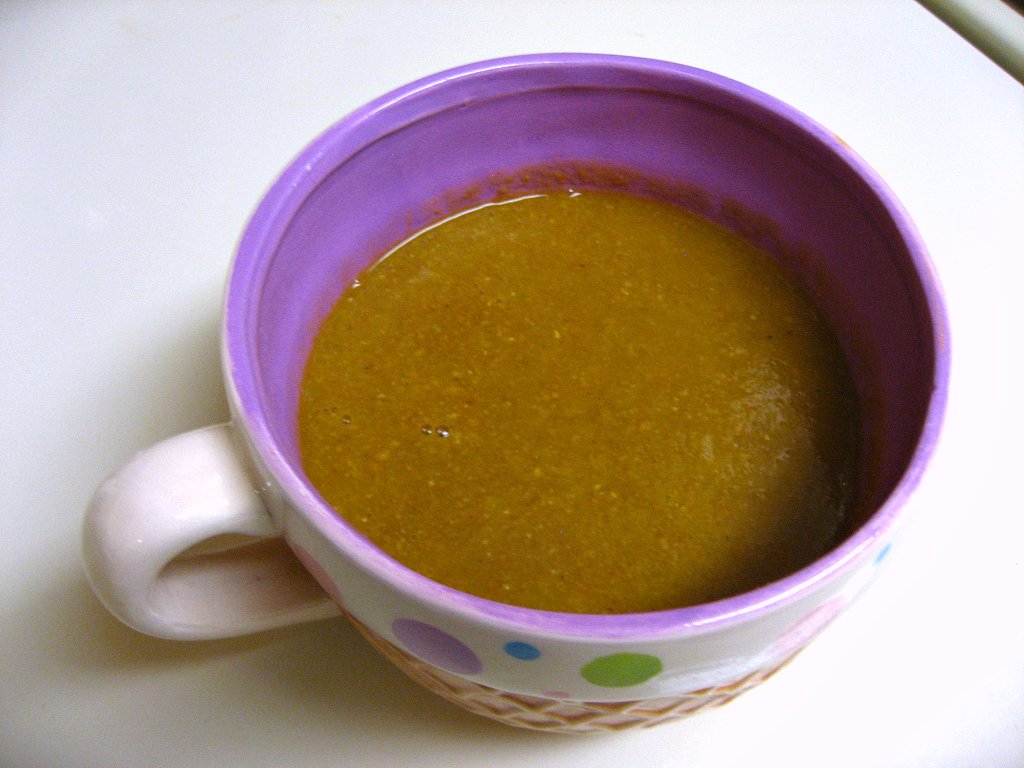
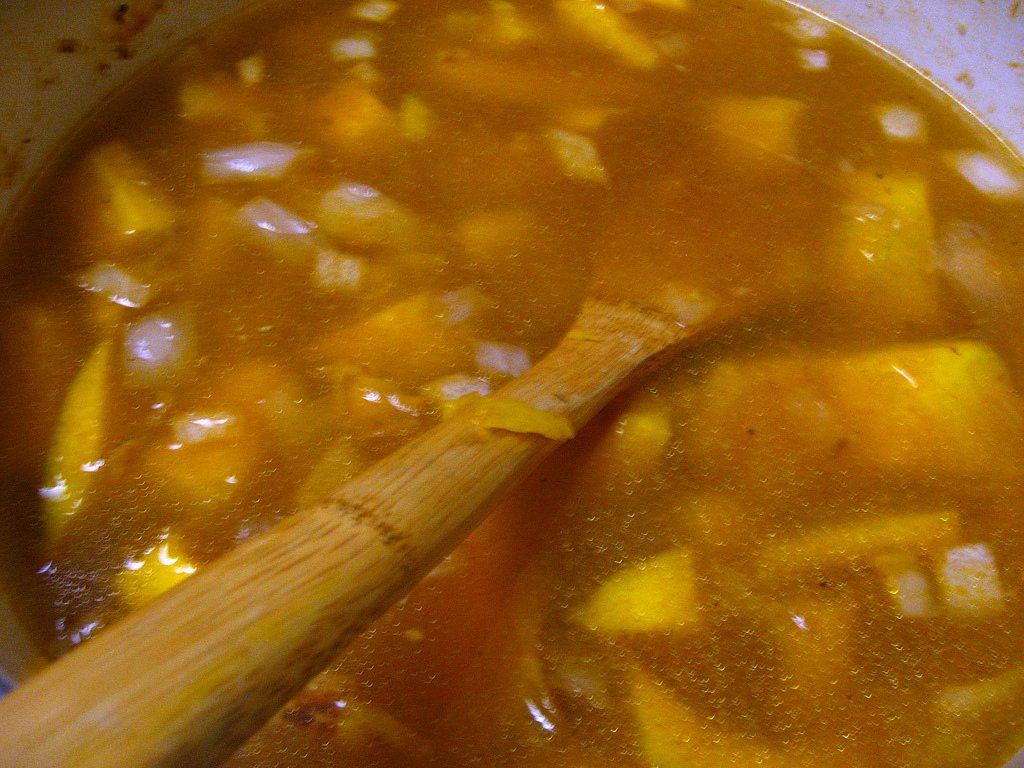
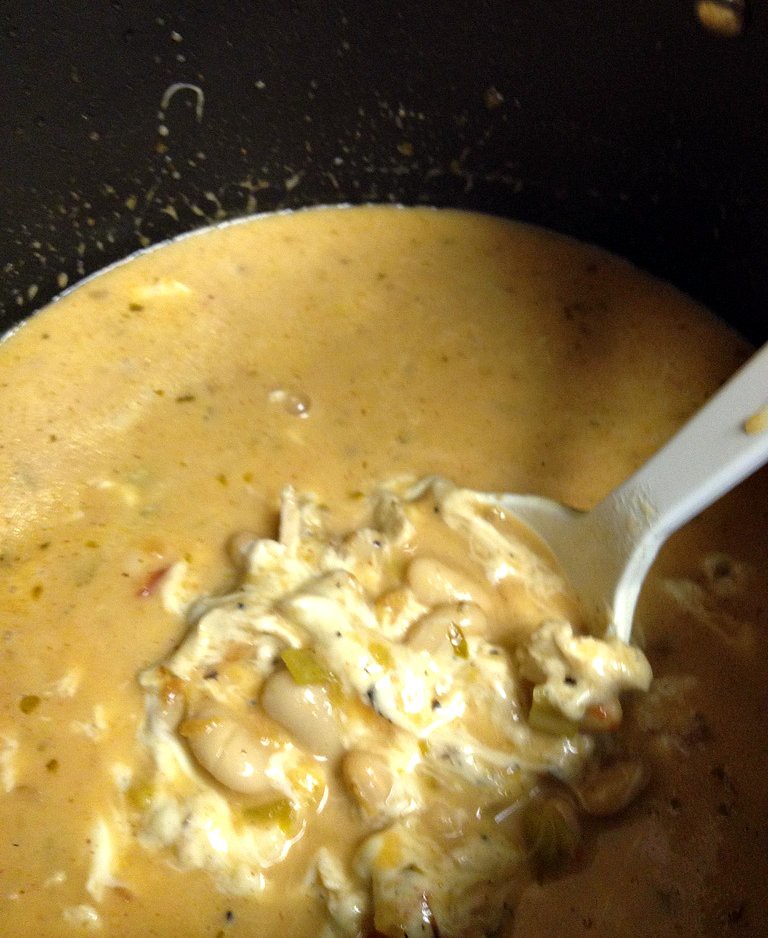
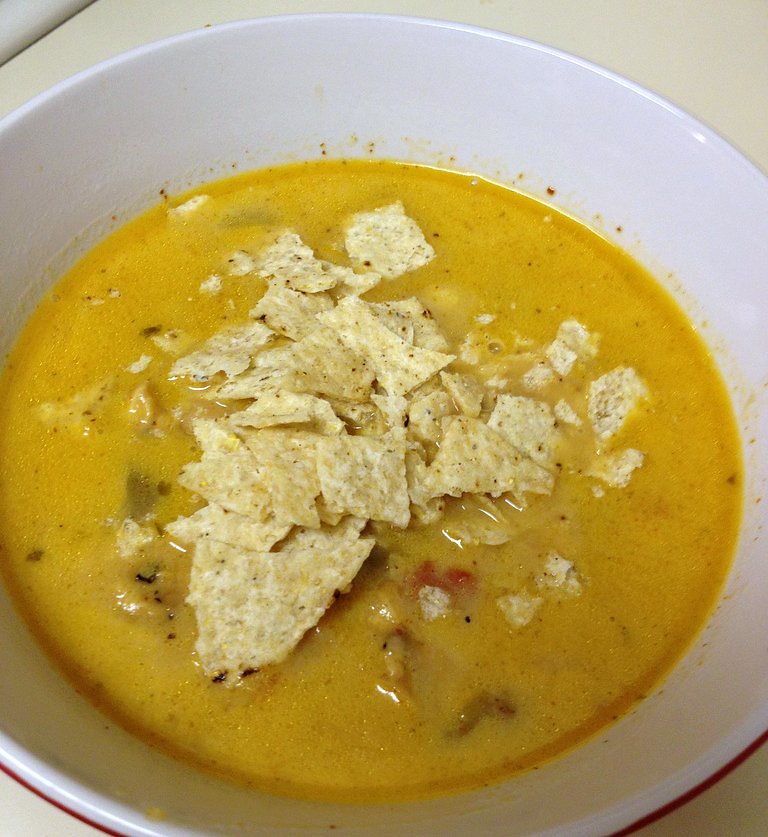
Needless to say it was a huge hit.  This soup is ridiculously cheesy, with a great kick and tons of flavor.  It is incredibly easy to make - it comes together like magic.  As Mrs. Poineau wrote in all caps - STIR OFTEN SO THE CHEESE DOESN'T BURN ON THE BOTTOM OF THE POT.  She's serious, stir it every 5 min or so.  Now, I have to apologize because I made this at the Monkey Scientist's apartment, so the photos are all from my iPhone.  They aren't great, but I had to share this recipe with you ASAP - please don't wait as long as I did to make it!

white chicken chili

White Chicken Chili
from the kitchen of the Poineau family

Ingredients:
2 lbs chicken (I used half of a whole, 4-5 lb chicken)
48 oz jar northern beans (with juice) (note: I used 3 15-oz cans of white kidney beans)
2 tsp cumin
1 lb Monterrey Jack or Jalapenas (Pepper Jack) cheese, sliced thin or shredded (I finely diced it)
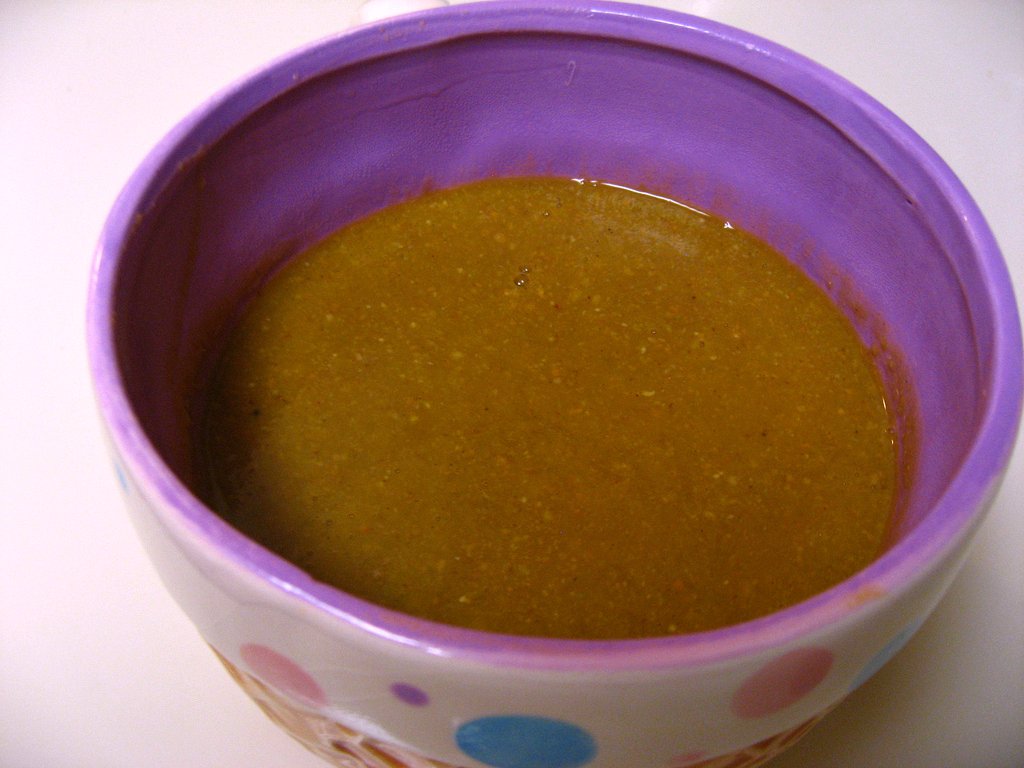
16 oz salsa or picante (I used Trader Joe's Chipotle and Garlic Salsa, but use your favorite)
3 cloves garlic, minced
salt and white pepper to taste (I used smoked salt from TJ's)
(note: we also seasoned with chili powder and cayenne and added a can of diced fire roasted chilis from TJ's to make it spicier, but this wasn't in the original recipe and you can leave it out)
lightly salted tortilla chips

Instructions:
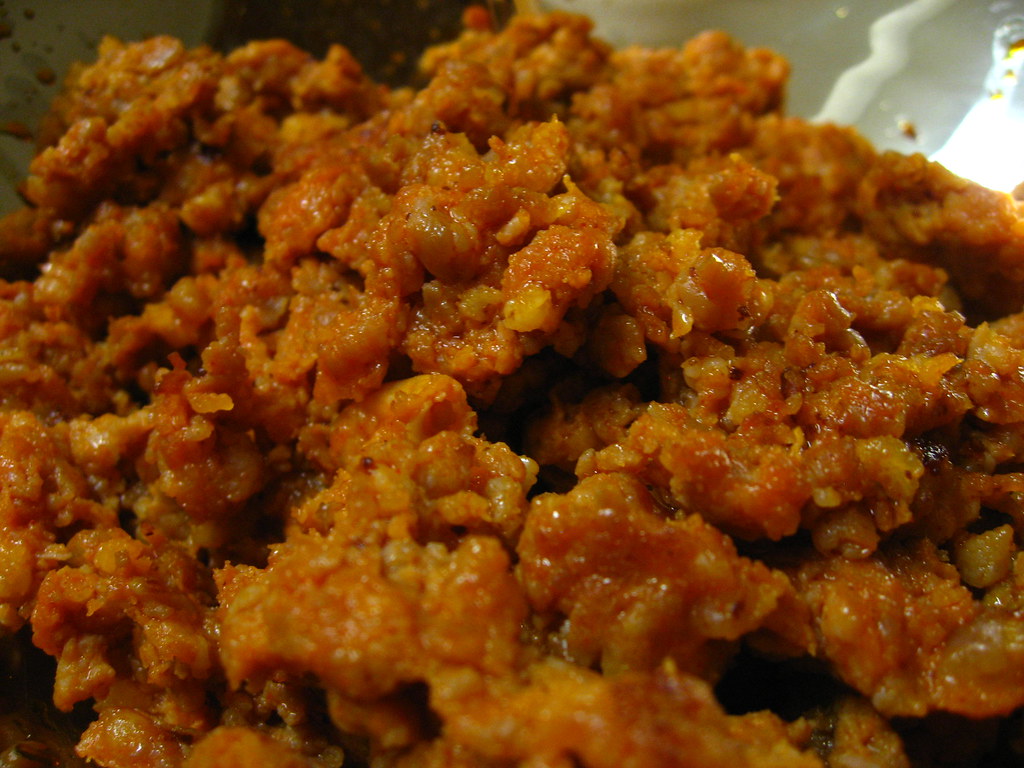
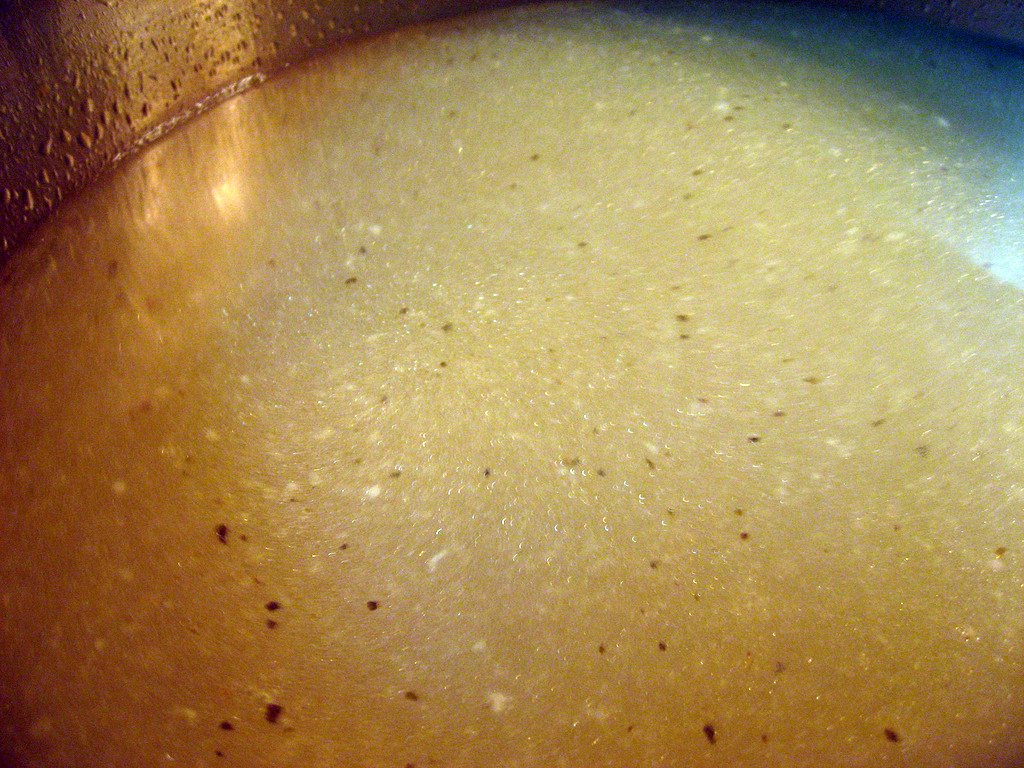
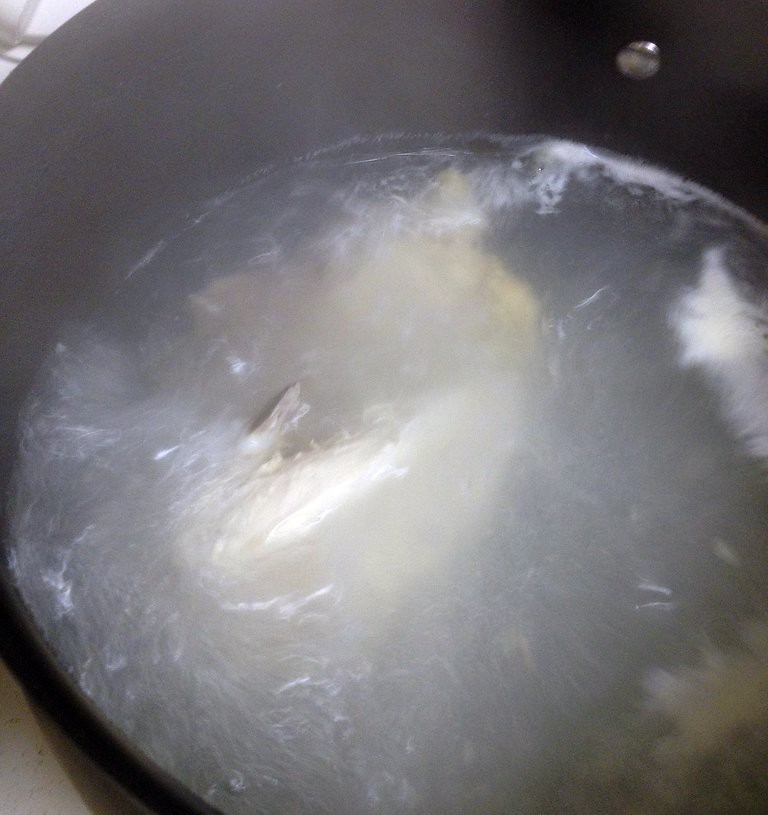
1. Boil chicken until cooked through, about 15 minutes.  Save 2 cups of the broth, drain the rest and remove the chicken.  Shred and debone.
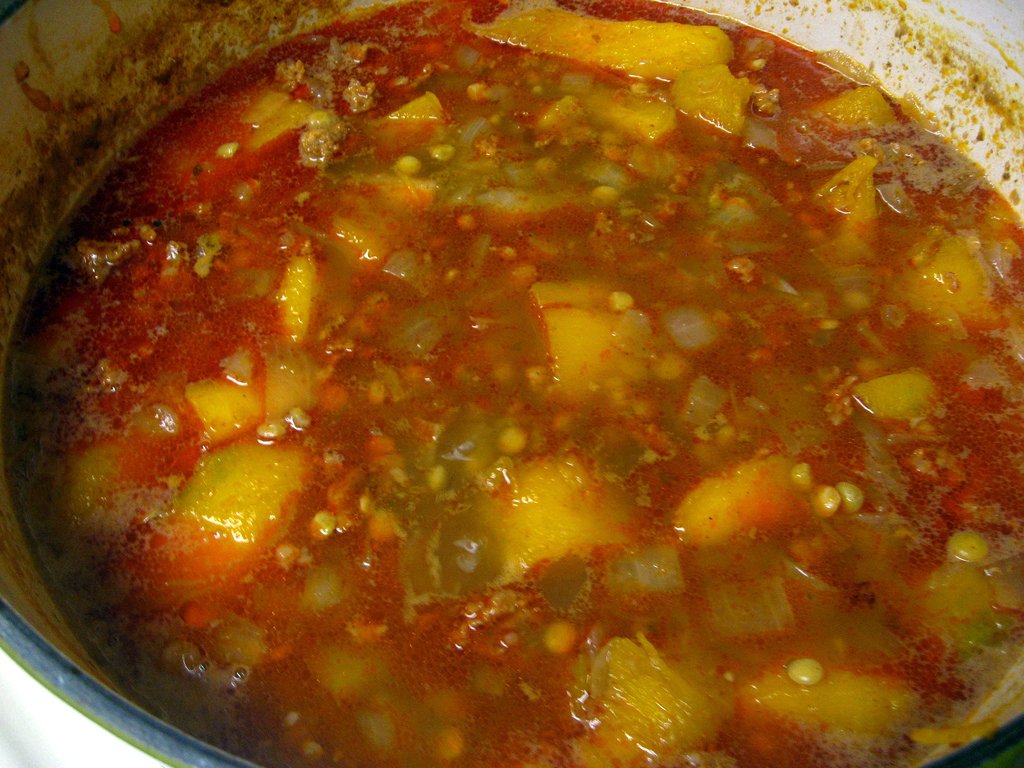
2.  Add chicken and remaining ingredients into a pot, including the 2 cups of broth you boiled in the chicken in. Simmer 45 minutes to an hour, making sure the cheese is well melted.  Stir often so that the cheese doesn't burn the bottom of the pan. Add salt and white pepper to taste.
3. Serve in individual bowls topped with slighly crumbled tortilla chips.

Tuesday, October 25, 2011

Minnesota

There might be a little lag in posts this week, because I was off traveling again.  This time to the great state of Minnesota!

Welcome to Minnesota

I had a lovely time visiting my bestest buddy Jeff.  While we were there we ate a juicy blucy and fried cheese curds at Blue Door in St. Paul, Jeff's famous chicken parm (I have to get him to share that recipe with you...let's just say it's not a Weight Watcher's recipe!), brunch at French Meadow Cafe in Minneapolis, and the worst salad I've ever made.  For the most part, lots of delicious eats.  We burned it off by hiking on the St Croix River a wee bit north of the Twin Cities in Taylors Falls.

Me and my Jeffrey

So far I'm working on eating SALAD to make up for all that fried food.  Do you have any healthy recipe ideas for dinner this week?

Friday, October 21, 2011

Shredded Sprouts Salad

brussels sprouts

I have always been terrified of brussels sprouts.  They just don't sound good, and until recently they've only been featured as a weird ingredient on the menu that no one really orders, like liver and onions.  But these little veggies, they've made a comeback!  And with good reason, they're actually delicious!

brussels sprouts

My mom makes a brussels sprouts recipe where she keeps them whole and then cooks them in bacon fat.  I much prefer the shredded version.  When it's whole, the outside gets cooked and caramelizes but the inside often remains a bit raw.  Raw brussels sprouts have a very strong cabbage flavor, which is probably the flavor that gave these babies a bad rep in the first place.  So step 1 in making them delicious - shred your sprouts.

brussels sprouts

Of course, everything tastes better with bacon.  Step 2 is to fry them up in bacon fat.  Sprinkle back in the crumbled bacon.  You won't be sorry.  Even 1 piece of bacon in the whole batch goes a long way.  If you don't eat pork, use turkey bacon and fry them in butter or oil, still does the trick.

brussels sprouts with bacon and asiago cheese

Step 3 is balsamic vinegar.  It gives the perfect bit of acidity while adding some sweetness to the sprouts. Sprouts need balsamic.  They were meant to be together.

Finally, cheese.  Like bacon, everything tastes better with cheese.  Asiago is fantastic because its a little salty and it's plenty hard to grate in easily.  I'd like to say you can never have enough cheese, but a little goes a long way here.

brussels sprouts

This recipe is my favorite vegetable side dish, maybe ever.  I can gobble up a whole batch on my own.  I almost never make a dish more than once (I love trying new things) but I've made this probably 5 times now and I'm dreaming about making it again tonight.  Even the Monkey Scientist, who claims to hate brussels sprouts, loved this dish.  Leave it to Jessica, a self-proclaimed veggie hater, to bring me the best thing to happen to brussels sprouts since...well ever.  Now go home and make these, you won't regret it!

chorizo-style pork chops and brussel sprouts

Shredded Sprouts Salad
from How Sweet Eats

Ingredients
2 cups whole brussels sprouts
1/2 clove of garlic, minced
1/4 teaspoon salt
1/4 teaspoon pepper
1 tablespoon balsamic vinegar
1 tablespoon butter or bacon fat
1 slice bacon, fried and crumbed
1/2 ounce grated asiago cheese

Instructions
1. Cutting the stems off of the brussels sprouts.
2. Add sprouts to a food processor and pulse until sprouts are tiny shreds. Do it manually so you can control the size of the shreds. You want some larger pieces and you don’t want them to be crumbs!
3. Melt butter or heat up bacon fat in a large skillet over medium heat. Add garlic and shredded sprouts, sprinkle with salt and pepper, and saute for about 5-7 minutes, or until sprouts are browning. Add vinegar, salt, and pepper while stirring and make sure sprouts are all coated. Saute for another 1-2 minutes. Remove and plate.
4. Top with crumbled bacon and a small sprinkling of asiago cheese. Devour!

Wednesday, October 19, 2011

Chorizo-style Pork Chops

chorizo-style pork chops and brussel sprouts

I'm a bit of an early bird.  I love getting up early, even on the weekends, and seizing the day.  By 11 pm on a weekday, I'm already asleep.  It's a little bit of a struggle, since most of my friends aren't exactly excited when I call them at 9 am on a Saturday to go to the farmer's market.  I can't understand why...the morning is always so gorgeous and sunny!

Sometimes on the weekend, I'll try to quietly entertain myself for an hour or two and let the Monkey Scientist sleep a little later before I wake him up.  I'll read a book on my iPad or, lately, brainstorm recipe ideas.  A few weeks ago, lying in bed on a Saturday morning, I had the inspiration for this dish.  Yes, I was thinking about pork chops at 9 am on a Saturday.  I might like food a little bit.

chorizo-style pork chops

If you didn't notice, I have been a little bit obsessed with chorizo lately.  I would love to eat it fried up for dinner, but pork sausage isn't exactly the healthiest protein in the world.  So I wanted to create a pork dish that could serve as the main course while incorporating all of those spicy, warm chorizo flavors into it. I decided the best way to do this was to make a marinade with all of the ingredients that go into my favorite chorizo sausage (except the ground pork) and smother some boneless pork chops in it.

chorizo-style pork chops

Do you know what gives chorizo that unmistakable red/orange oil?  I couldn't quite figure it out until I started making this recipe.  It's dried chiles!  If you live in DC, you can find dried Mexican chiles in the produce section at most Giant supermarkets.  The best place for dried chiles though is the new Georgetown Safeway.  The Monkey Scientist stopped by there and found a wide selection at very reasonable prices.

chorizo-style pork chops

This recipe turned out better than I ever expected!  The sauce was amazing - I could have licked it off the plate.  It did have a solid kick to it - which we love - but you could tone it down by using milder chiles and less cayenne.  It wasn't exactly the same as eating chorizo, but it certainly was healthier.  Except for the whole frying in bacon fat thing - but that was totally worth it. We didn't grow up eating pork chops, but they're fairly inexpensive and super easy and quick to make.  We ate it with my favorite brussels sprouts recipe - I'll share it with you later this week.  This was one of my favorite meals to date!

chorizo-style pork chops

Chorizo-style Pork Chops
adapted from Homesick Texan and Simply Recipes

Ingredients
3 dried New Mexico chiles (or other Mexican dried chile peppers)
1/4 cup apple cider vinegar
1/2 small onion, chopped
3 cloves of garlic, chopped
1/4 teaspoon cinnamon
1/2 teaspoon cumin
1/2 teaspoon sweet paprika
1/2 teaspoon oregano
3/4 teaspoon cayenne
2 teaspoons salt
4-6 boneless pork chops (about 3/4" thick)
1-2 tbsp bacon fat (or olive oil)

Instructions
1. Rinse the dried chiles, and then remove the stem and seeds. Heat the chiles for a couple of minutes on each side in a cast-iron skillet on high heat. Remove from skillet and let soak for half an hour in water.
2. After chiles are moist, drain the water and place the chiles and vinegar in a blender or food processor, also adding the diced onion and chopped garlic. Puree until a smooth, bright red paste is formed (can add a splash of water or vinegar if it's too dry to blend). It will look like ketchup.
3. Combine the remaining spices in a separate bowl.  Rub the pork chops in a heavy coat of the spice blend.  Place them in a Ziploc bag, then add in the chile mixture.  Seal the bag, then shake to coat the pork chops and place in the refrigerator to marinate for about 2 hours.
4.  Heat a skillet over medium high heat until hot.  Add the bacon fat (fry up some bacon, remove it and leave the fat behind) or oil and then the pork chops.  Do not crowd the pan.  Cook for about 2 minutes on each side, until you see a brown sear around the edges (it won't turn very brown because of the marinade).  Juices should run clear and there should be no pink inside when done. Serve immediately.

Monday, October 17, 2011

Hot Cocoa Mix in a Jar

hot cocoa in a jar

This post is going to be a short one, but I wanted to share a great gift idea with you.  I made these cocoa jars to bring to my bestest friend and the Monkey Scientist's parents while I was visiting Chicago a couple weeks ago.  I think they're the most adorable gift to send for the holidays!

hot cocoa mix

Of course, you can also make this mix and store it to have your own cocoa all winter long!  I had tons left over and I've been keeping it in a jar on my counter to make hot cocoa whenever I like.  You just mix it with hot water, or even coffee if that's your kind of thing, and it's ready! It's absolutely delicious - creamy and frothy and chocolately and sweet.  The best drink on a cold winter's day!

hot cocoa in a jar

Hot Cocoa Mix in a Jar
adjusted slightly from Whole Eats & Whole Treats

Ingredients

3 cups powdered sugar
2 1/2 cups powdered milk
1 cup cocoa powder
2 tsp cornstarch
3/4 tsp fine salt
1 bag mini marshmallows

Instructions
Put all of the ingredients through a fine-mesh sieve. You will have to smoosh the powdered milk through with a spoon. This breaks up those lumps of milk and makes a nice uniform looking powder.

Fill a glass jar nearly to the top with mix, leaving about 1" of space at the top.  Fill the rest with mini marshmallows and put on the lid.

Instructions for making cocoa: 
Fill mug 1/3 of the way (or less for weaker hot cocoa) with the mix. Add a little bit of boiling water (or coffee) and stir or whisk. Fill the rest of the way with more water/coffee.

Thursday, October 13, 2011

Roasted Pumpkin and Lentil Soup with Chorizo

Roasted Pumpkin and Lentil Soup with Chorizo

Finally the fall is here!

You know how I know?

Seeded pumpkins
Sliced pumpkin crescents

I made soup!  I haven't made soup in months!  And my soup, it has PUMPKIN it in!  It truly is October, even if it feels like April outside.  (Although I'm sure when I'm in Minneapolis in a little over a week, I'll freeze my little tushy off!)

Maple, Butter, Cinnamon Sugar (don't ya wanna roll in me?)
Pumpkin, ready for the roasting

I came up with this soup on my own, though I consulted all sorts of recipes for ways to roast pumpkin as well as techniques for preparing lentils, meats, or squash in soup.  Everyone has their own ways of doing it - roasting the pumpkin or not roasting, pureeing or leaving everything whole, and even timing varied widely.  In the end, I just did what worked best for me.

Roasted Pumpkin (it's so cute when it's spooning)

I really enjoyed making my own recipe for this soup. I had a vision of exactly what I wanted, and I accomplished it.  I was hoping for a soup that was spicy and savory, yet sweet, and full of protein so that it would be filling.  I love lentils, but I'd never tried to use them in soup and I'm so happy with my results!

Roasted Pumpkin and Lentil Soup with Chorizo

If you're interested in making your own soup recipe, check out this guide on Simple Bites.  It's definitely a skill worth learning.  Homemade soup is so much tastier and healthier than anything out of a can!  Almost any seasonal produce can go right in!  I love any excuse to use my immersion blender, so squash in the fall makes my favorite soups.

Roasted Pumpkin and Lentil Soup with Chorizo

This soup came out so amazing.  I brought some leftovers to work and everyone was wandering towards me, asking what they smelled.  It was very filling and the flavors were complex.  I'm not sure how I feel about the pureed meat (that sounds disgusting) but honestly it didn't bother me in the final soup.  I actually love the texture of the blended soup.  If you're not into that sort of thing, you can probably just add it in at the end, after you blend the lentils and squash, or leave it out all together (although in that case, I'd add some chiles to increase the spice level).  I thought it was just perfect as is though!

Roasted Pumpkin and Lentil Soup with Chorizo


Pumpkin and Lentil Soup with Chorizo


Ingredients
1 small pie pumpkin
1 1/2 tbsp butter, melted
1 tbsp maple syrup
1 tbsp cinnamon sugar
1 tbsp olive oil
1 lb chorizo, casings removed and crumbled
1 large onion, diced
3 cloves garlic, minced
1 tsp fresh ginger, grated
1 tsp salt
1/2 tsp freshly ground pepper
1/2 tsp all spice
1 tsp cinnamon
1/2 tsp nutmeg
1/4 tsp ground cloves
1 1/2 cups lentils, rinsed and sorted
7 cups vegetable or chicken stock

Instructions
1. Preheat oven to 400 degrees F.  Line a baking sheet with tin foil.
2. Cut pumpkin in half and remove seeds and stringy insides.  Slice into 2-inch wide crescents.
3. Spread butter, maple syrup, and cinnamon sugar over the foil on the baking sheet.  Rub the pumpkin on both sides in the butter mixture.  Arrange in a single layer and bake 20-30 minutes, turning them over halfway through cooking time.  When they're cooked, remove and discard skin and chop pumpkin.
4. Heat the oil in a dutch oven over medium heat.  Add the chorizo and cook thoroughly. Remove to a separate bowl with a slotted spoon.
5. Add the onions, garlic, and ginger to the pan.  Season with salt, pepper, allspice, cinnamon, nutmeg, and ground cloves.  Allow to cook until soft, about 10 minutes.
6.  Add pumpkin, then lentils, then stock.  Bring to a boil, then turn heat down to low and simmer until lentil are tender, about 30 minutes (may take more or less time depending on the type of lentils used).
7. Puree using an immersion blender.  Serve immediately (just don't burn your tongue!)

Sunday, October 9, 2011

Kibbee-style Bulgar Salad

kibbee salad

I have been literally itching to make kibbee for weeks.  Mom and I went out for lunch back home in NH, where the fattoush salad is out of this world.  I live for it.  We went to a restaurant where I'd never been before, and I was about to top my salad with lamb kabob when saw a strange new meat option - Kibbee. I'd never heard of it before, but I'm always one to try new things.  Especially when the waitress described it as "kind of like meatloaf, but with pine nuts, and better..."

kibbee salad

I died.  It was like a pine nutty, lamby, flat, baked slice of heaven.  It was so savory I nearly forgot about the citrusy, sumac-covered, crunchy salad below.  As soon as it was gone from my plate, I was on my phone, googling recipes.  I picked up some bulgar at the Christmas Tree Shop (yes, I do just love a bargain) to drag back to DC with me.

kibbee salad

And then, I forgot about it.  Until one morning, while digging in the back of my cabinet, I saw the bulgar and remembered.  The urge was back - I had to have kibbee.  Tonight.

kibbee salad prior to baking

Again, I scoured the web for recipes.  There were all sorts of variations - some with tons of spices like allspice, fresh mint, cumin, cinnamon or even hot sauce, others had feta, some mixed the bulgar with the meat and some layered them.  I decided I would combine them all and see what worked best for me.

kibbee salad baked

Unfortunately, it really didn't work out for me.  It became a big mess instead of a nice slice.  Regardless, the taste was really fantastic and it made a great salad.  I like using bulgar in "pasta" salad because it is so healthy, so this seemed like the obvious route to me.  Regardless, this is not my last try making kibee!!

kibbee salad

Kibbee-style Bulgar Salad


Ingredients
1/4 cup olive oil
1 large Vidalia onion, chopped
1 clove garlic, minced
1 lb ground lamb
1/4 c fresh chopped mint
1/4 tsp ground cinnamon
1/2 tsp all spice
1/4 tsp ground nutmeg
1 1/2 c bulgar
1/2 c pine nuts
salt and pepper to taste

Instructions
1. Heat olive oil in a large skillet over medium high heat.  Saute garlic and onion until soft, about 8 minutes.
2. Add ground lamb, mint, cinnamon, all spice, and nutmeg and cook until brown (doesn't need to be cooked through).
3. Meanwhile, soak bulgar in warm water 15-20 minutes.  Drain and squeeze out excess water.
4. Combine bulgar, lamb, and pine nuts in a bowl.  Grease a baking pan well with oil.  Press mixture into pan.
5.  Bake at 350 degrees F for 30 minutes or until cooked through. Serve on its own with roasted squash or over baby spinach.

Thursday, October 6, 2011

Seafood Paella

seafood paella

This weekend, my friend and I were supposed to go apple picking, but the weather simply did not cooperate!  It was cold (in the 40s!) and rainy, just awful.  Apple season is early and short down in DC which means we might never get to go now, big bummer.

fish and squid

Instead of letting the weather get us down, we decided to get the best ingredients we could find and make paella.  Her mom gave her a nice big paella pan - although after it was all made it ended up being smaller than we expected - and she had a cookbook and a recipe in mind.  We set to work scoping out the best place for all of our ingredients.

mussels and clams

For the vegetables (onions, bell peppers) we went to the Mount Pleasant farmer's market.  For the seafood, we drove all the way down to Southeast DC to visit our favorite place, the Maine Avenue Fish Market.  Now I can't say for sure that the quality there is better than the supermarket (it's not like they're pulling fish out of the Potomac, or at least I hope not, but the selection is the best in the District and the fish never smells like it isn't fresh.

The prices are reasonable as well for most things, although shrimp were fairly expensive (even though they had endless varieties!).  I was able to get my fish carcass there for $1 - a nice salmon head, fins, tail and bones.  My friend thought I was kidding when I suggested we get it, but I most certainly was not!  Making the homemade fish stock was the most exciting part of the day (for better or for worse)!

making fish stock

Sorry, I had to re-post that one.  I'm sticking by my Halloween excuse.  I love it.

After the fish market, we hiked back up to Giant to get the rest of the groceries, and ended up stopping at World Market as well for saffron ($4.99 vs $19.99 at Giant - probably because it was from India not Spain).  I have to admit the question I've gotten most when I tell people I made paella is "where'd you get the saffron?"  I know it's always expensive, but are there quality differences as well? I thought the less expensive World Market saffron worked just fine!

seafood paella - stock hasn't been added yet

When assembling I realized there was no way I was going to fit the rice and stock in the paella dish without major overflow.  I halved the rice (and the stock, of course) and made these changes in the recipe below.  I like my paella with lots of seafood and a little rice, so feel free to double it again if your pan is big enough.  Just make sure you double both the stock AND the rice (should be a 2:1 ratio).

seafood paella - let the stock absorb

Overall, an awesome recipe and a very fun day.  My friend and I are New England girls, so of course we love almost any seafood dish, but the Monkey Scientist loved it as well.  It's loaded with filling seafood and the rice soaks up the flavor of everything. It was definitely missing a flavor element though, so next time I'd probably add a hot pepper or two (anything from jalapeno to habanero, depending on your tolerance for heat) when I add the onions.  Maybe even some Old Bay, this is DC after all!

seafood paella

Seafood Paella
adapted slightly from Paella Paella

Ingredients
8 oz mussels
8 oz clams
5 tbsp olive oil
8 oz fish (use any white fish that is sturdy)
8 oz squid, sliced into rounds
2 small (or one large) onions, chopped
5 cloves garlic, minced
2 small red bell peppers, diced
1 28oz can whole peeled tomatoes, drained then chopped
1 cup rice (any short grain)
2 cups fish stock
1/2 tsp saffron
salt and pepper, to taste
8 oz uncooked large shrimp, peeled and deveined (save the shells!)

Instructions
1. Scrub the mussels and clams thoroughly, removing all beards and barnacles.  Soak in water to let any sand fall to the bottom of the bowl.  Discard any that fail to close when tapped sharply.  Set aside.
2. Heat 4 tablespoons olive oil in a paella pan over medium heat.  Add the fish and squid and cook for 7 to 8 minutes, until they start to brown.  Transfer to a plate.
3. Add the remaining tablespoon of olive oil to the paella pan and cook the onions, garlic, and peppers until tender and starting to brown.  Mix in the tomatoes and continue to cook for another 8 to 10 minutes.
4. Add the fish, squid, and rice to the paella pan.  Cook, stirring frequently, for 5 minutes.  Stir in the fish stock, saffron, salt, and pepper, and allow to simmer for 5 minutes.
5.  Add the shrimp, mussels, and clams and continue to cook over low heat until all the liquid has been absorbed, 20 to 30 minutes depending on the type of rice.  Discard any mussels or clams that have failed to open.  Serve immediately.

Makes 4 servings.

Tuesday, October 4, 2011

Fish Stock

making fish stock

In high school, I spent a lot of time over at my best friend's house, where her mom was always cooking up some sort of stock.  Usually it was a leftover chicken carcass boiling away on the stove with carrots, onion, and celery. The freezer was full of the stuff, and any time they wanted to make soup (or her mom's gravy) they'd pull out a tupperware, defrost on the stove, and it'd be ready in no time.

I loved this idea!  I am always spending way too much money on stock full of totally unknown ingredients.  I had only every tried making shrimp stock before, but it was so easy that I wanted to try again.  I stayed in my seafood comfort zone, but I will definitely be venturing out to chicken or beef stock next time!

fish carcass for stock

Now I admit, making stock is scary. Mostly because of that scary word I used a minute ago.  You know, carcass.  But think of it as being resourceful.  Using the whole animal, not just the parts you eat directly.  And better yet, think of it as the easiest step you can take for better food at a lower cost.

There's much more to tell about how I ended up with this giant fish carcass (the story is coming, I promise) but let's just say I only paid $1 for it and it made enough fish stock for cioppino, shrimp risotto, and much more - including the recipe that's coming up later this week.  It's chocked full of flavor - definitely try it out.  And don't be scared of the picture with the fish head floating up - I just did that for effect... it is almost Halloween after all!

fish stock

Fish Stock


Ingredients
20 cups water
1/4 c white wine
1 fish carcass (everything but the filets - head, bones, fins etc)
2 bay leaves
1 tbsp dried thyme
1 tbsp herbes de provence
3 small carrots, cut in thirds
1 large onion, quartered
shells from 1/2 lb shrimp
2 lemons, quartered (skin on)

Instructions
1. Bring all the ingredients to a boil in a large stock pot.
2. Reduce heat to low and simmer, covered, 30 minutes.
3. Remove fish head, veggies, and lemons using tongs or a slotted spoon (it's nice if you use a pot with a strainer insert and then you can pull that out and dump it).  Run through a mesh strainer to remove any remaining solids.  Use within 3 days or freeze.

Monday, October 3, 2011

Honey Cookies


Now I know I'm way late for Rosh Hashanah, but I debated whether or not I'd share these, since it isn't my favorite recipe of all time.  However, they are parve and do not contain eggs, so I thought they may excite those of you with egg allergies out there.


You could use butter, of course, but to keep them parve I used Fleischmann's margarine.  Growing up my mom always called this "Dad's butter" because my grandfather is highly allergic to dairy and we always used it when we baked for him.  Every time I see the silver foil wrapper I think of him.


The margarine creams well enough, although it doesn't get that sugary crunch like when you cream sugar and butter.  Maybe the honey affects this as well.  Additionally, the recipe doesn't call for any eggs (even egg replacement) which is unique for me in a cookie recipe.


The dough itself is good enough.  It rolls out quite nicely so that you can cut it into any shape you like.  I loved this adorable apple shape for the Jewish New Year - it's a fun riff on "apples" with honey!  The apples are a little sticky so it may help to cut them right on the parchment paper or silpat where you're going to bake them. I didn't find a fantastic way to make this work but you probably can!


I have to admit, these cookies come out really dry.  They'd be good for sandwich cookies - spread the middle with apple jam, cream cheese frosting (if you didn't need them to be parve of course!), or you could dip them in chocolate.  I think it would help cut the dryness.  They do have a wonderful honey flavor, which you can alter using different types of honey.  It's a very easy recipe for a last minute parve dessert!


Honey Cookies
adjusted slighty from Chick in the Kitchen

Ingredients
2 sticks margarine, room temperature (I used Fleichmann's)
1/2 c. white sugar
4 Tbsp. honey (I used clover honey)
1½ c white flour
1 c whole wheat flour

Instructions
1. With a hand mixer, cream margarine, sugar, and honey in a large bowl. (If you spray your measuring spoon lightly with non-stick spray first, the honey will slide right out.)
2. Slowly add flour, continuing to mix, until dough is smooth. Form into a large ball and wrap with plastic wrap. Refrigerate for at least 2 hours, or overnight.
3. Preheat oven to 300° F.
4. Cut dough into thirds, and work with each piece individually. Roll out to 1/2-inch thick on top of waxed paper or foil. Cut out cookies with a glass or cookie cutter, and place on a non-stick baking sheet.
5. Bake on the middle rack of the oven for 25-30 minutes, or until cookies are golden and edges have just begun to dark. Allow cookies to cool — they will harden as they do so. Use a flat, stiff spatula to remove them from the baking sheet.

My apologies to the vegan community - these cookies are not vegan - obviously veganism is not my fortay!