

There is something so absolutely wonderful about baking bread. The smell of yeast when you first bring it back to life. The texture of dough that has just finished rising. The aroma that fills the apartment while it bakes. The warm steam that rises as you break a roll open. It's something magical.
And yet, it's been so long since I last baked bread. It's such a shame. The truth is, I just don't eat that much bread in a regular week. Not to say I'm not a huge carb-loader, but pasta tends to be my gluten of choice. But, with the holidays coming up, I wanted to try some dinner roll recipes that we could use for Thanksgiving.
I decided to halve this recipe because I knew it would probably just be the two of us eating them. Let me rephrase... I decided to halve this recipe so I wouldn't eat 30 dinner rolls in one sitting. Because, believe me, I would have. (By the way, half a large egg = 1/8 cup scrambled egg) Half of the recipe actually only made a dozen rolls instead of 15, which was great because I only needed to make one batch (I only have 1 muffin tin). I also decided that I would top some of them with fun spices - some with garlic salt, a few with cinnamon sugar, and even one with smoked salt from Trader Joe's.

All of the rolls came out absolutely amazing. The cinnamon sugar was by far my favorite - next time I'd probably put cinnamon sugar in the butter that you use to coat the muffin tins as well. I served them with Roasted Pumpkin and Lentil Soup with Chorizo that I had hidden from myself in the freezer. Don't you love when you do that? I liked sopping up the soup with the bread - so tasty.
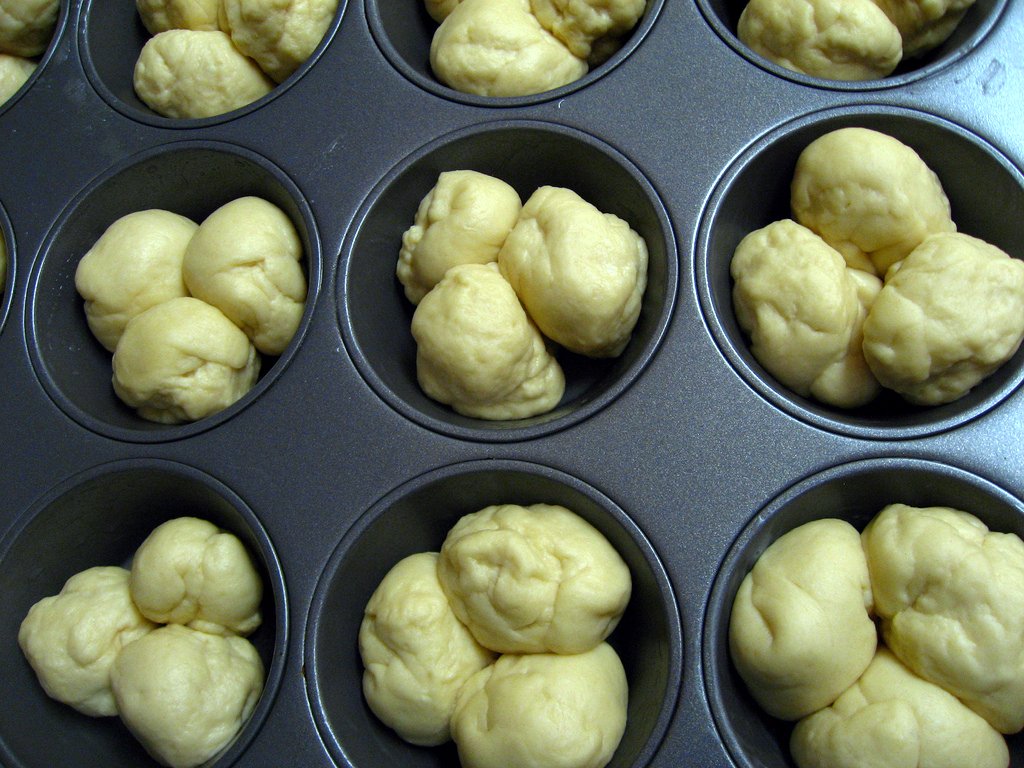
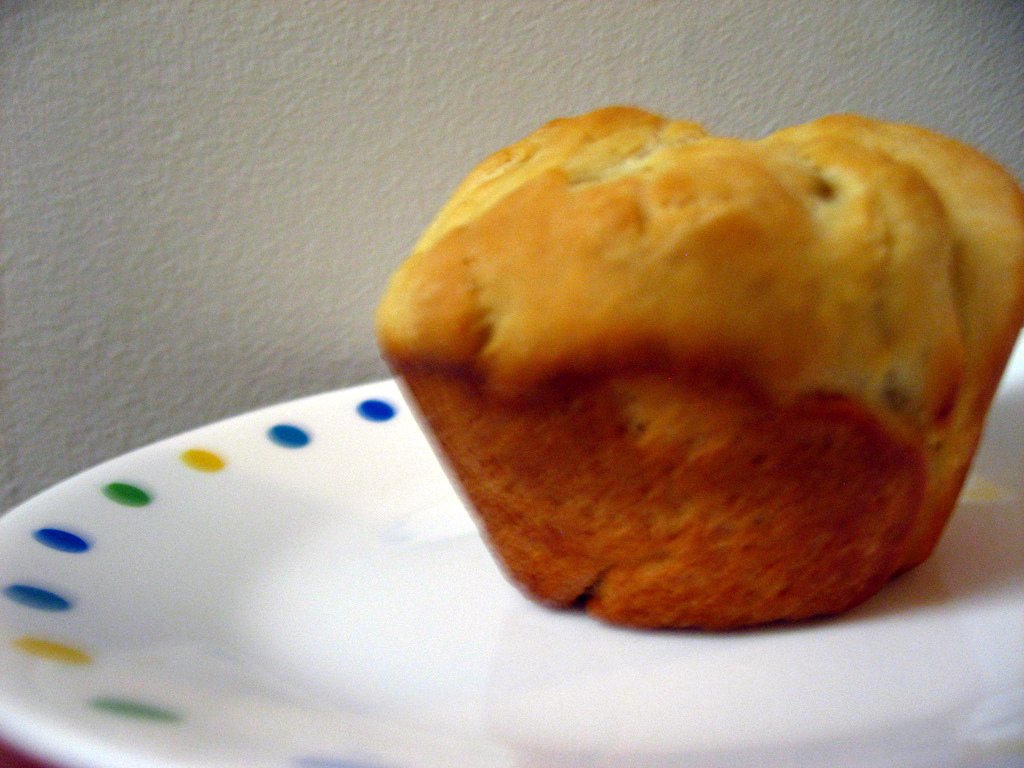
The best part about these rolls is the clover shape. It looks absolutely adorable, but it also makes the rolls easy to peel into thirds. It made a perfect excuse to keep eating more - "oh I'm just going to have 1 more clover of a roll!" It seems perfectly reasonable to leave behind 2/3 of a roll when it splits off so nicely! I should also mention that I used bread flour instead of AP flour, simply because I was all out of the regular stuff. I don't think it affected them at all, so feel free to use whichever you have hanging around. Either way, you should definitely make these. (Just make sure you account for enough time for the first and second rise!) I promise you won't regret it!
Buttery Cloverleaf Rolls
from How Sweet It Is
Ingredients:
4 1/2 teaspoons (2 packets) active dry yeast
1/2 cup warm water
1 1/2 cups warm milk
1/4 cup honey
1 tablespoon olive oil
1 large egg
1/4 cup unsalted butter, softened
2 teaspoons salt
5 1/2-6 cups all-purpose flour, or more if needed
melted butter for brushing
Instructions:
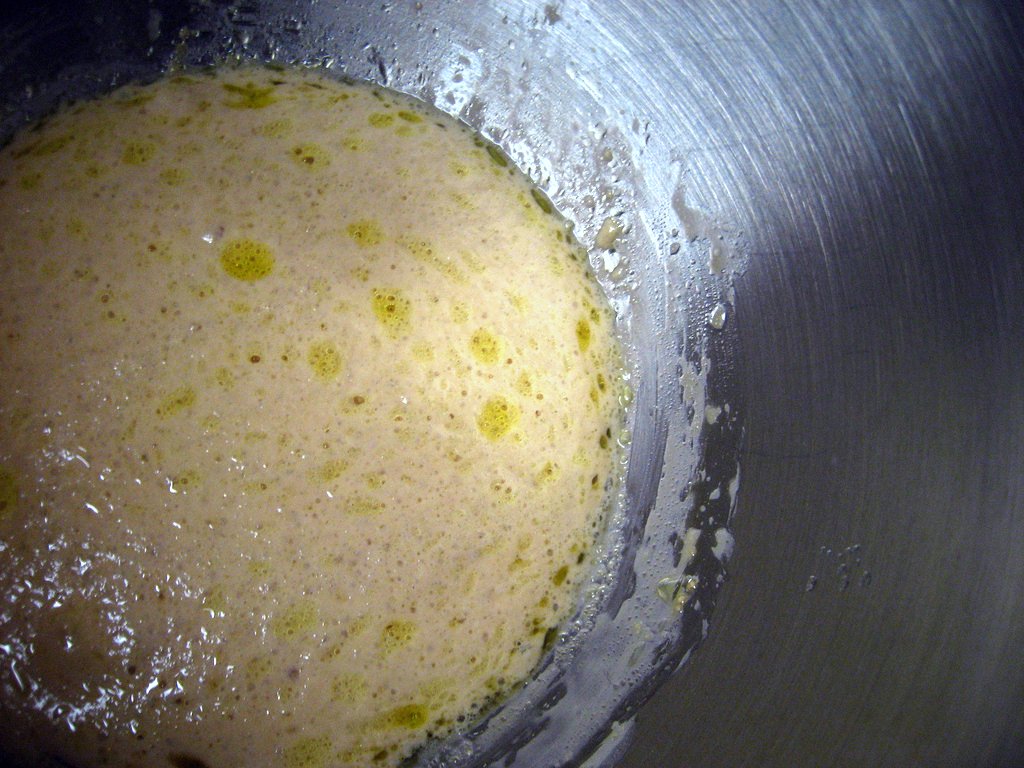
1. In the bowl of your electric mixer (with an attached dough hook), combine warm water, yeast, olive oil and 1 tablespoon honey and mix with a spoon. Let sit until foamy, about 10-15 minutes.
2. Add warm milk, remaining honey, egg and butter, and mix on low speed until just combined, then add in 2 cups of flour and salt. Mix on low speed, gradually increasing to medium as flour becomes incorporated.
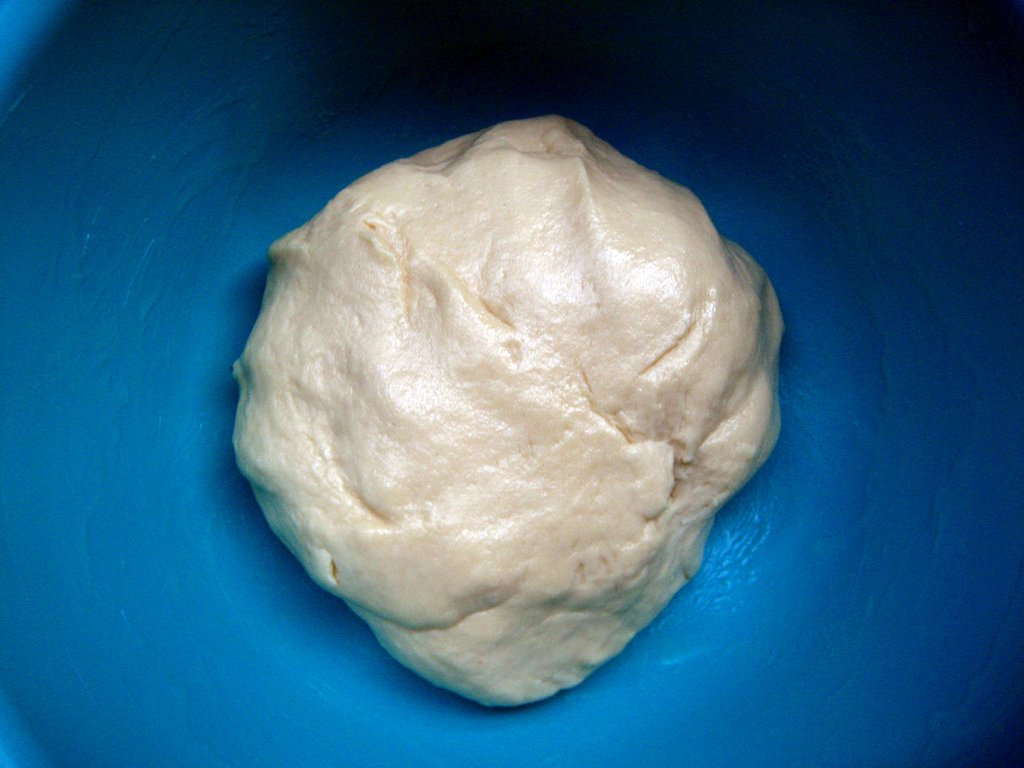
3. Slowly add the remaining flour 1 cup at a time, stopping at 5 cups. Knead the dough on medium speed for 4-5 minutes, then check to see if the dough is sticky. If it is too sticky, add a bit more flour and knead until it becomes smooth, but you want some stick to it. Remove dough from the bowl and form into a ball with your hands, covering with a bit more flour until it is no longer sticking to your hands.
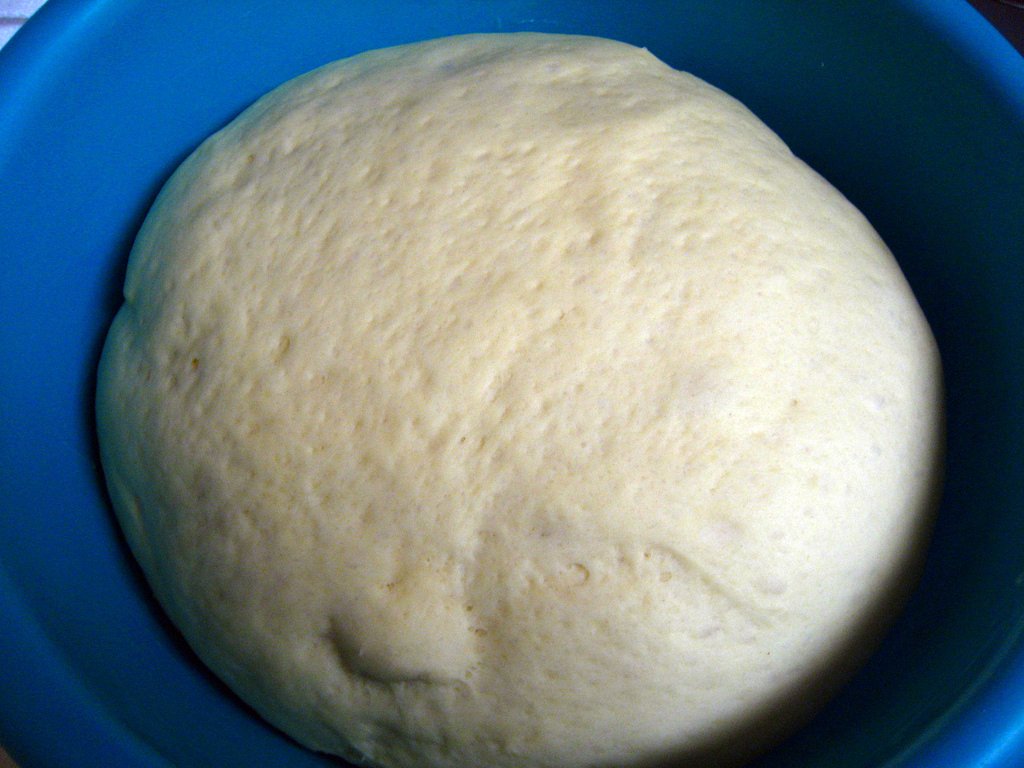
4. Brush a large bowl with melted butter. Add dough to the bowl, turning once or twice to cover in butter. Place a towel over top and let rise in a warm place for 1 1/2-2 hours.
5. Punch dough down, then transfer to a floured workspace. Tear small pieces of dough off the larger piece, and roll into balls slightly larger than one inch wide. You will end up with about 90 dough balls. Brush a muffin tin with melted butter, then add 3 dough balls to each tin. Cover and let rise again, in a warm spot, for about an hour.
6. Preheat oven to 375 degrees. Brush the tops of each clover with a hefty glug of melted butter. Bake for 11-12 minutes (mine actually took closer to 20 minutes), or until tops are just golden brown. Remove from oven and brush tops with melted butter again, repeating the brushing another few times as the rolls cool (I actually skipped this step and they were buttery enough!) Remove from the tins and serve.
The muffins are best when eaten on the same day they were baked, however if you’d like to make them the day before, make sure to let them cool completely and store in an air-tight container.
No comments:
Post a Comment