Saturday, March 31, 2012

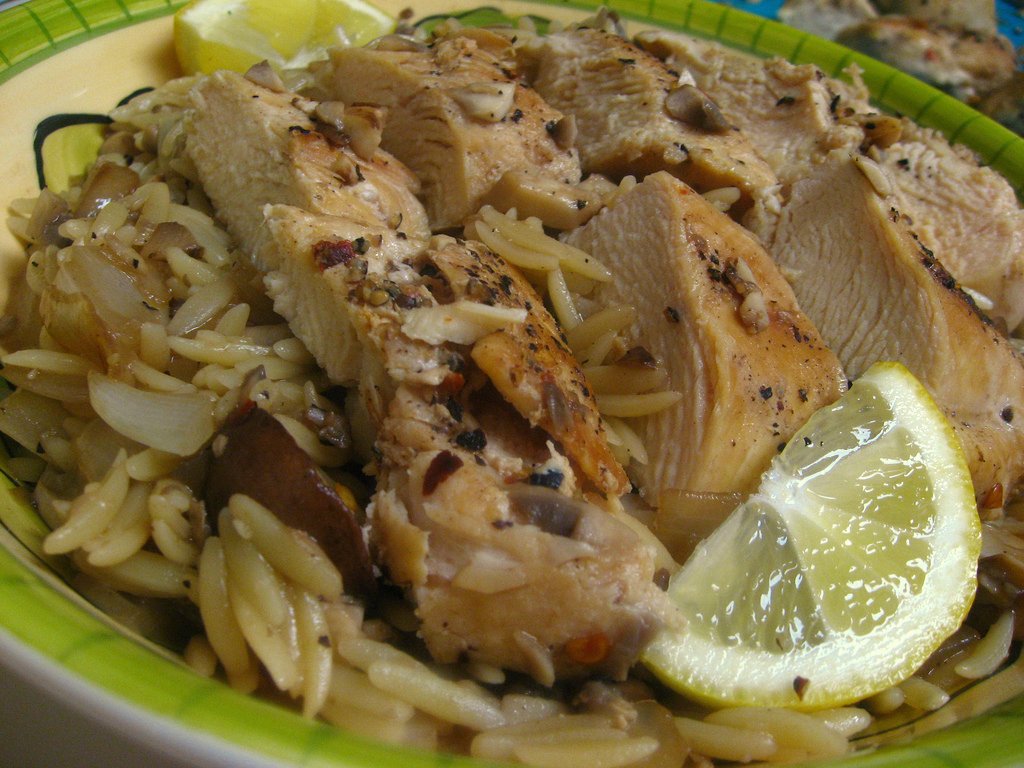
Chicken with Mushrooms and Orzo

Chicken with Orzo and Mushrooms

Well today, it's official.  I'm officially done with my first big-girl job.  After nearly 2 years, I left to take a new job.  I'm so excited about my new role, but I'm a little sad as well.  I adore the people I worked (ah past tense!) with and will miss them dearly.  I hope that my new coworkers enjoy my baked goods as much as they did!
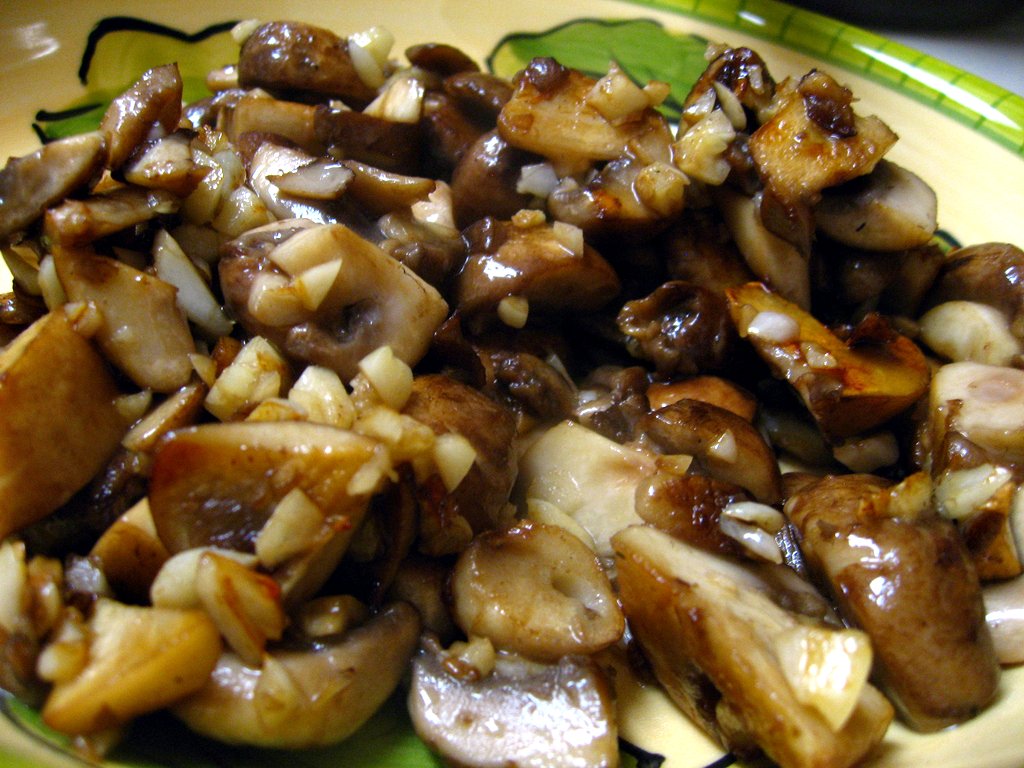
Mushrooms and Garlic

While I was cleaning out my office last week, I finally brought home all the cookbooks that had been donated to me by my coworker. One of these was Cooking Thin with Chef Kathleen.  This is a great cookbook for a beginner chef or to make a quick weeknight dinner.  The recipes are super simple - rarely more than a handful of ingredients, most of which I usually have on hand - and everything is fresh and mostly healthy.  This is supposed to be a diet food cookbook, but it does have a lot of desserts and other things so I think it's better as a "simple recipes" cookbook rather than diet.
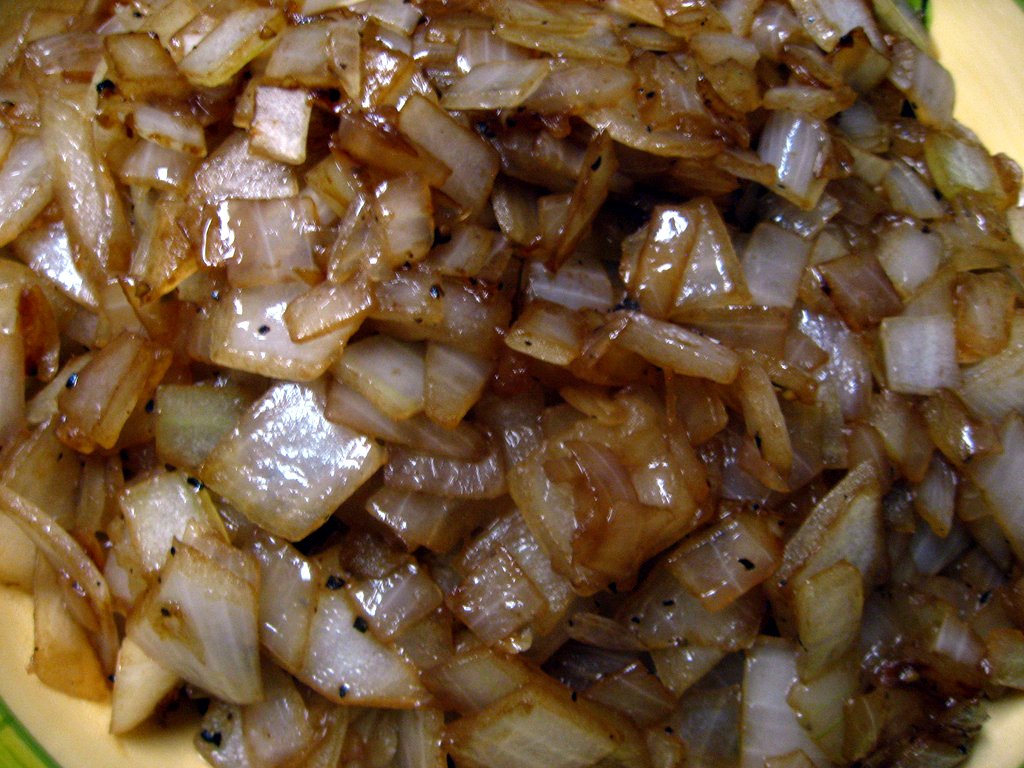
Carmelized Onions

Even though I've flagged a bunch of things I want to try, I'm really thinking of sending it off to my baby brother.  He's moving out of the dorms and into his first college house in a few months, which means he needs to start cooking for himself.  I think these recipes would be easy for him to make and allow him to change it up from Ramen noodles and  mac 'n' cheese.  If you know someone moving out on their own for the first time, I'd definitely recommend this as a great first cookbook.
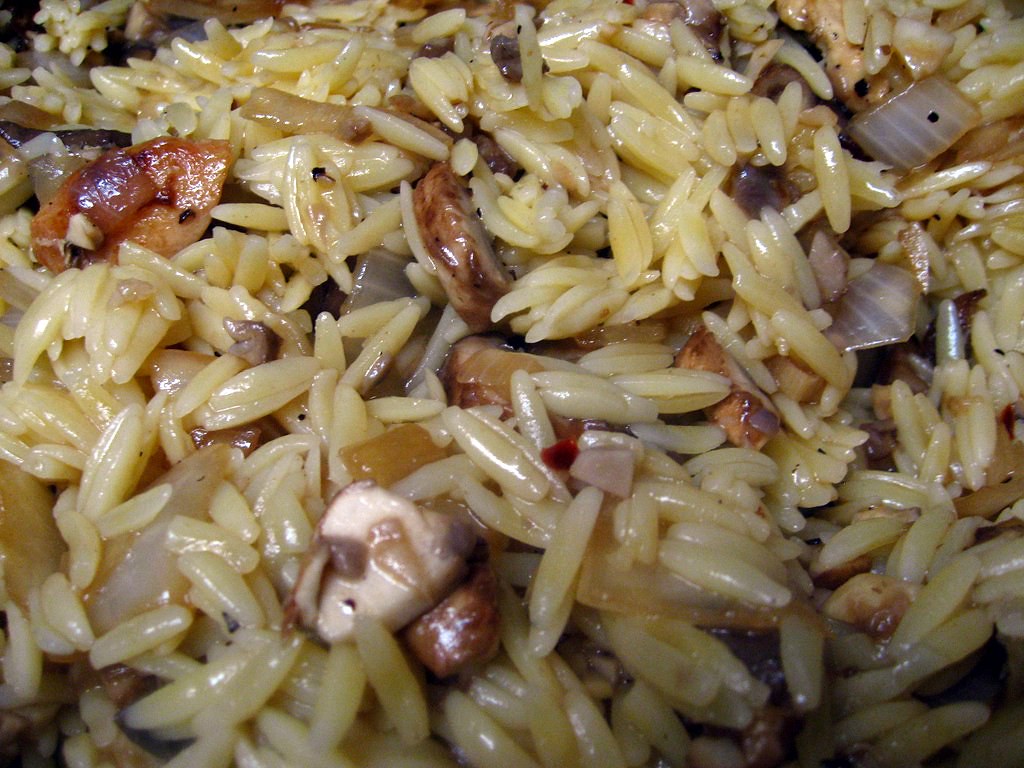
Chicken with Orzo and Mushrooms

This recipe is simple but tasty.  The Monkey Scientist said he enjoyed it a lot.  I love orzo in anything, and the lemon and herbs make this fresh and cool.  I added a lot more seasoning than the original recipe called for (salted and peppered between every step) but beyond that did not alter the recipe dramatically.  I like the heartiness from the mushrooms.  They give a nice earthy undertone that works well with the caramelized onions.  It's a nice weeknight dinner, but nothing special.
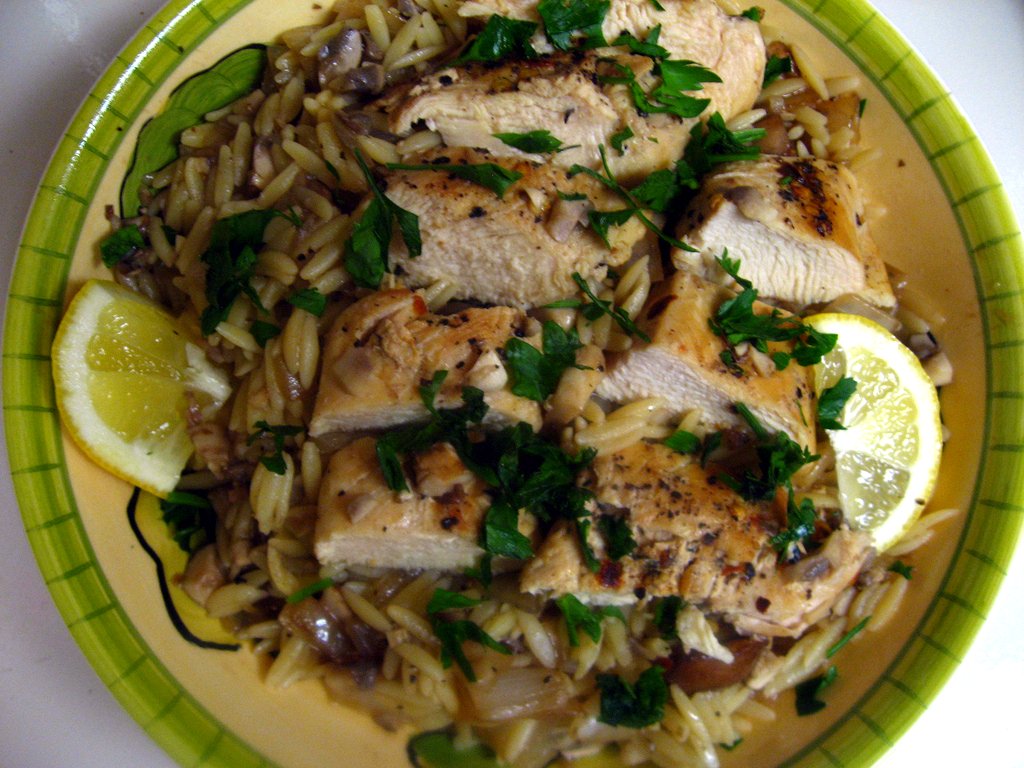
Chicken with Orzo and Mushrooms

Chicken with Mushrooms and Orzo
adapted from Cooking Thin with Chef Kathleen

Ingredients
1 1/2 cups of orzo, uncooked
6 tsp olive oil, divided
16 oz mushrooms (1 packages, I used baby bella), roughly chopped
4 cloves garlic, minced
1 sweet onion, diced
salt and pepper to taste
1 tbsp balsamic vinegar
4 boneless, skinless chicken breasts
1 tsp crushed red pepper flakes
1 lemon, juiced
1/2 cup parsley, chopped
1 lemon, sliced

Instructions
1. Cook orzo according to package instructions, reserving the cooking liquid when draining.
2. Heat 2 tsp olive oil in a large skillet over medium to medium high heat.  Add the mushrooms and cook until soft, about 8 minutes. Add the garlic and cook until fragrant, about 2 more minutes.  Remove the mushrooms and garlic from the pan and set aside.
3. Add another 2 tsp of olive oil to the skillet.  Add the onion, season with salt and pepper, and cook until brown and caramelized, 10-20 minutes.  When they are almost done, add the balsamic vinegar and stir throughout.  Remove from pan and place on top of the mushrooms and garlic.
4.  Add the last 2 tsp of olive oil to the pan to heat up.  Meanwhile, season the chicken breasts with salt, pepper, and red pepper flakes.  Add the chicken breasts to the pan and cook on each side until just cook through and browned, about 2-3 minutes per side.  Remove chicken from the pan and set aside to rest.
5. Add the onion and mushroom mixture back to the pan, along with the orzo and 1/2 cup of the reserved cooking liquid and the lemon juice.  Season to taste with salt and pepper.
6. Slice chicken on the diagonal and serve over the orzo mixture.  Top with parsley and serve with additional lemon slices.

Wednesday, March 28, 2012

Basic Oatmeal Cookies

Oatmeal Cookies

On Saturday night, the weather was icky which made going out sound dreadful.  We've been pretty obsessed with Draw Something lately, thanks to my brother (it's a terrible addiction don't even start!) which inspired me to want to play Pictionary.  At the last minute, I was able to organize a few friends to come over and join us for an exciting game night!


Oatmeal Cookies

We had such a wonderful time.  We started with CatchPhrase (if you have an iPhone, download Phrase Party and you don't actually need to buy the game!), and then moved onto Pictionary, Charades, and a game I'd never played before - Chinese Telegraph.  You can find a great explanation of how to play the game on Jenna's Everything Blog.  Next time you gather a bunch of your friends, I highly recommend playing this game.  I had to pull out a box of tissues because I was laughing so hard.  It was one of my favorite Saturday nights in a long time - I hope we'll get to have another game night again soon!

Oatmeal Cookies

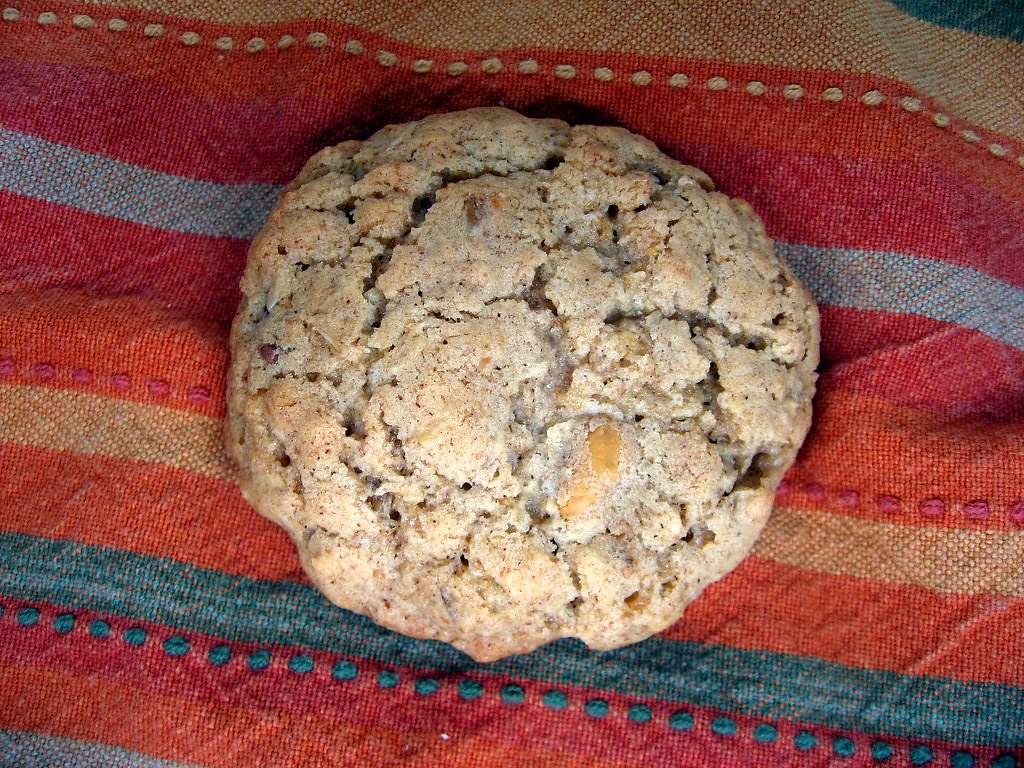
Since I threw the gathering together pretty quickly, I felt bad that I hadn't made many treats for my guests.  I am usually pretty good about keeping the ingredients for baked goods in the house, so I decided to throw together some cookies.  I wanted a pretty basic recipe so I went to my reliable Better Homes and Gardens Cookbook.  My college roommate always used this cookbook, so when a Border's was going out of business I picked up a copy of my own and I love it!  I had all of the ingredients for these Oatmeal Cookies, as well as about 1/4 bag each of chocolate and butterscotch chips, so I quickly threw a batch together.

Oatmeal Cookies

What a great recipe!  They're super easy to make and tasted delicious!  These are chewy cookies, but I bet if you took them out halfway through baking and gently banged the cookie tray on the oven door before putting them back in, they'd flatten out and turn out crispy if you're into that.  I don't usually add cloves or cinnamon to my oatmeal cookies but I will from now on.  They added a new level of flavor that we all really enjoyed.  Even though I only had 1/2 cup combined of chocolate and butterscotch chips, I thought they were the perfect amount to prevent the cookies from being too sweet or too chocolately (yes, I just said that.  I'm not a huge chocolate lover).  These were a great cookie that I could throw together in no time with the ingredients I had on hand!

Oatmeal Cookies


Basic Oatmeal Cookies
slightly adapted from Better Homes and Gardens New Cookbook

Ingredients
3/4 c butter, softened
1 c packed brown sugar (I used light)
1/2 c granulated sugar (or Vanilla Sugar)
1 tsp baking powder
1/4 tsp baking soda
1/4 tsp salt
1/2 tsp ground cinnamon
1/4-1/2 tsp ground cloves
2 eggs
1 tsp vanilla
1/2 c whole wheat flour
1 c all-purpose flour
2 c rolled oats
1/4 c milk chocolate chips (optional)
1/4 c butterscotch chips (optional)

Instructions
1. Preheat the oven to 375 degrees F.
2. In the bowl of a standing mixer fitted with a paddle attachment (or, even better, a beater blade) beat the butter on medium speed for 30 seconds.
3. Add the brown sugar, granulated (or vanilla) sugar, baking powder, baking soda, salt, cinnamon and cloves and beat on medium speed until combined.  If you don't have a beater blade, make sure to scrape the sides down with a spatula. Beat in eggs and vanilla.
4. Add in the whole wheat flour and beat on low until incorporated.  Add AP flour, 1/2 c at a time, and beat on low until incorporated.  Add the oats and beat for 15 seconds or until incorporated.  If desired, add chocolate and butterscotch chips (or anything else, like raisins or craisins) and stir with a spoon until mixed throughout.
5. Drop dough by rounded teaspoons 2 inches apart on a cookie sheet (optionally lined with a silpat mat or parchment paper).  Bake 8-10 minutes (mine actually needed closer to 12 min but they were a little big) until the edges are golden brown.
6. Cool on cookie sheet for 1 minute then transfer to a wire rack to allow to continue to cool.

Sunday, March 25, 2012

Peanut Noodles with Kale and Cannellini Beans


Peanut Noodles with Kale and Beans

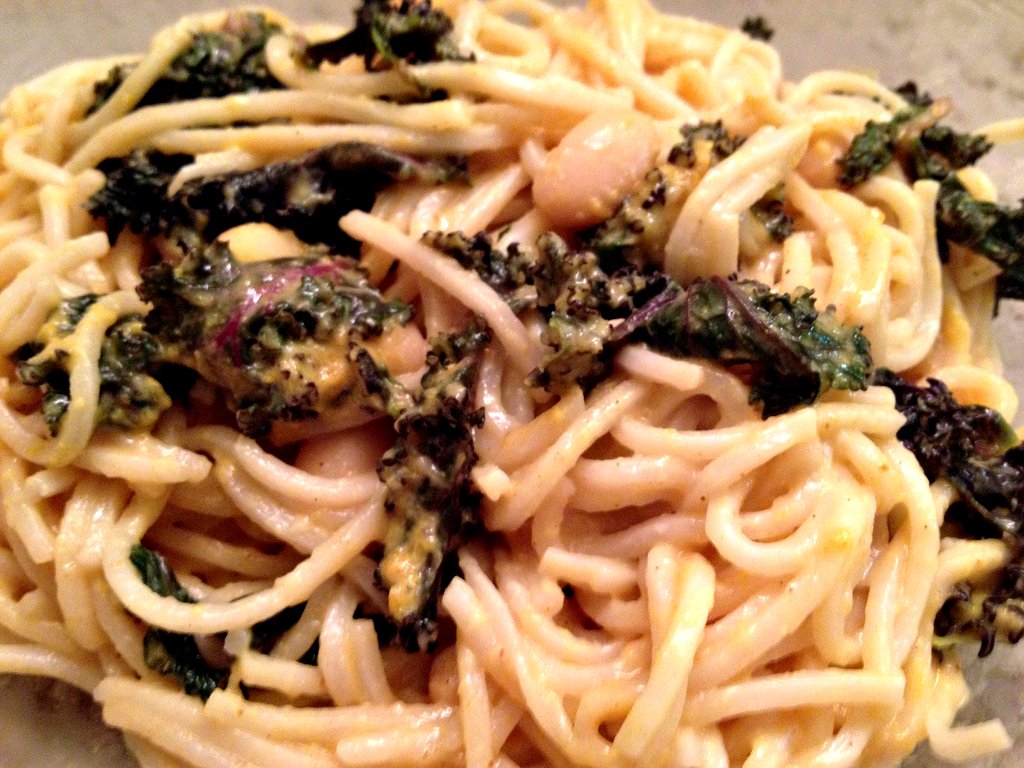
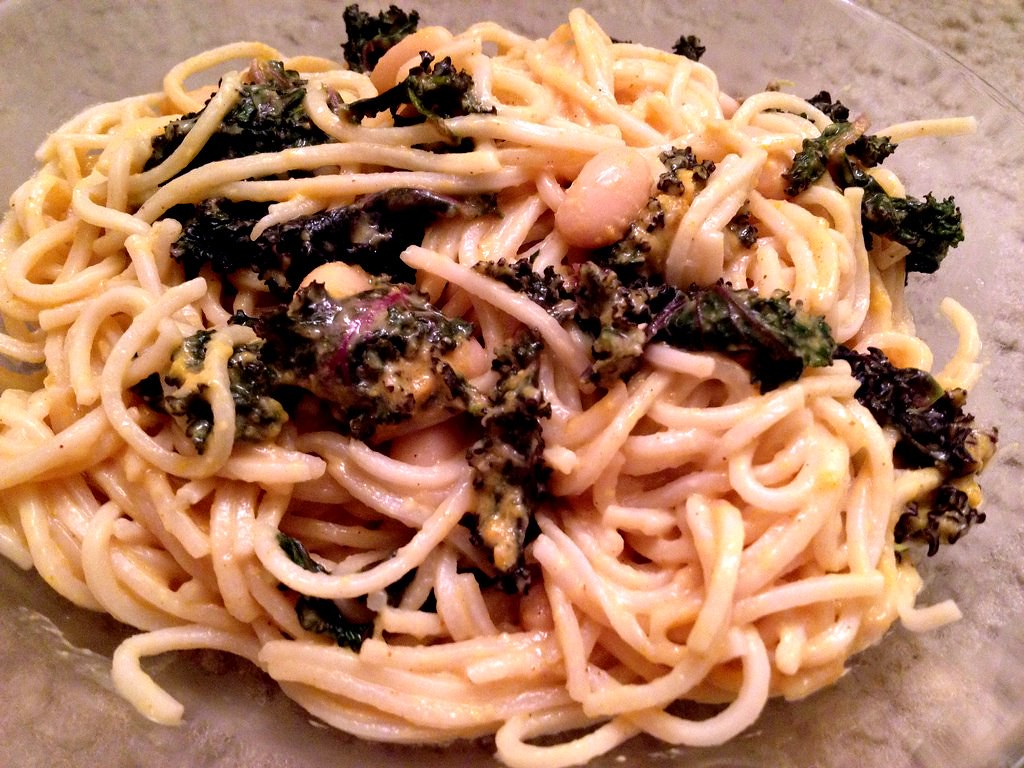
After a fun afternoon enjoying the Cherry Blossoms with the Monkey Scientist and my old camp friend, I wanted to throw together a quick and healthy dinner.  I picked up some kale at the farmer's market downtown and a can of beans from our local grocery store, but I had just about everything else at home.  My coworker had given me a few special peanut butters from Spread, so I used the Golden Raisin Curry peanut butter to give this recipe a little more flavor.

Chow Mein Noodles

I am absolutely digging the chow mein noodles that I used.  You can just use spaghetti (whole wheat please!) but these add a new dimension of texture.  They're a little bit gummier than regular spaghetti, but in a good way.  I'm excited to find new ways to use them!  I bought mine at World Market, but I'm sure you could find them at an Asian grocery store or perhaps even in the Asian aisle of your regular supermarket.  They cost about the same as a regular box of spaghetti.

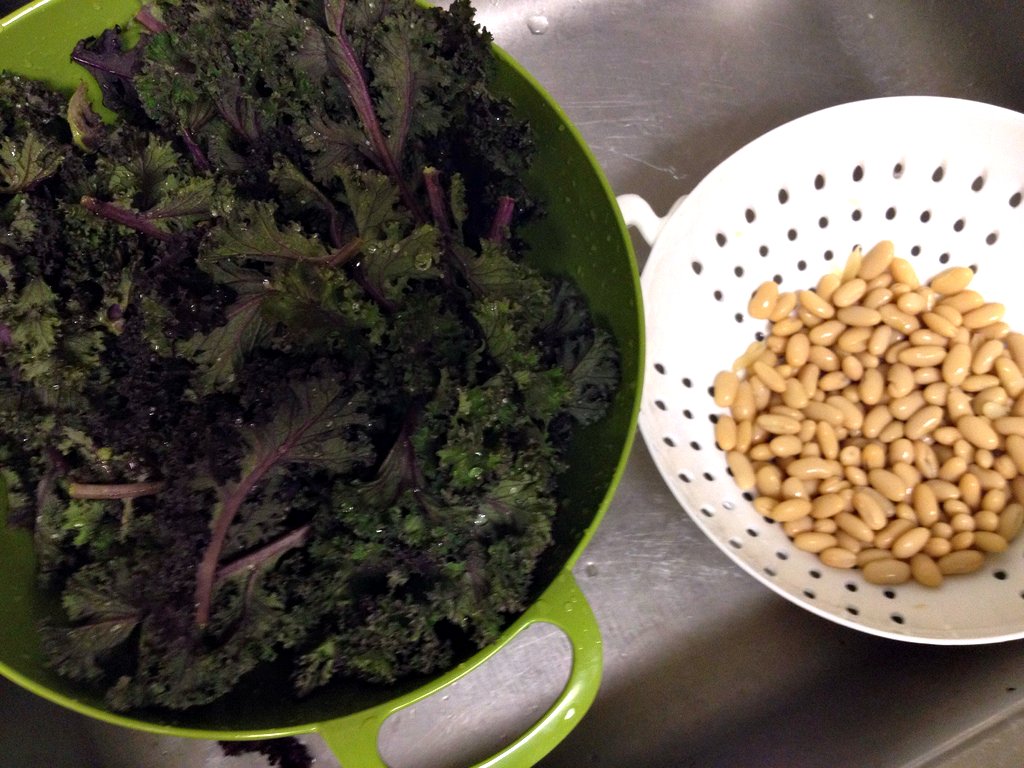
Kale and Cannellini Beans

I loved that this recipe was vegetarian for my camp friend, but the Monkey Scientist and I did throw a little bit of cooked chicken breast on top for added protein.  We only needed to split one breast between the two of us though because the beans added nice protein as well.  We've been adding white beans to our salads and pastas frequently lately and I'm enjoying the flavor a lot.  They complemented this dish perfectly.

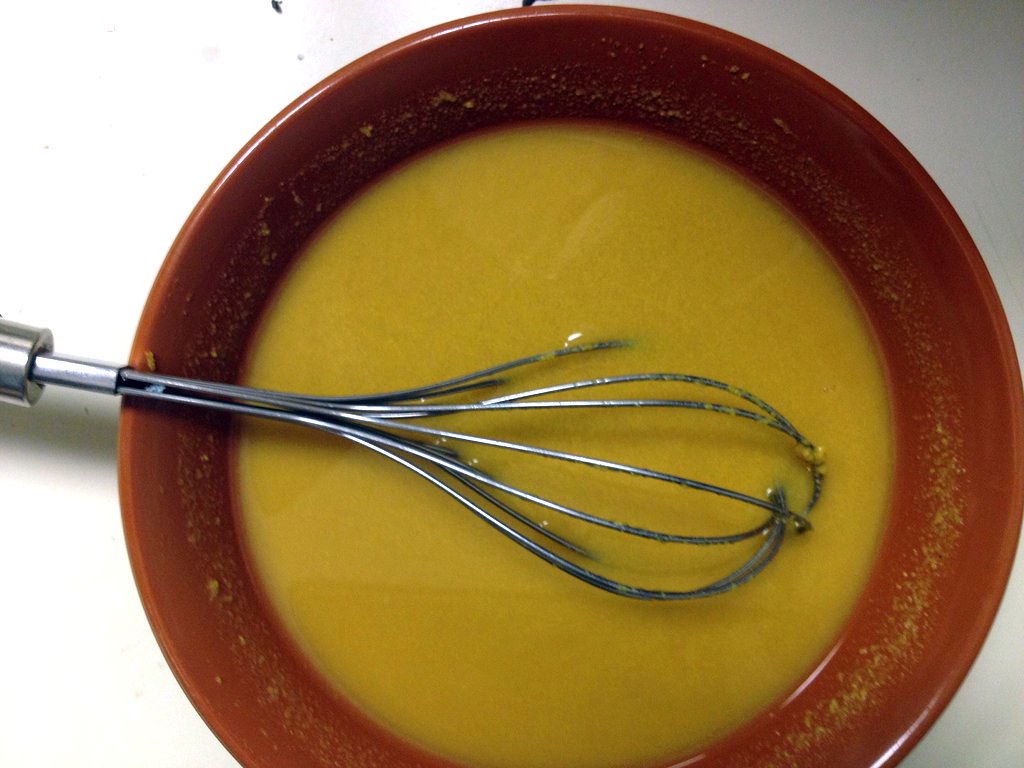
Peanut Sauce

I like this recipe a lot!  In the recipe below, I decreased the acid a bit from the amount I used, as ours was a little bit too acidic.  If you are using regular peanut butter, try adding a little bit of curry powder - I think it complements the flavors nicely.  This recipe was originally in the Self Magazine Drop 10 menu plan, but I did add a bit more oil than they had called for.  If you want to decrease the oil for health reasons, it should still work well.  This is a great meal to throw together on a weeknight and a fun way to have a new and different type of pasta than the typical spaghetti with marinara.

Peanut Noodles with Kale and Beans

Peanut Noodles with Kale and Canellini Beans
Adapted from Self Magazine, April 2012

Ingredients
1 package chow mein noodles (or whole wheat spaghetti)
1/2 cup plus 1 tablespoon rice wine vinegar (unseasoned)
1/4 cup creamy peanut butter (can be flavored with chiles or curry)
1/4 cup orange juice
1 1/2 tbsp low sodium soy sauce
1 tbsp olive oil
1 tsp sesame oil
1 bunch kale
1 15.5 oz can cannellini beans, drained and rinsed
Salt and pepper to taste
1/4 cup sliced scallions

Instructions
1. Prepare noodles according to package instructions, but do not rinse in cold water.
2. In a medium sized bowl, combine rice wine vinegar, peanut butter, orange juice, and soy sauce and whisk until smooth.
3. In a pan with high sides, heat oilsovr medium high heat. Add kale and sauté until wilted.
4. Combine noodles, cannellini beans, and peanut sauce and stir until warmed through. Season with salt and pepper to taste.
5. Served topped with scallions.

Thursday, March 22, 2012

Indian-Spiced Lentils and Lamb

indian-spiced lentils and lamb

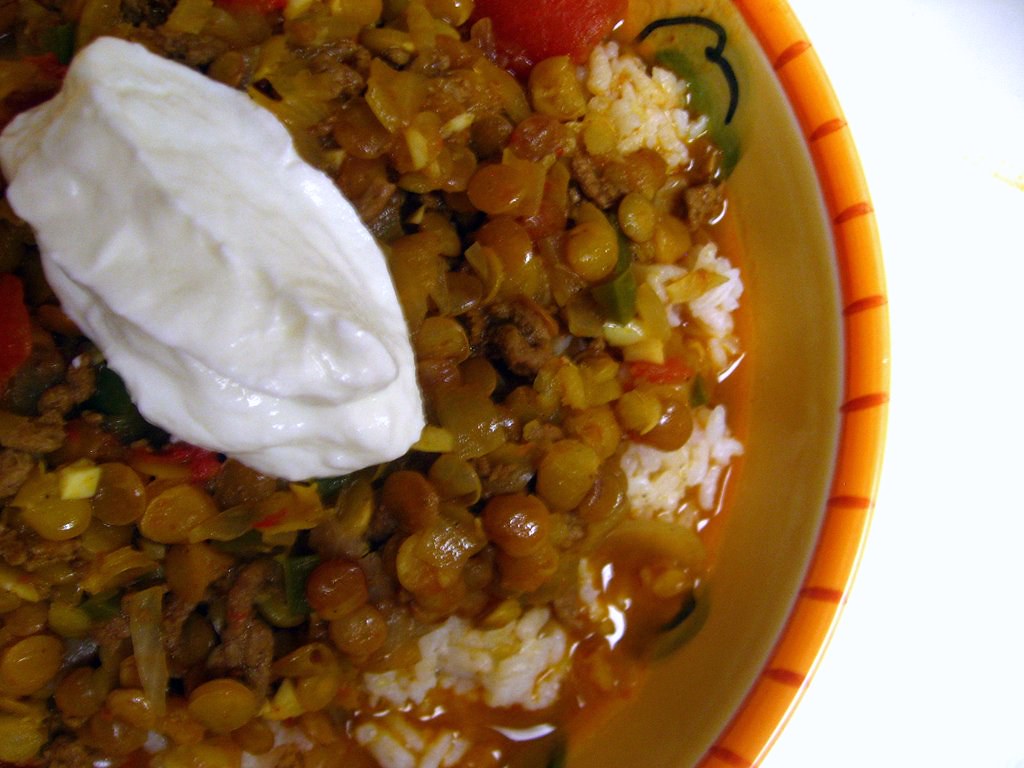
One of the many things I love about the Monkey Scientist is that he's really willing to try just about anything I tell him to eat.  Even if he doesn't like it, he'll at least give it a shot.  I once made him try tripe in a Chinese restaurant (without telling him what it was) and even though he will never try it again, the fact that he did made me smile.  Case in point was this meal - I told my Mom I was making Indian lentils and lamb for dinner and she said "oh, interesting" (which in our family means "please don't expect me to be eating that").  The Monkey Scientist, on the other hand, was excited!  It makes cooking for him so much fun!

indian-spiced lentils and lamb

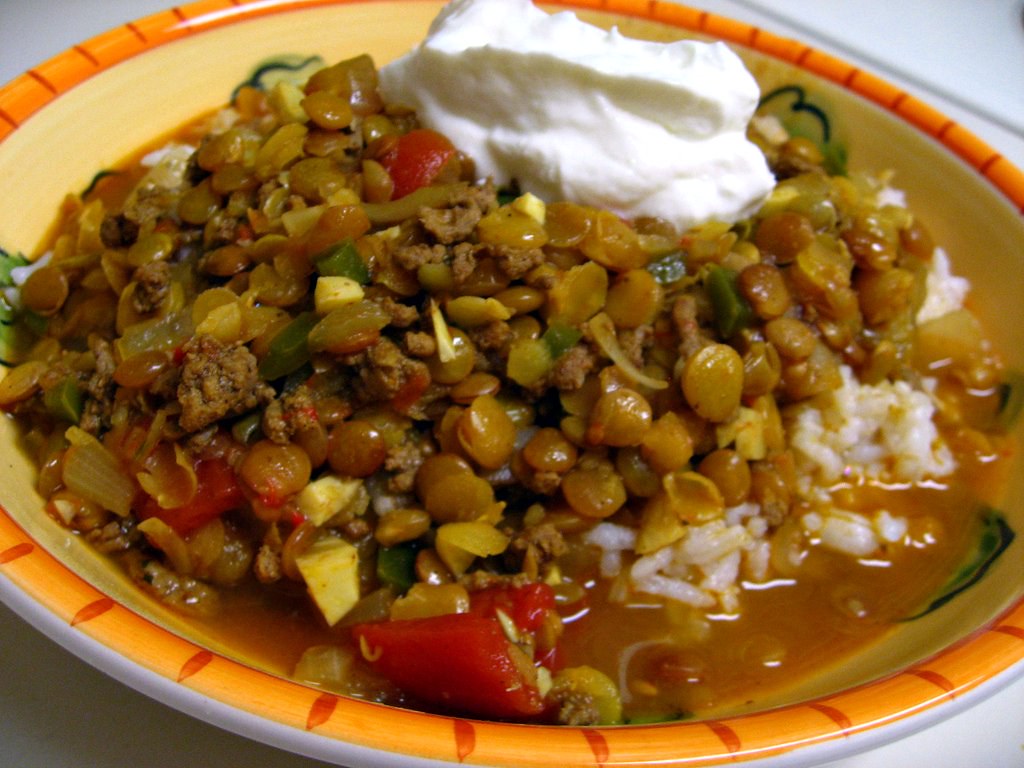
Despite this recipe not being my usual style of cooking, I knew this would be a recipe we'd like because of the spice factor.  Curry powder + cayenne + jalapeno is a spicy combo.  Right up our alleys.  Fortunately for me, the greek yogurt cools the palate back down.  Also, by serving this on top of rice, it made the whole dish a lot more mild - definitely something I'd recommend if the spiciness scares you (and to add more substance to the whole dish).

indian-spiced lentils and lamb

I liked that this recipe was fairly low-cost.  Although lamb can be expensive, you don't need that much of it in this meal.  Lentils are one of my favorite money savers because they are filling and tasty, but only cost about 89 cents/bag (which is enough to make this recipe 2-3 times!).  My biggest cost-grief is the coconut milk.  My grocery store only has 1 brand and its nearly $4/can.  Do you know where I can buy it cheaper (and maybe in half cans)?

indian-spiced lentils and lamb

This was one of my favorite low cost, healthy recipes I've made in a long time.  Bold flavors do so much to make up for lower fat content in dinners.  The spicy flavor combined with the sweetness of the coconut milk and tomatoes elevated inexpensive lentils.  The little bit of lamb brought an otherwise vegetarian dish to an new level - but could be left out if you wanted to keep it vegetarian.  The tang of the Greek yogurt was the perfect finishing touch.  The color of the whole dish is gorgeous from the curry powder, tomatoes, and coconut milk.  We both loved this one!

indian-spiced lentils and lamb

Indian-Spiced Lentils and Lamb
slightly adapted from Cooking Light

Ingredients
2 teaspoons olive oil
1/2 lb lean ground lamb
1 teaspoon red curry powder
1 teaspoon ground cumin
1/2 teaspoon kosher salt
1/4 teaspoon ground red pepper (cayenne)
1 1/2 cups chopped onion
1 jalapeño pepper, chopped and seeds removed
5 garlic cloves, minced
1 heaping tablespoon tomato paste
3/4 cup brown lentils
2 cups fat-free, lower-sodium chicken broth
1 cup water
3/4 cup light coconut milk
1 (15-ounce) can whole peeled tomatoes, drained and coarsely chopped (I actually added the juice too)
1/4 cup plain Greek yogurt (2% or fat free)
white rice, cooked (optional)

Instructions
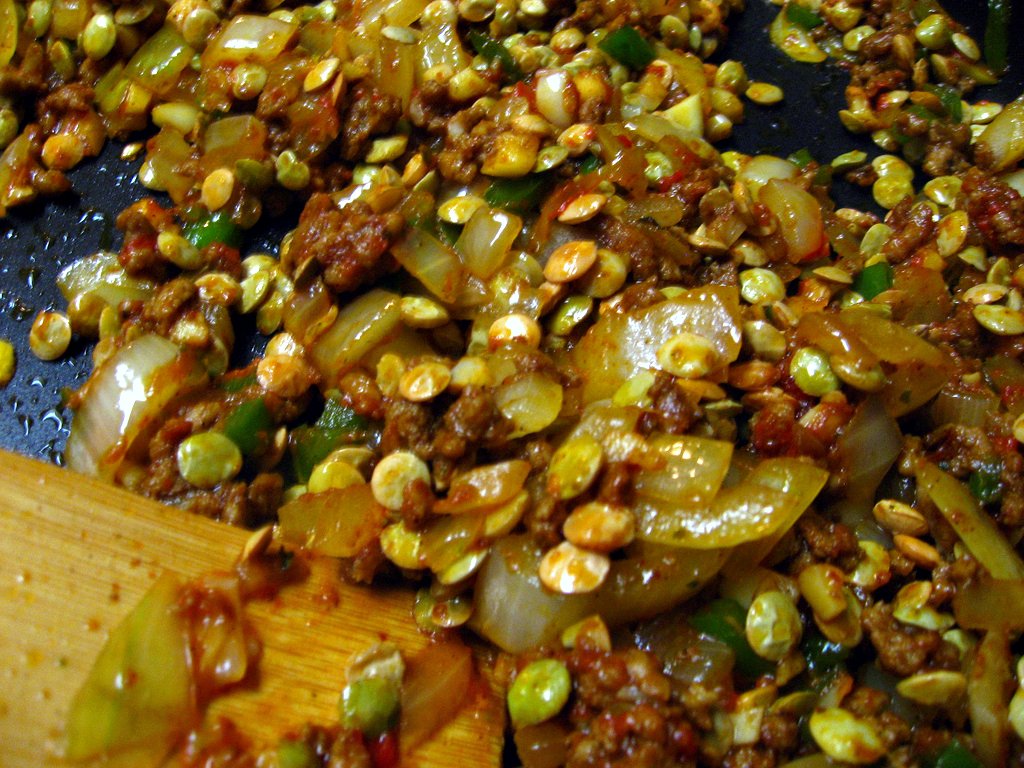
1. In a large, deep skillet, heat oil over medium high heat then add lamb, curry powder, cumin, salt and cayenne pepper, and cook for 2-3 minutes until it starts to brown.
2. Add onion and jalapeno and cook for an additional 4-5 minutes until the lamb is fully browned and the onions are soft.
3. Add the garlic and cook 1-2 minute more until fragrant.
4. Add tomato paste, cook, stirring constantly, 1 minute.
5. Add lentils, cook, stirring constantly, 1 minute.
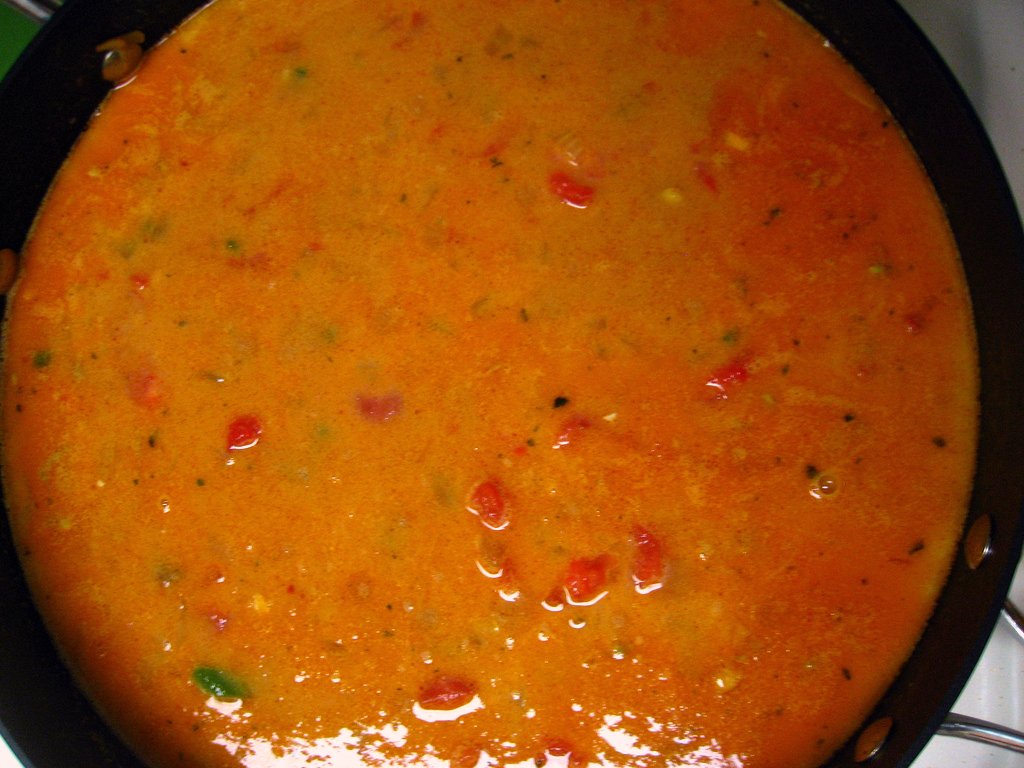
5. Add chicken broth, water, coconut milk, and tomatoes and stir to combine. Bring to a boil and then lower heat to simmer. Cover and allow to simmer for 40 minutes or until lentils are tender.
6. Serve either in a bowl or over white rice and top with a dollop of Greek yogurt.

Monday, March 19, 2012

Vanilla Sugar

Vanilla Sugar

This is one of the simplest and best kitchen tricks.  If you ever use vanilla beans (like when you make Vanilla Bean Scones), don't get rid of the bean after you scrape it clean of it's inside goodness.  Shove it down in a couple of cups of sugar and let it chill, spreading its love.  Then use the sugar as you would normally (preferably for baking) and you'll have a lovely hint of vanilla throughout!

Vanilla Bean. Scraped.

I am loving vanilla sugar.  I can't wait to find new things to bake with it.  But even if you don't bake, this would give a lovely hint to coffee or homemade hot cocoa!  The possibilities are endless.

Do you have ways you love to use vanilla sugar?  Please share!!

Vanilla Sugar


Vanilla Sugar


Ingredients
1 vanilla bean shell, scraped clean (use the insides for Vanilla Bean Scones!)
2 cups granulated sugar

Instructions
1. Push your vanilla bean down into the middle of the sugar.  Store in an airtight container for at least 2 weeks.  Use for anything you'd normally make with regular sugar!

Friday, March 16, 2012

Vanilla Bean Scones

Vanilla Bean Scones

I had been promising the Monkey Scientist for a few weeks that I'd make a nice breakfast one weekend morning, but I kept rushing out early to go to weekend Stroga class and hadn't followed through.  Finally, I came through with a special treat - scones.  This was my first scone adventure, so I'm not sure how "typical" this recipe is, but it certainly was a learning experience.

Vanilla Bean SconesVanilla Bean Scones

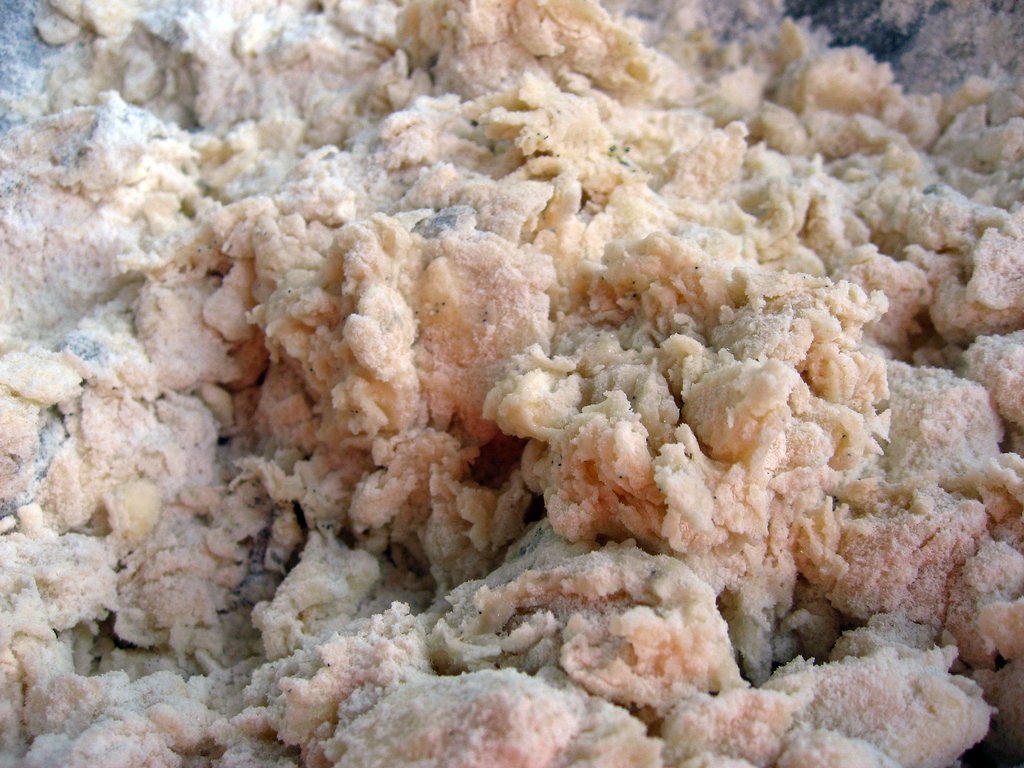
First of all, grating butter?  I grate all my own cheese, but this was a new one for me.  It makes sense though!  Trying to cut butter into flour is a pain, but mixing in little flakes of butter is easy!  Totally weird, not changing my mind on that, but I think it works really well!

Vanilla Bean SconesVanilla Bean Scones

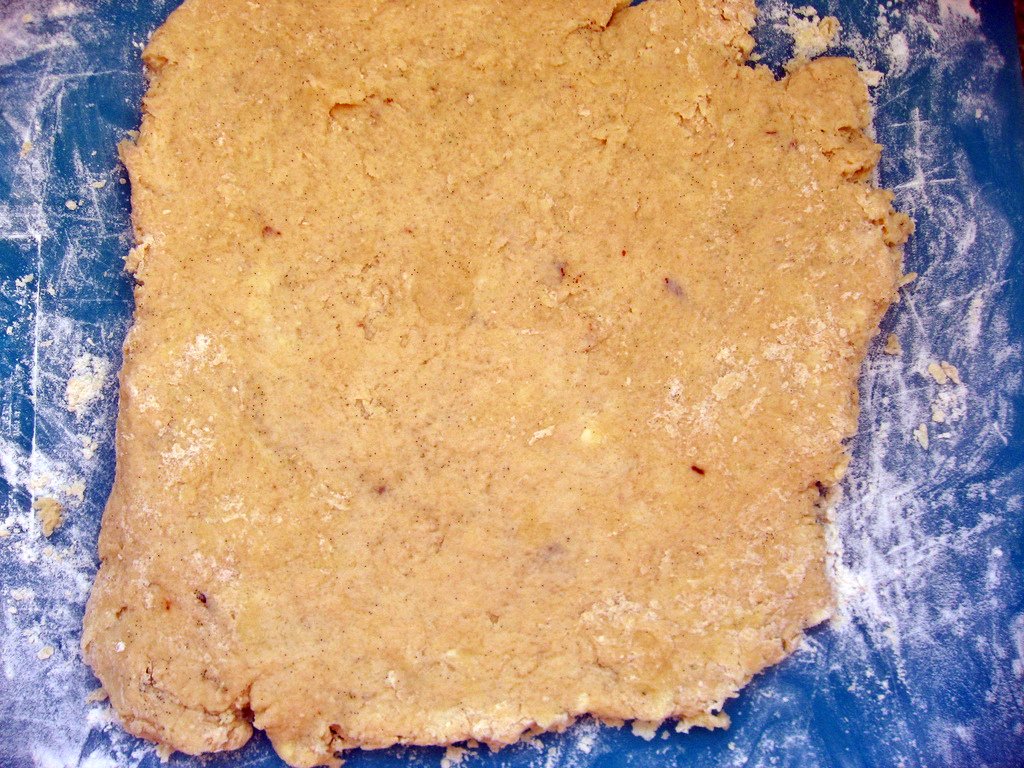
On the other hand, this recipe doesn't cut the pain of layering the dough.  Do all scone recipes have layered dough?  I felt like I was making croissants.  But then when they baked up, I didn't notice the layers at all.  Was all this rolling and folding worth it?  What was I really doing?  I need a baker pro to explain to me a little bit better!

Vanilla Bean SconesVanilla Bean Scones


Can I just throw out there that'd I'd love a nice wood pastry board.  Like this one.  It's on my wish list and sometime I'll take the plunge and buy it myself.  My counter is just never clean enough to work directly on, and my cutting boards aren't cutting it (no pun intended).  If you have a pastry board, this is a great recipe to use it for, since you roll out into all different sized square and rectangles.

Vanilla Bean Scones

We really enjoyed these scones.  They were a bit doughy (did I over mix?) and not quite as flakey as they could have been, but delicious nonetheless.  The vanilla flavor was strong throughout and I love the cinnamon sugar topping.  I saved the rest as a quick bite to grab on the way out the door in the morning and they stayed delicious all week.  As much as we've enjoyed waffles and scones, the next weekend breakfast may be an egg dish - I haven't made a quiche in a long time!

Oh! One note!  Save your pod from the vanilla bean after you scrape it.  I have something you can do with it! Stay tuned!

Vanilla Bean Scones

Vanilla Bean Scones
from Pink Parsley

Ingredients
8 Tablespoons cold butter, plus more for brushing
2 cups all-purpose flour
1/2 cup + 2 Tbs granulated sugar, plus more for sprinkling
2 teaspoons baking powder
1/4 teaspoon baking soda
3/4 teaspoon kosher salt
1 vanilla bean, split open and seeds scraped out (save the pod!)
1 Tbs vanilla extract
1/2 cup vanilla Greek yogurt
1/2 cup milk or buttermilk

Instructions
1. Grate the butter on the large holes of a box grater onto a plate lined with parchment paper, and freeze.
2. Preheat oven to 425, and combine the dry ingredients. Stir in frozen butter. Whisk together the vanilla bean, yogurt, vanilla extract, and whole milk, and stir into the dry ingredients with a wooden spoon until just combined. The dough will be crumbly, but that's okay.
3. Turn out onto a well-floured surface, and knead a few times until it forms a ball. Roll out into a 12x12 inch square. Using a bench scraper, fold the dough into thirds, then fold into thirds again in the opposite direction to form a square. Place on the parchment-lined plate, and freeze for 5 minutes.
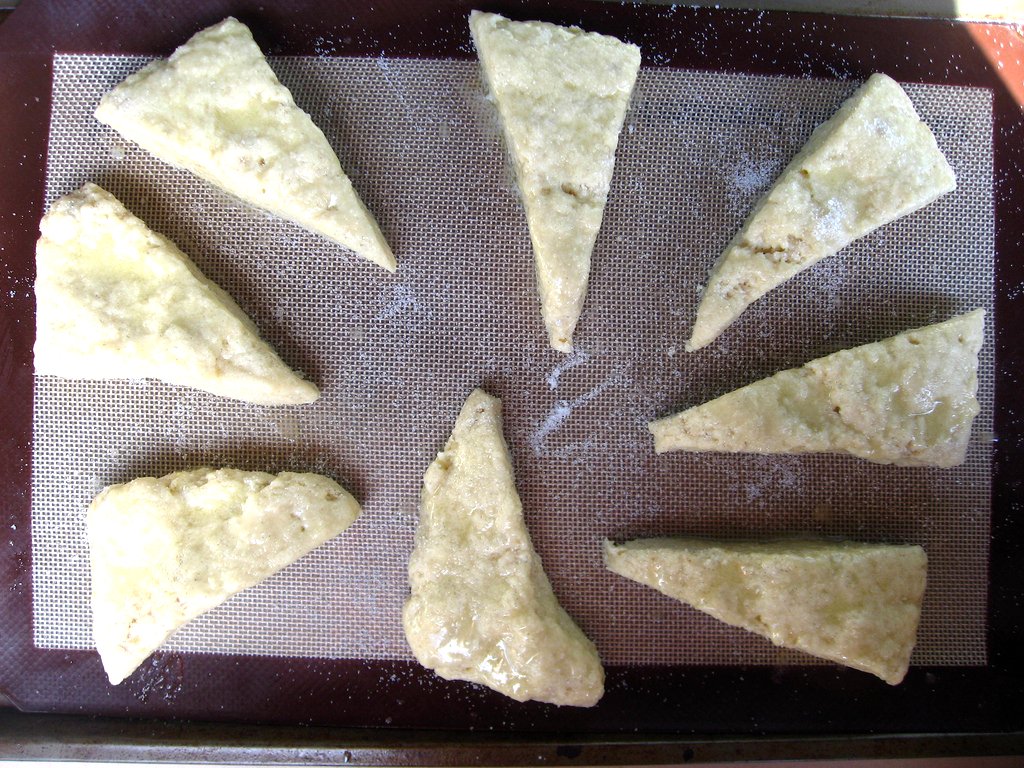
4. Roll out to a 12x12 inch square again. Carefully roll up, as you would cinnamon rolls. Press the roll into a 4-inch wide rectangle. Using the bench scraper, cut into 4 equal-sized rectangles. Then cut each rectangle diagonally to make 2 triangles.
5. Place on a baking sheet lined with parchment paper. At this point the scones can be baked or refrigerated overnight. Brush with melted butter, then sprinkle with sugar. Bake 18-25 minutes, or until golden-brown.

Tuesday, March 13, 2012

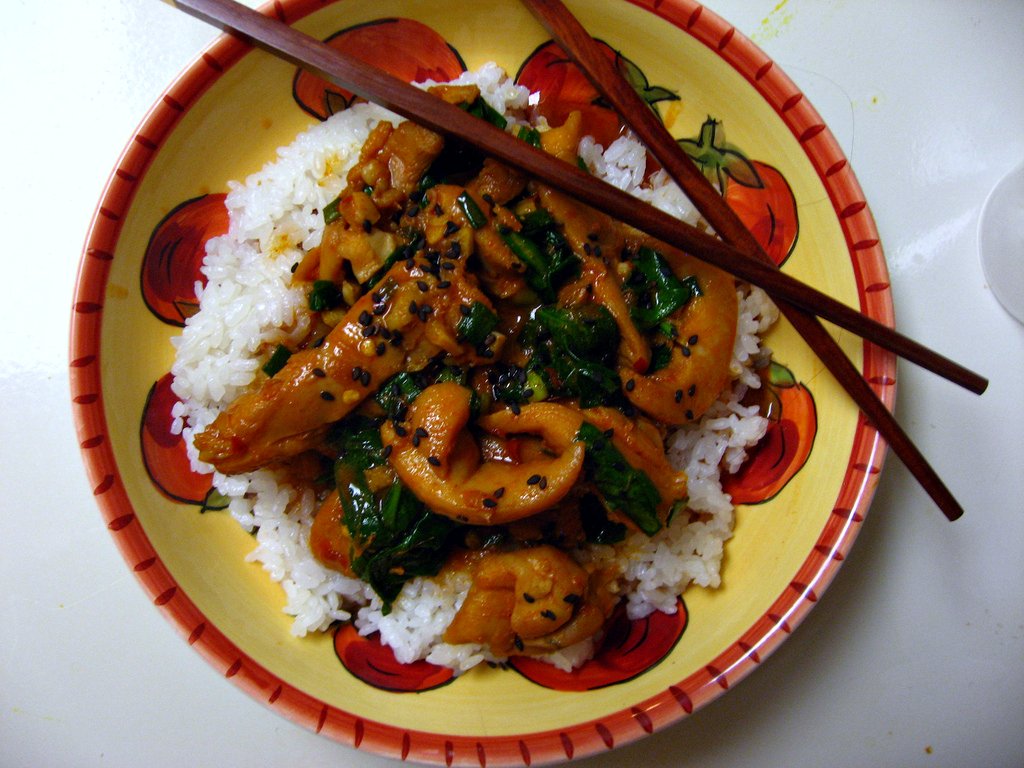
Dak Bokkeum with Spinach (Korean Stewed Chicken with Spinach)

Dak Bokkeum with Spinach

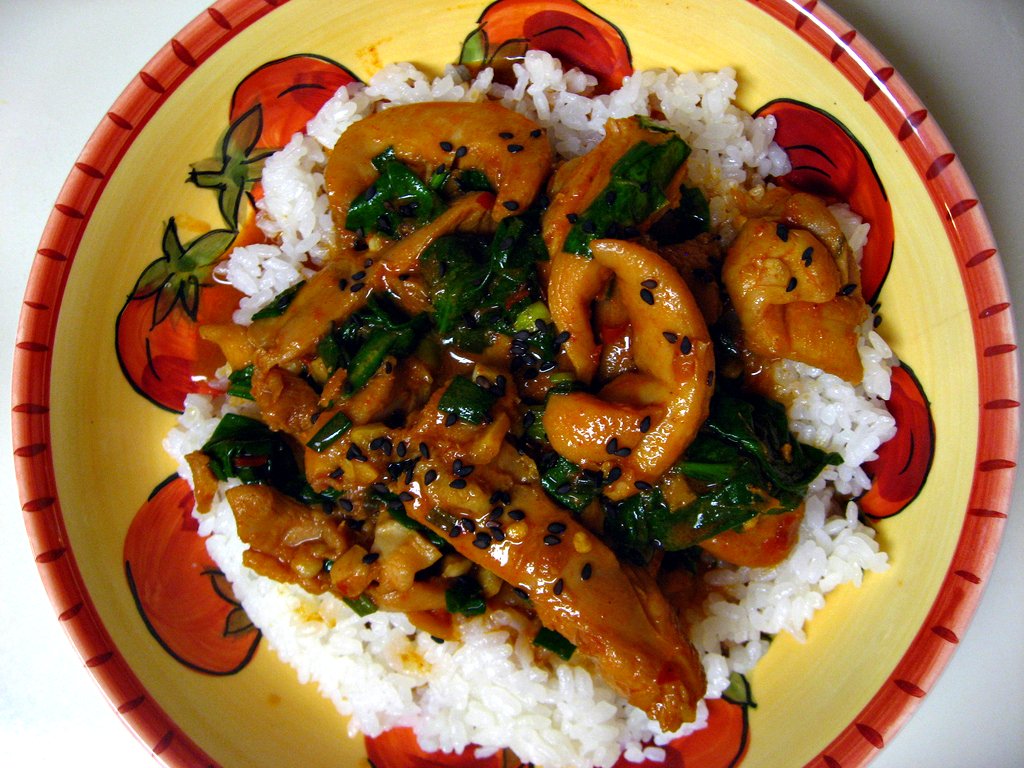
About a year ago, my coworker took me on a trip up to Maryland for what we called "Coworker's Without Cars Day".  It was my first trip ever to H-Mart and I was so excited to find all of the Asian ingredients I couldn't get at my local grocery store.  One of those ingredients was gochujang, a fermented Korean chile sauce.  Of course, being the klutz that I am, I dumped an entire container of gochujang on my foot while we were in the store and made quite the scene.  I was cleaning it out of my flip flop for months.

Dak Bokkeum with Spinach

Despite the scene, I never got around using the gochujang until now! I know - a total shame and I had promised a recipe last April that I never got around to making.  My gochujang actually technically expired since then, but I looked online and there seems to be some consensus that this stuff never really expires and the date on the back is more a "best by" date (had to look online, all of the description around the date was in Korean).  The top layer did turn a little bit brown rather than bright red, but it tasted fine and we didn't get sick so it seemed good to me.

Dak Bokkeum with Spinach

When you go to buy this, there is a huge aisle of H-Mart with different heat intensities of gochujang. It comes in a rectangular red tupperware and on the back right upper corner it will say gochujang in English in itsy bitsy font and it should say in English just how spicy it is. I think mine is the regular spice level and it was very spicy!  For those of you without an H-Mart or other Asian market, I hear a rumor that Annie Chung has a version of gochujang that's sold in regular grocery stores, though I've yet to see it.  Or, if you live in DC, they actually sell it at Tenley Mini Market, oddly enough.  Not exactly what you expect to see in a liquor store but they have it!

Dak Bokkeum with Spinach

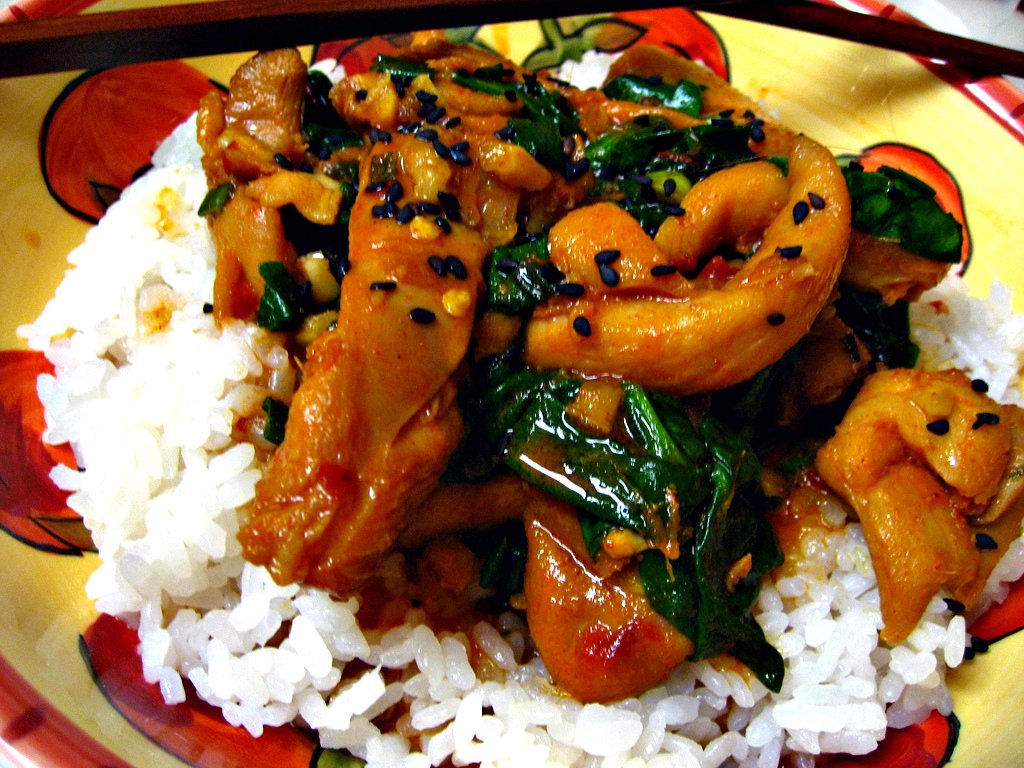
With all of this talk about gochujang, you probably want to know if it's worth it, right?  Man, oh man is it worth it.  This is one of my favorite recipes I've made in a long time and the whole time I was eating it I kept remarking to the Monkey Scientist how much I enjoyed it.  If you cook Asian food frequently, you might even have everything you need at home already so you can make this tonight.  You make the whole dish in basically one pot (and your rice cooker) which makes for fairly easy clean up.  The dish doesn't even need to be babysat while it cooks - you just throw it in and walk away.  That's my favorite kind of meal to make!  And the taste is out of this world! It's got a hefty spice level (the Monkey Scientist barely added any sriracha on top) and is packed with flavor.  It's super filling and healthy (just make sure you trim the fat off of the chicken thighs) as well!  It's a total win-win-win dinner - the two of us couldn't praise it enough.

Dak Bokkeum with Spinach

Dak Bokkeum with Spinach
Korean Stewed Chicken with Spinach
from Cooking Light

Ingredients
1/3 cup gochujang (Korean chile sauce)
1/4 cup (1/2-inch) slices green onion bottoms
2 1/2 tablespoons lower-sodium soy sauce
2 tablespoons minced fresh garlic
2 tablespoons minced peeled ginger
2 tablespoons dark sesame oil
1 tablespoon brown sugar
3/4 teaspoon crushed red pepper
2 pounds skinless, boneless chicken thighs, cut into 1/2-inch strips
1 1/2 cups uncooked short-grain white rice (sushi rice)
1 1/2 cups water
1/3 cup water
3/4 cup (1 1/2-inch) slices green onion tops
1 (5-ounce) bag fresh baby spinach
1 tablespoon toasted sesame seeds

Instructions
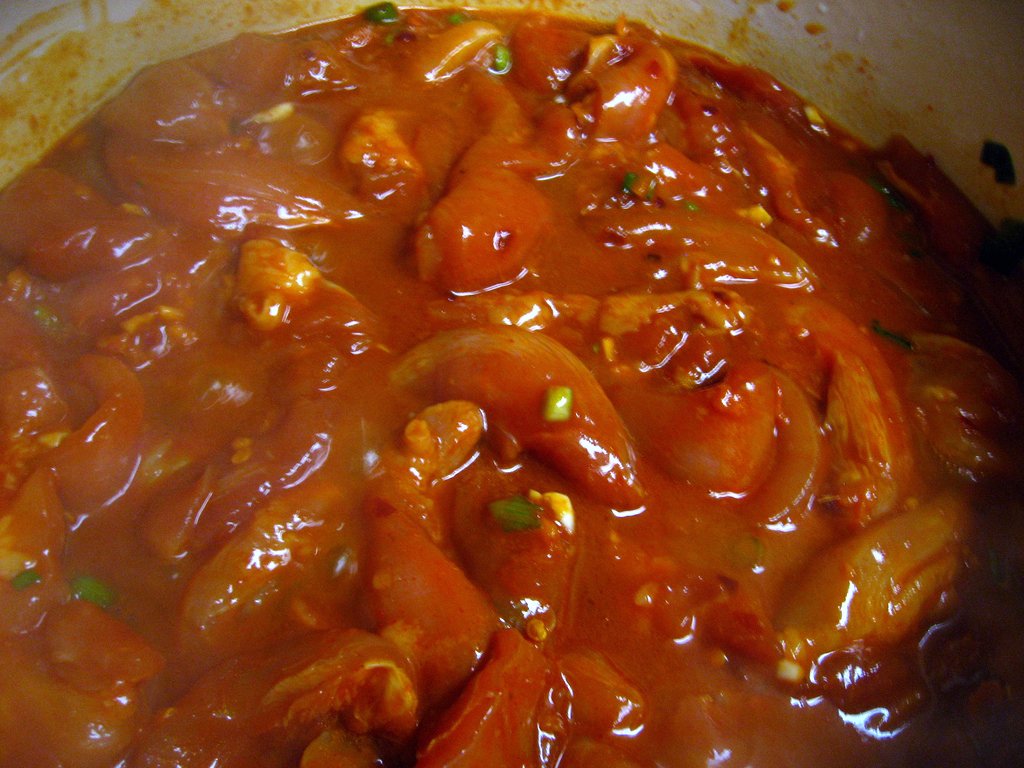
1. In a large bowl, combine gochujang, green onion bottoms, soy sauce, garlic, ginger, sesame oil, brown sugar, and crushed red pepper. Add in strips of chicken thighs, cover, and put in the refrigerator to marinate for at least 30 minutes.
2. Place the rice in a mesh strainer. Fill a large bowl with cold water and place the mesh strainer in the water so that the water covers the rice. Stir the rice gently and then remove from water. The water will be milky. Drain water and then repeat 2-3 times until the water comes out nearly clear.
3. Cook the rice with 1 1/2 cups water in a rice cooker. If you don't have a rice cooker, place water and rice in a pot, and bring to a boil. Reduce to a simmer and cover and allow to cook for 20 minutes. Remove from heat and let stand 20 minutes. (I actually added a pinch of sea salt to my rice cooker as well.)
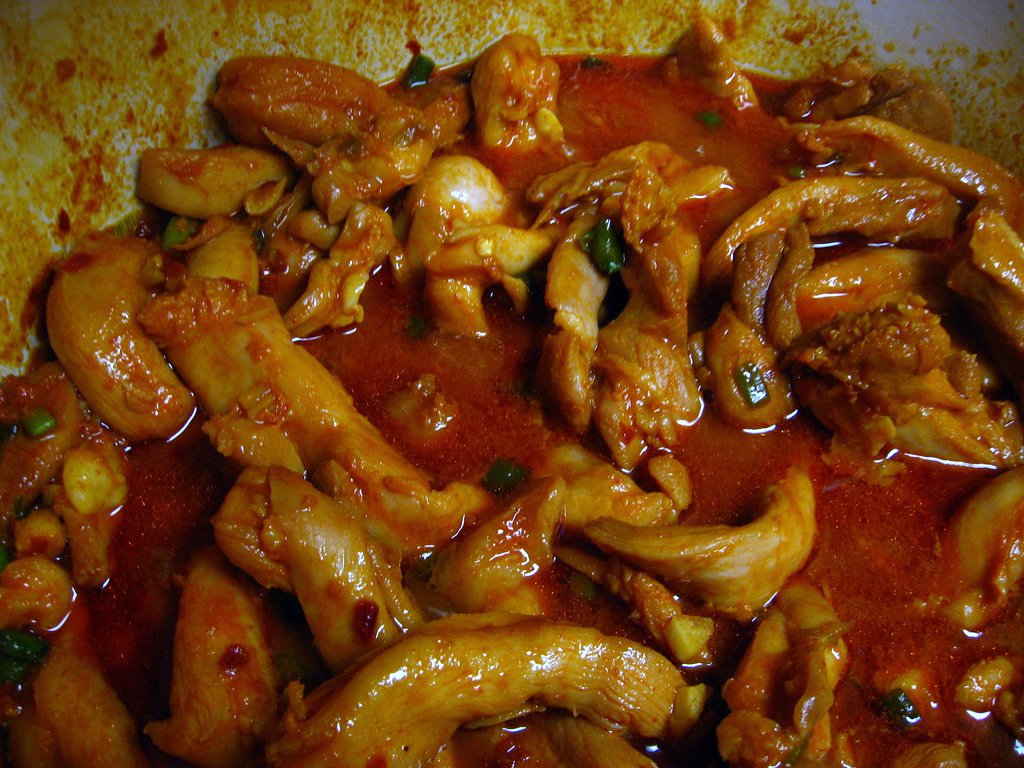
4. While the rice is cooking, add 1/3 cup water to a dutch oven and bring to a boil. Add the chicken mixture and bring to a simmer. Reduce heat, cover, and allow to simmer for 20 minutes.
5. Uncover and allow to simmer for an additional 10 minutes or until the mixture reduces, stirring occasionally.
6. Remove from heat. Stir in green onion tops and spinach and allow the spinach to wilt. Sprinkle with sesame seeds and serve over the rice.

Sunday, March 11, 2012

Roasted Cauliflower and White Cheddar Soup (Lightened)

Cauliflower and Cheddar Soup

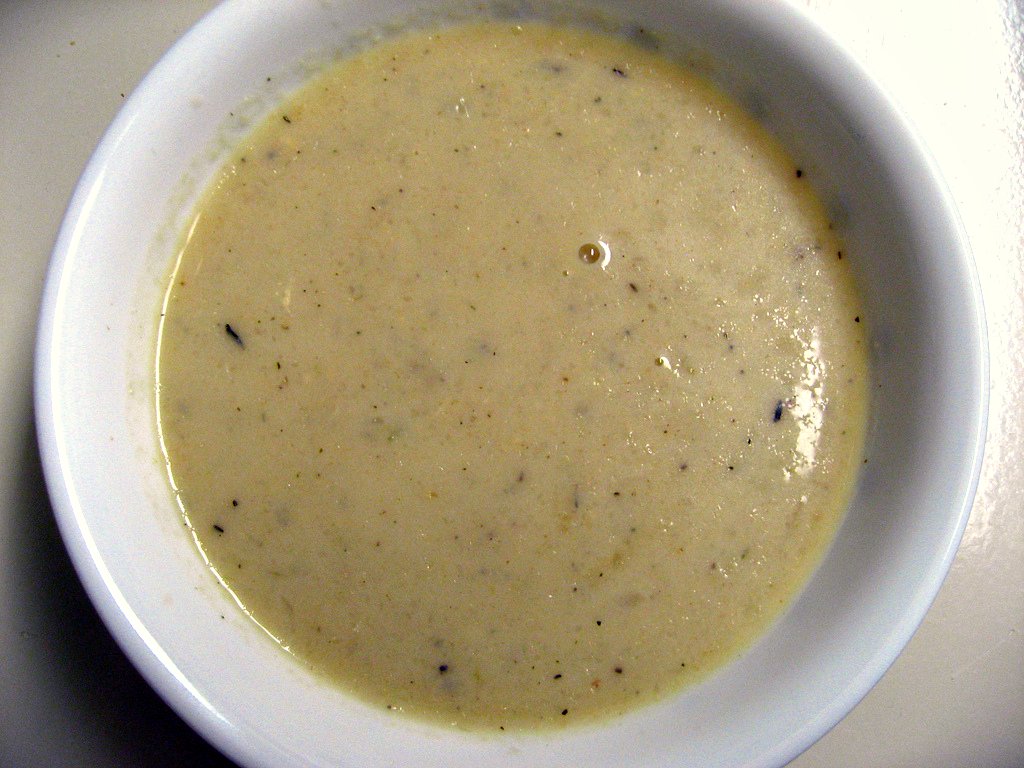
The weather may have started warming up in DC, but it's still snowing back home in New Hampshire and that means I get to keep making soup.  Right?  There is something about roasted vegetables pureed into soups that just tickles my fancy (remember this guy?).  I love using my immersion blender and the flavor, so this soup absolutely needed to be tried.

Cauliflower and Cheddar SoupCauliflower and Cheddar Soup

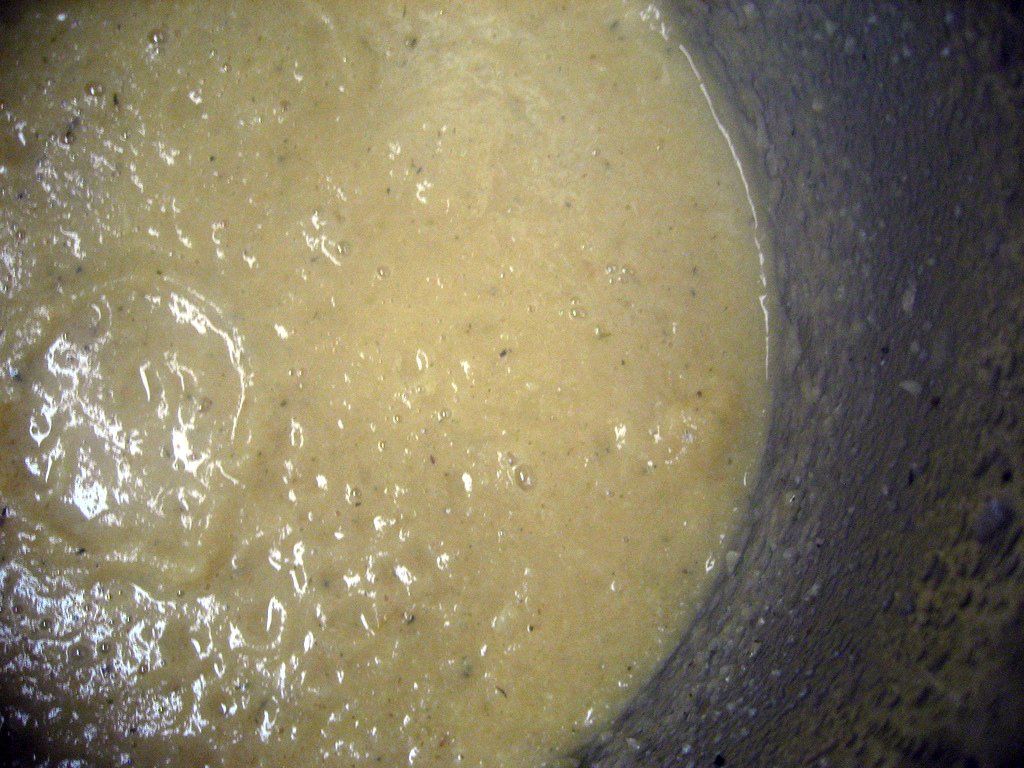
Do you have an immersion blender? They aren't that expensive, but they're so much fun and convenient to use! I felt like a shark attacking cauliflower fishies while I made this soup.  Usually I can just submerge the top of the blender and stir around, but the size of the cauliflower meant I basically had to stab the cauliflower with the blender and rip it to shreds.  Doesn't that sound like a blast?  It really was!

Cauliflower and Cheddar SoupCauliflower and Cheddar Soup

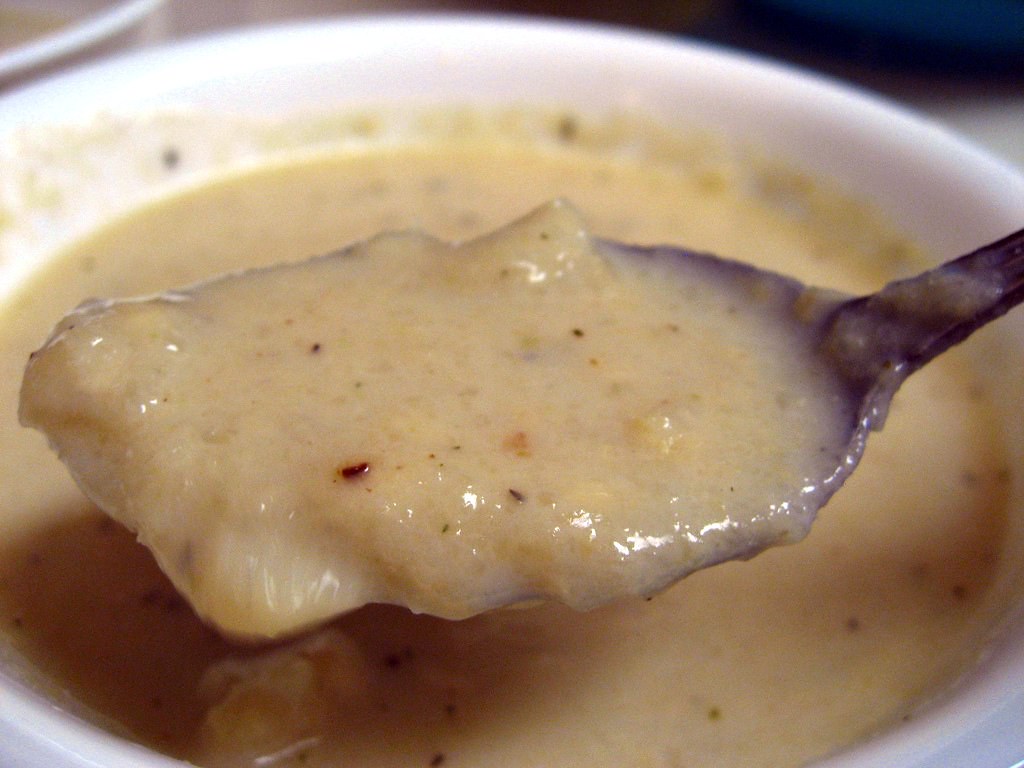
The original recipe called for aged white cheddar and either cream or milk.  I decided to lightened it up with Cabot's 75% reduced fat cheddar and skim milk.  Being a good New England girl, I have always loved Cabot cheese, so it only seemed appropriate to use it here. Despite the lower fat content, this soup was still quite rich and delicious.  The pureed cauliflower made it thick and I think the Monkey Scientist was shocked at how filling it was.  The magic part was that all the low-fat dairy didn't bother my slight lactose intolerance!

Cauliflower and Cheddar SoupCauliflower and Cheddar Soup

We totally loved this recipe.  The Monkey Scientist enjoyed it too, even though I'm not sure he thought he was going to.  Like all pureed soups, it is substantive, filling, and loaded with flavor.  I used smoked salt instead of regular which gave a nice smoky flavor throughout.  If you wanted to use bacon grease instead of oil it would have the same effect.  The roasted cauliflower has a deep complex flavor and is complemented well by the cheese.  This is an easy and delightful pureed soup that you can make any day of the week!

Cauliflower and Cheddar Soup

Roasted Cauliflower and White Cheddar Soup (Lightened)
adapted from Closet Cooking

Ingredients
1 small head cauliflower, cut into florets
3 tablespoons oil, divided
1 medium onion, diced
2 cloves garlic, chopped
1 teaspoon dried thyme
3 cups vegetable broth
1 1/2 cups Cabot 75% reduced fat white cheddar, shredded
1 cup fat free milk
salt and pepper to taste (I used smoked salt)

Instructions
1. Toss the cauliflower florets in the oil along with the salt and pepper and arrange them in a single layer on a large baking sheet.
2. Roast the cauliflower in a preheated 400F oven until lightly golden brown, about 20-30 minutes.
3. Heat the oil in a large sauce pan over medium heat.
4. Add the onion and saute until tender, about 5-7 minutes.
5. Add the garlic and thyme and saute until fragrant, about a minute.
6. Add the broth and cauliflower, bring to a boil, reduce the heat and simmer, covered, for 20 minutes.
7. Puree the soup until it reaches your desired consistency with a stick blender.
8. Mix in the cheese, let it melt and season with salt and pepper.
9. Mix in the milk and remove from heat. Serve immediately.

Thursday, March 8, 2012

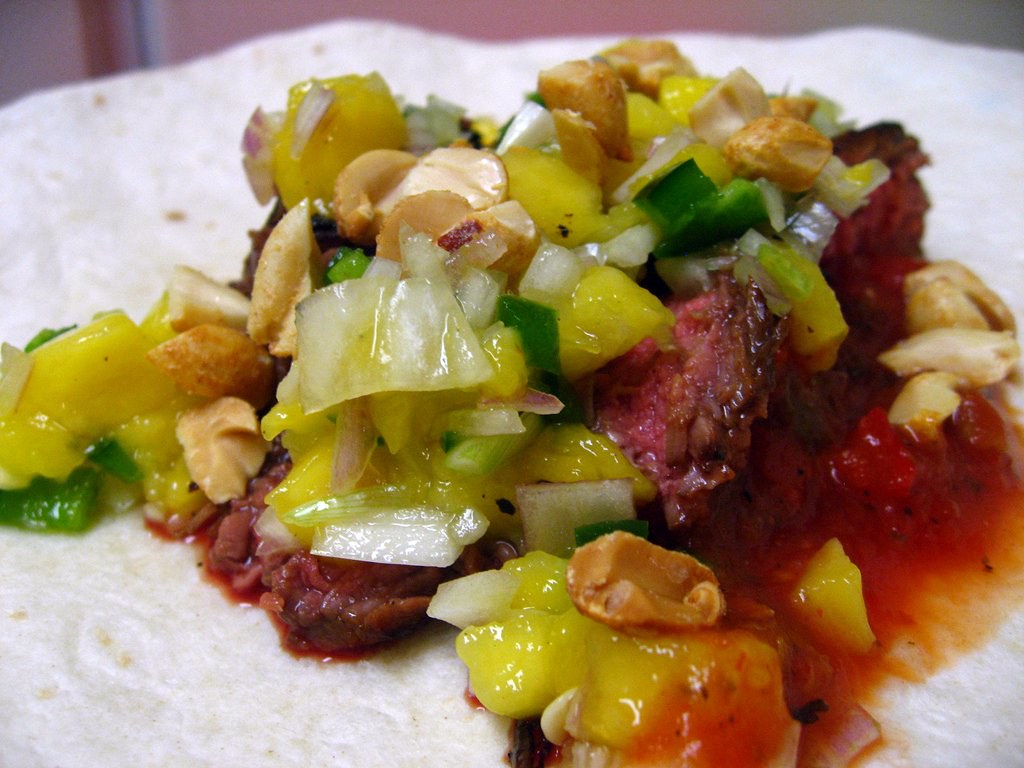
Thai Beef Tacos

Thai Beef Tacos

You might have noticed, we aren't big red meat eaters.  I don't have anything in particular against beef, and I'm pretty sure the Monkey Scientist grew up eating loads of steaks (he is from Chicago), but it has some drawbacks.  It really isn't that good for you.  And more importantly, it's expensive.  So when we do have beef, it's a special treat and we usually buy pretty cheap cuts.

Thai Beef Tacos

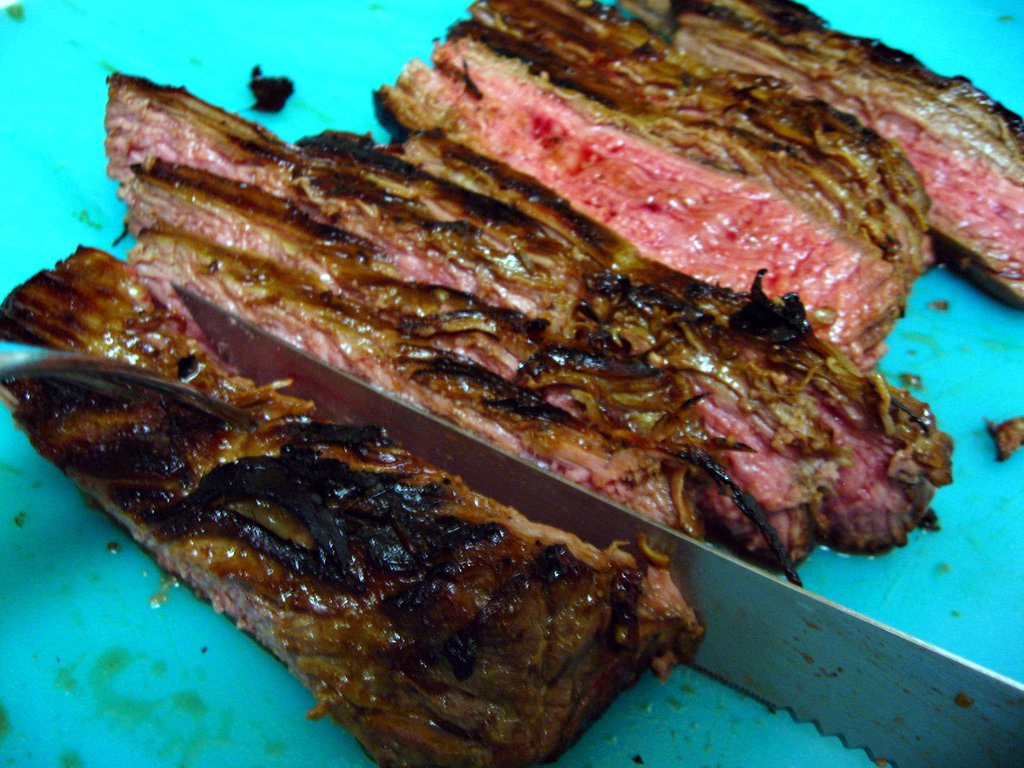
The key to enjoying these cheaper cuts is not to eat them in a steak-and-potatoes kind of way.  While the Monkey Scientist does broil a mean teriyaki flank steak, tacos might just be the best way to eat flank steak. Tacos are such a simple recipe to throw together on a weeknight, and I loved the Asian twist in this recipe.  Definitely made for a unique dinner!

Thai Beef Tacos

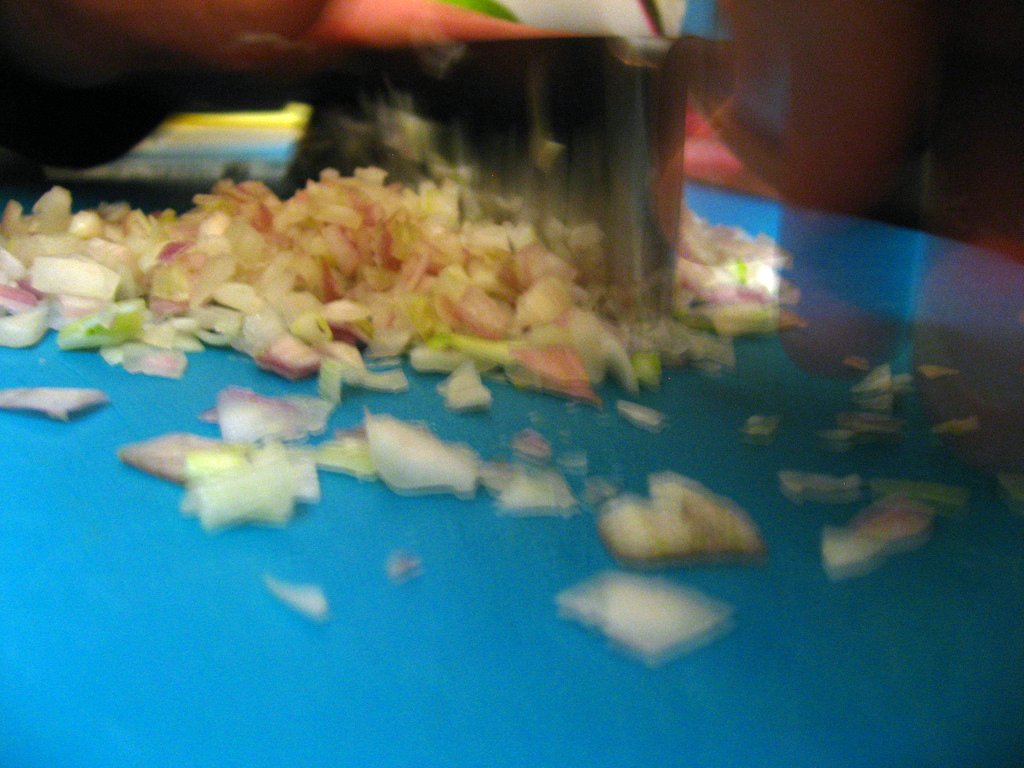
The Monkey Scientist did a lot of work to help me put this recipe together.  He made the mango salsa!  Since the mango salsa on our pork tenderloin a few weeks ago was too spicy, we left the jalapeno seeds out  this time around.  I liked it so much better!  The shallots were much milder than onions and the mango brought out the sweetness of the coconut milk in the marinade.  It was a great addition to the tacos.

Thai Beef Tacos

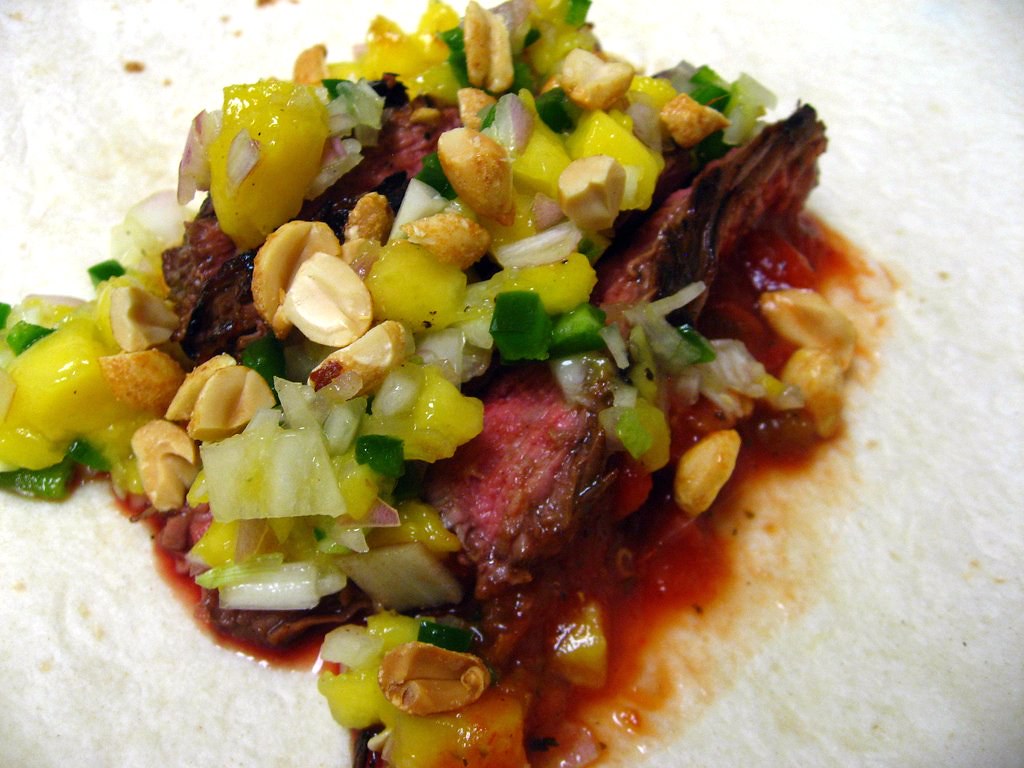
These were some of the best tacos I've ever made.  The Monkey Scientist said this was one of his favorite dinners - I think he was happy to have some red meat, plus he's a big Chipotle lover.  I think marinading for longer than 2 hours (I should learn to prep ahead of time a little better) would have been a good idea, but it was still great.  I particularly liked the peanuts on top.  They brought out the Asian flavors from the marinade while adding a nice crunch.  This is an easy weeknight meal that you will really enjoy!

Thai Beef Tacos

Thai Beef Tacos
every so slighty adapted from How Sweet It Is

Ingredients
1-1 1/2 pounds flank steak
1 teaspoon salt
1 teaspoon pepper
3/4 cup light (canned) coconut milk
4 garlic cloves, minced or pressed
2 teaspoons freshly grated ginger
2 tablespoons brown sugar
1/3 cup sweet chili sauce
1/2 mango, chopped
1 shallot, diced
1 jalapeno, diced (seeds removed)
a sprinkle each of sugar, salt & pepper
1 teaspoon vegetable oil
8-10 flour tortillas (I used burrito sized, but you could go smaller)
1/2 cup sweet chili sauce or hot salsa
1/4 cup peanuts, chopped

Instructions
1. Sprinkle flank steak with salt and pepper. Combine coconut milk, chili sauce, garlic, ginger, and sugar in a bowl and whisk.
2. Add flank steak to a ziplock bag or a shallow baking dish and pour marinade overtop. Refrigerate and let sit for 6-24 hours. (I only waited about 2 hours because I don't plan ahead well)
3. When ready to prepare, remove steak from fridge and let sit for 20-30 minutes. (Yep, I skipped this)
4. In a bowl, combine mango, shallot, jalapeno, salt, sugar and pepper, mix thoroughly, then set aside.
5. Heat a large oven-safe skillet (like cast iron) over high heat. At the same time, preheat the broiler in your oven. (You can also grill the steak if you wish.)
6. Using a pastry brush, brush oil onto the skillet so there is only a very thin layer. (CAREFUL! The oil may jump when you start to brush it!)
7. Remove steak from marinade with kitchen tongs, placing in the skillet. Sear on both sides for 1-2 minutes per side.
8. Remove skillet and place is the oven directly under the broiler. Cook for 3 minutes, then flip and cook for 3 minutes more. (Less time if you like it rarer, more if you like it more well done.)
9. Remove skillet from over, and place steak on a cutting board to rest for 15-20 minutes.
10. At this time, assemble your tortillas (warm them if desired), salsa, extra chili sauce for drizzling and peanuts. After the steak has rested, slice it into thin strips. Assemble tacos as desired and eat!