Showing posts with label DIY. Show all posts

Monday, February 4, 2013

Coat Rack

Coat hanger

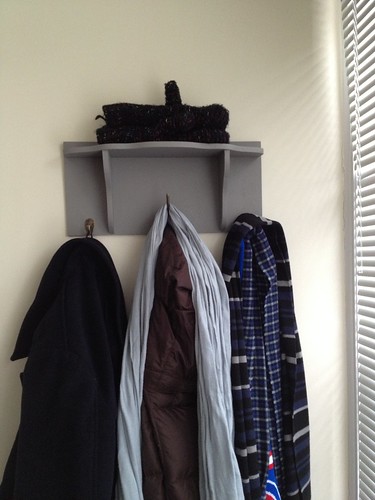
This has been one of the more ridiculous weather weeks of my life.  It has rained, sleeted, hailed, snowed, been 60 degrees, been 10 degrees - my body is hating it.  I can deal with the cold, but the ups and downs and grim dark clouds are getting to me.  My coat collection has never gotten so much use!
Coat hanger

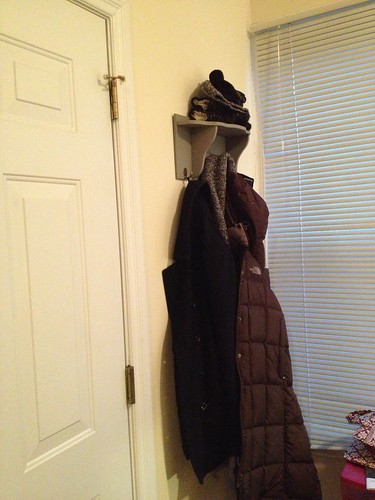
Since winter came, we've been having trouble figuring out what to do with our coats.  The one thing our apartment really lacks is closets.  We could definitely use a coat closet and a closet in the bathroom for towels.  But since we rent, we're making do with what we have.  That means big plastic bins for towels under the bed and for our coats, we had been hanging them on a single hook that was blocking my full length mirror and the way into our closet.  It was just not working.
Coat hanger

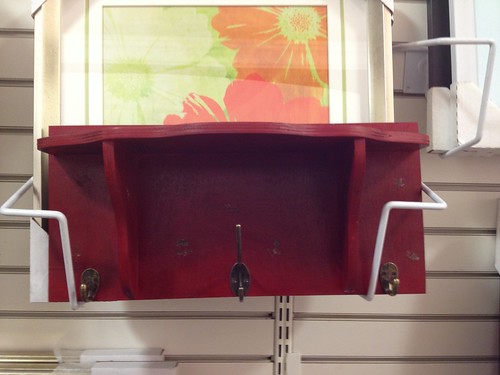
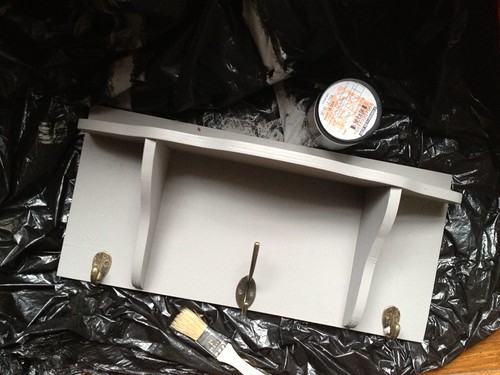
I wanted to get a new coat rack without spending too much money.  I found this coat rack at Home Goods that was exactly what I needed - just the right size and everything - but it was a pretty hideous red.  I saw it's potential though!  Just as my mom says when showing houses, you can ALWAYS paint it.  And so I went to Home Depot and picked exactly the color paint I liked, bought a sample size of paint, and gave it a little makeover.  I'm pretty excited with how it turned out.  What do you think?  Next time I'd love to make it a real DIY and build the whole thing myself, but this was a nice quick project to solve my coat issues!
Coat hanger


Wednesday, October 17, 2012

Jack-O-Lantern T Shirts!

Untitled

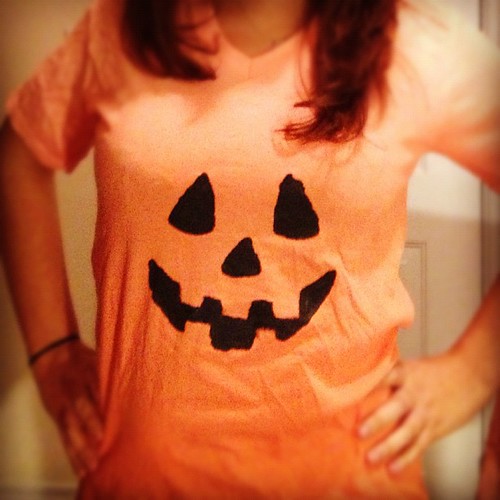
A couple weeks ago, my friends and I participated in a scavenger hunt to raise money for a local hospital.  I agreed I'd make our team uniforms, so I decided I'd make us orange shirts with Jack-O-Lantern faces.  I thought it would be a fun way to bring in the Halloween spirit, plus we can always use them again for Halloween.  To save money, I wanted this to be a total DIY project!

attempt at ombre

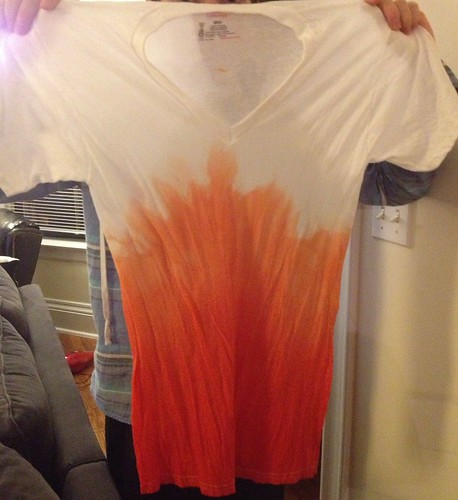
The t-shirts are just men's undershirts that I bought in a 6-pack at Target.  I dyed them with Rit liquid dye from Michael's.  At first, I attempted to dye them ombre, so they faded from white to dark orange, but I couldn't get a straight line across the top so it didn't look very good.  Then I tried to just make a fade from light to dark orange, and although there is some fade I ran out of time and patience to make it very distinct.  I think if you waited long enough, though, it could be very cool.

Drying my tie dye

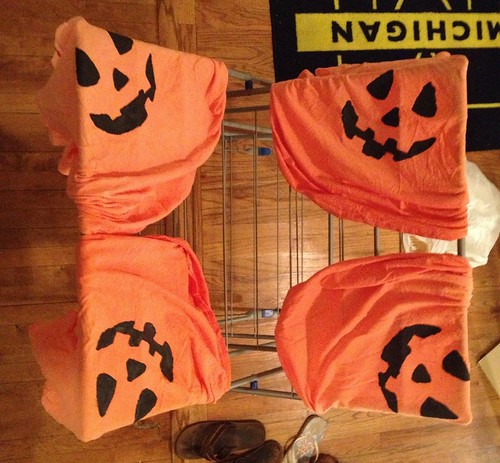
I decided to paint on the faces using fabric paint and a stencil I cut out of cardboard. At first, I tried to use spray fabric paint on a tester piece of paper but it really didn't work well at all.  Instead, I used regular fabric paint and a sponge brush to paint it on.  Since it's hard to make brush strokes on fabric, I basically dabbed the paint inside my stencil with the sponge brush.

Untitled

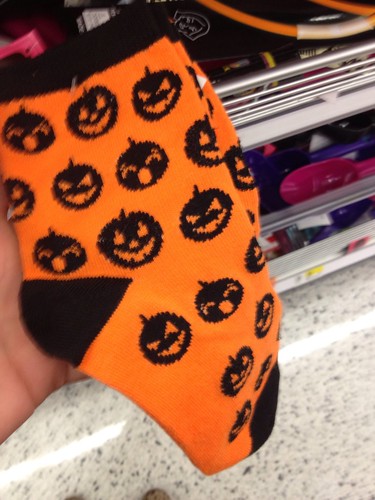
Although we didn't win our scavenger hunt, I am really happy with how our shirts came out.  And they ended up only costing about $30 for 6 shirts (I only made 5, but I had enough to make 6). We wore them with these cute Jack-O-Lantern socks that I got for $1 at Target.  Sadly, I'm going to be on a business trip on Halloween, but I'm going to bring along my shirt to wear at night.  I'm sad that I will miss any trick-or-treaters we get (I'm not really sure we'll even get any, but the odds are better than when I lived in a high rise apartment in DC), but I plan on dressing up the weekend before while I'm visiting DC.  I think I'm going to be Jordyn Wieber, since I received so many phone calls during the Olympics that I sort of look like her.  What are you going to be?

Jack-o-lantern t-shirts (DIY)

Tuesday, October 2, 2012

Owl Clock

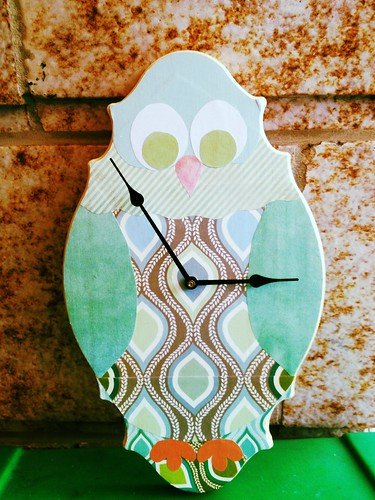
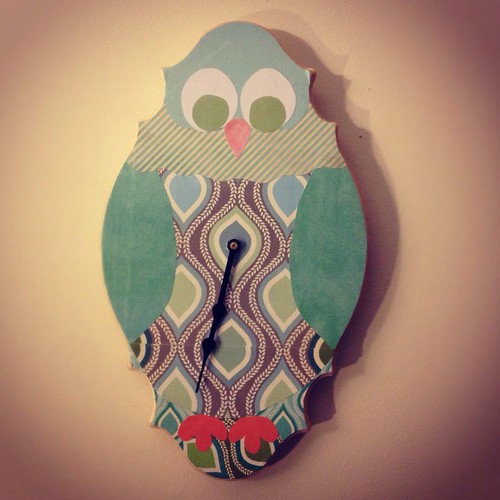
Owl Clock

I realize I've been sharing a lot more crafts than food with you lately, but I just had to show you my latest creation.  I got the idea from Artzy Creations, but I had to adapt a little because I couldn't find a wood cutout in the shape of an owl (or anything big enough for a clock, really).  So I bought another shape I liked, thinking I'd just do something abstract, and halfway through I realized it was still looking like an owl, so I just went for it.  I am really happy with how it came out!

Untitled

You can find all of the instructions over on Artzy Creations.  I got all of my pieces at Michael's.  The paper I used was for sale on the 25 cent rack!  I got a few packs with all different patterns - I think I'll be able to use them for lots of crafts.

Untitled

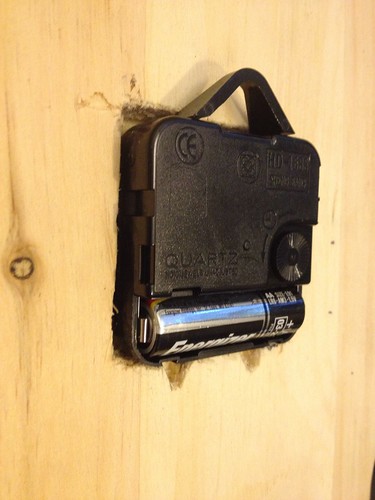
The only major problem I encountered was that, because I used a big piece of wood and not a wood cut out, the clock wasn't long enough to go all the way through the wood.  I needed to take a big hunk of wood out of the back for the clock to fit in.  Of course, I don't have any very fancy tools, so I went to the hardware store and for $5 they did it for me!  It was a great deal if you ask me.

Untitled


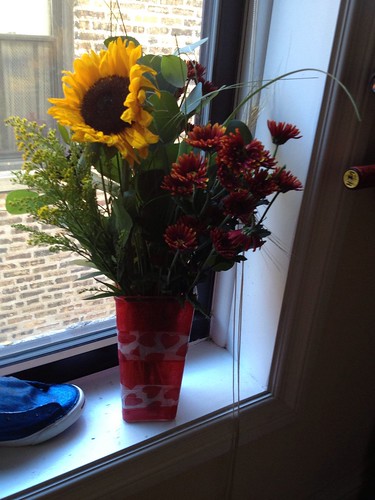
And while we're talking crafts, I also decoupaged this vase with some tissue paper I had around the house.   Then I picked up these flowers for only $3.99 at Trader Joe's on Sunday - my place feels so fun and autumnal!  It was a very crafty week!  What do you think of my mod podge creations?  I am pretty excited about them!  Don't worry though, there is a food recipe coming soon!

Tuesday, September 25, 2012

I've been cooking, crafting... just not blogging

Hiya! So, I made a huge dinner for Rosh Hashana, and even took photos of some of the recipes to share with you. Like, good photos. On my camera.  Which also means that in order to write a blog post, I need to actually boot up my computer. Obviously, hasn't happened yet.

My new art project

In the meantime, check out my recent crafting adventure over at Carly on Queue!  I have all sorts of fun talents, didn't you know?