Showing posts with label spinach. Show all posts

Thursday, May 10, 2012

Dinner this week

meatballs

This week, I made one big meal of my favorite spaghetti and meatballs and we ate them all week for dinner. We actually made them with all pork instead of a mix of pork and beef, but I don't think I'll do that again. They were pretty fatty and fell apart.

I also thought ahead and prepped my lunch for the week on Sunday night. I made a salad with spinach, bulgar, artichoke bottoms (though I will do hearts next time), cucumbers (peeled and de-seeded), red bell pepper, avocado (which I sliced fresh each day), black beans, and dried blueberries. Totally scrumptious! I made my own salad dressing with some olive oil, balsamic vinegar, red wine vinegar, lemon juice, salt and pepper, a little wine and lots of salt and pepper and other spices. I've been looking forward to it every day!

Tonight for Thursday night BBQ, I made Spicy Orzo and Black Bean Salad. Looks fresh and delicious! I mixed the spinach in instead of lining it on the bottom of bowls so that I can serve it to everyone. I left out the cilantro of course and the blue cheese because the Monkey Scientist despises it. Looking forward to a fun night with friends tonight!

Have a great weekend!

Tuesday, March 13, 2012

Dak Bokkeum with Spinach (Korean Stewed Chicken with Spinach)

Dak Bokkeum with Spinach

About a year ago, my coworker took me on a trip up to Maryland for what we called "Coworker's Without Cars Day".  It was my first trip ever to H-Mart and I was so excited to find all of the Asian ingredients I couldn't get at my local grocery store.  One of those ingredients was gochujang, a fermented Korean chile sauce.  Of course, being the klutz that I am, I dumped an entire container of gochujang on my foot while we were in the store and made quite the scene.  I was cleaning it out of my flip flop for months.

Dak Bokkeum with Spinach

Despite the scene, I never got around using the gochujang until now! I know - a total shame and I had promised a recipe last April that I never got around to making.  My gochujang actually technically expired since then, but I looked online and there seems to be some consensus that this stuff never really expires and the date on the back is more a "best by" date (had to look online, all of the description around the date was in Korean).  The top layer did turn a little bit brown rather than bright red, but it tasted fine and we didn't get sick so it seemed good to me.

Dak Bokkeum with Spinach

When you go to buy this, there is a huge aisle of H-Mart with different heat intensities of gochujang. It comes in a rectangular red tupperware and on the back right upper corner it will say gochujang in English in itsy bitsy font and it should say in English just how spicy it is. I think mine is the regular spice level and it was very spicy!  For those of you without an H-Mart or other Asian market, I hear a rumor that Annie Chung has a version of gochujang that's sold in regular grocery stores, though I've yet to see it.  Or, if you live in DC, they actually sell it at Tenley Mini Market, oddly enough.  Not exactly what you expect to see in a liquor store but they have it!

Dak Bokkeum with Spinach

With all of this talk about gochujang, you probably want to know if it's worth it, right?  Man, oh man is it worth it.  This is one of my favorite recipes I've made in a long time and the whole time I was eating it I kept remarking to the Monkey Scientist how much I enjoyed it.  If you cook Asian food frequently, you might even have everything you need at home already so you can make this tonight.  You make the whole dish in basically one pot (and your rice cooker) which makes for fairly easy clean up.  The dish doesn't even need to be babysat while it cooks - you just throw it in and walk away.  That's my favorite kind of meal to make!  And the taste is out of this world! It's got a hefty spice level (the Monkey Scientist barely added any sriracha on top) and is packed with flavor.  It's super filling and healthy (just make sure you trim the fat off of the chicken thighs) as well!  It's a total win-win-win dinner - the two of us couldn't praise it enough.

Dak Bokkeum with Spinach

Dak Bokkeum with Spinach
Korean Stewed Chicken with Spinach
from Cooking Light

Ingredients
1/3 cup gochujang (Korean chile sauce)
1/4 cup (1/2-inch) slices green onion bottoms
2 1/2 tablespoons lower-sodium soy sauce
2 tablespoons minced fresh garlic
2 tablespoons minced peeled ginger
2 tablespoons dark sesame oil
1 tablespoon brown sugar
3/4 teaspoon crushed red pepper
2 pounds skinless, boneless chicken thighs, cut into 1/2-inch strips
1 1/2 cups uncooked short-grain white rice (sushi rice)
1 1/2 cups water
1/3 cup water
3/4 cup (1 1/2-inch) slices green onion tops
1 (5-ounce) bag fresh baby spinach
1 tablespoon toasted sesame seeds

Instructions
1. In a large bowl, combine gochujang, green onion bottoms, soy sauce, garlic, ginger, sesame oil, brown sugar, and crushed red pepper. Add in strips of chicken thighs, cover, and put in the refrigerator to marinate for at least 30 minutes.
2. Place the rice in a mesh strainer. Fill a large bowl with cold water and place the mesh strainer in the water so that the water covers the rice. Stir the rice gently and then remove from water. The water will be milky. Drain water and then repeat 2-3 times until the water comes out nearly clear.
3. Cook the rice with 1 1/2 cups water in a rice cooker. If you don't have a rice cooker, place water and rice in a pot, and bring to a boil. Reduce to a simmer and cover and allow to cook for 20 minutes. Remove from heat and let stand 20 minutes. (I actually added a pinch of sea salt to my rice cooker as well.)
4. While the rice is cooking, add 1/3 cup water to a dutch oven and bring to a boil. Add the chicken mixture and bring to a simmer. Reduce heat, cover, and allow to simmer for 20 minutes.
5. Uncover and allow to simmer for an additional 10 minutes or until the mixture reduces, stirring occasionally.
6. Remove from heat. Stir in green onion tops and spinach and allow the spinach to wilt. Sprinkle with sesame seeds and serve over the rice.

Friday, March 2, 2012

Mini Chicken Meatball Soup

chicken meatball soup

My mom, since she's so wonderful, sent me a Valentine's Day care package.  I felt like I was at camp again.  It was amazing.  Does everyone else feel totally special when they get a package in the mail?  Even if I order something from Amazon, I get excited when it comes.  But when Mom sends something, that's the absolute best.

heart shaped pasta

This Valentine's Day, she sent heart-shaped Junior Mints, a special pack of Starburst, the adorable red slotted spoon below, and the absolute cutest pasta I have ever seen (above).  Check it out - little hearts!  I've been saving it for a special occasion, and when I saw a recipe that called for small pasta I thought it was just the time to break it out.  Fortunately, this recipe only calls for a little bit of pasta, so I still have some left for a second recipe!

spinach prior to wiltingspinach after wilting

This recipe called to me because of the little meatballs.  Mom absolutely loves Italian Wedding soup, and although the kind that comes in a can just entirely freaks me out, I am a fan myself when it's fresh.  How can you not just love meatballs floating in soup.  It reminds me of matzoh balls, but with more flavor.  Fantastic.

uncooked chicken meatballschicken meatballs

I have to admit, I got a little bit wary adding water into this soup.  When I make soup, I like to use all stock. That's where all the flavor is at!  Next time, I probably would use all stock, but it was still really good.  The broth picked up a lot of flavor from the meatballs and veggies while it was simmering, plus I seasoned it well with Cajun seasoning, salt and pepper.  It was not the spice-fest that the Monkey Scientist loves, but it had a lot of flavor.

chicken meatball soup

The most flavor in this recipe, though, came from the meatballs.  They were jam packed with flavor!  I had a jar of chicken seasoning in my pantry for a while now, and I was excited to get to use it.  It really brought out the meatiness of the chicken and made the meatballs hearty and delicious.  Even though it wasn't a soup day (it was in the mid 60s in DC), I was glad we squeezed this recipe in before soup season ends.  We both thought it was quite delightful.

chicken meatball soup


Thursday, November 10, 2011

Spicy Chicken, Barley, and Sweet Potato Soup

Spicy Chicken and Bulgar soup

I think that cold snap has officially happened.  My toes are chilly.  More importantly, my soup cravings are in full swing.  Soup has been on my mind even more often than usual because my bestest friend is cooking through a soup cookbook.  If only I was living in Chicago and could eat along with her!

cooking down onions

Speaking of Jewish women making great soup from scratch...DC-ers, have you ever tried SouperGirl? Sara Polon, the SouperGirl, and her mom are living my dream.  They make homemade soup every week and deliver it to locations all over the District, as well as selling it out of her newly-opened store in Tacoma Park. Each week, she emails out adorable and cute descriptions for 2 soups - one pureed and one chunky - which you can place an order for and pick up the following week.  Her soups are certified Kosher, frequently if not always vegan, and use fresh, local, and organic ingredients.  While I always encourage you to cook at home, if you want to buy something pre-made, her stuff is the good stuff.

Spicy Chicken and Bulgar soup

OK, I have to admit, I've never actually ordered her soup.  I get her emails every Monday, but I'm way too spontaneous in my eating to know what I'm going to want to eat the next week.  Plus, I just love making soup. Every week I very seriously think about ordering from SouperGirl, but I haven't quite made the leap yet.  Instead, I let her be my inspiration in the kitchen.

Spicy Chicken and Bulgar soup

On Halloween morning, SouperGirl sent me an email about Soul Warming Barley Sweet Potato Soup.  I have always been a believer that the only reason we eat soup is to warm the soul, so I was very intrigued.  I did a little google searching and found a recipe that included all the ingredients that Sara used in her soup (plus chicken, which I assume she left out to keep it vegan).  The recipe I found called it Spicy Chicken Barley Soup with Sweet Potatoes and Spinach, and I knew it was meant to be.  Spicy is basically a synonym for "something the Monkey Scientist would love."

Spicy Chicken and Bulgar soup

Not only did the Monkey Scientist love this soup, but I did too! I got a little nervous when I was making it because high heat + lots of spices = spice in the air.  My roommate and I were coughing up a storm from inhaling too much cayenne.  It was actually quite spicy when I tasted it after step 4 (I may have added some extra cayenne beyond what you see below), but when it finished cooking it had mellowed out a bit.  This soup is very hearty, especially the next day when the bulgar has soaked up a lot of the liquid.  With the perfect amount of spice, sweetness from the sweet potatoes (I may or may not have used yams instead, oops), protein from the chicken, and lots of nutrition from the spinach, this soup is definitely a winner! It makes a great meal on a chilly night, like slippers for the soul!

Spicy Chicken and Bulgar soup

Soul Warming Spicy Chicken, Bulgar, and Sweet Potato Soup
adapted from Stylish Cuisine

Ingredients:
3 tbsp extra-virgin olive oil
1 Spanish onion, chopped
1 tsp. kosher salt, plus more to taste
½ tsp. sweet paprika
¼ tsp. ground cinnamon
¼ tsp. chili powder
¼ tsp. ground coriander
¼ tsp. freshly ground black pepper
1 tsp of cayenne
1 Tbsp. tomato paste
3 garlic cloves, chopped
6 cups low-sodium or homemade chicken broth
2 cups water (+ additional for adding later)
1 cup bulgar, rinsed well
1 sweet potato, peeled and diced
12 oz. boneless, skinless chicken breasts or thighs, cut into bite-size pieces
5 oz. (1 bag) baby spinach
½ cup chopped fresh mint (I actually left this out)
freshly squeezed juice of 1 lemon
Lemon wedges, for serving

Instructions:
1. Heat the oil in a large soup pot over high heat. Add the onion and salt and sauté until limp, about 3 minutes.
2. Add all the spices and sauté until fragrant, about 2 minutes.
3.Add the tomato paste and sauté for another minute, until darkened but not burned. (If the tomato paste looks too dark too quickly, lower the heat.) Add the garlic and continue to sauté for 1 minute longer.
4. Return the heat to high if you lowered it, then add the broth, 2 cups of water, and the bulgar to the pot. Bring to a boil and let simmer for 30 minutes.
5. Add the sweet potato and continue to cook until the bulgar and sweet potatoes are soft, about 30 minutes or more, adding more water if needed. (I added about another cup here)
6.Add the chicken, partially cover the pot, lower the heat, and simmer about 10 minutes or until the chicken is fully cooked. Add the spinach and mint and simmer until wilted. Add the lemon juice and season to taste with salt (I used smoked salt from Trader Joe's).
Serve with the lemon wedges on the side.

Wednesday, November 2, 2011

Skinny Spinach Stuffed Shells with Meat Sauce

stuffed shells

With the holiday season just around the bend, it's time to kick those healthy habits into high gear! It takes lot of work for me to focus on eating healthy and exercising as the weather turns colder and the opportunities for eating junk pile up.

stuffed shellsstuffed shells - meat sauce

This weekend, we took advantage of a gorgeous sunny day and went hiking on Bear Island in Potomac, MD.  We ended up doing the most challenging path, Billy Goat Trail A, which surprised us both in length and challenges!  It wasn't so much climbing uphill but tricky footing and small ledges that kept us on our toes!

stuffed shellsstuffed shells

Of course one of the best places to start a healthy kick is in the kitchen, so we've been trying to make healthy meals when we cook at home.  I loved this recipe because it is a classic comfort food but healthified.  Even though it's been reduced in the calorie and fat departments, it's still loaded with meat and cheese so it remains a filling dinner.

stuffed shells, pre-bakingstuffed shells

We really enjoyed this recipe.  I ended up eating it for lunch and dinner a few days in the row.  I enjoyed getting my cheesy kick without the guilt of the full fat version.  Even the Monkey Scientist was able to fill up on this for dinner.  Plus I love when you put pasta in the oven and it gets a little crispy around the edges.  It's one of my favorite things :)

stuffed shells

Skinny Spinach Stuffed Shells with Meat Sauce
from Gina's Skinny Taste

Ingredients:
27 (9 oz) jumbo pasta shells
1 cup onion, finely chopped
2 garlic cloves, chopped
1 tsp olive oil
1 lb 99% lean ground turkey
32 oz crushed tomatoes
1 tsp sugar
1 tbsp chopped fresh basil
salt and pepper
2 cups fat free or part skim ricotta cheese
1 egg
16 oz package frozen spinach, thawed and squeezed well
8 oz reduced fat mozzarella cheese, shredded
1/4 cup Parmigiano Reggiano

Instructions:
1. Boil water and cook shells according to package directions, make sure to make them al dente.
2. Meanwhile, saute onions and garlic in oil. Add turkey and salt and brown until cooked, breaking up in small pieces. Add tomatoes, sugar, salt, pepper and basil, then simmer on low, covered, about 15 minutes.
3. Preheat oven to 375°. In a large bowl, mix together ricotta, egg, spinach, mozzarella, and parmesan.
4. Once shells are cooked and cool, fill each shell with (about 2 heaping tbsp) cheese mixture and place on a large baking dish, or two smaller dishes, covering the bottom of the dish with a little sauce.
5. Top shells with half of the sauce, cover with foil and bake 40 minutes; uncover foil and bake 5 more minutes. Serve with additional sauce on top.

Sunday, August 28, 2011

Spinach, Goat Cheese, and Pesto Orecchiette with Sausage and Pine Nuts


The other day, the Monkey Scientist and I were shopping at Trader Joe's (my favorite) and I found this orecchiette, and I was inspired.  I knew exactly what I wanted to make - and it turned out my intuition was spot on.


Orecchiette (little ears) are a fantastic pasta when you're adding lots of fun ingredients - they're the pasta version of Tostito's Scoops.  My inspiration was to mix healthy spinach with pesto to blend it in and make it delicious.  Then to add some goat cheese for warmth.  To top it with toasted pine nuts for crunch.  And then, add it some seared sausage for protein (the MS loves his protein) and spice.


On a side note, did you notice my new plate?  I was down in the U Street neighborhood a couple of weeks ago when it started POURING on us and we we took cover in an antique store.  They're moving locations, so they were having a big sale.  I got 6 of these plates for $10 - I was pretty excited.  I think they're kind of funky!


The pasta dish is ah-mazing.  How can you go wrong with spicy sausage, pasta, and goat cheese? Really, you can use any sausage you like, but I'm all for spicy sausages like Spicy Italian Chicken and Chorizo. AWESOME.  It filled our bellies after a long day of running around in the rain in Old Town Alexandria.  Is that a theme lately, getting caught in the rain?  If it means enjoying yummy dinners like this, I'm all for it.


Spinach, Goat Cheese, and Pesto Orecchiette with Sausage and Toasted Pine Nuts


Ingredients
1 bag orecchiette (I got mine at Trader Joe's)
2 tbsp extra-virgin olive oil, divided
2 links Spicy Italian Chicken Sausage (...Trader Joe's)
1 link Chorizo (ok this was from Giant!)
2-3 tablespoons prepared pesto (again, Trader Joe's)
1 1/2 cups chopped frozen spinach, defrosted
2 oz goat cheese
3 tbsp pine nuts
freshly ground pepper
2 tsp crushed red pepper flakes


Instructions
1. Boil pasta according to package instructions.  Drain and return to pot. Toss with 1 tbsp olive oil.
2. Chop chicken sausage into 1 inch slices and remove Chorizo from casing and chop with edge of wooden spoon.  Heat 1 tbsp oil over medium heat, and cook sausage until Chorizo is cooked through and chicken sausage is browned on both sides.
3. Toast pine nuts in a small saute pan over medium heat until just browned.  Watch so that they don't burn!
4.  Add sausage, pesto, spinach, goat cheese, pine nuts, pepper and red pepper flakes to pasta and stir well to combine.  Serve immediately.

P.S. I'm going on vacation until after Labor Day, and the blog is going to vacation with me.  I'll be back and cooking again in September. Have a safe and happy holiday!

Monday, March 7, 2011

Spinach and Goat Cheese Turkey Burgers with Homemade Buns


I love ground turkey.  Not only is it tasty and healthy, it's cheap!  I bought all-natural, 97/3 ground turkey for LESS THAN $3 today!


Right before leaving work I very quickly had to find something to make for dinner.  These burgers seemed like a quick and easy dinner.  I am not a big feta fan so I substituted it for  goat cheese, which I LOVE.  I don't even know why they make cheese from cows when they can make it from goats!


I have decided recently to give up purchasing bread.  Most companies use high fructose corn syrup and other un-natural ingredients - so it is much more healthy to make it myself and not that difficult!


These buns were easy to make, but I think I added too much flour.  I'll have to try this recipe again to give it a fair shot.


The burgers on the other hand were DELISH!  I learned from Bobby Flay to salt and pepper the outside of the burger instead of mixing the seasonings inside.  It helps create a nice crust on the outside of the burger.  The goat cheese make the burgers creamy and yum.


I also added caramelized onions, ketchup, and Chulula on top of the burger.  It was a perfect dinner after today's run! 


Spinach and Goat Cheese Turkey Burgers
Adapted from Eat, Live, Run 
Ingredients:
1.3 lb ground turkey
1 egg, slightly beaten
1 box frozen spinach (about half of a bag), defrosted and squeezed dry
3 oz goat cheese
1 tsp salt + pinch of pepper
Directions:
Mix together all ingredients with your hands and form eight small patties. Cook patties in a greased skillet for about 6 minutes per side, or until meat is completely cooked. Serve on toasted buns with extra cheese, hot sauce, sliced onion, lettuce and ketchup.

Homemade Burger Buns
from creationsbykara 
Ingredients: 
  • ¾ cups Hot Water
  • 2 Tablespoons Oil
  • 2 Tablespoons Sugar
  • 2 teaspoons Instant Yeast
  • 1 teaspoon Salt
  • 1 whole Egg
  • 2-¾ cups Flour - half AP, half whole wheat (I used much less and probably could have used less)
Instructions:
Combine all the ingredients with about 1 1/2 cups of the flour in a large bowl. I use my Bosch. Beat till smooth. Add enough flour to make a dough that is slightly sticky, but doesn’t stick to your fingers. Knead for about 5 minutes.
Let dough rest for a couple of minutes, then divide into 8 portions. Roll each portion into a ball. Place on a well-greased cookie sheet and press down with the palm of your hand to flatten slightly. Let rise till doubled. (Mine took about 30 minutes, but it depends on the temperature of your kitchen.) Bake in a preheated oven at 350F for about 15-18 minutes. Cut in half and serve, for the yummiest hamburger you’ve ever had.
Note: If you want sesame seeds on top, take them out of the oven after 10 minutes of baking. Brush with beaten egg white and sprinkle with sesame seeds. Then return them to the oven for the remaining 5-8 minutes.

Thursday, February 10, 2011

Mushroom and Goat Cheese Galette

I love goat cheese. Every once in a while, Chavrie will send me a coupon and I'll feel inspired to make a great goat cheese based dish.


Yes, $1 off inspires me.  Don't judge.


I searched on foodblog search for a good goat cheese recipe but wasn't finding exactly what I wanted until I came across a mushroom tart that reminded me of one of my favorite recipes ever.  So I decided it was time for some seasonal adaption to our summer favorite.


Something I used to hate about this recipe but now love - the time it takes to refrigerate the dough.  It forces me to go down to the gym or do my laundry - things I always tend to procrastinate because I have to finish making dinner.


YUM YUM YUM!  The only issue is that it had a thin layer of water/liquid on top when it came out of the oven.  I soaked it up with a paper towel - but there has to be a way to prevent his from happening.  Maybe you could try drying out the mushrooms like Deb did the zucchinis.  I think there is probably liquid in the onion and spinach that would need to be soaked up too.  Any suggestions?


Mushroom and Goat Cheese Galette
adapted from smitten kitchen and insanity theory

Serves 6

For the pastry:
1 1/4 cups all-purpose flour, chilled in the freezer for 30 minutes
1/4 teaspoon salt
8 tablespoons (1 stick) cold unsalted butter, cut into pieces and chill again
1/4 cup sour cream
2 teaspoons fresh lemon juice
1/4 cup ice water
Filling:
2 portobello mushrooms, sliced into 1/4 inch thick slices
2 tablespoon plus 1 teaspoon olive oil
1 medium garlic clove, minced (about 1 teaspoon)

6 oz fresh spinach
1/2 small onion, chopped
1/2 cup ricotta cheese
4 oz goat cheese, crumbled

Glaze:
1 egg yolk beaten with 1 teaspoon water

Make dough: Whisk together the flour and salt in a large bowl. Sprinkle bits of butter over dough and using a pastry blender, cut it in until the mixture resembles coarse meal, with the biggest pieces of butter the size of tiny peas. In a small bowl, whisk together the sour cream, lemon juice and water and add this to the butter-flour mixture. With your fingertips or a wooden spoon, mix in the liquid until large lumps form. Pat the lumps into a ball; do not overwork the dough. Cover with plastic wrap and refrigerate for 1 hour.
Make filling: In a large saucepan, heat 1 tbsp of the olive oil over medium high head.  Add the onion saute until almost soft, about 5 min.  Add the spinach and continue cooking until spinach wilts, about 2 min. In a small bowl, whisk the olive oil and the garlic together; set aside. In a separate bowl, mix the ricotta, goat cheese, and 1 teaspoon of the garlicky olive oil together and season with salt and pepper to taste.  Add in the onion and spinach mixture.
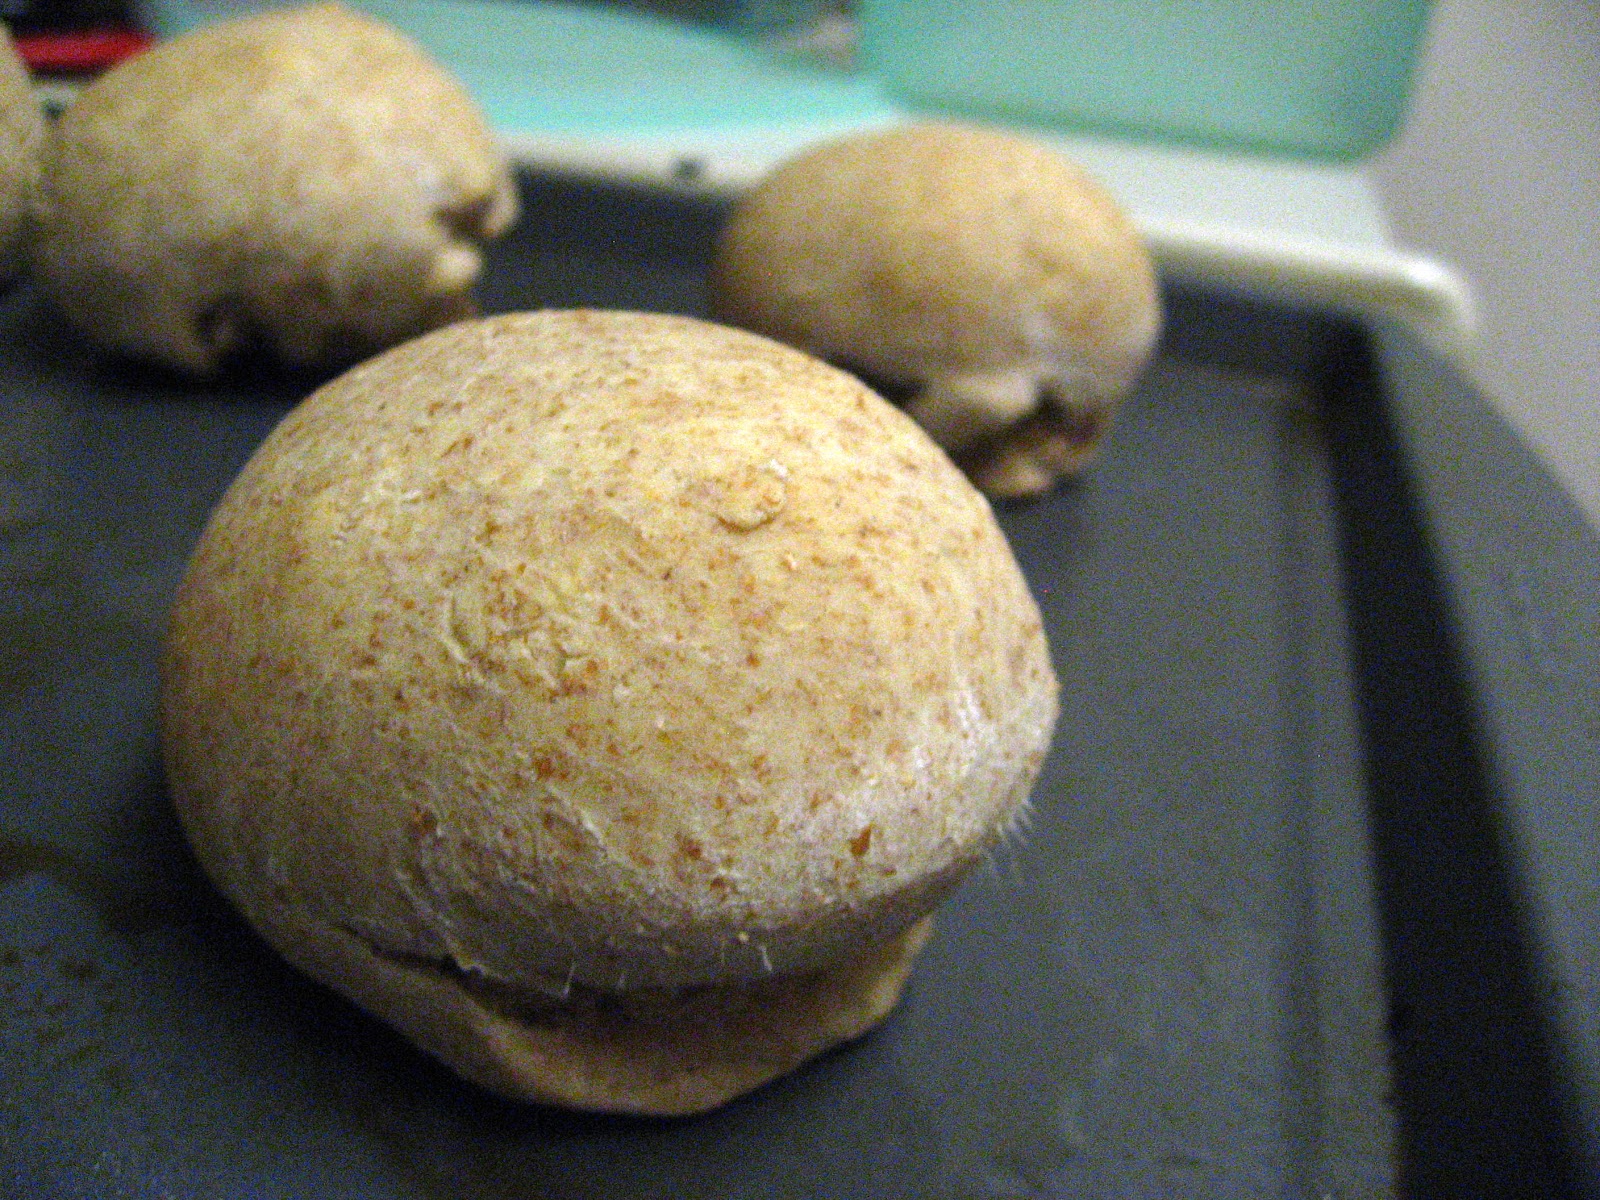
Prepare galette: Preheat oven to 400 degrees. On a floured work surface, roll the dough out into a 12-inch round. Transfer to an ungreased baking sheet (though if you line it with parchment paper or a sil-pat, it will be easier to transfer it to a plate later). Spread the cheese and onion mixture evenly over the bottom of the galette dough, leaving a 2-inch border. Shingle the mushrooms attractively on top of the ricotta in concentric circles, starting at the outside edge. Drizzle the remaining tablespoon of the garlic and olive oil mixture evenly over the mushrooms. Fold the border over the filling, pleating the edge to make it fit. The center will be open. Brush crust with egg yolk glaze.
Bake the galette until the cheese is puffed, the mushrooms are slightly wilted and the galette is golden brown, 30 to 40 minutes. Remove from the oven let stand for 5 minutes, then slide the galette onto a serving plate. Cut into wedges and serve hot, warm or at room temperature.

Sunday, May 30, 2010

Spinach Lasagna and Garlic Rolls shabbat

My good friend AB decided to have a last minute Shabbat dinner and make lasagna for a couple of her friends - her boyfriend BS and her friends G & R.  I offered to share a recipe and a hand.  Nothing like a good Italian-style, comfort food dinner to begin a long weekend!

Main course:
Spinach Lasagna adjusted from a recipe by EcoAmanda.

Ingredients

  • 1 jar (26 Oz. Jar) Pasta Sauce (or whatever type of tomato sauce you have - we used 2 "half jars" of pasta sauce and a half jar of pizza sauce)
  • 1 box no-boil lasagna noodles
  • 1 pound Ricotta
  • ½ cups Grated Parmesan
  • 20 ounces, fluid Frozen Spinach, Thawed And Drained
  • 1 cup Shredded Monterey Jack
  • 1 Japanese Eggplant

Instructions:
Spread a layer of tomato sauce on the bottom of the pan (next time I may use more than this.)
Combine ricotta, parmesan and spinach and spoon ½ of the mixture over the noodles.


Put a second layer of noodles over the cheese mixture, then the rest of the cheese mixture. Cover with the remaining sauce. Top with the Monterey Jack.


Cover with foil, domed so that the cheese doesn’t stick to the top.
Bake 45 minutes at 375 degrees.
Remove foil and bake 20 minutes more.

Allow to set for ½ hour before cutting to serve.
Umm, yum!

Review:  This was a very easy lasagna recipe and came out great.  I would add an extra layer of lasagna to make it go to the top of the pan.  The spinach and ricotta go great together and the monterey jack cheese on top became bubbly and crispy and delicious.  This was my first time trying no boil noodles - I heard they were way easier and I was trying to make it simple to teach AB, I know from experience that boiling lasagna noodles is difficult.  I found that they were a little bit gummy and not as al dente as real lasagna noodles.  BS and others seemed to think they were just as good and both the boys and girls really enjoyed it!  The Japanese eggplant was also my own addition, simply because AB had it in the house and wasn't sure what to do with it, and I enjoyed the texture added to the dish.  Lasagna is such an easy dish and with noodles, sauce, and cheese - well you can't really mess it up!  I would love to add other veggies next time like summer squash or zucchini.
Rating: 4 - pretty jammy

And then a dish I'd be dying to try ever since I encountered it on Tasty Kitchen....
Side dish:
Garlic Butter Crusty Bubble Bread (Everyone one of those words makes my heart skip a beat) by Rebecca

Ingredients:
  • 1 stick Unsalted Butter, (or 1/4 Lb.)
  • 4 Tablespoons Extra Virgin Olive Oil
  • 1 teaspoon Minced Fresh Garlic
  • ¾ teaspoons Italian Seasonings
  • ½ teaspoons Granulated Dried Garlic
  • ½ teaspoons Kosher Salt, Plus An Additional 1/2 Teaspoon For Sprinkling
  • ¼ teaspoons Freshly Ground Black Pepper
  • Master Bread
    • 3 Tablespoons Instant Yeast
    • 3 Tablespoons Kosher Salt
    • 6 cups Lukewarm Water
    • 13 cups All-purpose Flour

Instructions:
Master Bread Dough Recipe:
 

Mix water, yeast and salt together in the bowl of a large stand mixer or in a 10 quart food-safe container. Add flour and stir until the mixture is uniform. You don’t have to knead, but you want everything uniformly moist, without dry patches. The dough will be wet and will conform to the shape of its container.


Cover with a lid that fits well, but is not airtight (will a towel work?) and allow to rise at room temperature for about 2 hours or until the dough collapses back in on itself. You can now refrigerate the dough for up to two weeks, using the dough whenever you need it, or you may use it immediately.
To assemble the Garlic Butter Crusty Bubble Bread:


Unwrap butter and place in a microwave-safe bowl. Heat in the microwave until the butter is fully melted. Stir olive oil, garlic, Italian seasoning, granulated garlic, the 1/2 teaspoon of Kosher salt and freshly ground pepper into the melted butter. Set next to you on the countertop and turn your attention to the dough.


Dust the refrigerated dough in the bucket with a generous amount of flour. 


Pull dough up from the center and use a sharp knife to cut off a portion that is between the size of a golf ball and plum. Pull the sides down and under while rotating the dough to form a smooth ball. (there are no pictures of this because I couldn't do it...)


On a clean counter, place the dough ball, seam side down, and gently cup the dough with your hand. Rotate it in one direction on the counter while providing gentle and steady downward pressure. This will smooth the surface of the dough ball and make it tight. (I am not sure I did this part right either...)


Carefully deposit the dough ball into the butter mixture and turn to coat completely. Use a fork to transfer the dough to a 9″ x 13″ pan. Repeat until you have at least four rows of three dough balls. If you want very crusty bubbles of bread, stop here. If you prefer crusty tops with softer sides, cut off and roll six more dough balls and place them in the open spaces between rows. Do not crowd the pan to the point where you have to shove or mash the dough balls. Drizzle any remaining garlic butter mixture over the top of the balls and sprinkle with the remaining 1/2 teaspoon of Kosher salt.


Allow the dough to rest while preheating the oven to 450°F (230°C or 8 Gas Mark). When oven is hot, place the pan on a center rack and bake for 25 minutes, or until the top of the bread is deep brown. There will still be quite a bit of bubbling butter around the edges of the bread. This is a good thing. Allow the pan to stand on the stovetop until the remaining butter is absorbed.


Serve warm, as-is, or topped with a generous amount of freshly grated hard Italian cheese and a bowl of warm marinara sauce for dipping.

Review: I'm a little disappointed that they didn't turn out as good as they looked on the Tasty Kitchen site.  I also split the bread dough recipe in half and still had a good amount left over.  I was a bit lazy in measuring the flour (it was a lot of measuring to do!) so I think I ended up adding too much and they were a little bit too dense.  Also, the recipe made it sound as if there would be butter bubbling out of the pan when they came out of the oven and there was definitely not - I even ended up pouring more butter on top and they soaked it right up.  I was entirely unable to create the dough balls - that was far too difficult.  Still, they tasted very good and everyone enjoyed them.  I think if I followed the recipe in a more exact manner they would have been better.  I think I'd skip them for real garlic bread though.


yelleBELLYboo