Well today, it's official. I'm officially done with my first big-girl job. After nearly 2 years, I left to take a new job. I'm so excited about my new role, but I'm a little sad as well. I adore the people I worked (ah past tense!) with and will miss them dearly. I hope that my new coworkers enjoy my baked goods as much as they did!
While I was cleaning out my office last week, I finally brought home all the cookbooks that had been donated to me by my coworker. One of these was Cooking Thin with Chef Kathleen. This is a great cookbook for a beginner chef or to make a quick weeknight dinner. The recipes are super simple - rarely more than a handful of ingredients, most of which I usually have on hand - and everything is fresh and mostly healthy. This is supposed to be a diet food cookbook, but it does have a lot of desserts and other things so I think it's better as a "simple recipes" cookbook rather than diet.
Even though I've flagged a bunch of things I want to try, I'm really thinking of sending it off to my baby brother. He's moving out of the dorms and into his first college house in a few months, which means he needs to start cooking for himself. I think these recipes would be easy for him to make and allow him to change it up from Ramen noodles and mac 'n' cheese. If you know someone moving out on their own for the first time, I'd definitely recommend this as a great first cookbook.
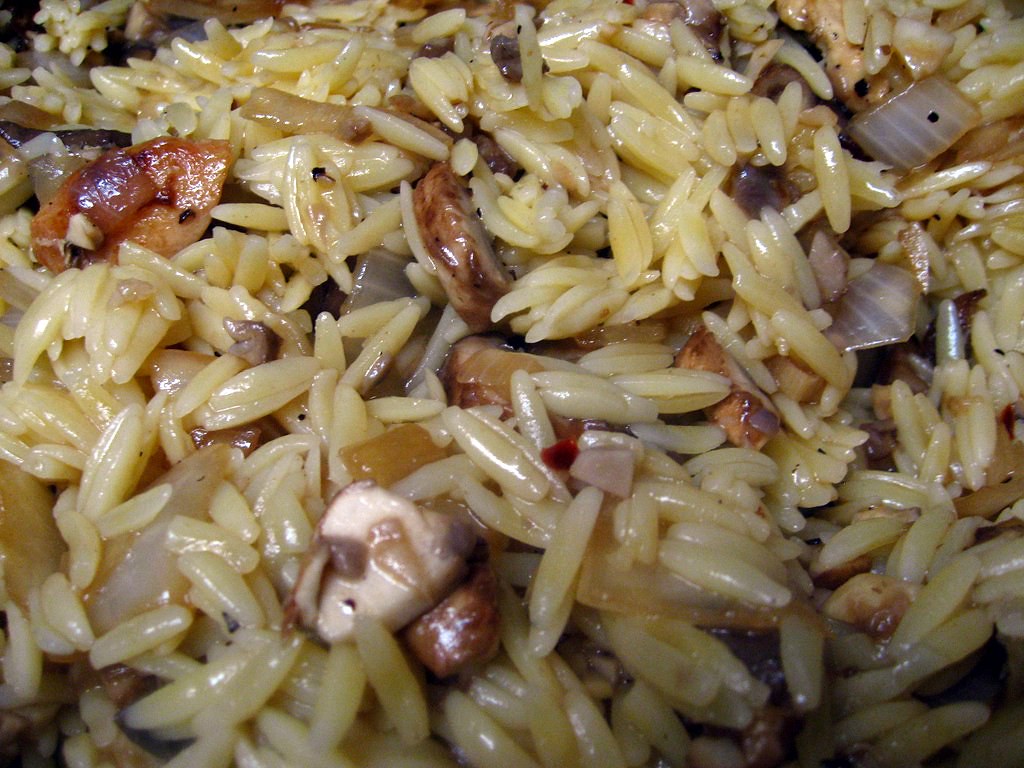
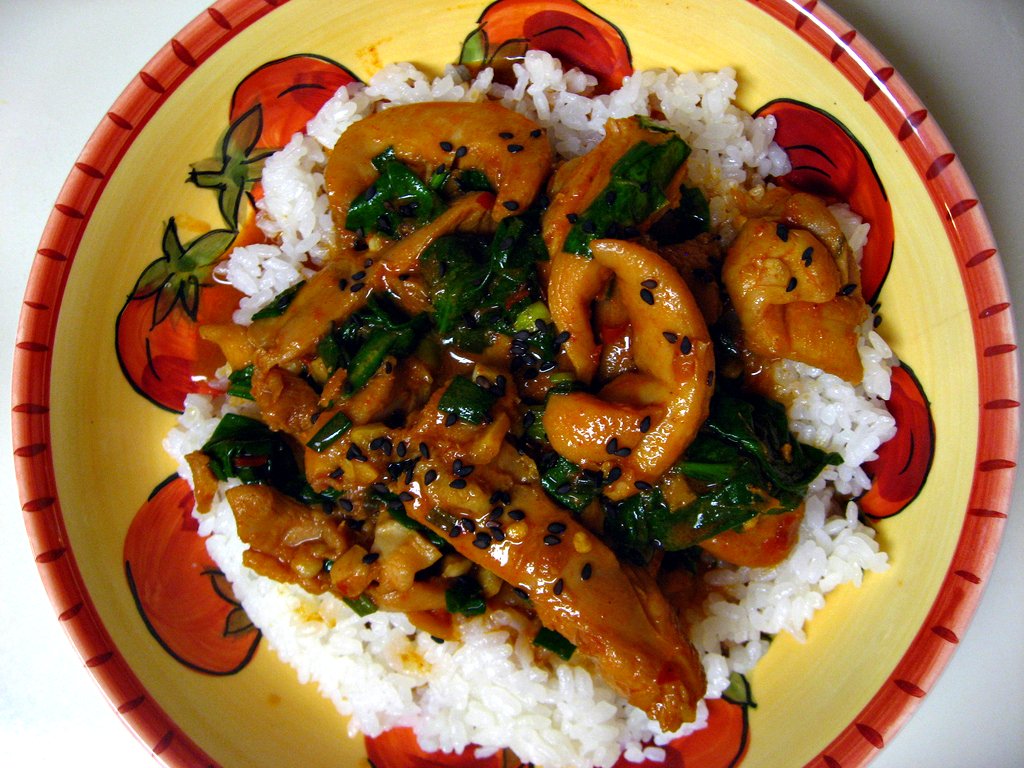
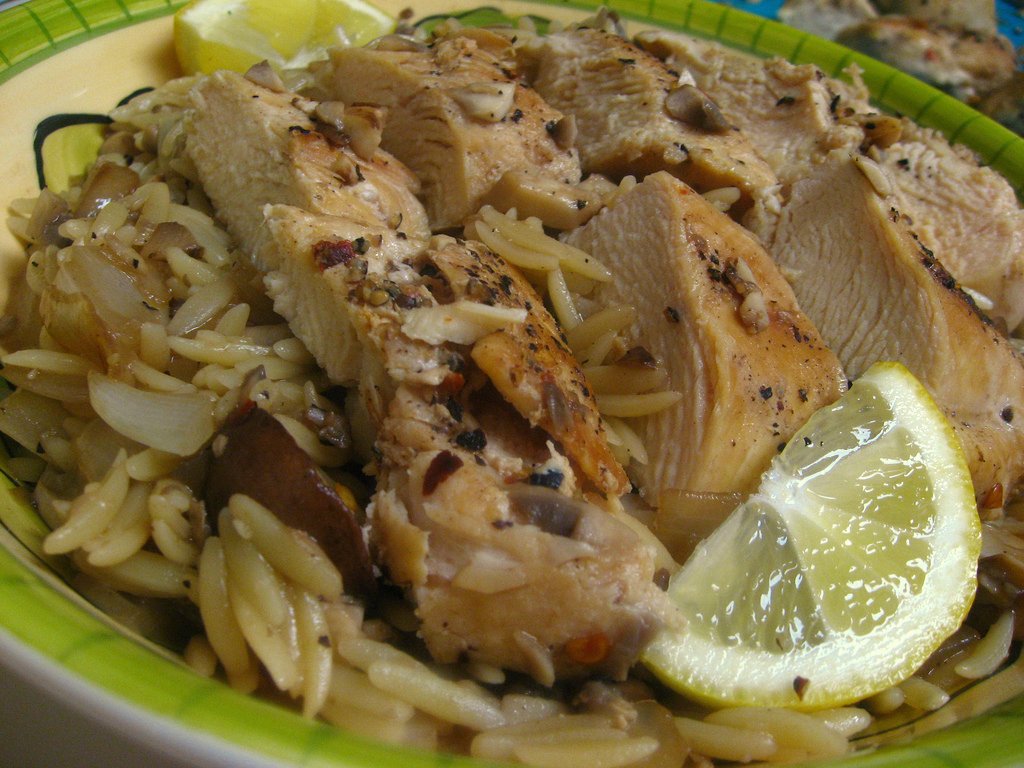
This recipe is simple but tasty. The Monkey Scientist said he enjoyed it a lot. I love orzo in anything, and the lemon and herbs make this fresh and cool. I added a lot more seasoning than the original recipe called for (salted and peppered between every step) but beyond that did not alter the recipe dramatically. I like the heartiness from the mushrooms. They give a nice earthy undertone that works well with the caramelized onions. It's a nice weeknight dinner, but nothing special.
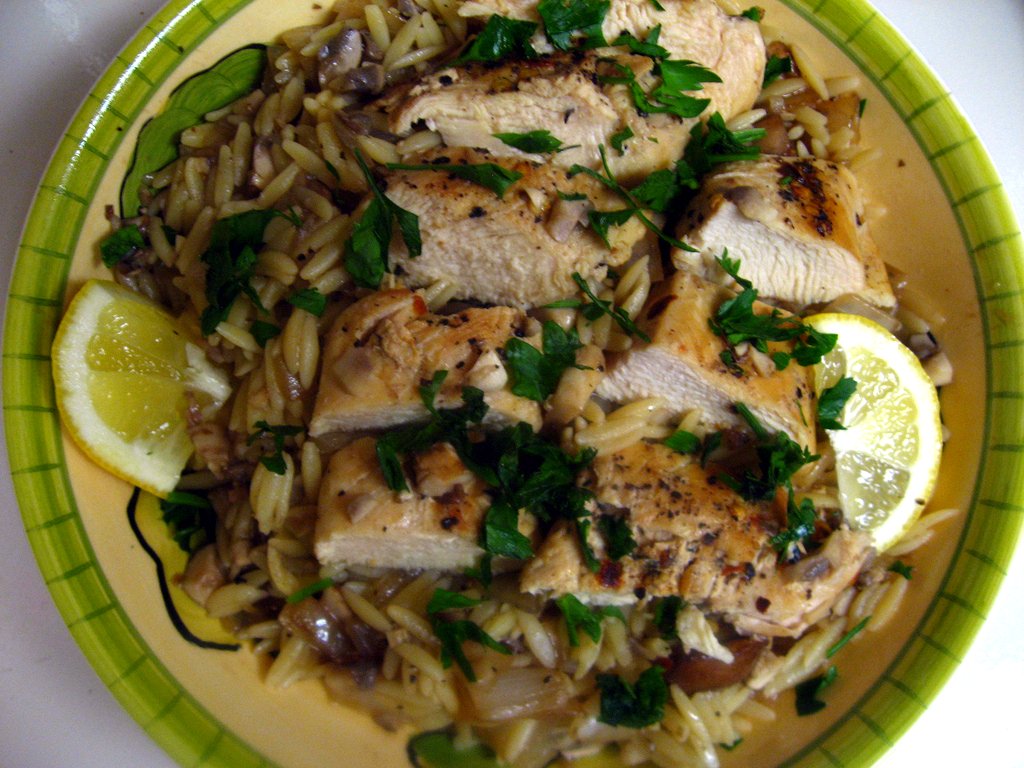
Chicken with Mushrooms and Orzo
adapted from Cooking Thin with Chef Kathleen
Ingredients
1 1/2 cups of orzo, uncooked
6 tsp olive oil, divided
16 oz mushrooms (1 packages, I used baby bella), roughly chopped
4 cloves garlic, minced
1 sweet onion, diced
salt and pepper to taste
1 tbsp balsamic vinegar
4 boneless, skinless chicken breasts
1 tsp crushed red pepper flakes
1 lemon, juiced
1/2 cup parsley, chopped
1 lemon, sliced
Instructions
1. Cook orzo according to package instructions, reserving the cooking liquid when draining.
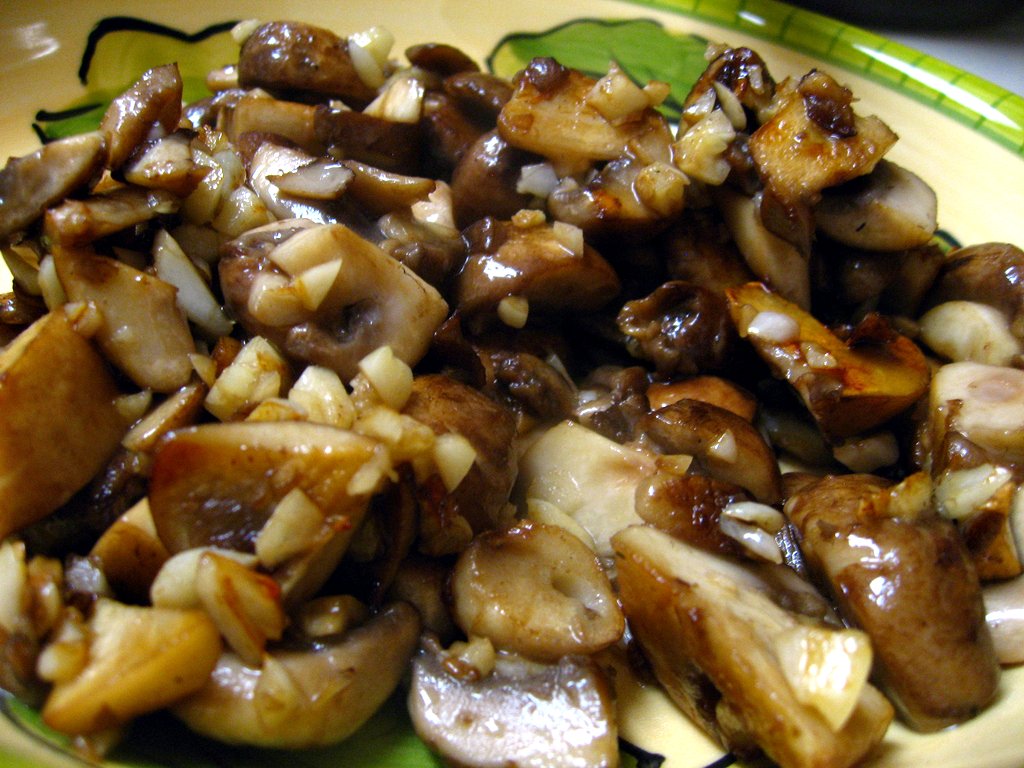
2. Heat 2 tsp olive oil in a large skillet over medium to medium high heat. Add the mushrooms and cook until soft, about 8 minutes. Add the garlic and cook until fragrant, about 2 more minutes. Remove the mushrooms and garlic from the pan and set aside.
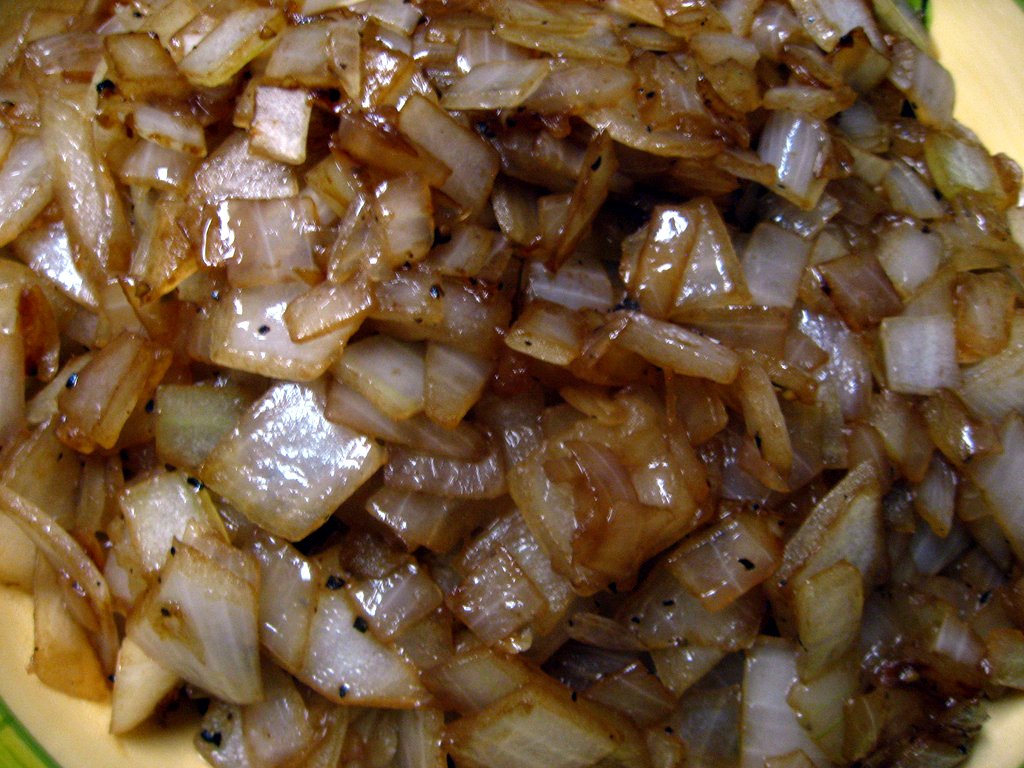
3. Add another 2 tsp of olive oil to the skillet. Add the onion, season with salt and pepper, and cook until brown and caramelized, 10-20 minutes. When they are almost done, add the balsamic vinegar and stir throughout. Remove from pan and place on top of the mushrooms and garlic.
4. Add the last 2 tsp of olive oil to the pan to heat up. Meanwhile, season the chicken breasts with salt, pepper, and red pepper flakes. Add the chicken breasts to the pan and cook on each side until just cook through and browned, about 2-3 minutes per side. Remove chicken from the pan and set aside to rest.
5. Add the onion and mushroom mixture back to the pan, along with the orzo and 1/2 cup of the reserved cooking liquid and the lemon juice. Season to taste with salt and pepper.
6. Slice chicken on the diagonal and serve over the orzo mixture. Top with parsley and serve with additional lemon slices.