Monday, March 28, 2011

Poppy Seed Hamantaschen

OK, I realized I missed Purim.  By over a week. But these cookies are so good, can't we eat them any time of year?

Prior to boiling down the filling
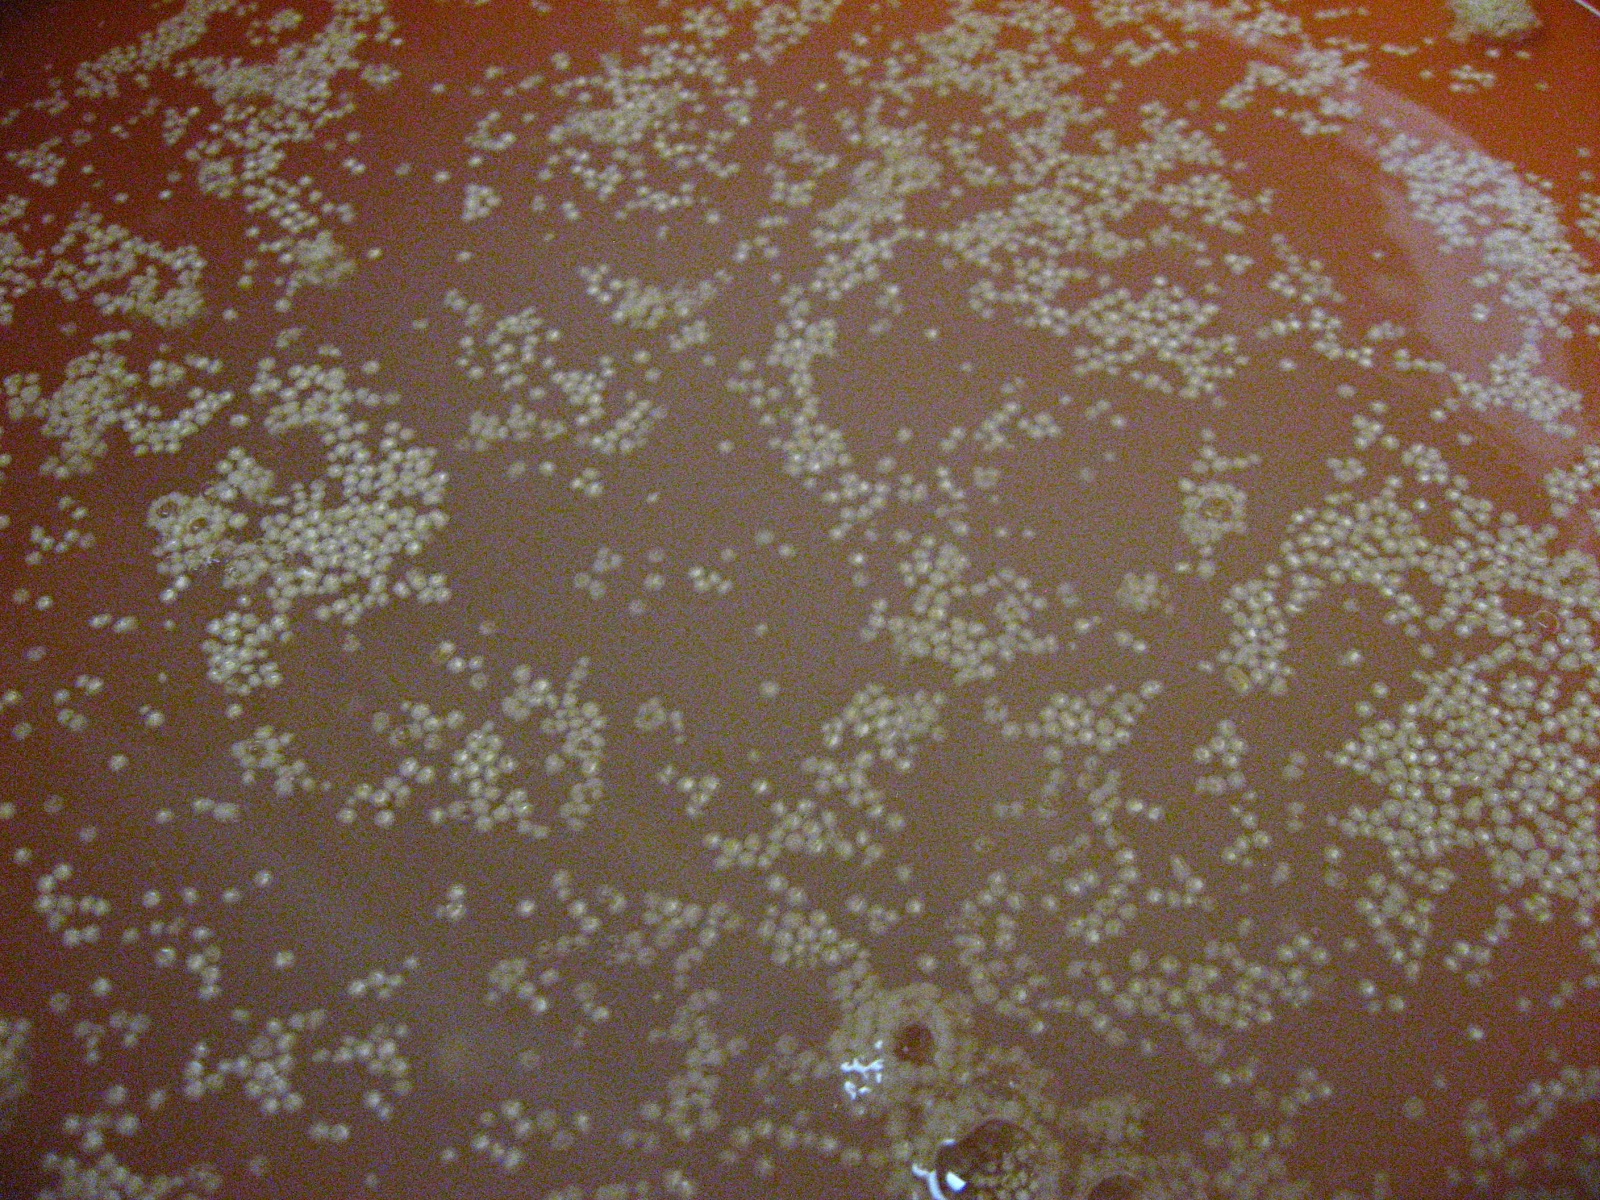
After 45 minutes


I never grew up celebrating Purim, but I am pretty sure we always ate Hamataschen anyways.  Traditionally, these cookies are made as part of the Purim celebration in a triangle shape to represent Haman's hat.  He's the bad guy.  Beyond that, Wikipedia has more knowledge on these cookies than me.

After egg was added


I originally saw this recipe but wasn't going to make them because I had been having trouble finding poppy seeds.  My grocery store doesn't sell them.


But then I got an email from my coworker, who had seen the same recipe, and told me that "if I was a good person, I would make these."  And then she bought me poppy seeds from Nuts Online.  Of course, then I HAD to make them.


I'm glad I did!  They weren't all that difficult to make and came out really delicious.  I do recommend you refrigerate for 20-30 min before baking as instructed.  I skipped this step because I wanted to go to bed and some of them fell out of their traditional triangle shape...

oops!

Small Poppy Seed Hamantaschen
Dough and cookie instructions from smitten kitchen, filling from Diana's Desserts

Ingredients:
Dough
Grated zest of 1 lemon
1 cup powdered sugar
2 1/4 cups all-purpose flour
1/4 teaspoon table salt
2 large egg yolks
8 ounces (2 sticks) unsalted butter at room temperature, in small pieces

Poppy Seed Filling
1 cup poppy seeds
1/2 cup boiling water
1/2 cup water
1/2 cup honey
2 teaspoons fresh lemon juice
1/2 teaspoon ground cinnamon
1 large egg

Glaze
1 large egg, beaten (I used egg white, which is why mine didn't brown)

Instructions:
Make the dough: 
Place the lemon zest, powdered sugar, flour and salt in the bowl of a food processor and pulse to blend. Add the butter and egg yolks and process until the mixture forms a ball. Scrape onto a sheet of plastic and wrap it tightly. Chill the dough for an hour or overnight.

Prepare the filling:
Soak the poppy seeds in the boiling water until cool, or overnight.
If you prefer the seeds to be broken (I left mine whole), grind the seeds in a coffee or spice grinder, as finely as possible. A mortar and pestle can also be used.
Combine the seeds, water, honey, lemon juice and cinnamon in a small pot and cook over medium heat until the filling is thick, stirring frequently. (This took me about 45 min)  It will look like poppy seeds with a little syrup, it won't look like a filling until the egg is added.
Remove from heat, cool, and then stir in the egg. Refrigerate until ready to use.

Form the cookies:
Line two baking sheets with parchment paper.
Roll out the dough to just under 1/4-inch thickness (I obviously was too impatient, mine is much thicker) and use a cookie cutter or glass to cut 2 1/4-inch circles
Put a heaping half-teaspoon of the filling in the center of each and press up the sides to form triangles. Deb at Smitten Kitchen found that the dough cracked when she wanted it to bend. I think the thicker dough meant I didn't have this problem.  If you do encounter this, don’t be deterred, just smoosh the sides back on and mold it, if needed, into the proper shape.
Arrange on prepared trays (transfer cookies with a spatula, as they are fragile before they are baked) and brush the tops with beaten egg for glaze. Return tray to the fridge for 20 to 30 minutes; chilling them again will help them hold their shape while they are baked. Meanwhile, preheat your oven to 350°F
Bake until cookies are golden, about 10 to 15 minutes. If trays are on different racks, switch them after about 5 minutes.

Friday, March 25, 2011

Jerusalem Artichoke and Israeli Couscous Salad with Roasted Red Onion


The only item I hadn't used yet from the last of the farmer's market (although I still have cabbage...they were really big dense heads!) are my bag of jerusalem artichokes.


I bought them with the inspiration of this salad.  I had never made jerusalem artichokes before but I do love to try new things.


This salad is a little bit more work than a salad you would throw together at the last minute.  Roasting the onion takes a while - so make sure you account for that or do it the night before.  At least you can try to make them the night before...they smell so warm and delicious you might not be able to wait to eat them!


The original recipe called for couscous, but given that Purim is this weekend and Passover is right around the corner, I figured I'd go all out on the name play and use Israeli couscous.  That and I LOVE Israeli couscous.  I meant to steal some from my mom last time I left New Hampshire (she has an overstock right now) but I forgot and had to get some of my own.


So I'm sure some people are curious what the Jerusalem artichokes tasted like. I would say the best way to describe them would be a cross between carrots and potatoes.  I liked them, but they were a little bitter for my taste.  I'm curious to look for other ways to use them if I find them at the farmer's market again.


Overall, this was a pretty tasty salad.  I think the biggest learning lesson here was how to make roasted red onions.  I feel like I could think of a lot of adaptions for them - like serving them with roasted potatoes - or just I could just enjoy them on their own.


Jerusalem Artichokes and Couscous Salad
Adapted from Salad Pride

Ingredients for each salad:
2 oz arugula (I used baby arugula blend)
1/3 cup Israeli couscous
1/4 roasted red onion (see below), finely chopped
2 small Jerusalem artichokes, sliced thin
1 tbsp balsamic vinegar
1 tbsp + 3 tbsp extra-virgin olive oil
salt and freshly ground pepper
1 squirt dijon

Instructions:
Prepare couscous as directed on package.
Heat 1 tbsp oil over medium-medium high heat.  When hot, add Jerusalem artichokes, season with salt and pepper, and fry 15 min.
Mix the dijon, balsamic vinegar and remaining olive oil and season with salt and pepper.
Layer the salad - arugula, couscous, then Jerusalem artichoke/onion mixture, and toss with vinaigrette.


Roasted Red Onion
Adjusted from epicurious

Ingredients:
1 small red onion halved through root end, then cut into 3/4-inch-wide wedges with some of core attached to each
1 tbsp butter, melted
¼  teaspoons dried rosemary
¼ teaspoons coarse salt
1/8 teaspoon ground black pepper
2 tsp red wine vinegar

Instructions:
Position 1 rack in bottom third and 1 rack in top third of oven and preheat to 450°F. Line a large baking sheet with foil; butter foil generously. Arrange onion wedges cut side down on prepared sheets. Brush onions with melted butter. Mix thyme, salt, and pepper in small bowl; sprinkle over onions. Drizzle with vinegar. Cover baking sheet tightly with foil. Roast onions 20 minutes on top shelf. Move baking sheet from top to bottom and continue to roast until bottoms of onion wedges are brown, about 20 minutes longer. Remove foil. Using spatula, turn onion wedges over; cover with foil and roast until bottoms of onions are brown and edges are slightly crisp, reversing position of baking sheet after 5 minutes, about 15 minutes total. (Can be prepared 1 day ahead. Refrigerate onions on sheets, covered. Rewarm uncovered in 350°F oven until heated through, about 15 minutes.)

Tuesday, March 22, 2011

Sourdough Bread


Finally, the post you've been waiting for - the sourdough bread!


Can I just say, that first of all this was a true "baker's experience"... Typical me, I didn't read through all of the instructions before diving in to make this, and didn't realize until had already started at about 7pm last night that I would need to wait 8-12 hours in the fridge before baking.  


So, I got up extra early to put the bread in the oven.  Like, I got to watch the sun rise over the Capitol from my balcony early. I'll remember this for next time and make this a weekend activity beginning in the morning!


Last week, I made my sourdough starter.  It definitely started to smell pretttty sour after a couple of days, so I waited 4 days before putting it in the fridge.  When I took it out of the fridge, there was a layer of liquid floating on top of the starter, which had thickened up.  I mixed this back in before using it.


The starter was pretty simple, and the bread was as well, except for all of the time it took.  When I removed 1/2 cup of starter for the bread, I replaced it with 1/2 cup flour and 1/4 cup water in the starter, then left the starter out on the counter overnight before stirring and returning to the fridge.


My knife probably wasn't sharp enough to cut the slits on the top of the bread.  I also cut 4 instead of 3, mainly because I didn't think they were even enough.


The bread didn't turn out nearly as golden brown as Annie's, even though I left it in for 30 min.  I really need to get an oven thermometer to make sure my oven is accurate.


I also think it would have helped if the plastic wrap had been a little bit tighter when it was in the fridge overnight.  The edges really didn't brown much at all and I did miss the really crispy crust of a good loaf of sourdough.


The taste, though was really good!  It wasn't quite as sour as I hoped (I love the tang that really good sourdough bread has), but I am hoping that as I let my starter develop more that future loaves will get better.  It definitely was better than my wheat bread, and worth all the extra work.  I would like to try a few more recipes now that I have my starter, but this one will definitely be used again!


And it makes a great tuna melt!


Sourdough Bread
halved from Annie's Eats

Yield: 1 large round loaf

Ingredients:
¾ cups lukewarm water (100˚ F)
2 tsp. active dry or instant yeast
½ tbsp. honey
½ cup sourdough starter
2¼-3 cups bread flour, plus more as needed
½ tbsp. unsalted butter, melted
1 large egg, at room temperature
1 ¼ tsp. salt
½ tbsp. bread flour mixed with ½ tbsp. yellow cornmeal

Instructions:
In the bowl of an electric mixer, whisk together the water, yeast, honey, and sourdough starter just until smooth.
Cover with plastic wrap and let stand at room temperature until slightly increased in bulk and bubbly, about 1 hour.
With the flat beater attached to the mixer and the mixer on low speed, mix in 1 ½ cups of the flour, the butter, eggs and salt.  Increase the speed to medium-low and mix until smooth, about 1 minute.  Add in 1 more cup of the flour and beat for 2 minutes.
Switch to the dough hook.  With the mixer on low speed, add the remaining flour, ¼ cup at a time (mine was already pulling from the sides so I didn’t add any more at all), until a very soft dough forms that pulls away from the sides of the bowl.  Knead on low speed, adding a tablespoon of flour if the dough begins to stick, until the dough is smooth and elastic, tacky but not sticky, about 6 minutes.
Form the dough into a ball and transfer to a lightly oiled bowl, turning once to coat.  Cover loosely with plastic wrap (oops, I forgot this step) and let rise until doubled in bulk, about 1½-2 hours (my kitchen’s warm, it only took about an hour or hour and 15 min).
Line a baking sheet with parchment paper or a silicone baking mat.  Sprinkle generously with the flour-cornmeal mixture.  Form the dough into a tight, oval loaf.  Place the loaf on the prepared baking sheet.  Sprinkle the tops with flour and gently rub in.  Cover loosely with plastic wrap and let rise in the refrigerator, 8-12 hours.
Place a baking stone on the lowest oven rack and preheat the oven to 450˚ F.  (If you don’t have a baking stone, use an overturned baking sheet, that’s what I did.)
Using a thin sharp knife, make three slash marks over the top of each loaf.  Place the baking sheet on the heated baking stone or baking sheet and bake for 10 minutes.  Reduce the oven temperature to 400˚ F and continue to bake until the loaves are golden brown, 25-30 minutes more.  Let cool completely on a wire rack before slicing and serving.

Monday, March 21, 2011

Fish Tacos with Latin Slaw for two

Tonight I needed a nice simple dinner, just for me.  I still have lots of cabbage left from before the farmer's market closed for its spring hiatus, so I decided this would be a good week to continue to try new types of slaw.

This recipe looked super simple, and the ingredients were pretty minimal. Fish tacos are my mom's absolute favorite at the Cheesecake Factory, but this is definitely a trimmed down and healthier version!


By way, because I know a lot of friends have asked me before, this is a tomatillo.  It's like the green apple of tomatoes - it's more tart than a big red tomato and it's itty bitty. It comes with a skin on it that you have to peel off.  I love to use tomatillos in guacamole instead of tomato.


Although the original recipe called for a lot of patient, 3-hour marinating, I decided to cut all that out.  The only "marinating time" I allowed for was the time while I ran on the treadmill - and I am definitely not running 3 hours at a time.


I also tried to kick up the spice because...well because I always kick up the spice.  I definitely still could have used some Chulula on my taco.


Also, I got some great grocery deals!  Tilapia was only ~$2 for a filet, and I got the greek yogurt (I used Yoplait) for free by combining a store sale with a coupon!  I also got $15 worth of matzoh for free by spending $25 at the grocery store - all ready for my Passover seder (and some matzoh brie)!!


These tacos were really good.  I loved the slaw and the chipotle-greek yogurt sauce had a great flavor while keeping the tacos light and healthy.  I didn't even miss the rice in the Cheesecake Factory version!


And what did I do with the extra 1/2 avocado?  Ate it with a spoon, of course :)  Man, I love avocado!  It was a great "appetizer" for these tasty tacos.


Fish Tacos with Latin Slaw
Adapted from Eighty Twenty
Serves 2 (4 tacos)

2 tilapia (or other white fish) filet
1/4 cup white wine
1-2 tbsp lime juice (~1 limes)
2 tsp cumin
1 tsp crushed red chili flakes
1 tsp chili powder
4 -8" whole wheat tortillas

Latin Slaw
1 cup shredded purple and green cabbage
1/4 cup onion, sliced
1/2 avocado, sliced
1 tomatillo, peeled and diced
jalapeño pepper, seeded and diced
1 tbsp low fat mayonnaise
3 tbsp lime juice (~1 1/2 limes)
1 tsp apple cider vinegar
2 tsp olive oil
1 tsp salt
1 tsp freshly ground pepper
1 tsp cumin

Sauce
6 oz fat free Greek yogurt
1 tbsp chipotle seasoning

Instructions:
Marinate fish filets in white wine, lime juice, and cumin in the refrigerator, at least 2 hours or overnight.

For slaw: Mix together cabbage, onion, avocado, tomatillo anjalapeño in a large bowl. In a small bowl whisk together lime juice, mayonnaise, oil, vinegar, cumin, salt, and pepper. Add to dry ingredients and refrigerate until ready to use.

For sauce: mix chipotle seasoning into yogurt and refrigerate until ready to use.

Grill fish filets until done (~2 1/2 min on the Foreman), then cut into 2" thick strips. Microwave flour tortillas covered by a damp paper towel for ~30 seconds, or until soft.

Add 2 tbsp sauce to tortilla, then add fish. On top add 1/4 cup Latin Slaw.  Enjoy!

Thursday, March 17, 2011

Sourdough Starter

I finally did it! I made my sourdough starter!


Sourdough bread is my ABSOLUTE favorite. I have been thinking about starting to make it ever since my first try with homemade bread.


Growing up, we had neighbors across the street who always had a sourdough starter in their fridge.  They'd had it for years and perfected it, when the cleaning woman found it and thought it was something that had gone bad, and threw it out.  Needless to say, they were NOT happy.


I am so excited for next week when I get to turn this into bread!  Do you think I could sell parts of the starter on Craig's List? 

Sourdough Starter
Ingredients:
2 cups warm water
1 tbsp. sugar or honey
1 tbsp. active dry yeast
2 cups unbleached all-purpose flour

Instructions:
Pour the water into a 2-quart glass or ceramic jar or bowl.  Stir in the sugar or honey to dissolve.  Stir in the yeast.
Gradually whisk in the flour.  Cover loosely with a clean kitchen towel or dishcloth (not plastic wrap) and place it in a warm area.  (My kitchen in the winter definitely has no warm location, but my starter was just fine.)
Let it develop 2-5 days, stirring once a day due to the separation that will occur.  When bubbling has subsided and a sour aroma has developed, stir once more and refrigerate until ready to use.

Storing and Maintaining Your Starter
Once your starter is stored away in the refrigerator, it only needs to be replenished once every two weeks or so.  I put a little note to myself in my calendar as a reminder to either bake with or feed my starter.  You should feed your starter each time you remove a portion for use in baking, but if it has been two weeks and you don’t intend to bake with it immediately, simply remove a cup of the starter and discard.  For every 1 cup of starter removed, replace with 1 cup of flour and ½ cup of water.  Stir to blend, and let sit at room temperature for at least 12 hours before returning to the refrigerator.

I promise to share the bread recipe as soon as I make it!

Wednesday, March 16, 2011

(Healthy) Asian Lettuce Wraps


One of my farmer's market pickups this week was a head of Bibb lettuce.  If you've never had lettuce wraps, you need to go try them.  They're fresh and fun - a great dinner!


My intention was always to make chicken lettuce wraps, although my usual go-to lettuce wraps are Chicken Cashew Lettuce Wraps from missamy on TastyKitchen.  They're AWESOME.


But then I was exploring the newest blog on my google reader and found this healthier version.  Sure it leaves out the cashews, and I love cashews, but I am doing my first 5K in a month in a half so I have to lighten up my cooking!


I did have a really hard time finding short-grain rice.  All they had was brown (which I prefer), and I found it in the "health food" aisle. 


This recipe was fantastic.  I loved the short-grain rice - they stepped the wraps up to be a filling meal.  I kicked up the spice a little bit with the red pepper flakes and sriracha because we love spicy foods.  I feel like I add red pepper flakes to everything!


(Healthy) Asian Chicken Lettuce Wraps
adapted slightly from Cook's Illustrated, Light and Healthy 2010 via Pink Parsley
serves 4


Ingredients
  • 1 1/2 cups water
  • 1 cup short-grain brown rice
  • 3 Tablespoons fish sauce
  • 3 Tablespoons fresh lime juice, plus 2 teaspoons grated lime zest
  • 1 1/2 Tablespoons brown sugar
  • 1 teaspoon cornstarch
  • 1 pound ground chicken or turkey
  • 2 teaspoons peanut oil
  • 1 Thai or jalapeno chile, stemmed, seeded, and minced
  • 1 tsp salt 
  • 1 tsp freshly ground pepper
  • 2 tsp crushed red chili flakes
  • 1/4 cup chopped fresh basil
  • 3 scallions, sliced thin
  • 12 Bibb or Boston lettuce leaves (about 1 head)
  • Sriracha, for serving

Instructions
Cook rice according to package instructions.

Meanwhile, whisk the fish sauce, lime juice, brown sugar, and cornstarch together in a small bowl.

In a medium bowl, mash the ground chicken using the back of a spoon until smooth and no strand-like pieces of meat remain.

Heat the oil in a 12-inch skillet over medium heat.  Add the chicken, chile, and lime zest, and cook, breaking up the meat into small pieces with a wooden spoon, until the chicken is no longer pink, about 5 minutes. Season with salt, pepper, and red pepper flakes.

Whisk the fish sauce mixture to recombine, and add to the skillet.  Cook, stirring constantly, until the sauce has thickened, about 45 seconds.  Remove from heat, and stir in the basil and scallions.

Transfer chicken to a serving bowl and serve with rice and lettuce leaves, top with sriracha.

Tuesday, March 15, 2011

Potato, Green Cabbage, and Leek Soup with Lemon Crème Fraîche (or Sour Cream)


There were a couple reasons I decided to make this soup.  I wanted to make something fairly light, and one of my farmer's market purchases this week was a big head of green cabbage, so I wanted to find something to utilize some of it, while still leaving some to make Asian Slaw later this week.
Now, I could have used this cabbage for some St. Patty's Day corned beef and cabbage, but that just didn't sound very good.  I wanted some soup.


And I wanted a nice hardy soup, that I could eat for dinner.  I tried to make potato leek soup for the first time during snowmaggedon, but I wanted to find a recipe that didn't use heavy cream to cut down on the calories.


This recipe uses cabbage instead of cream (it didn't make much sense to me either - but it worked!)  The soup is super creamy!  Especially because I got to use my new gift to myself....


My new immersion blender!  Isn't it pretty?  And it worked great!  Let's be honest, the real reason I made this soup was so that I could try it out.  But totally was a good choice because this soup was SO GOOD!  I used light sour cream instead of crème fraîche because it is way cheaper and has about 1/4 of the calories.  The lemony sour cream just made this soup, and the cabbage you garnish it with is super tasty.  LOVED IT, this is one recipe I will definitely make again!! I licked the bowl clean!


Potato, Green Cabbage, and Leek Soup with Lemon Crème Fraîche (or Sour Cream)
Halved from epicurious
yield: Makes 3 servings

Ingredients
1/4 cup crème fraîche or sour cream
1/2 tablespoon fresh lemon juice
1/8 teaspoon finely grated lemon peel
1 tablespoon (1/8 stick) butter, divided
1/2 tablespoon extra-virgin olive oil
3 cups diced green cabbage (1/2-inch dice; from about 1/4 medium head)
1½  cups chopped leeks (white and pale green parts only; 1½ to 2 large)
1½ large garlic cloves, pressed
1½ cups 1/2-inch cubes peeled Yukon Gold potatoes (about 3/4 pounds) (I used white potatoes because they were cheaper)
1/2 2 x 2-inch piece Parmesan cheese rind (optional, I left it out)
1/2 Turkish bay leaf
3 cups (or more) low-salt chicken broth
1 tablespoons chopped fresh chives (for garnish)

Instructions
Whisk crème fraîche, lemon juice, and lemon peel in small bowl to blend. Cover and chill. DO AHEAD: Can be made 4 hours ahead. Keep chilled.
Melt 1/2 tablespoon butter with 1/2 tablespoon olive oil in heavy large pot over medium-high heat. Add cabbage; sprinkle lightly with salt and freshly ground black pepper and sauté until cabbage is almost tender but not brown, 6 to 8 minutes. Using slotted spoon, transfer 1/2 cup cabbage to small bowl and reserve for garnish.
Add 1/2 tablespoon butter to pot with cabbage; add leeks and garlic. Sauté over medium heat until leeks soften slightly, about 3 minutes. Stir in potatoes, Parmesan rind, if desired, and bay leaf. Add 3 cups broth; bring to boil. Reduce heat to medium-low; cover and simmer until all vegetables are tender, 20 to 25 minutes. Discard Parmesan rind, if using, and bay leaf. Working in batches, puree soup in blender (or use an immersion blender in the original pot) until smooth. Return puree to pot. Simmer until heated through, adding more broth by 1/8 cupfuls to thin soup to desired consistency. Season with salt and pepper.
Ladle soup into bowls. Top each serving with some of reserved sautéed cabbage. Drizzle crème fraîche mixture over soup; sprinkle with chives and serve.

Monday, March 14, 2011

Funfetti Cupcakes


Today was my coworkers 10th anniversary with the company.  To celebrate, I made homemade funfetti cupcakes!  It ended up being a double celebration - she also announced that she is going to have a baby girl in July!


The inspiration was this huge thing of sprinkles I found at the Christmas Tree Shop while I was home.  Funfetti just sounded like the perfect way to use it up!


The recipe is super simple.  The cupcakes came out moist and maybe even better than the boxed original!


The buttercream on the other hand was a disaster, again.  I think I'm about to give up making buttercream forever - it's such a waste that I always end up throwing it all out.  I don't know what's wrong with me but it's very discouraging.  We ended up using the kind from a can (with high maltrose corny syrup...eek) - not my ideal - but I very much appreciate my coworker picking it up to save my mistake.  If you want a buttercream recipe, be sure to check out the one on cakespy.


Funfetti Cupcakes
from cakespy

Ingredients

  • 1-1/4 cups AP flour
  • 1-1/2 tsp baking powder
  • 1/4 tsp salt
  • 3/4 cup sugar
  • 6 tbsp butter, room temperature
  • 1 large egg + 1 egg white, room temperature
  • 1 tsp vanilla extract
  • 1/2 cup milk (I used skim)
  • 2 tbsp rainbow sprinkles


Directions

  1. Preheat oven to 350F.
  2. Line cupcake pan with paper liners.
  3. In a large bowl, sift flour, baking powder and salt. Set aside. In a stand mixer, fitted with flat beater, beat the sugar and butter until well combined, about 2-3 minutes. Add egg and egg white, one at a time, beating on low.
  4. Then add vanilla. Gradually add flour mixture in 3 additions, alternating with milk in 2 additions, ending with the flour mixture. Fold in rainbow sprinkles.
  5. Fill cupcake liners about 1/2-2/3 full. Bake for about 17-20 minutes or until a toothpick inserted in the middle comes out clean. Remove from pan and cool completely on a wire cooling rack before frosting.